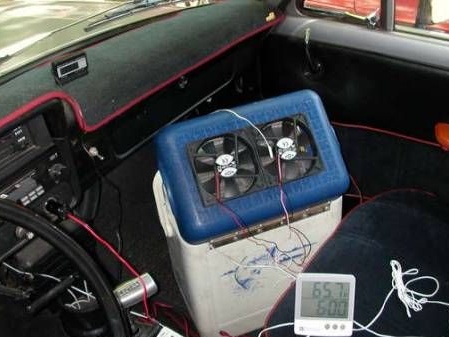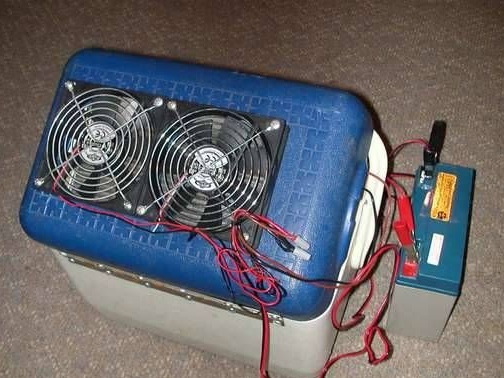
Ride in the heat on car without air conditioning is harmful and hazardous to health. This can lead to thermal shock, which creates an unsafe situation for both the driver and others. In addition, even if it does not come to that, hardly anyone likes to sweat while sitting in a red-hot car. Of course, this problem is not so important for those who drive without traffic jams on smooth roads. But what to do if the windows cannot be opened or you have to stand in traffic for a long time. And you need to do air conditioning, how exactly, consider below.
The air conditioner described below is quite primitive. The fact is that he works on ice, so he has enough for about an hour of work. But this problem can be solved by installing Peltier elements. For example, such elements, due to the electric current, can cool the water, and the air conditioner will work until the battery is discharged. Anyway, this homemade will be a great option for refinement and reflection.
Materials and tools for automotive air conditioning:
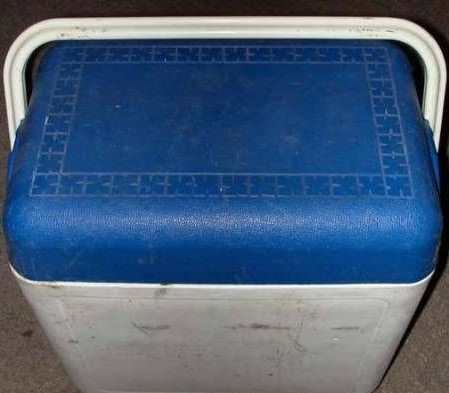
- a plastic container (cooler bag);
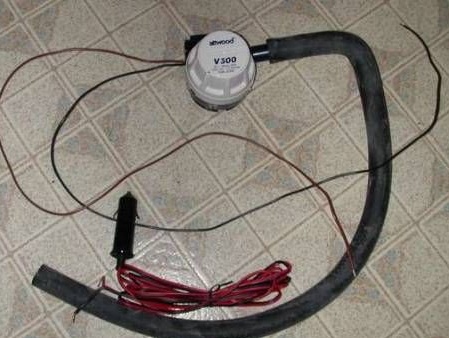
- a small water pump for 12V (you can from the aquarium);
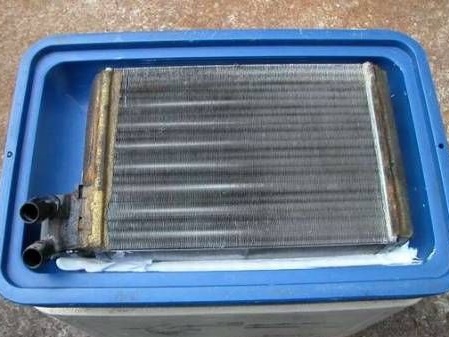
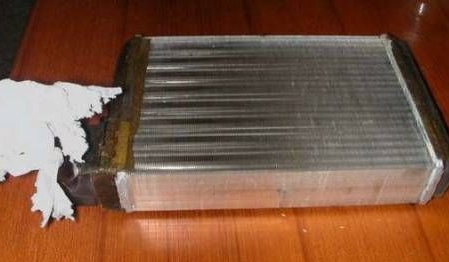
- radiator stove from the car;
- wires, tubes for connecting the pump;
- two fans;
- dremel;
- silicone;
- piano loops;
- a plug for connecting to the cigarette lighter and more.
We make the conditioner:
Step one. Pump installation
First of all, you need to fix the pump, it is fixed at the bottom of the container. For such purposes, a pump from the aquarium or from the glass washer reservoir is suitable. After installing the wires from the pump, pull it out.
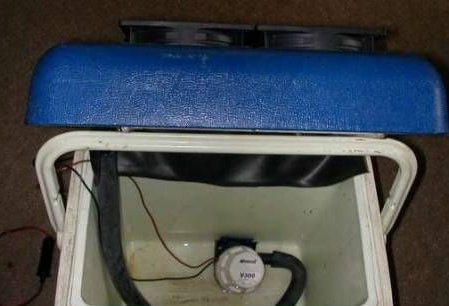
Step Two Fan installation
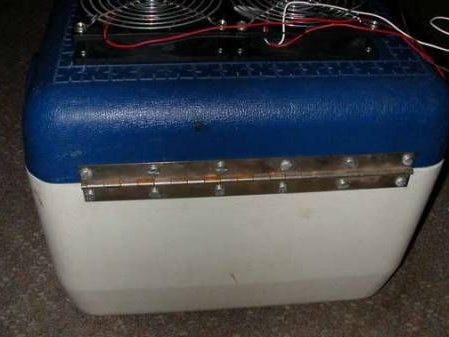
As fans, the author used computer coolers for 12V. Fans are installed in the cover. Since the lid in such containers is double, from the inside you need to cut a square to the size of two coolers. On the other hand, two holes are cut out under the coolers, in such situations it is convenient to work with a dremel. Fans are focused on exhausting air from their container. Coolers are mounted with screws, which are usually included.
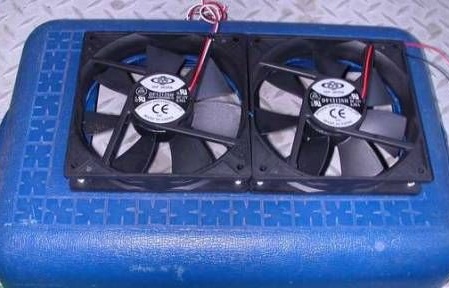

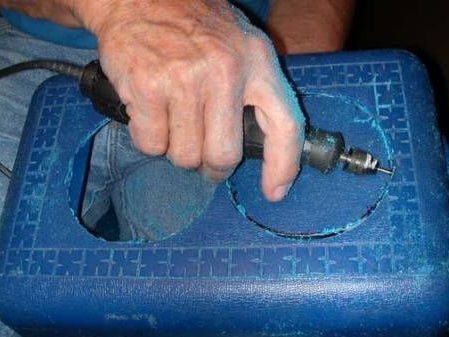
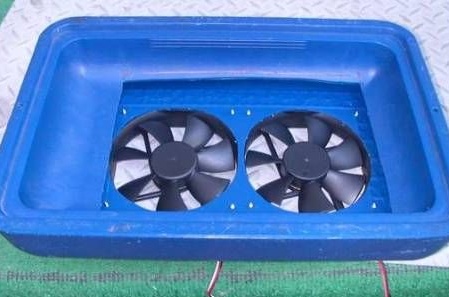
Step ThreeRadiator installation
The author installs the radiator from the stove on the inside of the lid; its nozzles should look down. For fixing the radiator, silicone is suitable, you can still use hot glue or epoxy.
Step Four The final stage of assembly
So that the lid can be conveniently opened and the ice is changed, the author fastens it with a piano loop. Now you can connect the radiator to the pump, for this one hose is enough, that is, the pump output is connected to the radiator inlet. In this case, the system will work, however, the murmur of water will be heard. To avoid this, you can put a hose on the outgoing pipe. Well, now it remains only to connect all components to the on-board network.
If the operation of coolers and a pump requires a voltage of not 12V, but less, you can try to power everything through the charger for mobile phones. The author connects the device through the cigarette lighter.

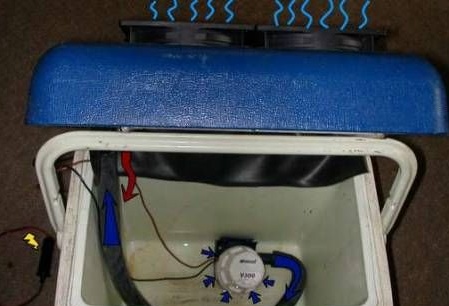
To start the air conditioner, you need to pour ice into the container, and then pour water. After power is supplied, ice water will be pumped through the radiator. At the same time, coolers will blow cold air from the container out into the cabin. Since such an air conditioner is not particularly efficient, all the windows and doors will need to be well buried in the car. At least some hours of coolness are provided with such an air conditioner. During this time, you can wait out the traffic jam or drive through a problem section of the road with closed windows.
By the same principle, you can make a more powerful air conditioner for the home, powered by 220V. By the way, as a coolant, you can use ordinary tap water, passing it through a radiator. In this case, the pump is not needed.
