» Construction DIY foundation slab

Do-it-yourself foundation plate

Do-it-yourself foundation plate
Dear visitors of the site, the article proposed to you will discuss, as you probably guessed, the construction of a monolithic foundation in the form of a slab.

Nowadays everyone knows perfectly well, the country is in full swing construction private houses, any choice would be only money. Elite villages are now growing like mushrooms after the rain, houses are being built instantly using the latest technologies and materials, as well as cheap labor of shabashniks from the CIS.

Well, as a simple people, as always, there is no money, so you have to cost yourself, to study all the intricacies of construction directly in the process. It doesn’t always work out qualitatively, but on a budget, with decent money savings)

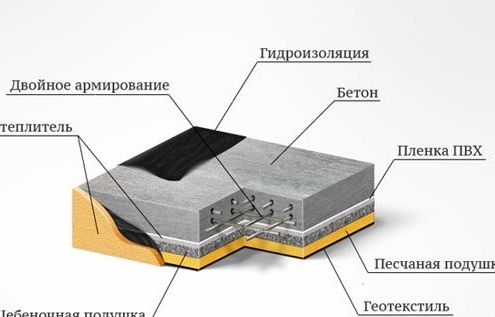
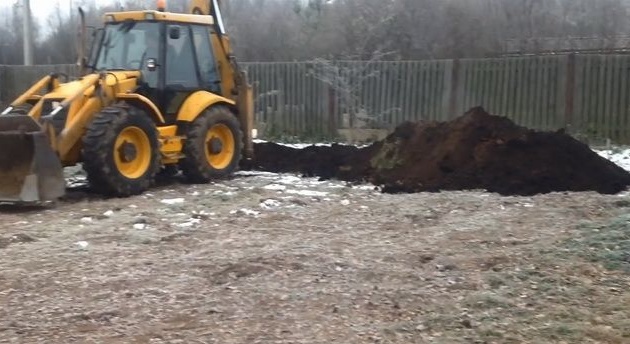
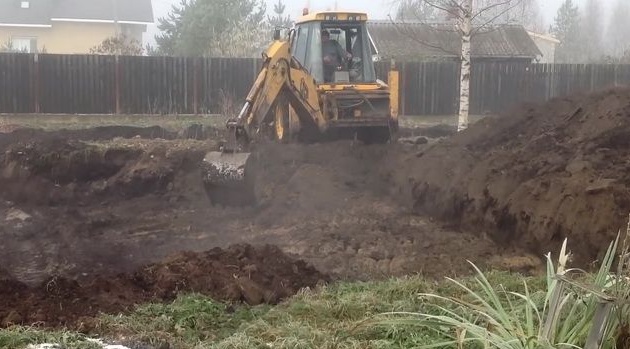
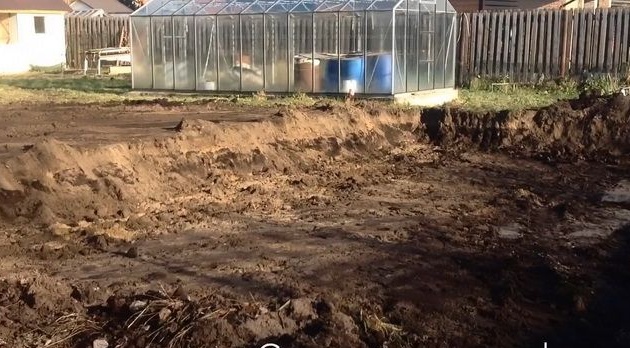
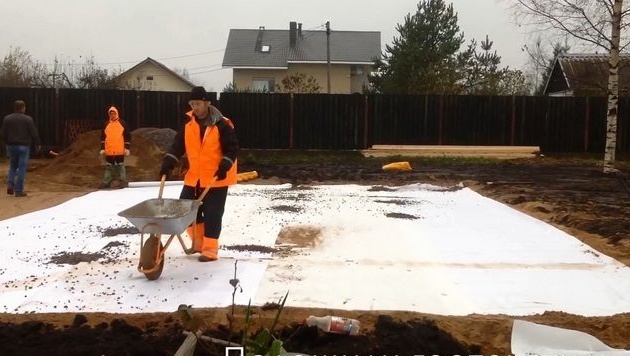
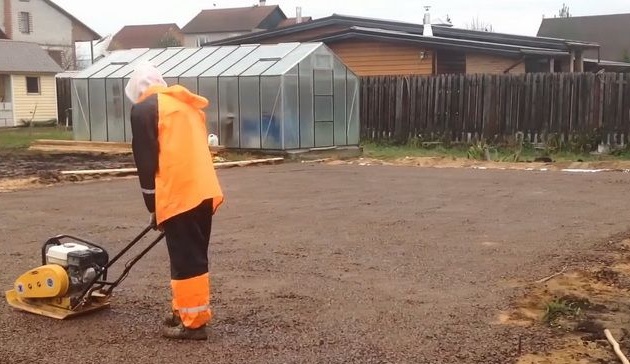
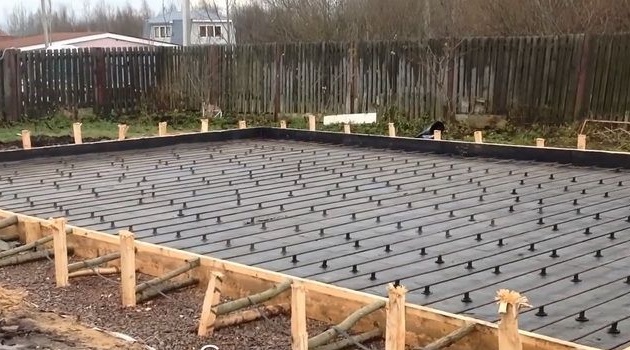
And so, in order to fill in the monolithic foundation, the site is first cleared, then a solid hole is dug, a sand cushion is laid on the bottom and everything is carefully compacted with periodic watering, a layer of gravel of at least 20 cm is laid on top of the sand cushion and it is also compacted. After the measures taken, a plastic film in several layers is laid on top for waterproofing.

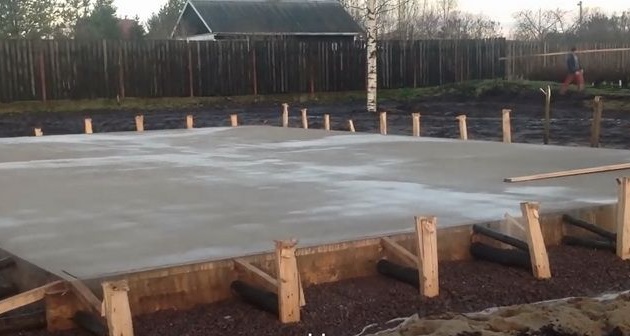
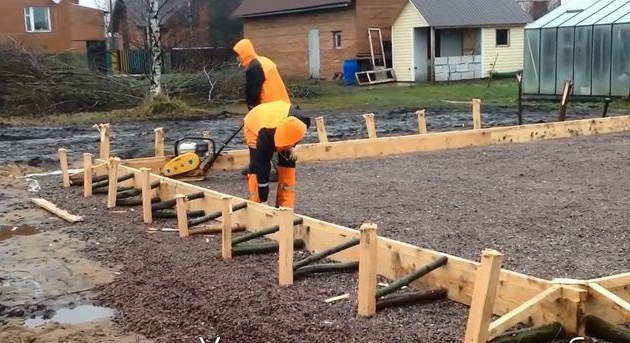
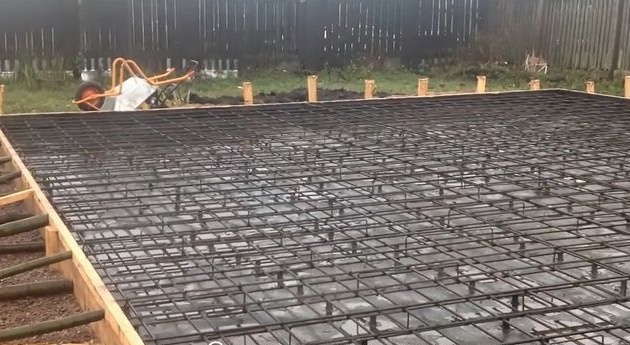
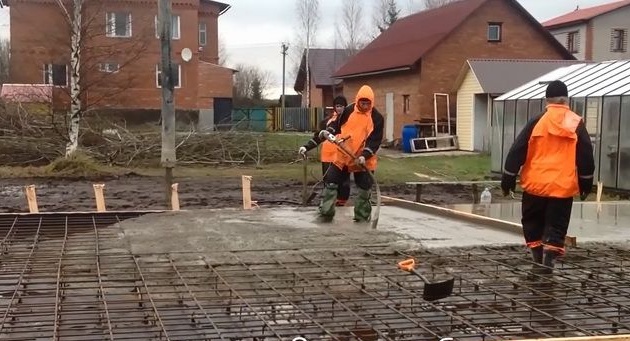
Then the fittings are laid, strapping is done, an important point that should not be missed — the distance from the reinforcement to the ground should be at least 2.5-5 cm, that is, the reinforcement must be inside the solution when pouring. Formwork is done and concrete is actually poured, according to the author, and indeed according to the mind, for pouring large areas it is best to order a ready-made mortar and immediately fill the entire area. Take measures with a vibrator, that is, expel excess air so that the solution evenly fills all the voids.

But in order to understand in more detail everything and understand the whole essence of this venture, you should carefully study the photo report made by the author for his followers, as well as look at the list of necessary materials and tools.

Materials
1) sand
2) gravel
3) plastic film
4) concrete
5) board
6) timber
7) fittings
8) knitting wire
9) wedges

Instruments
1) shovel
2) a hammer
3) a hacksaw
4) roulette
5) ax
6) pliers
7) vibrator
8) ramming machine

And so for starters, the author allows us to get acquainted with the drawings and diagrams.
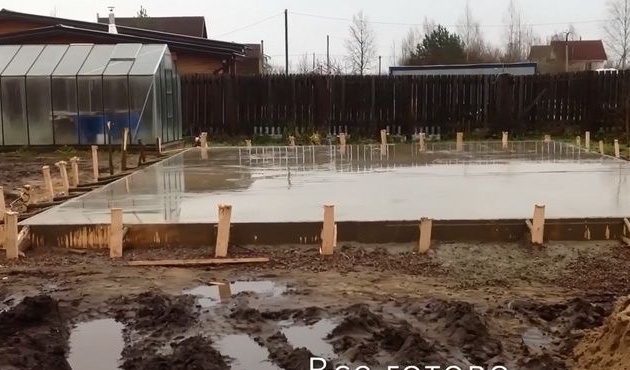
Then a pit is cleared and rummaged, for this purpose the author hired a tractor.


Done.
A sand cushion is laid.
After laying and tamping, a special canvas is placed.
Next is a layer of gravel.
Formwork is installed.
The reinforcement is laid.
Strapping is done.
Concrete is poured.
Passes by a vibrator and levels.
Leaves to harden, periodically wetting the stove with water.
In this condition, you need to withstand for a month until the cement reaches its final strength, and only then, according to the author, you can proceed directly to the construction.
That's all, I hope you enjoyed it) Thank you for your attention!
0
0
0

Add a comment

    • smilesmilesxaxaokdontknowyahoonea
      bossscratchfoolyesyes-yesaggressivesecret
      sorrydancedance2dance3pardonhelpdrinks
      stopfriendsgoodgoodgoodwhistleswoontongue
      smokeclappingcraydeclarederisivedon-t_mentiondownload
      heatirefullaugh1mdameetingmoskingnegative
      not_ipopcornpunishreadscarescaressearch
      tauntthank_youthisto_clueumnikacuteagree
      badbeeeblack_eyeblum3blushboastboredom
      censoredpleasantrysecret2threatenvictoryyusun_bespectacled
      shokrespektlolprevedwelcomekrutoyya_za
      ya_dobryihelperne_huliganne_othodifludbanclose
1 a comment
Well, again, TOO TOO PRICE !!!
... Why is there a spanbond, answer me, please? Why such a powerful reinforcement? Why an expensive surfaced hydroisol? It then only under the walls must be fused OVER THE FOUNDATION!
... I built a two-story (!) House of 8 by 8 meters on a "floating plate".
Since I had sandy soils there, I decided that it would be most appropriate.
First, I removed the black earth. (This, I think, was done by the author of the building, and not "dug a hole", as indicated in the article). Then he fell asleep on a gravel pillow and spilled water. Then he poured sand, compacted, laid the film, laid the reinforcement (2-3 cm from the surface) and poured a slab 25 cm thick. For the formwork, I used a second-hand floorboard (from the demolition of the hut), which I just sprinkled to support soil. Concrete also took ready, because in this case, fill in portions "not ice")))))). But I didn’t take the “pear” !!!! A ready-mixed concrete, which was brought in the back of a dump truck! It just needs to be smashed and tamped with a tamper. Without any vibrators and other things - there are no bubbles in it !!!
If all this is done in the fall, then by the spring it is quite possible to build - all the stresses will be removed !!!

We advise you to read:

Hand it for the smartphone ...