This article presents an interesting and uncomplicated way to create a stove based on an iron barrel. This stove was created for use in heating the room. the garage in the cold season. The design of this furnace is so simple and effective that the furnace can last a long time without any modifications and repairs, and will perform all the necessary functions.
Materials:
- iron barrels
-bricks
-fittings
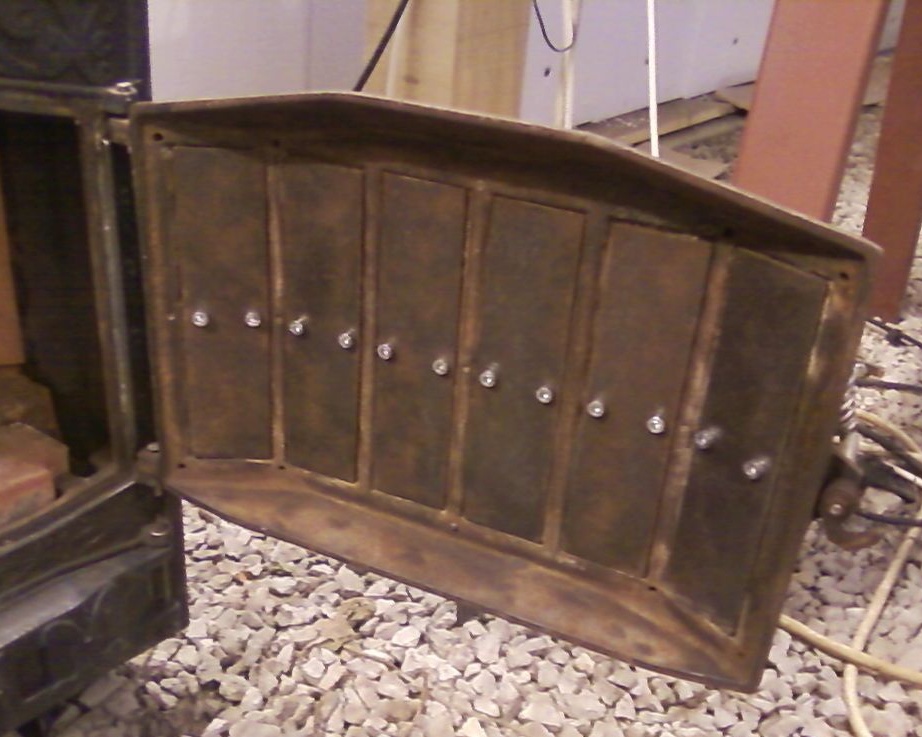
oven door
-trumpet
Description and manufacturing steps of this furnace.
Step One: Outline, barrel preparation.
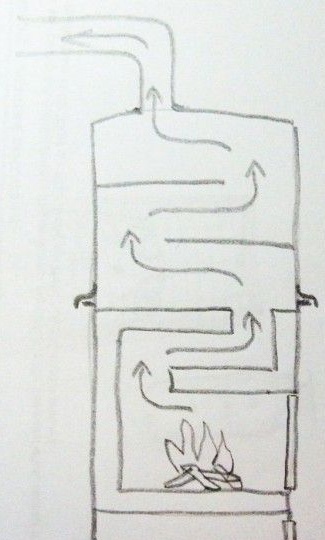
Below you can see a schematic illustration of the design of the future furnace. As you can see, the author wants to make it multi-chamber, which will allow hot air to linger longer in the furnace, and, therefore, the furnace will heat the room more efficiently.
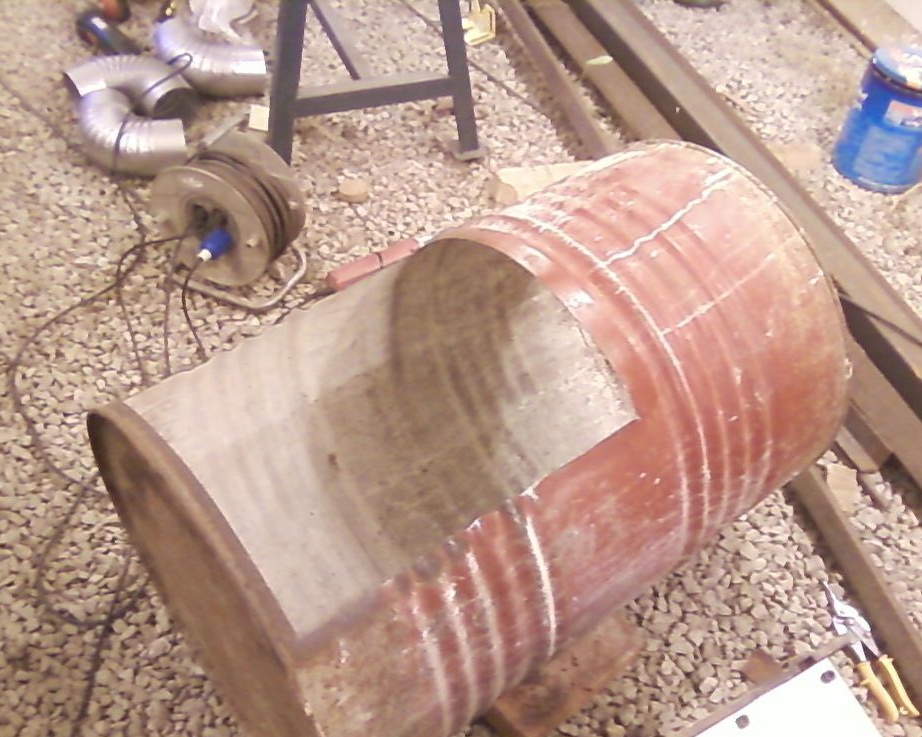
The basis for the furnace will be two iron barrels connected together. Therefore, for starters, the author cut so that later they could be conveniently welded and assemble a convenient design. Also in the side barrels, special holes were cut out under the oven doors, and the mount was welded.
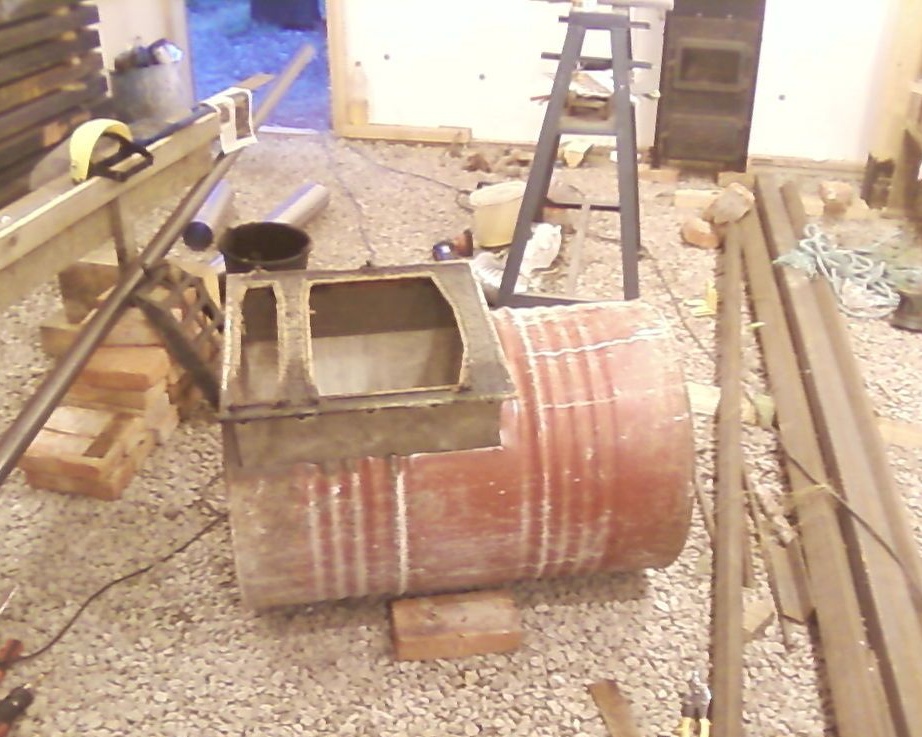
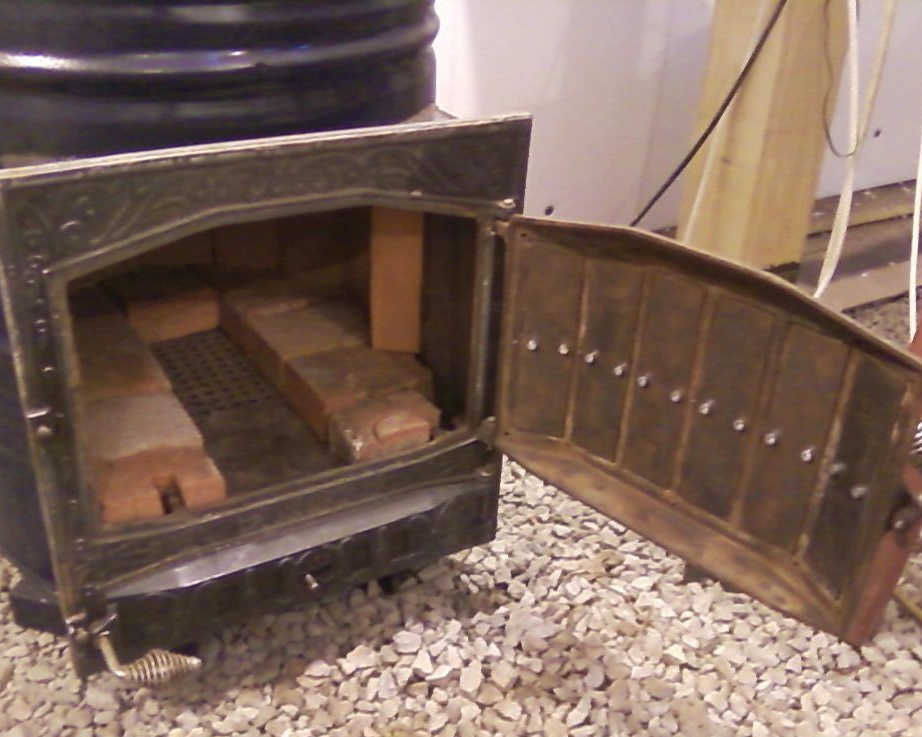
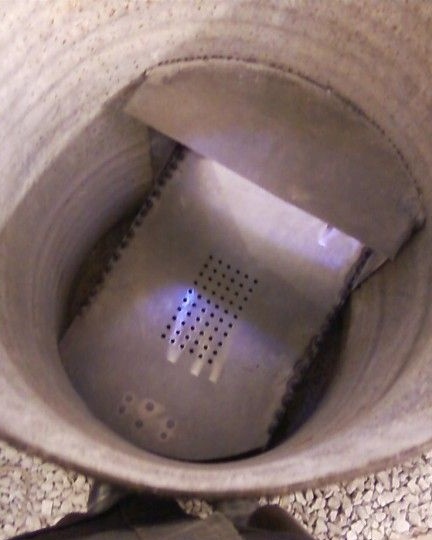
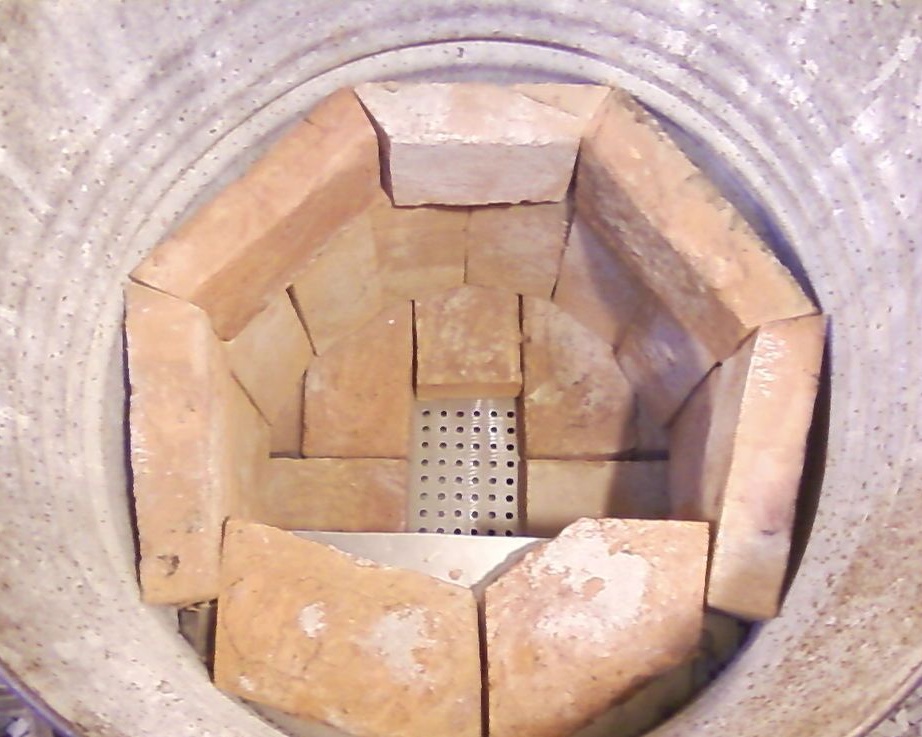
After the main work on the barrels was completed, the author tried on both parts of the future barrel. Then, improvements were made to install a pallet in the lower part of the furnace, on which bricks will subsequently be located. Since this furnace is planned to be used on wood fuel, or rather, the author plans to heat it with logs, the base of the pallet is mounted just above the base of the barrel, and holes have been made in the center of the pallet through which the ash will go.
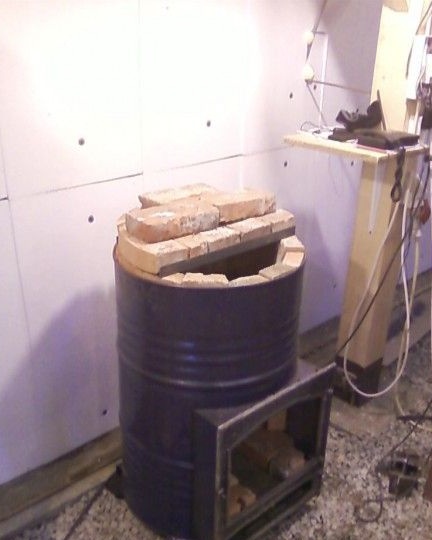
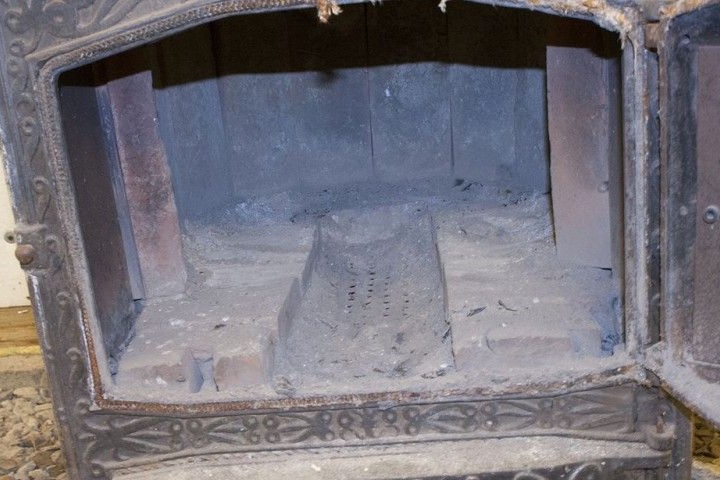
Step two: bricking the inner wall of the barrel.
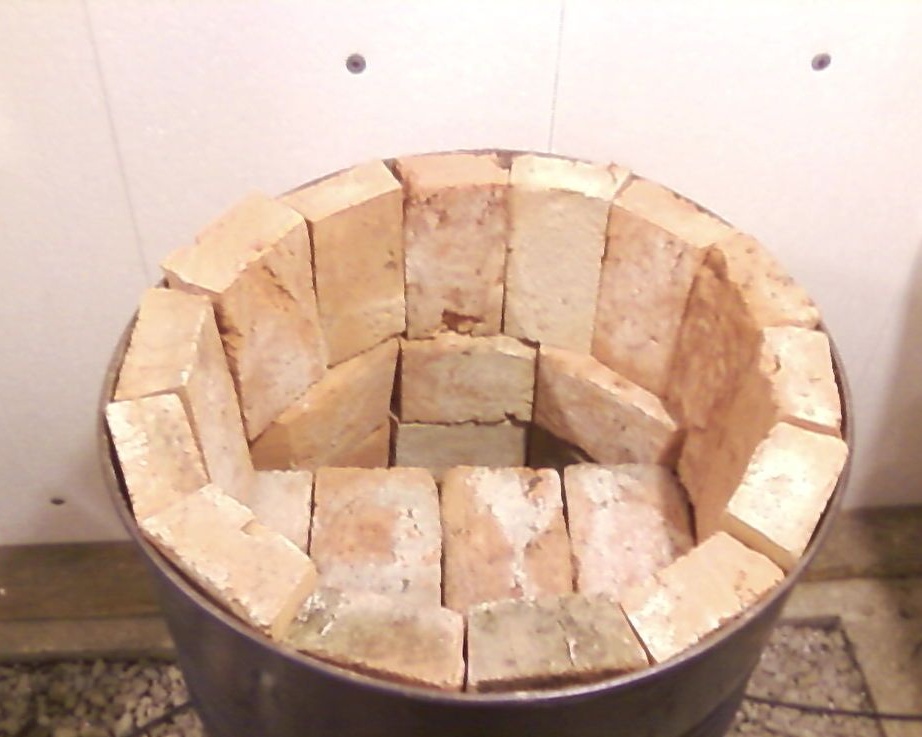
Further, the author began to lay bricks on a pallet and then on the inside of the barrel.
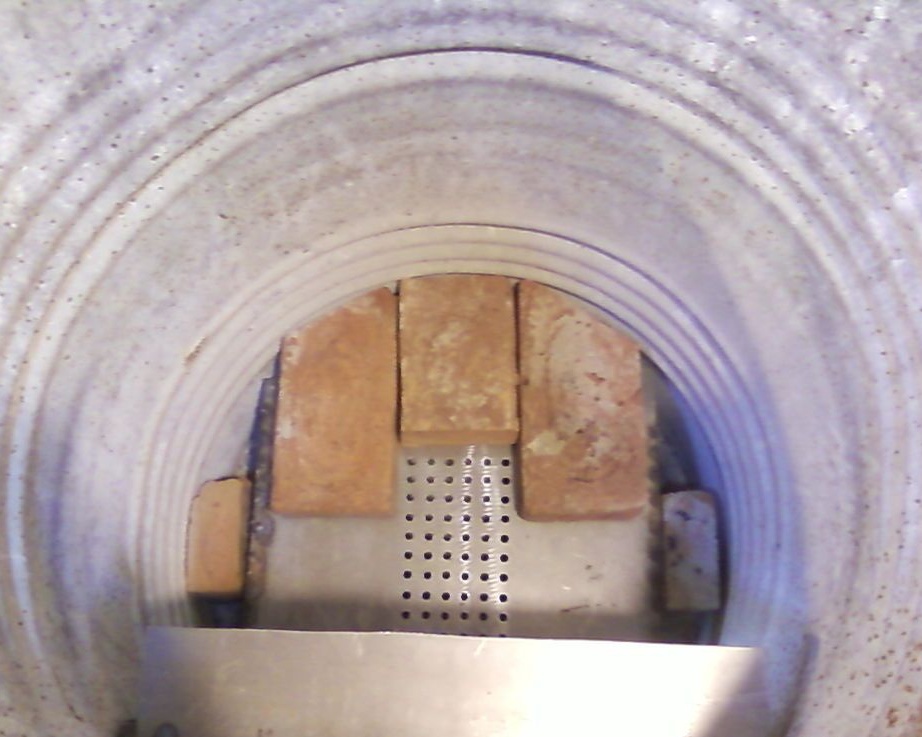
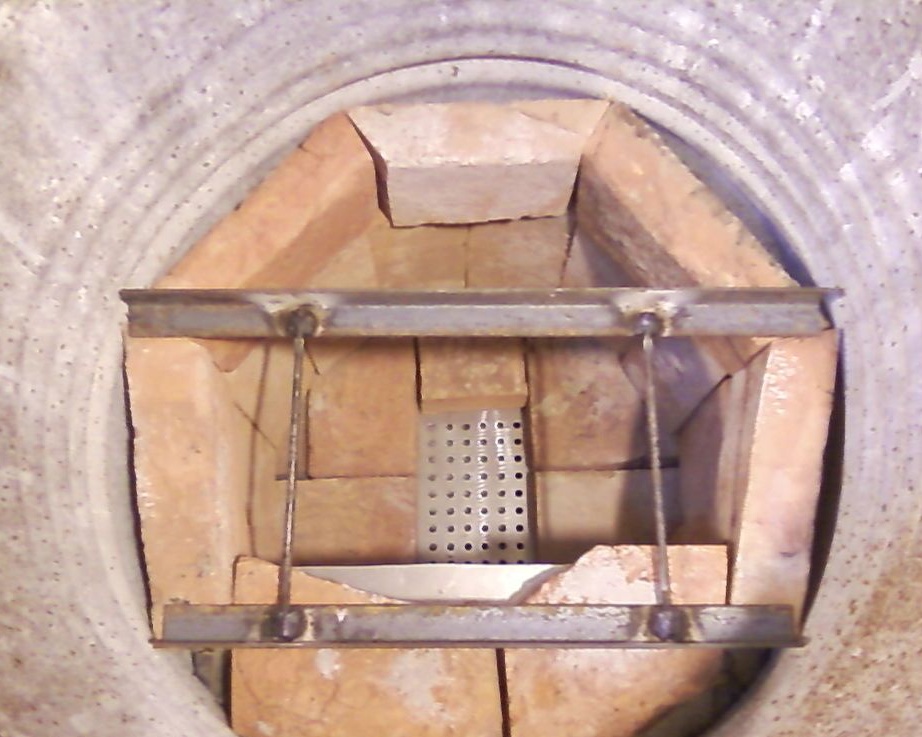

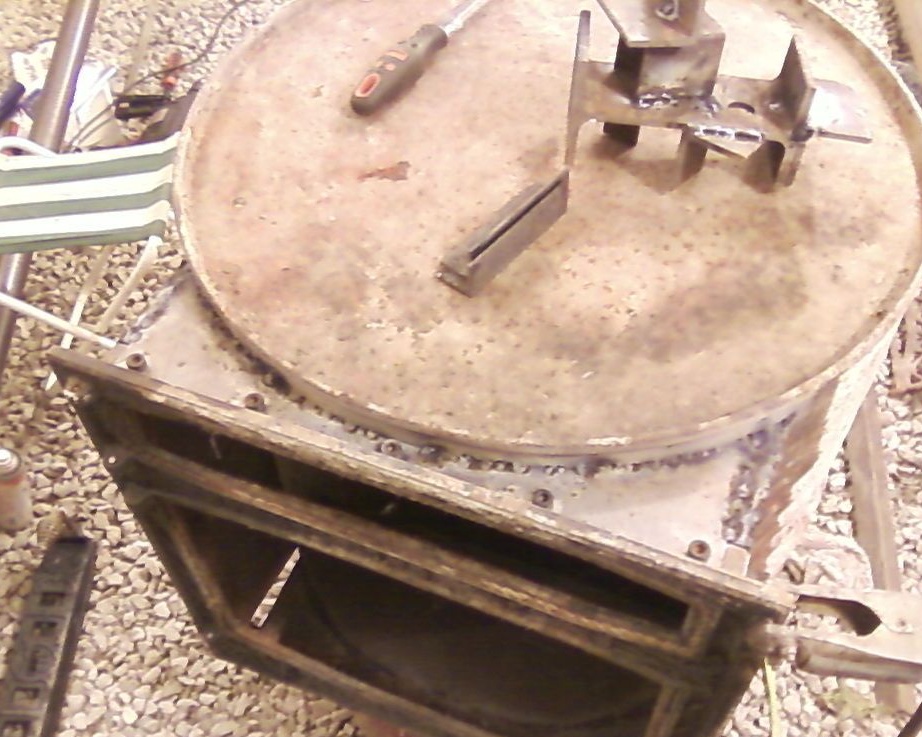
When moving to the next row of bricks, a support was added in the form of a welded structure from reinforcement. As shown in the photographs, it serves to support the second row of bricks and create chamberness.
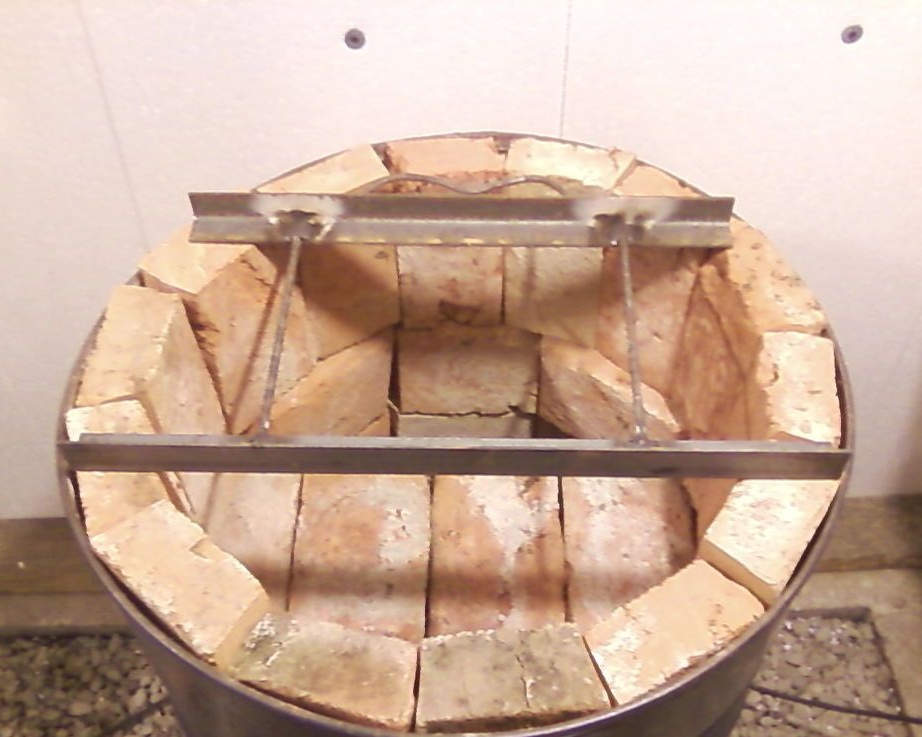
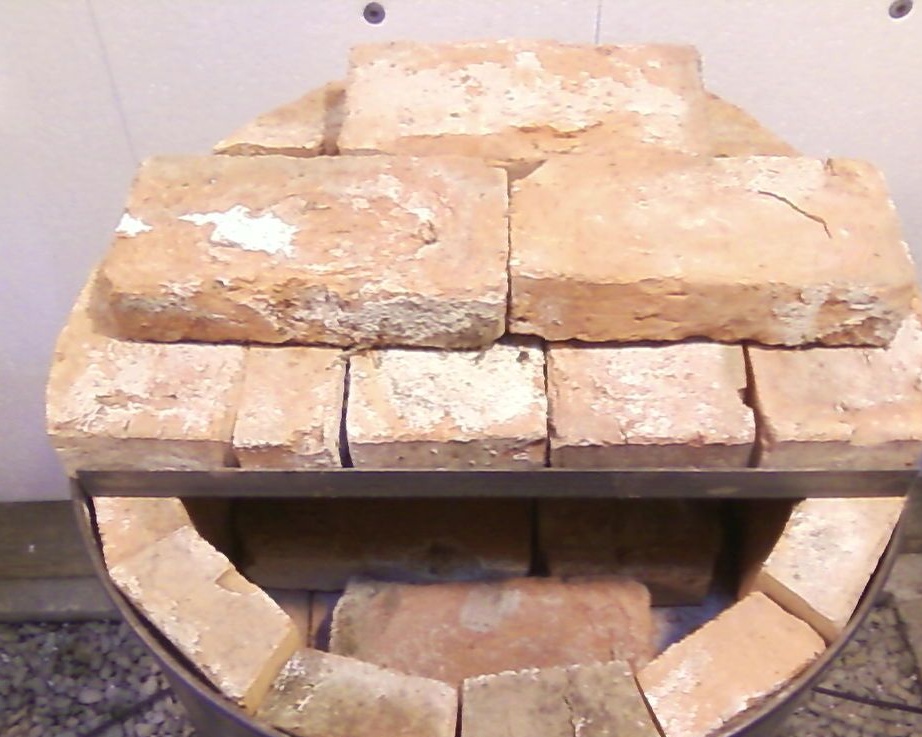
Then the same was done with the next row, so the entire lower part of the furnace was completely lined with bricks.
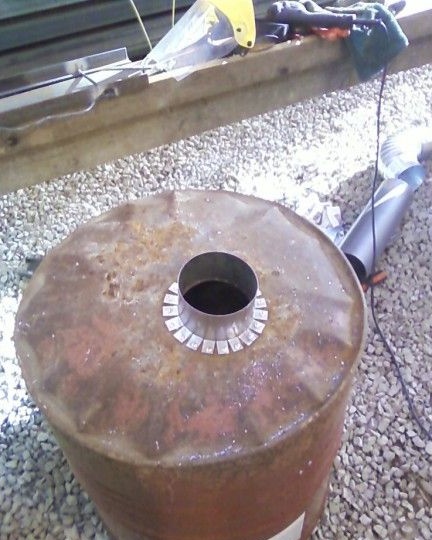
Step Three: The final stage of construction.
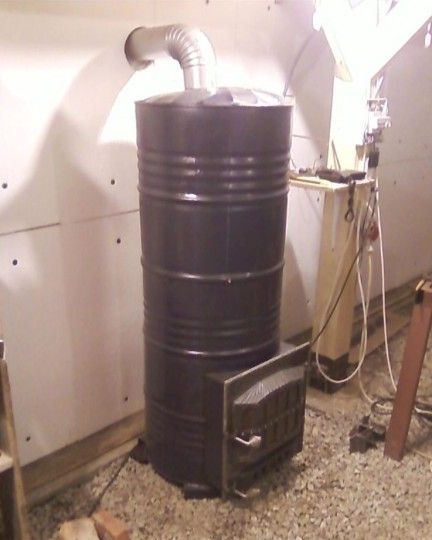
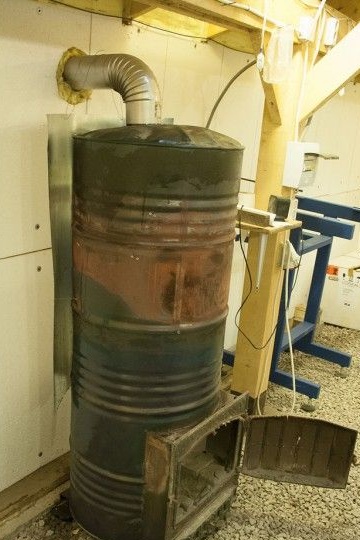
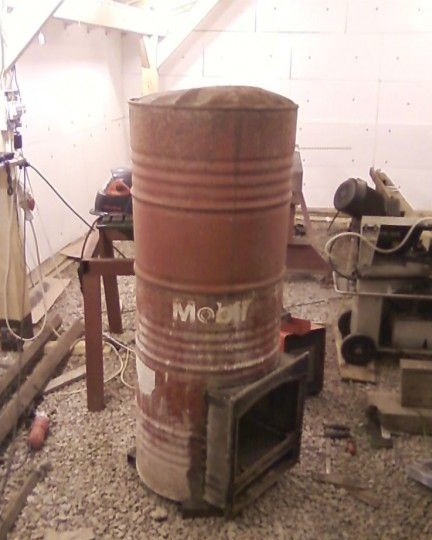
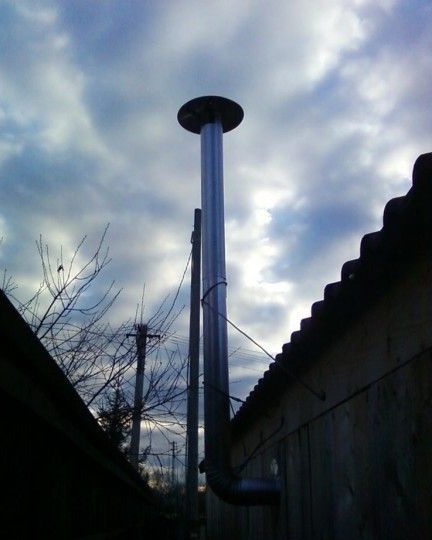
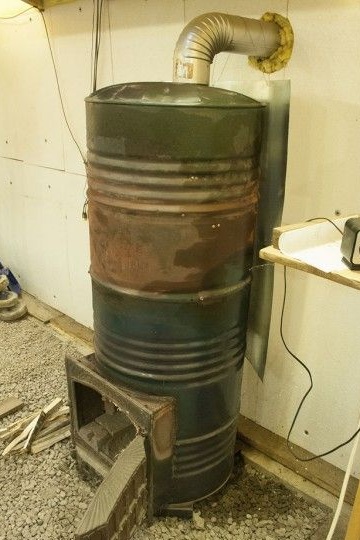
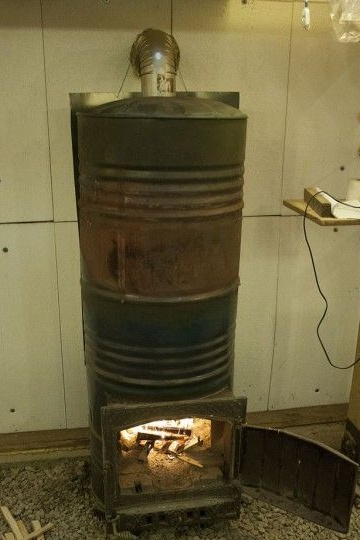
Wearing the top barrel on the bottom, the author received a ready-made closed furnace design. In order to remove smoke from the room in the upper part of the furnace, a hole was made to which a pipe was brought out.
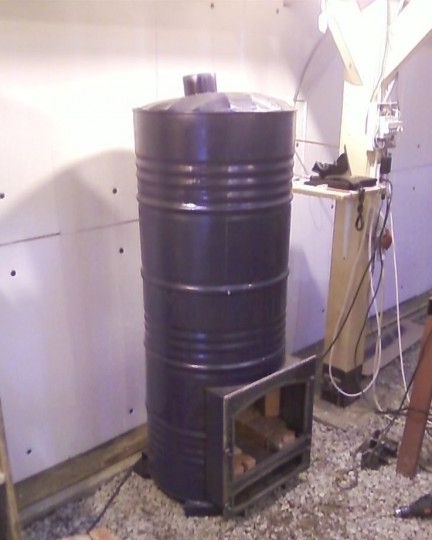
In order to keep the smoke in the stove, the author provided a window for laying firewood with an iron door. The furnace itself was installed on iron supports, the entire space around the furnace was lined with fine gravel, for fire safety purposes.
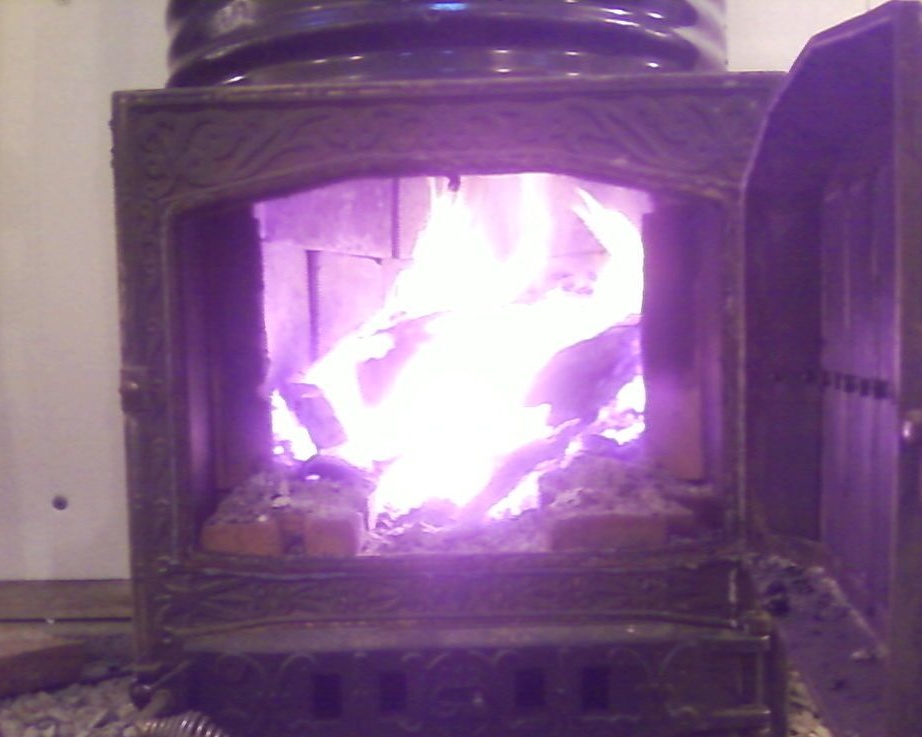
Step Four: Testing.
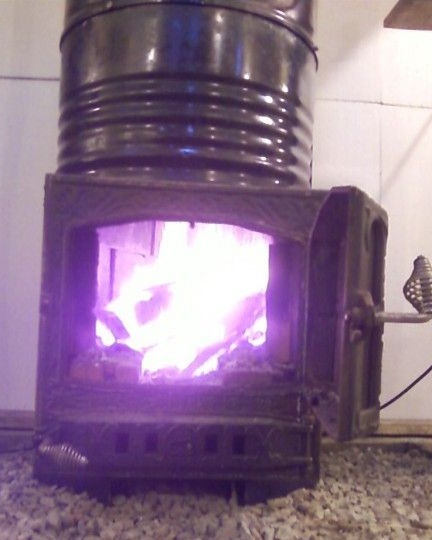
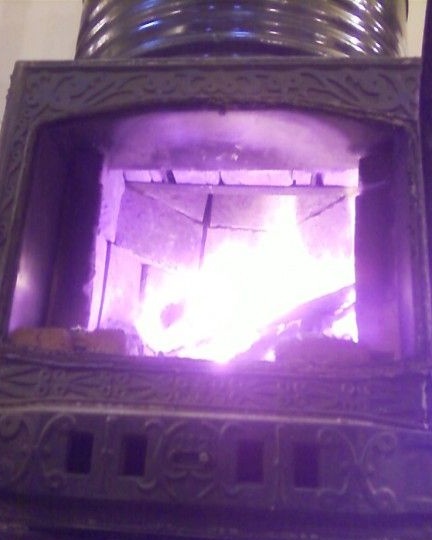
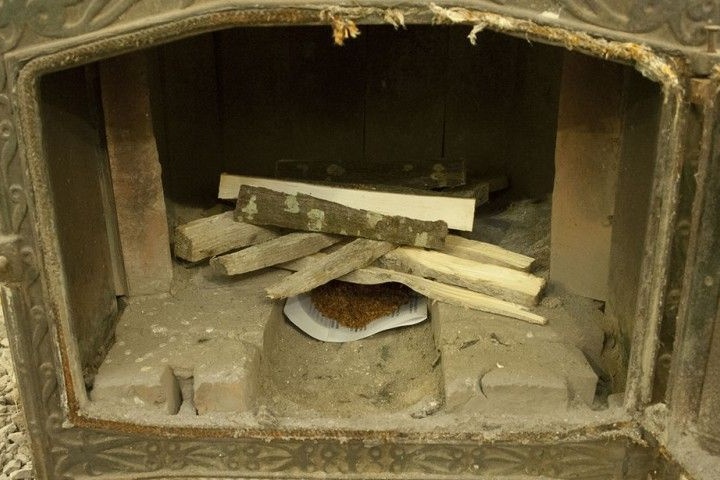
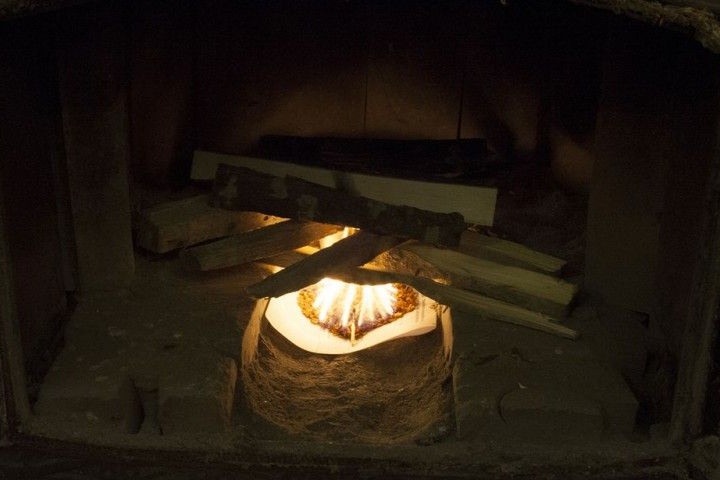
Further, the author proceeded to full-scale testing of this furnace. After several floods, no flaws were revealed. This stove is able to heat a room of about 60 sq.m.
Photos of the finished furnace: