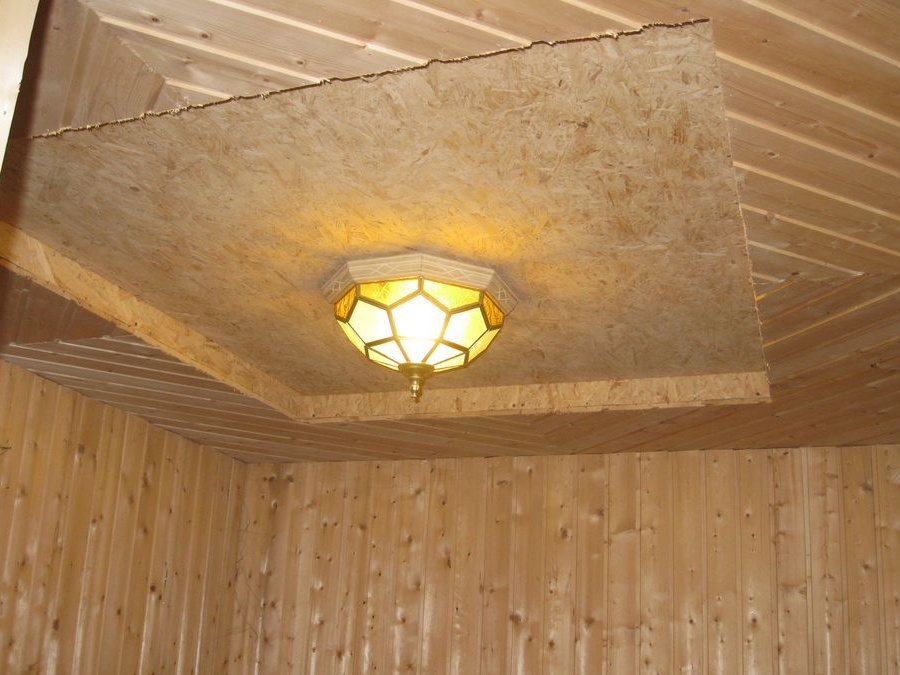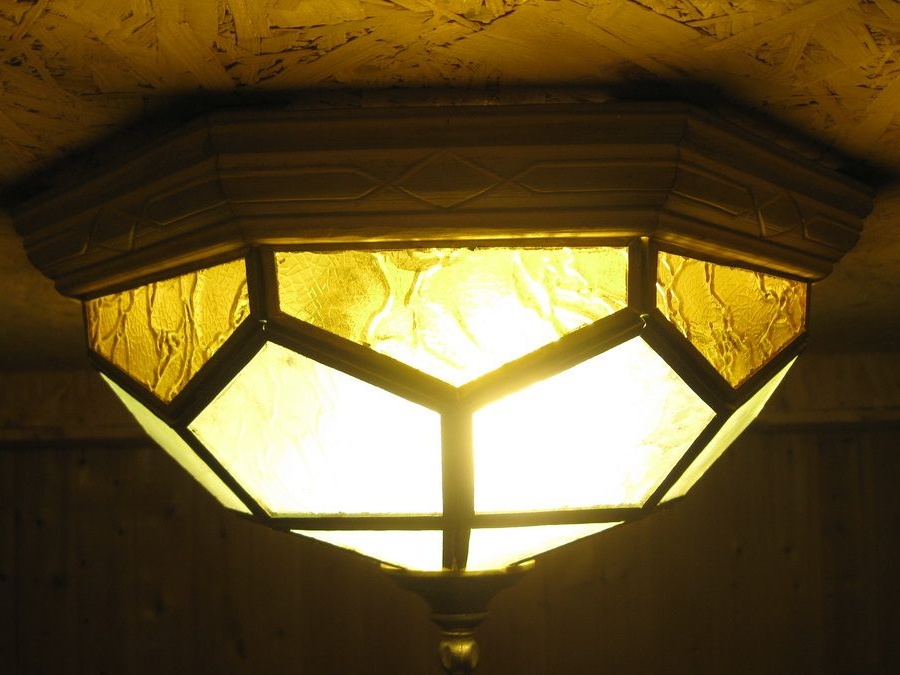
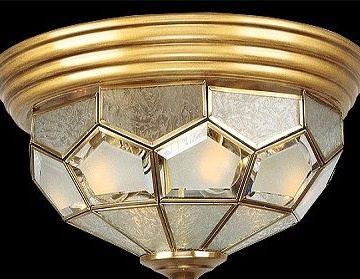
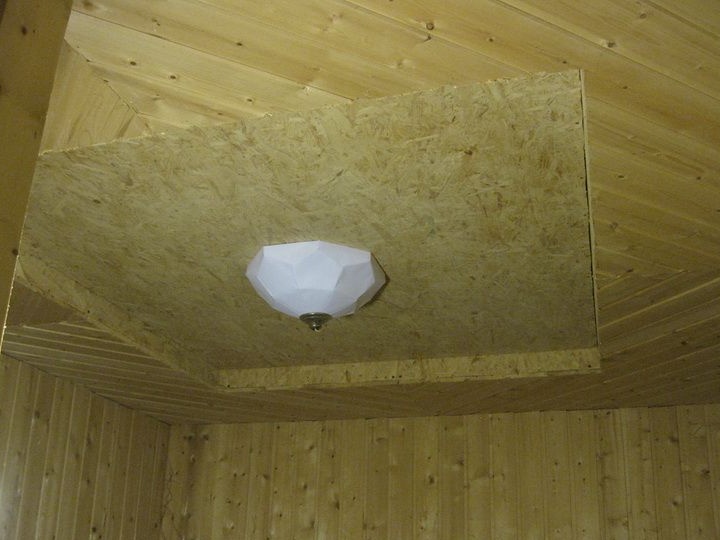
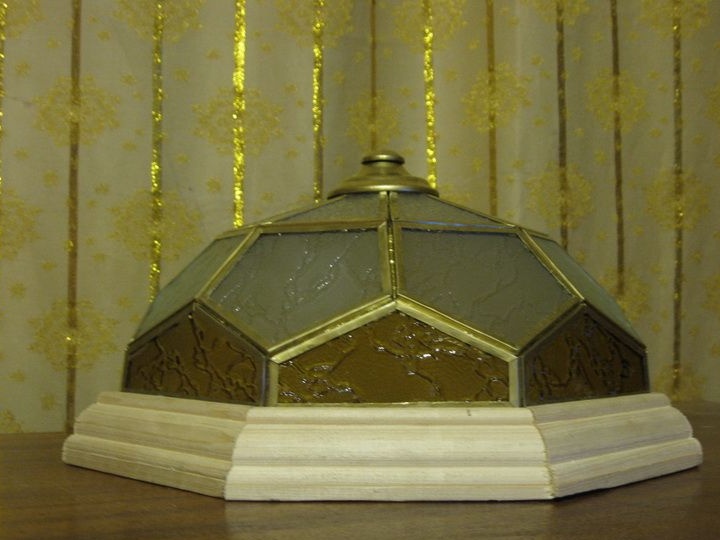
In this article we will consider an example of creating a fixture from scratch. The author created it by analogy to the one whose photo he managed to find on the Internet. Since buying such a lamp can be quite expensive, it makes sense to think about how to assemble it yourself. Following the example of this homemade You can also collect other lamps for your interior and taste.
Materials and tools for homemade:
- pieces of glass (can be found at glaziers);
- some elements from an unnecessary chandelier;
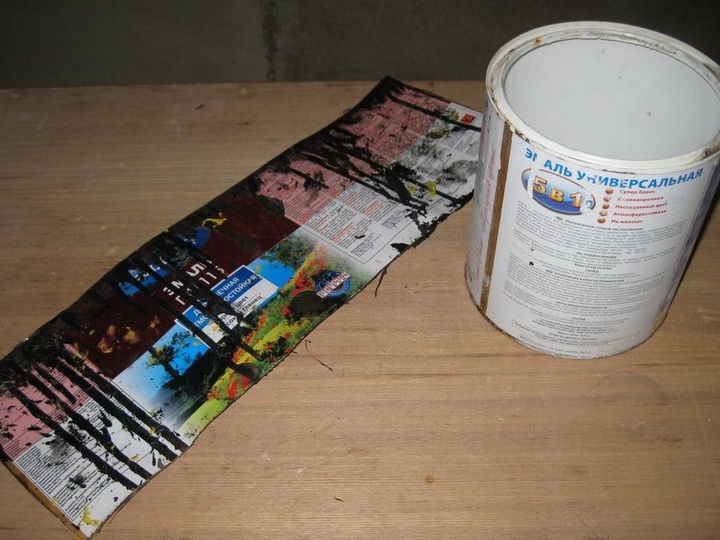
- two cans of paint;
- a sheet of tin (galvanized, measuring 35 * 35 cm and a thickness of 0.5 mm);
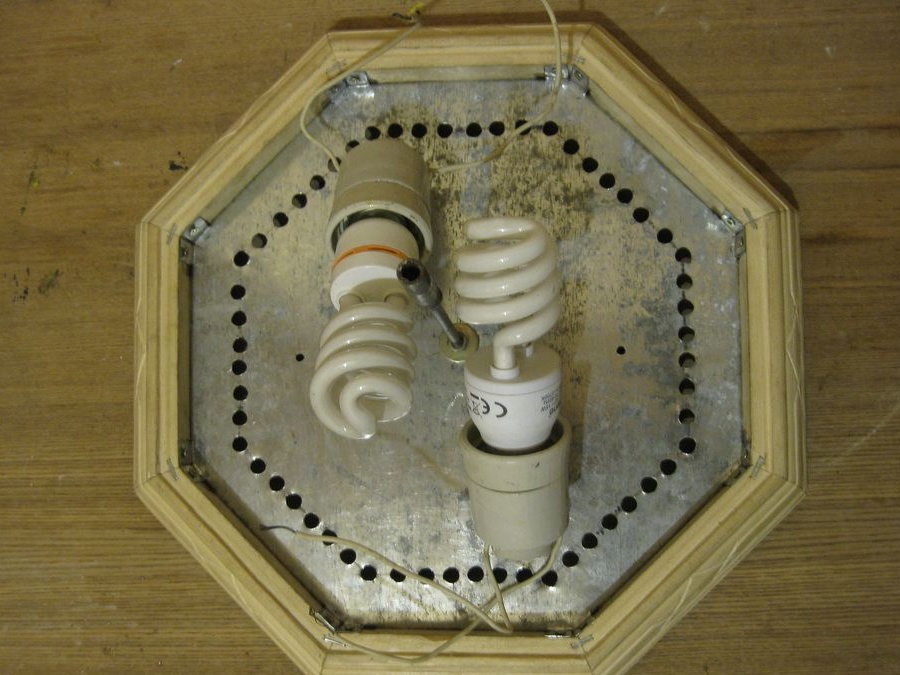
- two lampholders for a lamp of type E27;
- soldering iron, flux, solder;
- golden color paint;
- self-tapping screws;
- glue.
The manufacturing process of the lamp:
Step one. Drawing
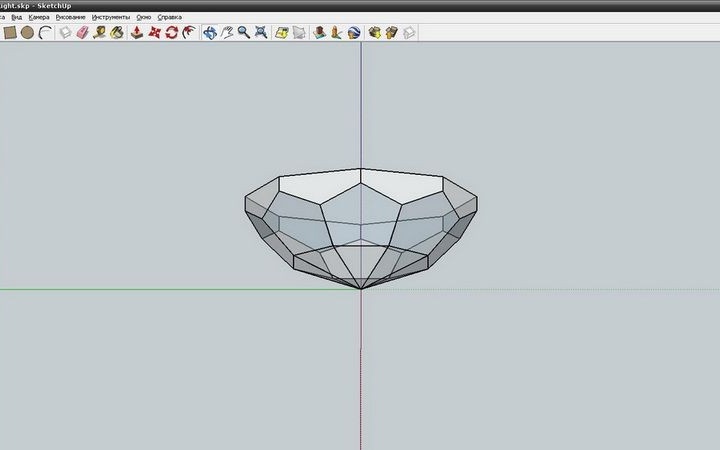
First of all, you need to start with the geometry of the lamp, that is, study and draw all its angles, faces, and so on. The author did all this on a computer using Google SketchUp.
You can also see in the photo what sizes the glass should be for the future lamp.
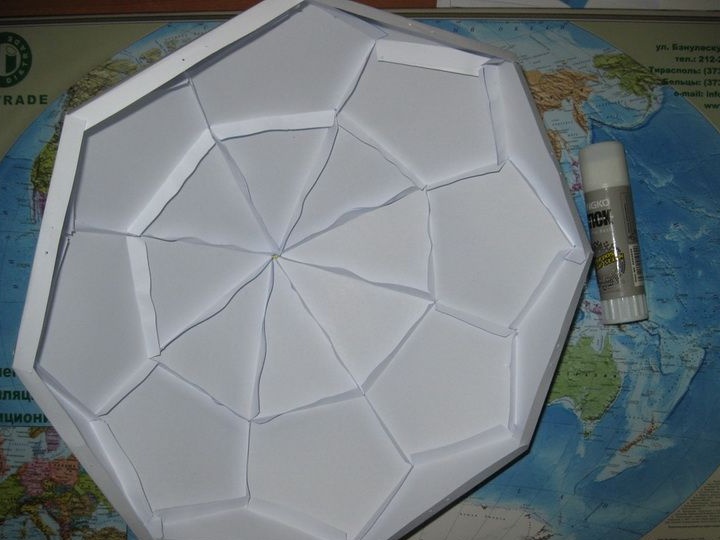
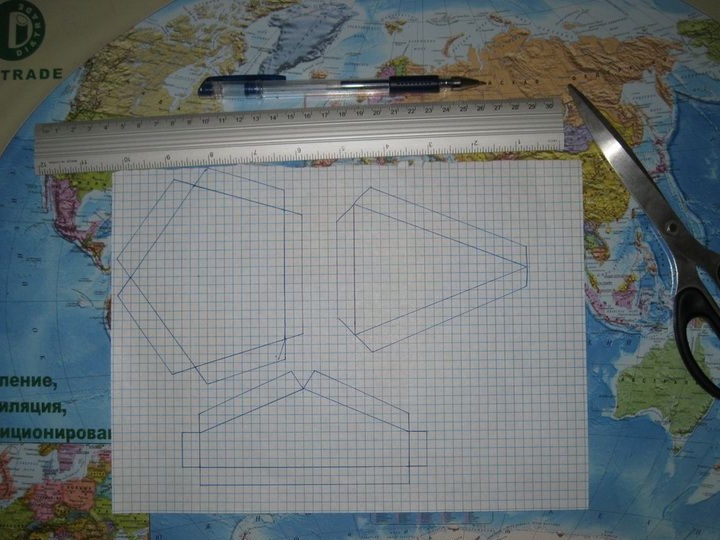
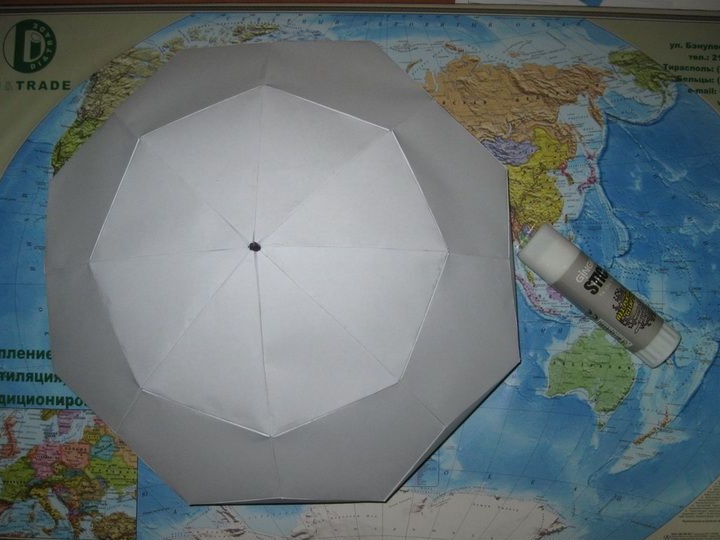
Step Two Paper model
To make it easier to understand how the lamp will look, it must first be made of paper. First you need to take sheets of paper in cells (it’s easier to draw corners on them) and draw one template for each face. Then, according to this drawing, from thicker paper, mono cut out elements for the layout of the chandelier. When they are ready, the parts are glued together, as a result, a finished model is obtained. You can try on a workpiece at the installation site and figure out whether such a lamp will look.
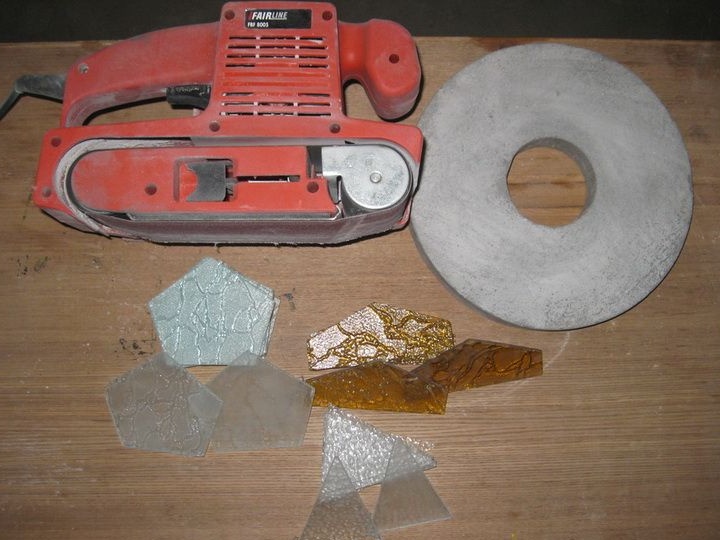
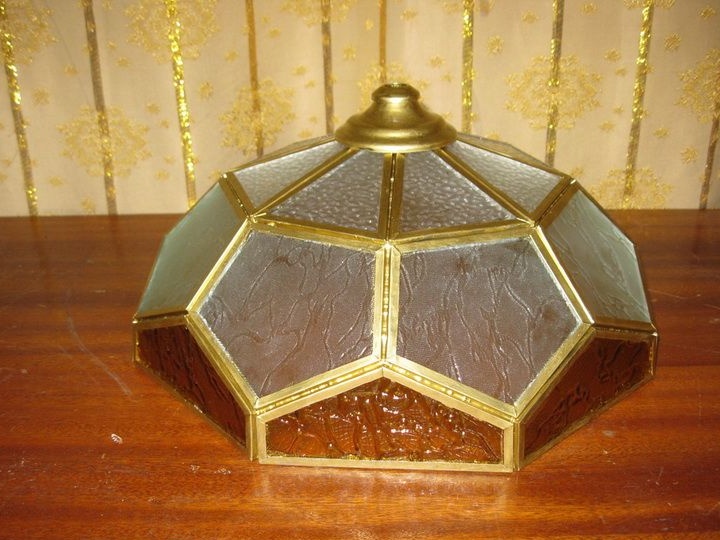
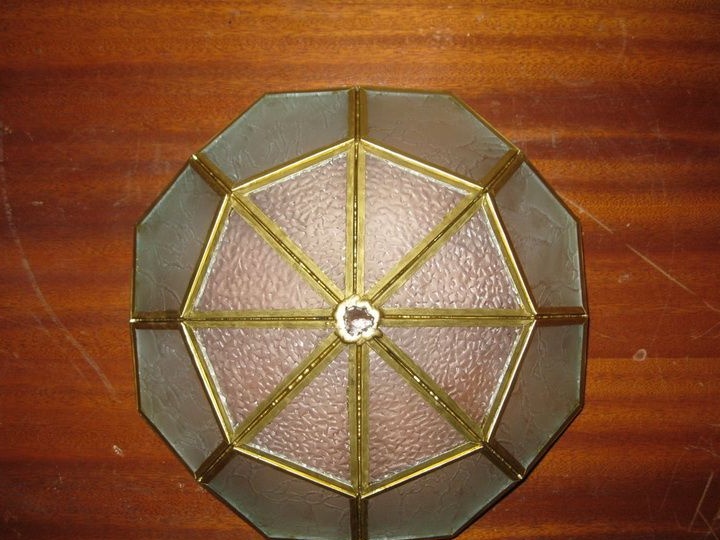
Step Three Glass work
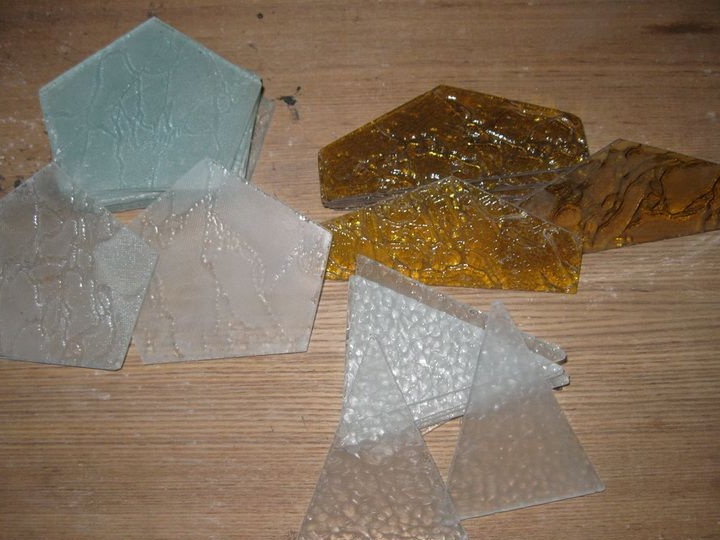
Further, the author cuts out the necessary elements from the glass for the lamp. You can choose any glass to your taste. You can find them in workshops that specialize in glass cutting.
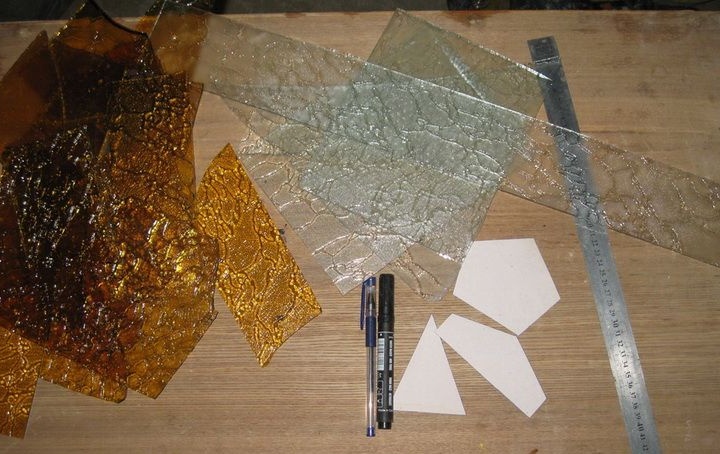
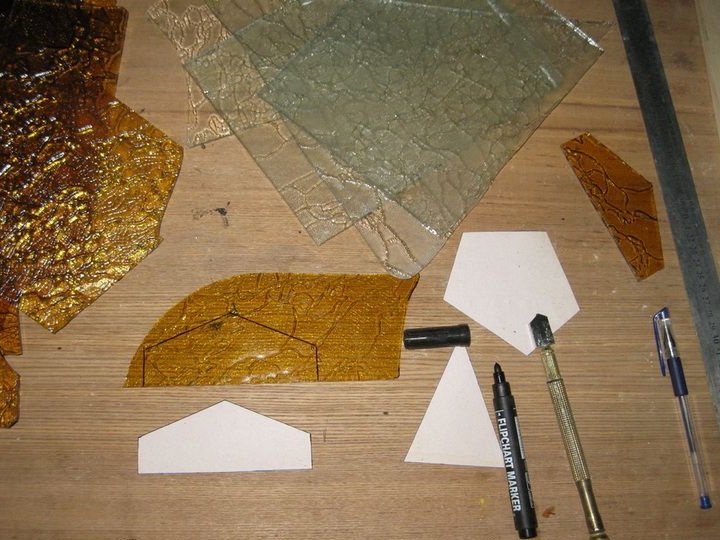
Using the template, the part is again transferred to the glass. Then they can be cut. After the necessary glasses are cut, they need to be finalized. For example, you need to decide whether the glass will be frosted or not. If there is a desire to make them matte, then the glass is treated with sandpaper, sand, and it is best to use a grinding machine for such purposes.
With the help of emery, you need to smooth the corners of the glass so as not to cut yourself.
Step Four Making facets for glasses
The author used tin from paint cans as a material for making the cut. In total, 2 pieces were needed. To clean the metal from paint, the tin needs to be warmed up; for these purposes, you can use a building hair dryer.Then the paint is easily removed with a spatula.
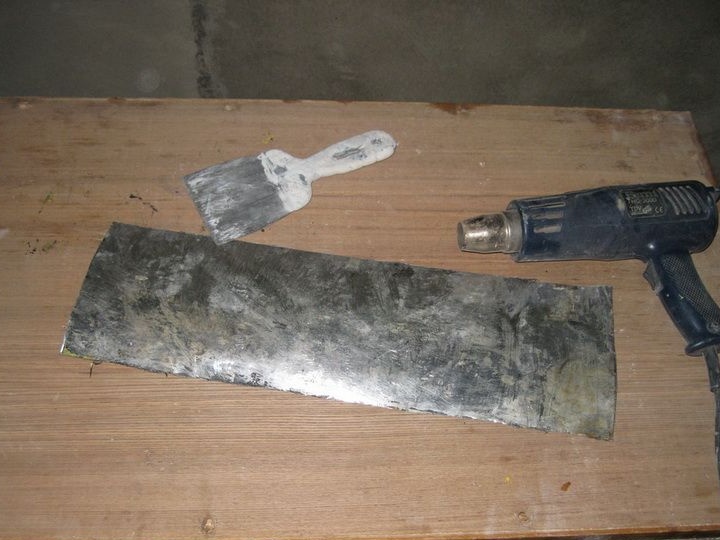
Then a knife and a ruler are taken, with their help lines of 4 mm wide are drawn on the metal, these will be future strips for making the cut. To tin well pressed under the knife, under it you need to put a soft board or other similar material.

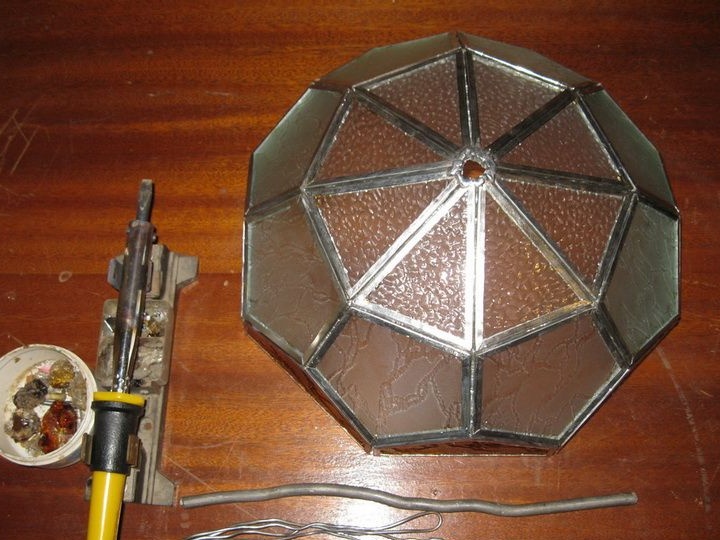
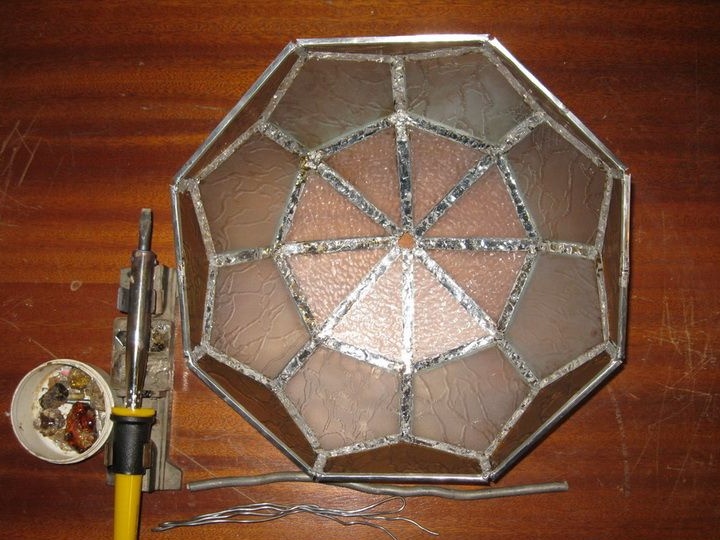
After the strips of tin are cut out, they need to be bent around the glass. After that, they are soldered from the inside, and a single frame is formed.
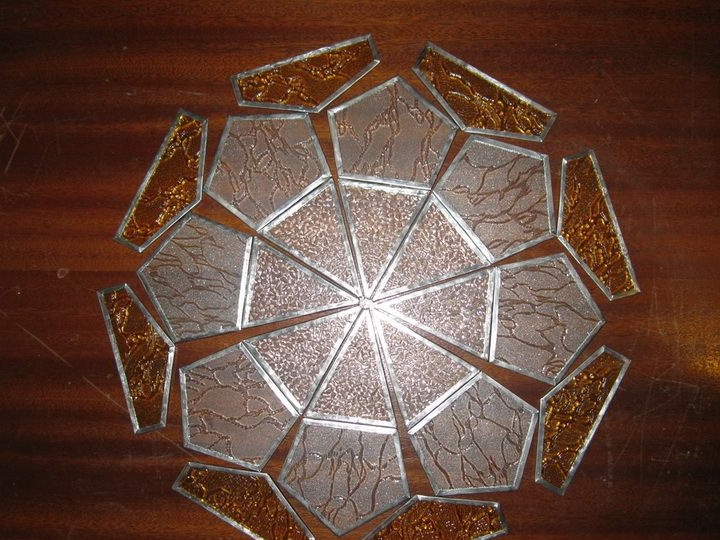
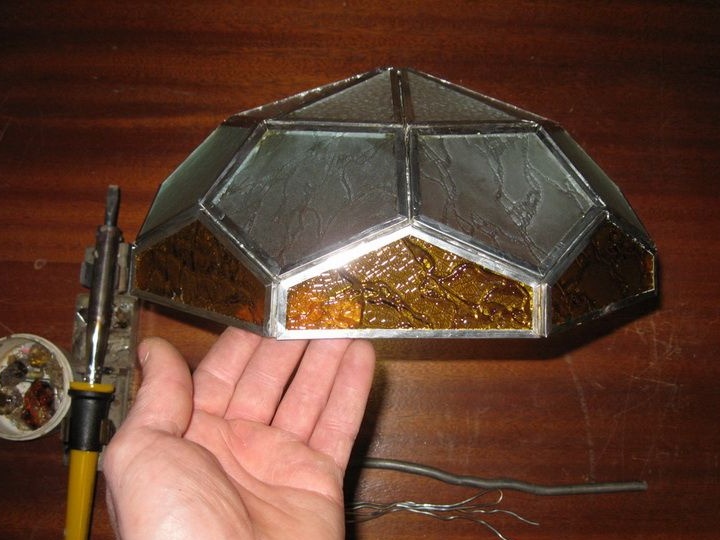
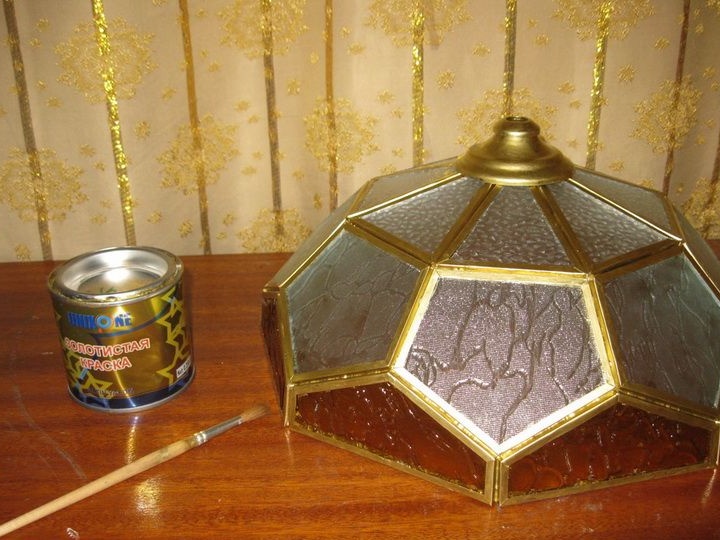
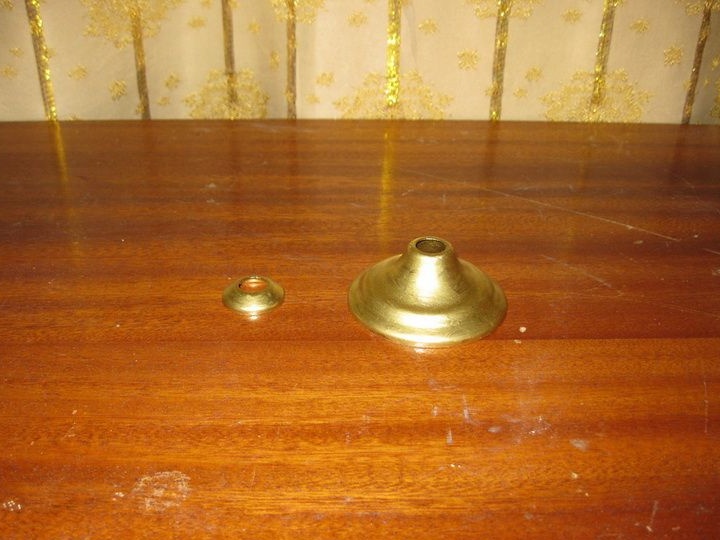
In conclusion, the cut is painted in golden color. As a decoration, the author applied tips from an unnecessary chandelier.
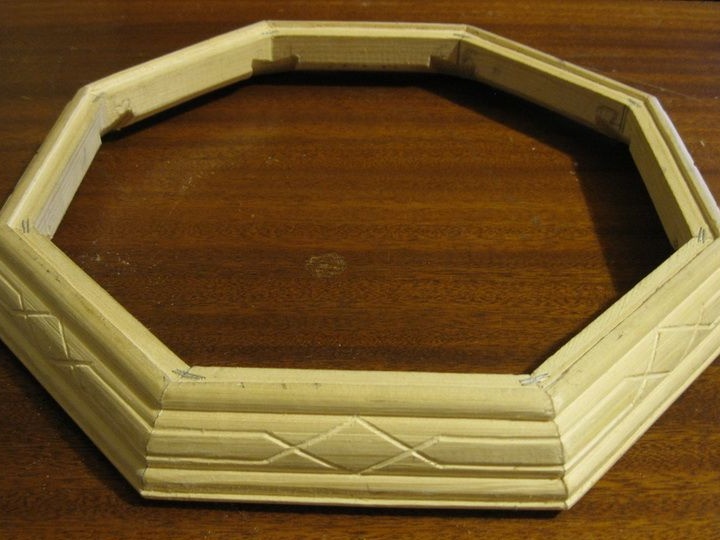
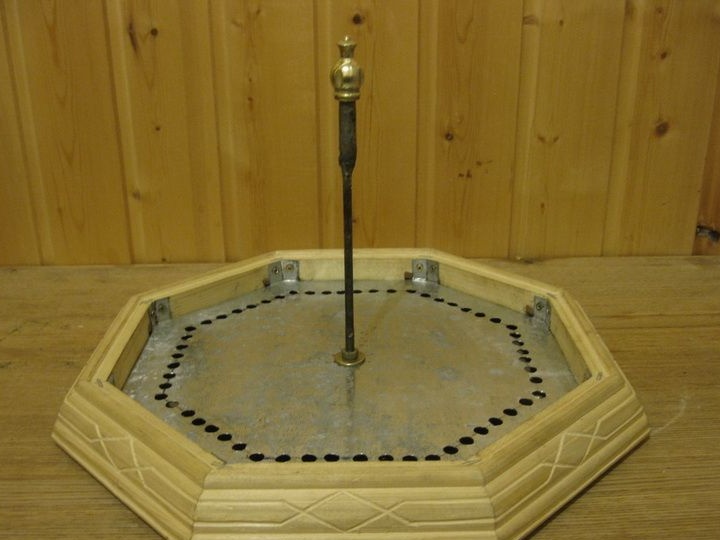
Step Five The manufacture of the second part of the lamp (base)
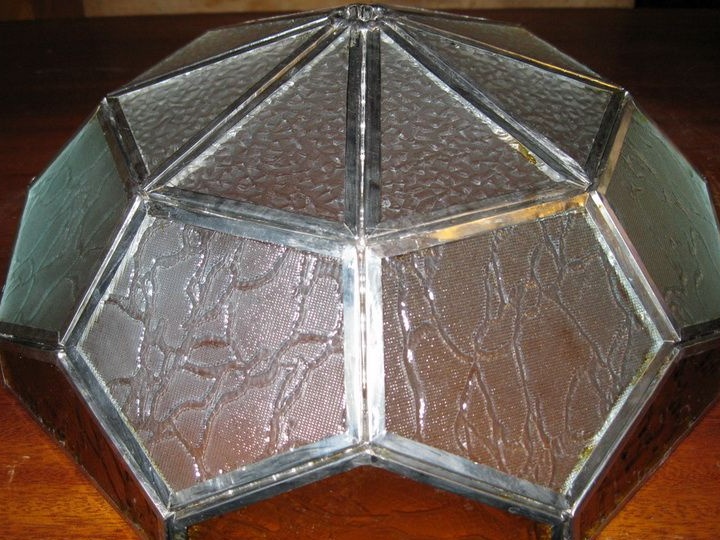
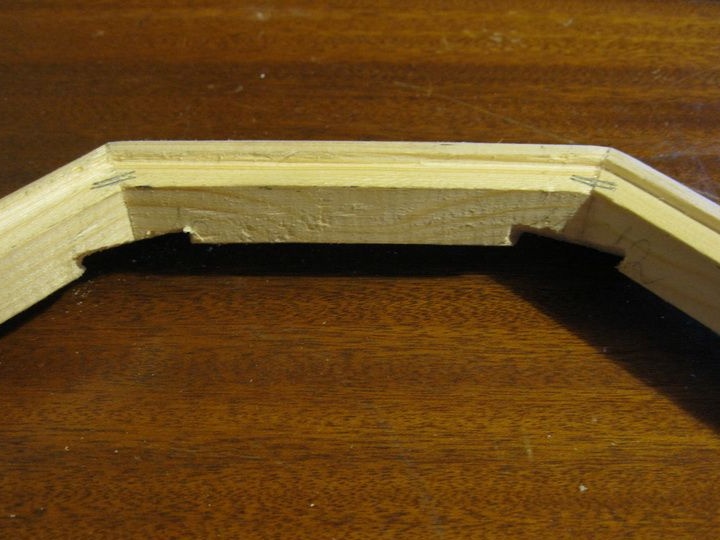
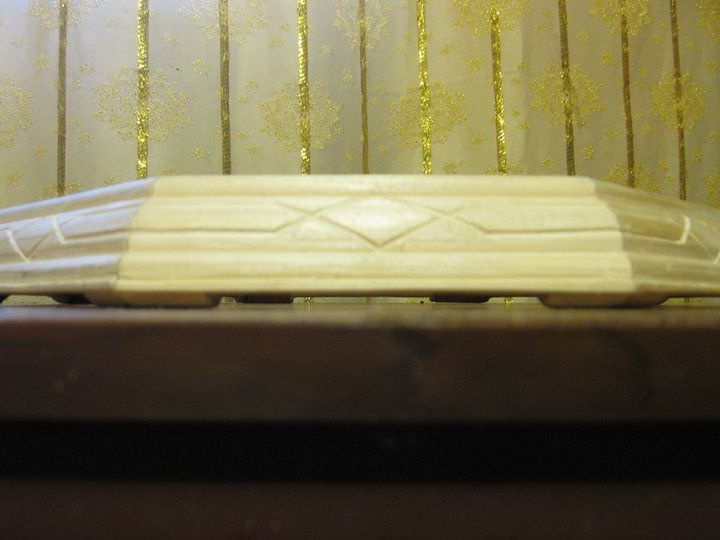
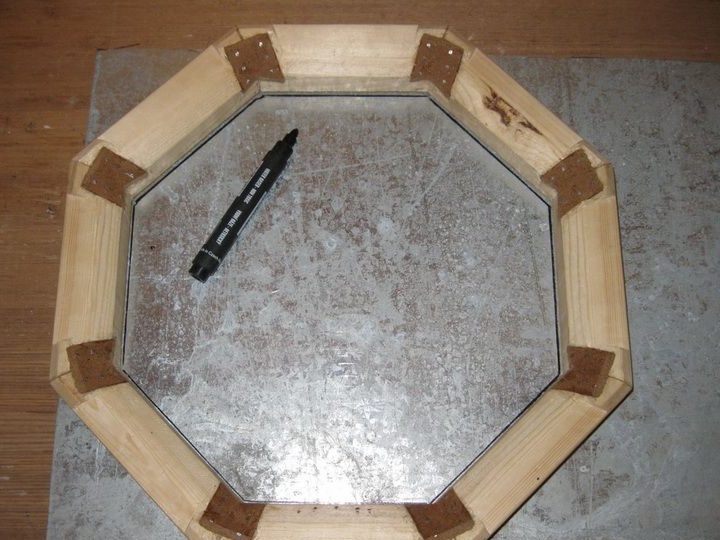
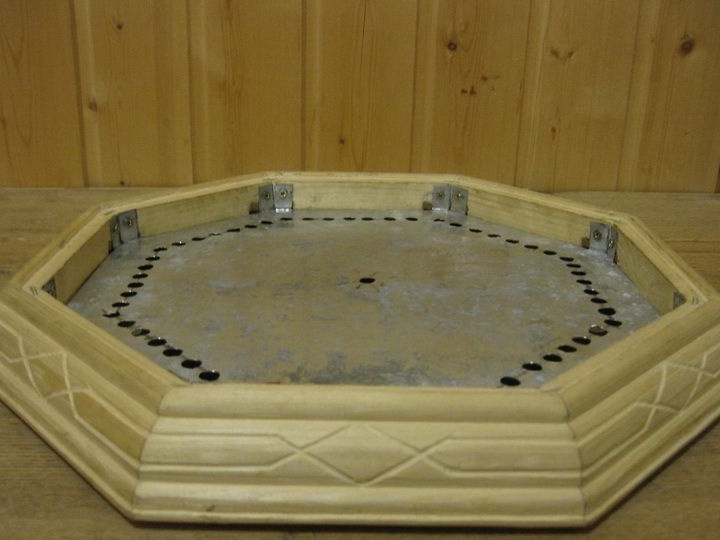
The second part of the lamp is necessary for fastening the entire manufactured glass "dome", and also lampholders are placed here. This item can be bought or made by yourself, as the author. What the end of the rail looks like can be seen in the figure.
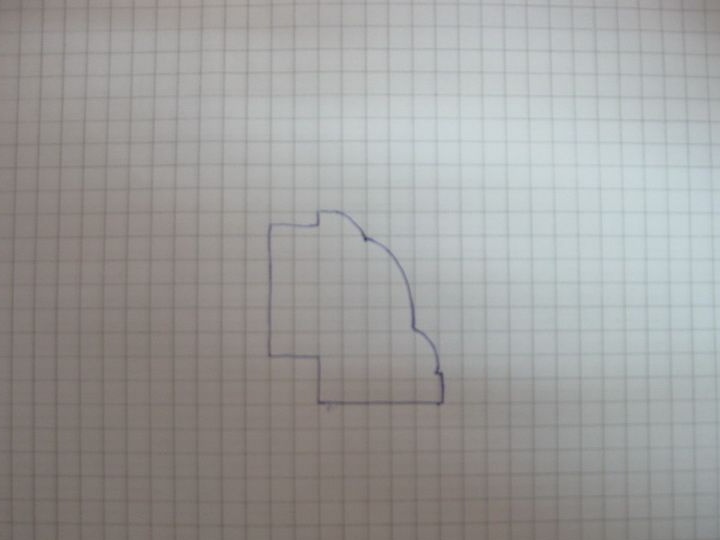
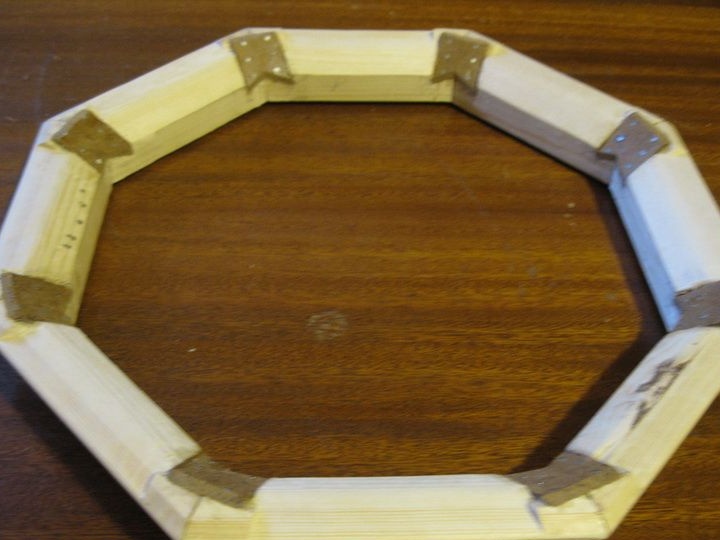
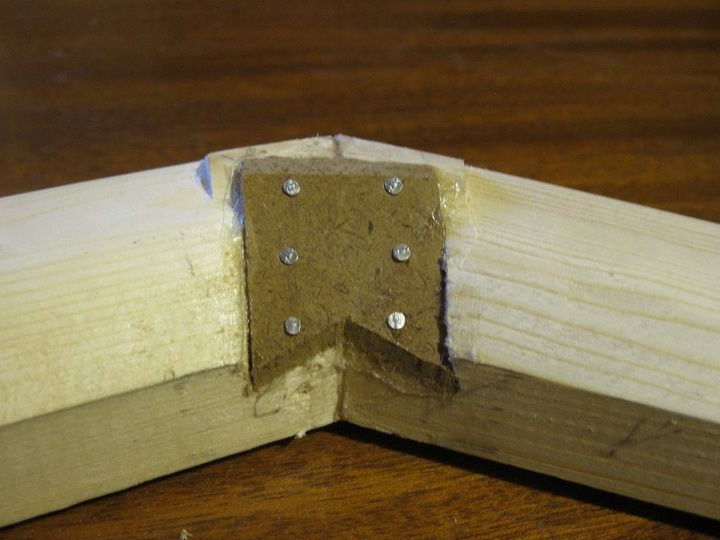
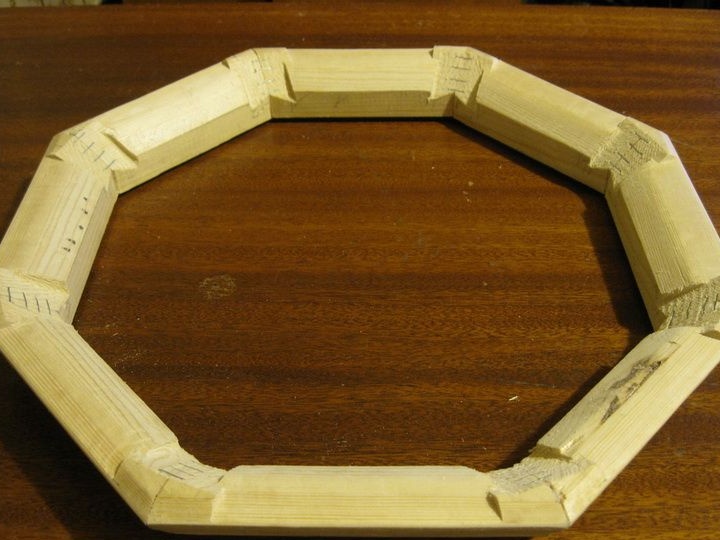
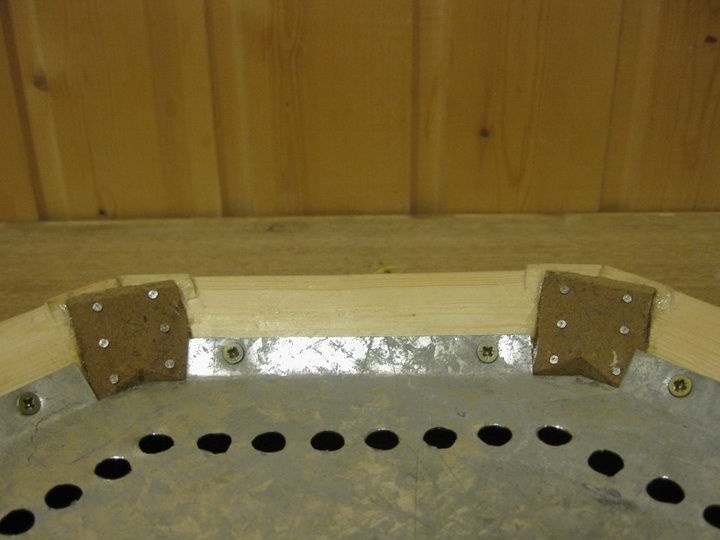
To make a rail of this form, you need experience on woodworking machines. Here it will be necessary to make a milling tool tool steel. After that, the rail is cut at the desired angle. Then the whole structure is assembled with glue. To ensure higher strength, you can additionally fix the rails with a stapler. The author also made special cuts in the connecting corners to install inserts from fiberboard.


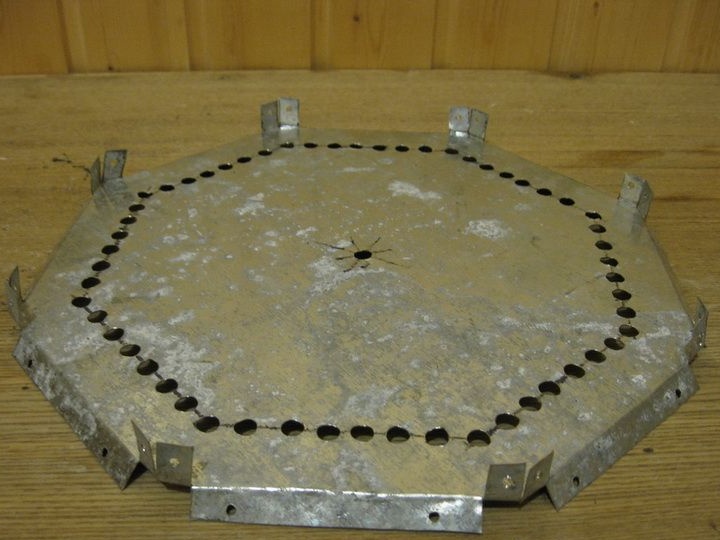
It is important not to forget to make ventilation for the lamp so that it can cool. To do this, special cutouts are made at the bottom

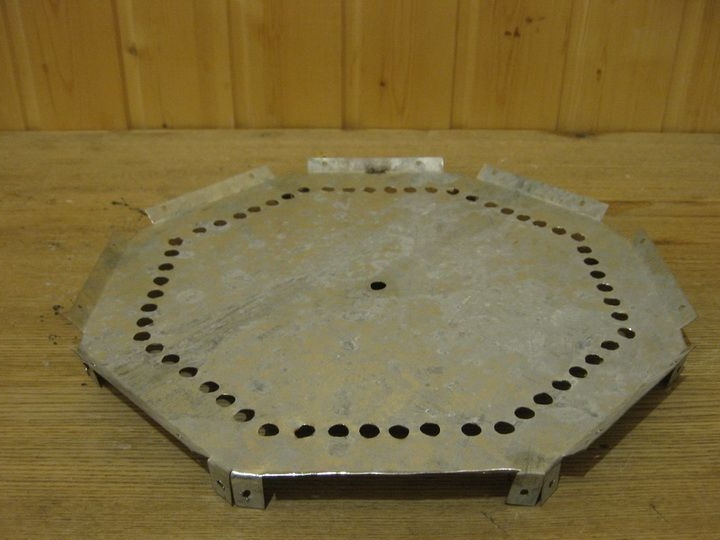
To fix the cartridges, you will need a sheet of galvanized steel. It is attached to the wooden contour using self-tapping screws. In tin, you also need to drill a number of ventilation holes.

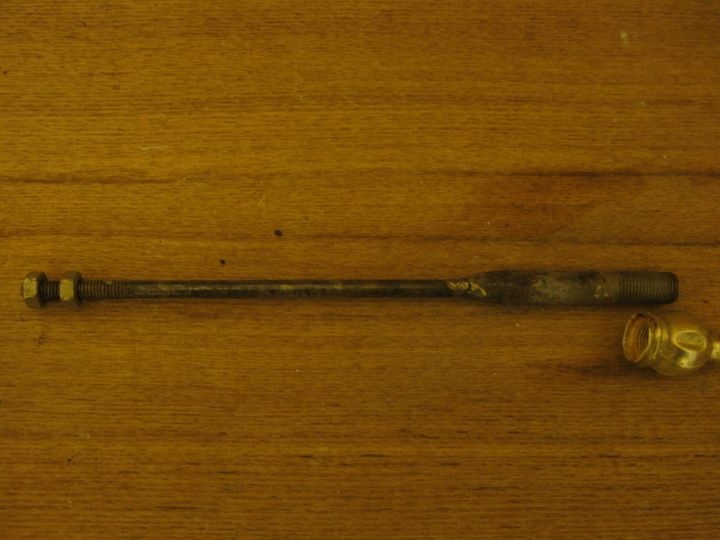
In conclusion, a tip is installed with which a glass "dome" is attached. He was also borrowed by the author from an old chandelier. To extend it, a stud with a thread on the end was welded to the tube.
Ceramic cartridges should be mounted with a slight inclination.

That's all, the lamp is ready, you can turn it on.