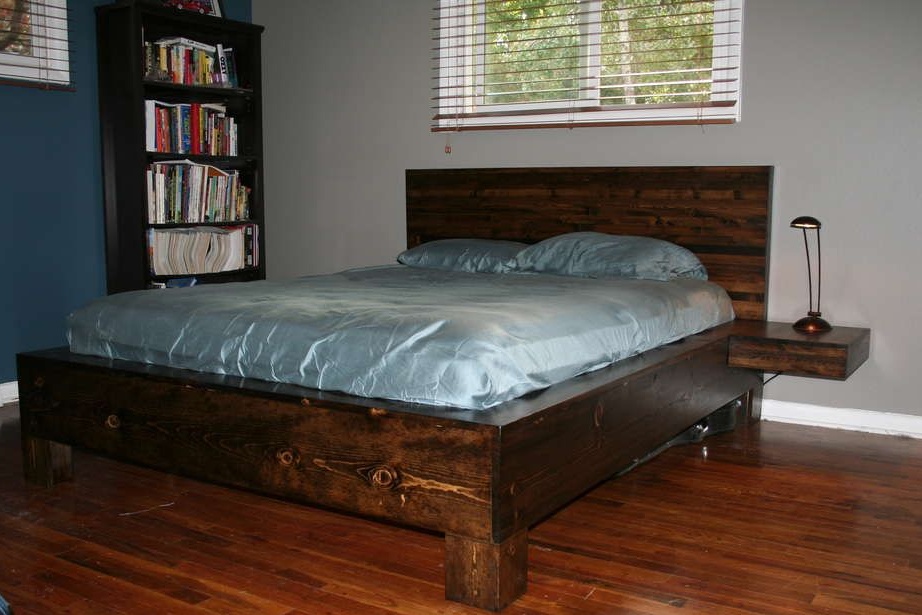
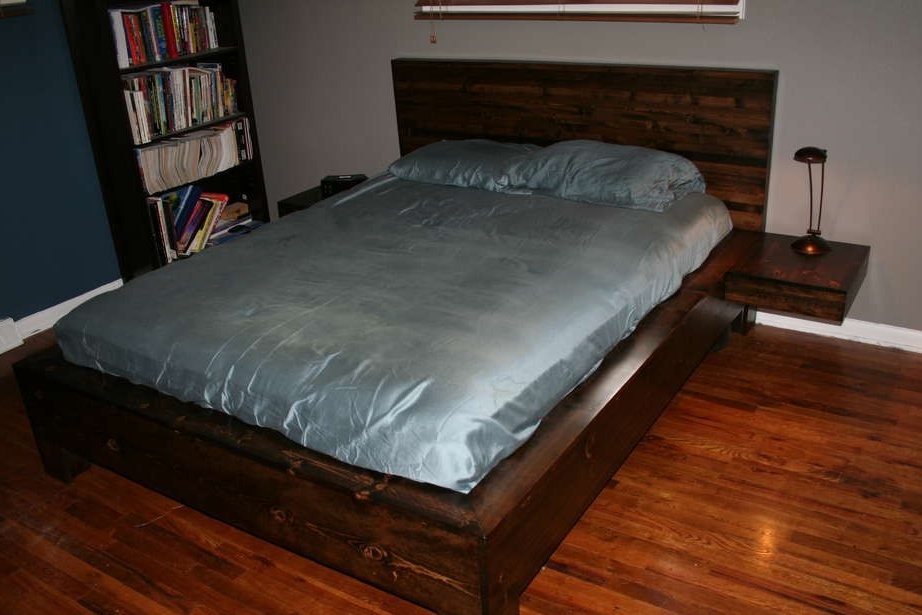
Today furniture It is quite expensive, and if we talk about high-quality and unique products, then not everyone will have extra money so that you can just buy it. In this regard, the question arises, how can you make furniture yourself? After all, it will be much cheaper, and you can collect something unique that is suitable for your interior. Today we’ll try to figure out how do it yourself You can make such a necessary thing as a bed.
According to the author, this is done quite simply, for this you do not even need to have any special skills. It is enough to be able to handle the tool.
Materials and tools for creating a bed:
As for the materials, their number depends on the size of the bed.
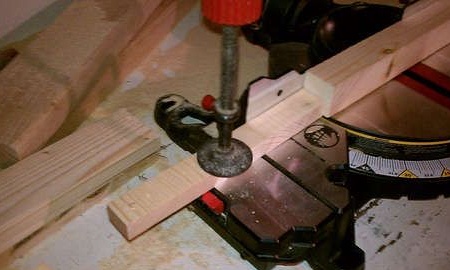
What will be needed from the tools: table circular saw, square, tape measure, pencil, miter saw, compressor and neiler (you can use a hammer and nails instead), an orbital type emery machine (or an arsenal of sandpaper), a screwdriver, rubber mallet, hammer, saw gantry, a couple clamps, socket wrench with heads.
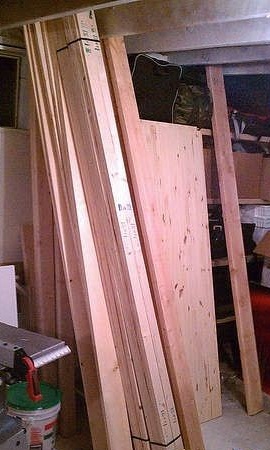
Timber to create the frame:
- a bar 100 * 100 2.6 m long;
- 10-20 two-meter boards (section 25 * 75 mm);
- 6 boards 50 * 100 mm (length 6 m);
- beam 50 * 50 mm (length 2.6 m).
For decoration you will need:
- 4 boards 25 * 150 mm, (length 2.6 m);
- 1 board 25 * 250 mm, (length 2 m);
- 2 boards 25 * 250 mm, (length 2.6 m);
- 1 board 25 * 100 mm, (length 2.6 m).
As for the head, then here everyone decides for himself, it can be anything. For the author, it was made of a wooden shield 60 * 240 cm in size.
Bed manufacturing process:
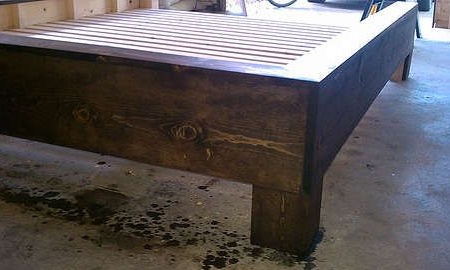
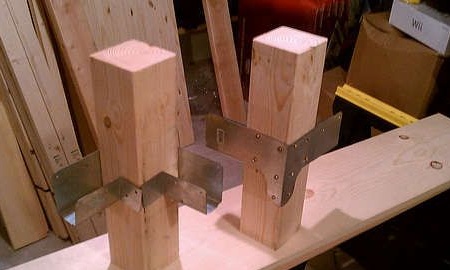
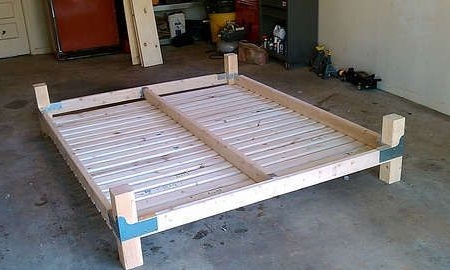
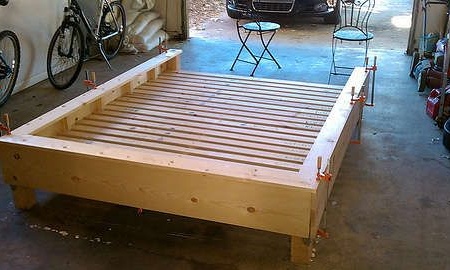
Step one. Let's start with the foundation
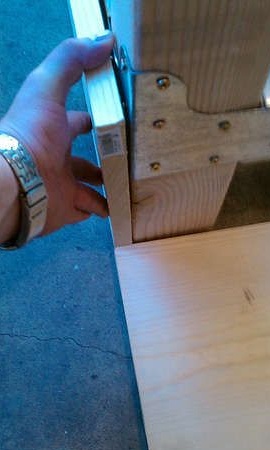
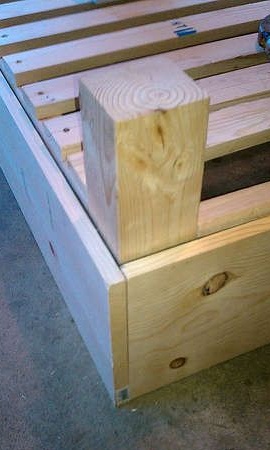
Since the appearance of the frame is not very important, it is not necessary to achieve ideality by all means. All defects can be easily fixed in the future. First you need to decide how tall the legs will be at the bed. Next, add the height of the side panels to this value. From a bar with dimensions of 100 * 100 mm, it is necessary to cut a piece of the required length. For each such piece at the same height you need to attach a mount. In order to fix the fasteners, screws or nails are used.

Next, you need to determine the width of the mattress and cut two pieces of the same length from the board 50 * 100 mm, making a small margin. Then these boards are attached to the legs using metal mounts installed earlier. If a wide mattress will be used, then the central support beam is installed on the frame.Between the two short sides, you need to measure the distance, saw off the desired segment from the board and fix it on the base in the center, using metal mounts.

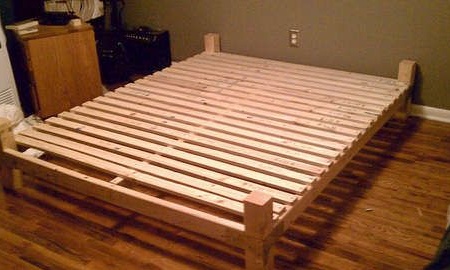
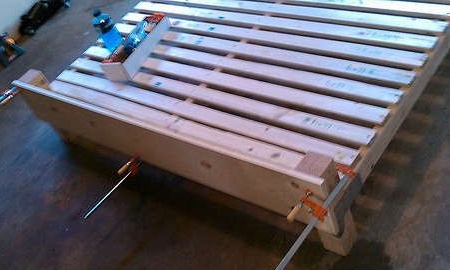
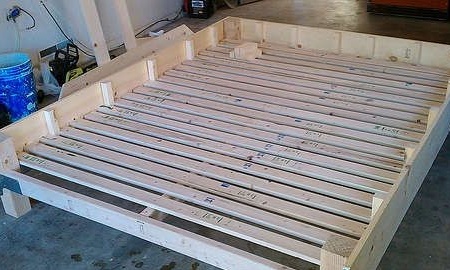
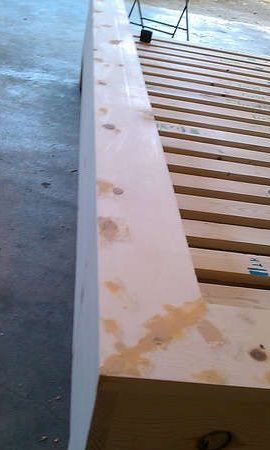
The assembly of the base is completed by the installation of transverse boards with a cross section of 25 * 75 mm, a gap of about 50 mm is kept between them. Using these boards, the mattress will be held, and they will also work as an additional shock absorber. The length of the board should be equal to the width of the bed. They are fastened with screws.
Step Two Bed decoration
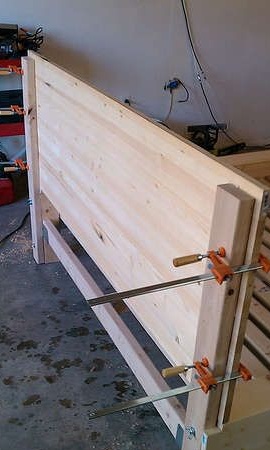
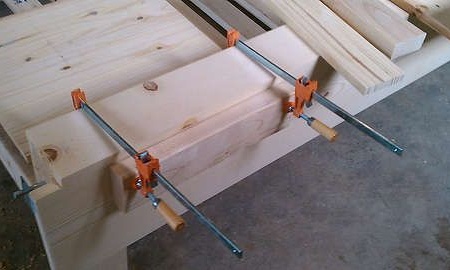
Finishing begins with the frame being turned upside down. Next, you need to take a board for finishing with a section of 25 * 250 and lean it against one of the sides. Then the board is cut to the desired length. On the other hand, a similar operation is being done. Then the boards need to be glued evenly to the bed using wood glue. They need to be aligned on the top edge of the legs. To fix the boards, clamps are used. Now the glue must be allowed to dry.

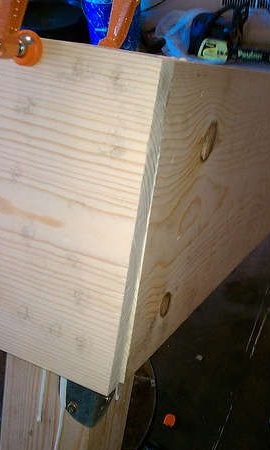
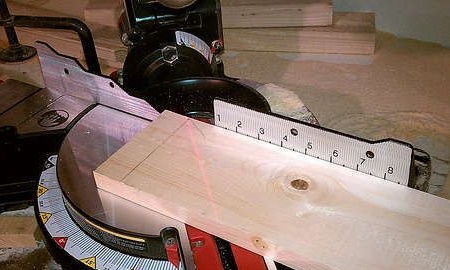
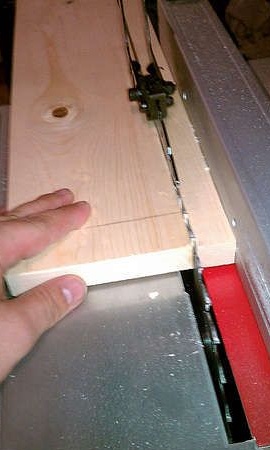
Then you can make the top edge, for it you will need a board approximately 11 cm wide. The author cuts off the excess part from another board to get the right one in width. Boards need to be cut the same length as the sides of the rectangular base. On each board it is necessary to make a bevel at an angle of 45 degrees. As stiffeners, a bar 50 * 50 mm is suitable, it is installed on the walls. They are attached with nails and glue.
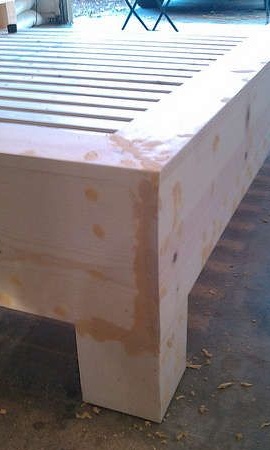
To hide the legs, you will need the boards that were chosen for the decoration of the bed. So that the load does not go to the boards, but to the legs, the boards should be slightly shorter in length along the legs. The boards are attached to the legs with glue, nails or screws. Work should be done so that the fasteners are not visible.
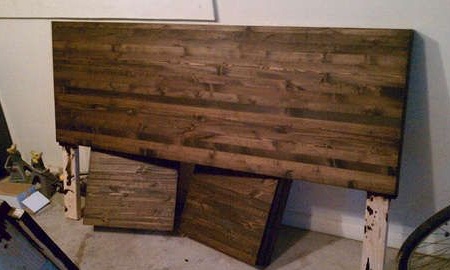
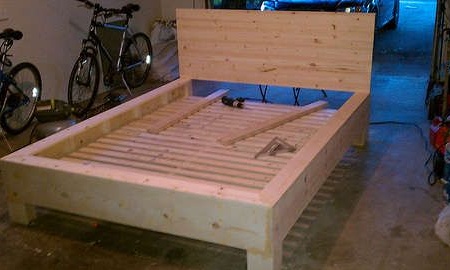
Step Three Headboard Installation
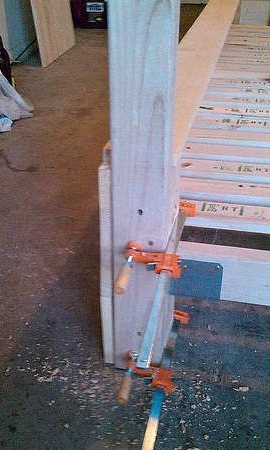
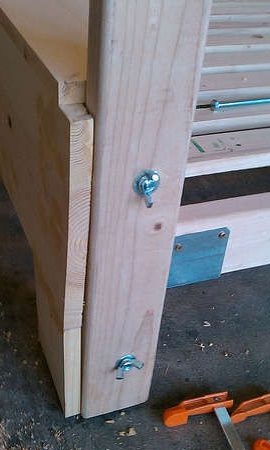
Behind the legs, you need to attach along the board with dimensions of 50 * 100 mm. The boards should be longer than the base along the length, but they should not reach the top edge of the headboard. The boards need to be fixed with clamps, and then drilled through, you also need to drill the legs a little. Turnkey bolts are then screwed into these holes; it is important to use washers. Now the headboard can be installed. The author used a board shield for such purposes, which was cut to the required size.
To make the headboard more massive, boards of any width can be glued to the upper and side edges.
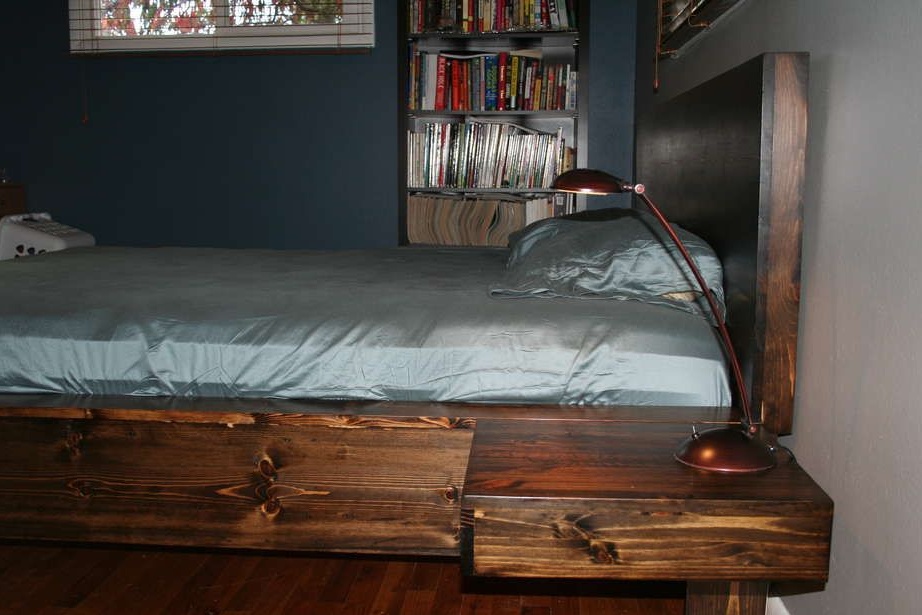
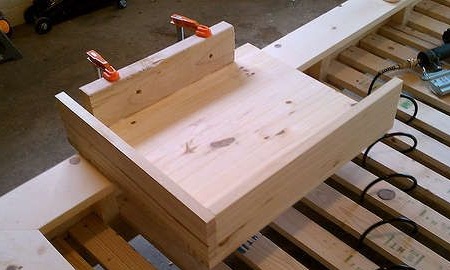
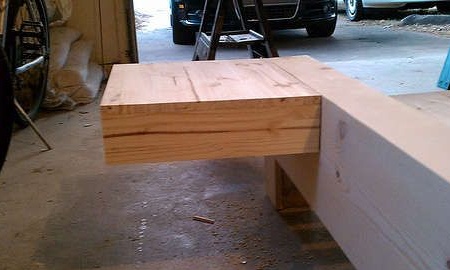
Step Four We make "soaring" bedside tables
To make a countertop for nightstands, you will need a wooden board, or you can type boards yourself. Fibers are best placed parallel to the bed. To fix the bedside tables, you need to install planks along the sides of the bed. The length of the board should be slightly less than the depth of the nightstand. Boards are fastened below the edge along the thickness of the countertop. With this approach, the countertop is flush with the top of the bed base. Again, to make the bedside tables look more massive, planks are installed around the perimeter.
Step Five Final stage
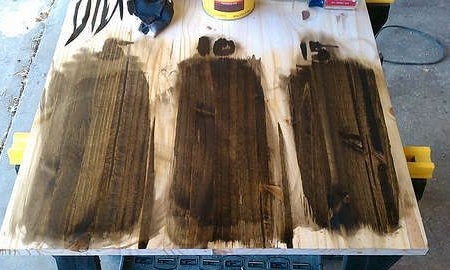
At the final stage, all holes must be sealed with putty, and the elements of the bed should be well treated with sandpaper. First, the entire bed is treated with large sandpaper, then smaller. In the end, you need to achieve a smooth surface. Then the surface of the bed needs to be wiped with a dry cloth to remove dust. Do not use a wet rag for such purposes, as this will damage the smoothness and then the bed will have to be sanded again.

Now the bed can be covered with stain. The color is chosen to your personal taste. To get a rich, dark color, you need to apply several layers of stain. When the stain is completely dry, the bed can be varnished, it can be matte or glossy. That's all, now the bed is ready.