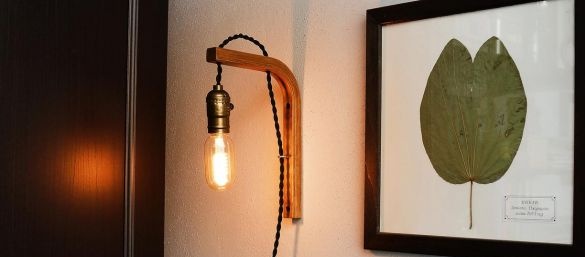
In the article we learn about how we can create with our own hands an interesting and unusual lamp from the console, which was purchased at Ikea. As the main element here can be considered the lamp of Edison, which is made in antiquity. Such a lamp is good in that it emits warm light, so it becomes cozy in the lighted room. Still similar homemade fans will appreciate the style steampunk and loft. It takes a little money to build a homemade product, but it is going to be pretty quick and easy.
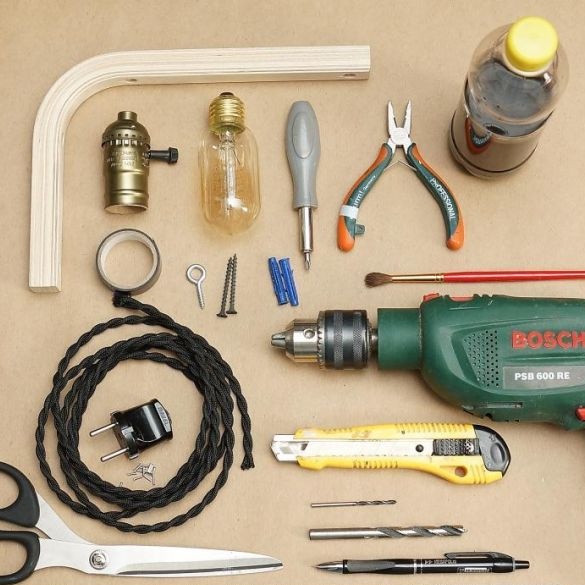
Materials and tools for homemade:
Materials:
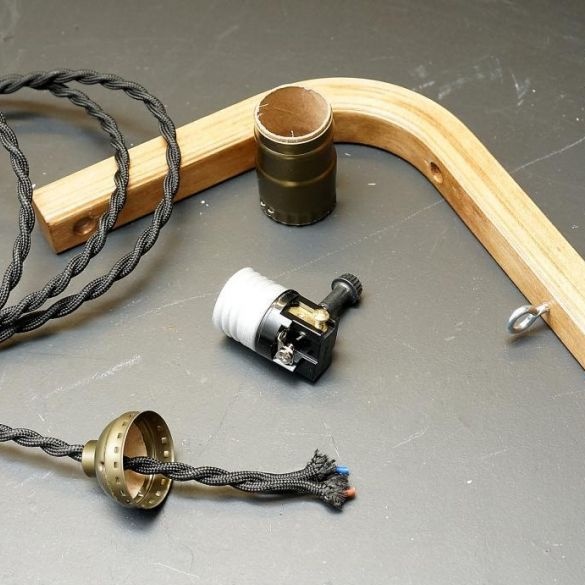
- console (wooden or plywood);
- E-27 standard cartridge in retro style, as well as a switch;
- stain;
- Edison bulb standard E-27;
- two meters of retro wire;
- fork;
- electrical tape;
- connectors;
- two screws with plugs (to fix the console);
- steel ring with thread.
Tools required:
wood drills by 3, 8 mm;
- drill;
- screwdriver;
- pliers;
- brush;
- stationery knife;
- a pencil;
- ruler.
The manufacturing process of the lamp:
Step one. Prepare the console
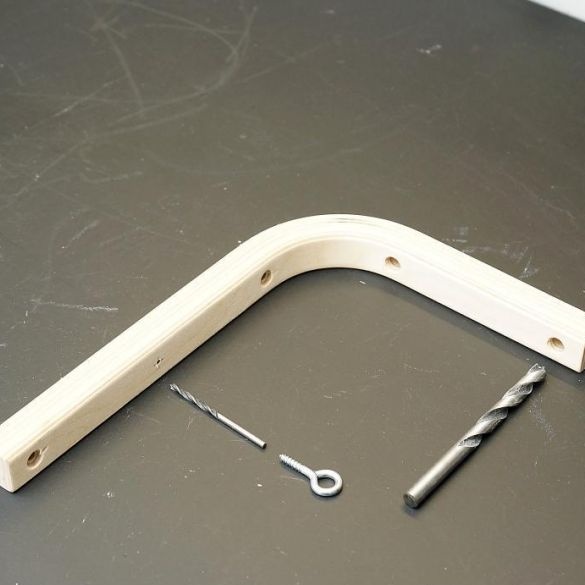
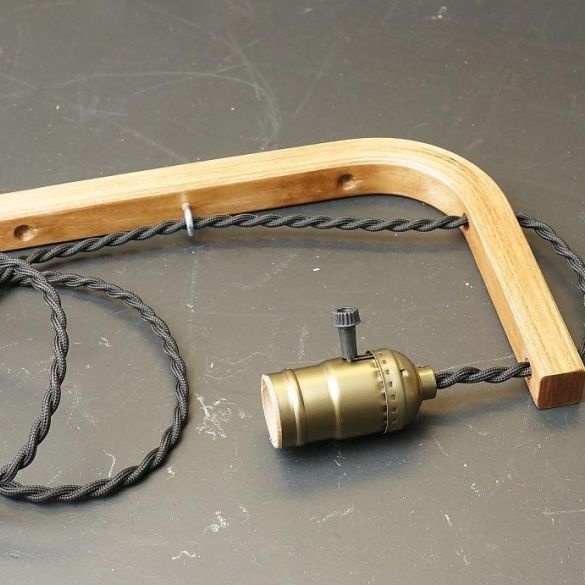
First you need to prepare the console, it has two sides, one short and the other long. The lamp will be attached to the wall with the long side of the console, and the cable will pass through the short side. To pass the cable, in the short part you need to expand the holes.
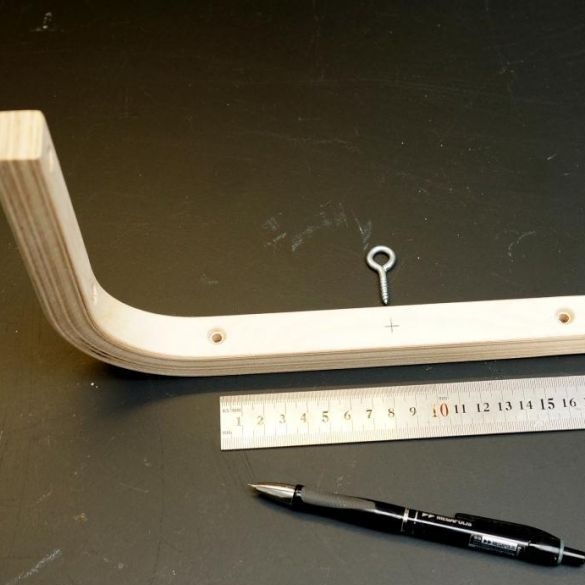
As for the long side, here you need to find the center between the two holes and make a mark. At this point, a steel ring is installed.
Now a drill comes into play. Under the ring you need to drill a hole with a diameter of 3 mm. In the meek part, the author expands the available holes with a drill with a diameter of 8 mm, a wire is drawn through them.
Step Two Console appearance
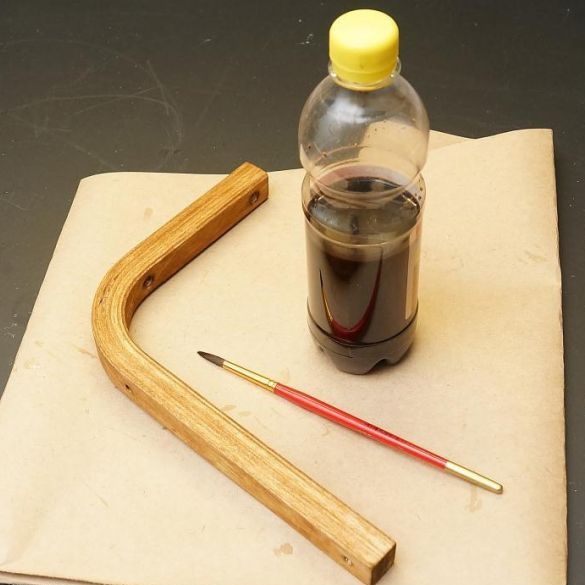
To give the desired appearance, the author covers the console with a stain. You can apply several layers so that the console becomes a dark, saturated color. Then, when the stain dries, the console can be covered with several layers of varnish. Between each layer you need to withstand about 20 minutes, so that the varnish has time to dry.
Step Three The final stage. DIY assembly
You need to start assembling with a metal ring. It is screwed into the prepared hole with a diameter of 3 mm.
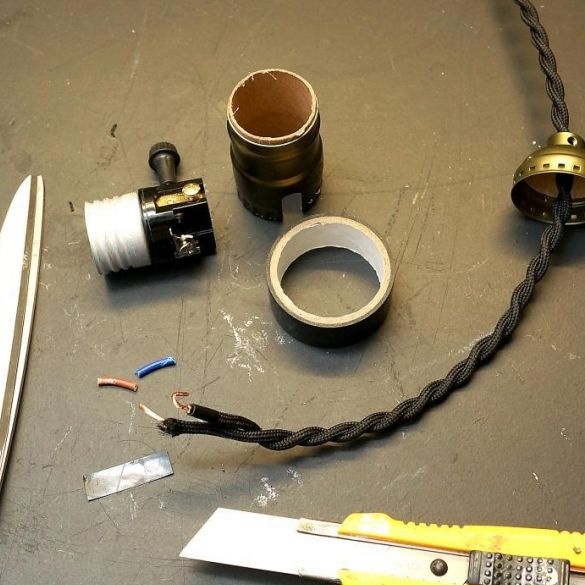
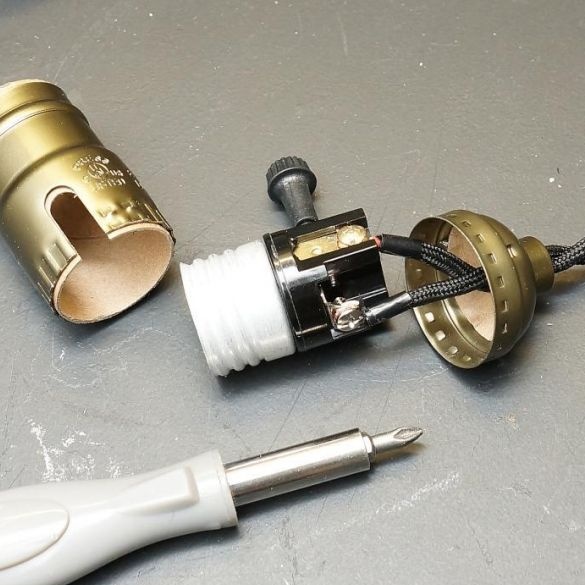
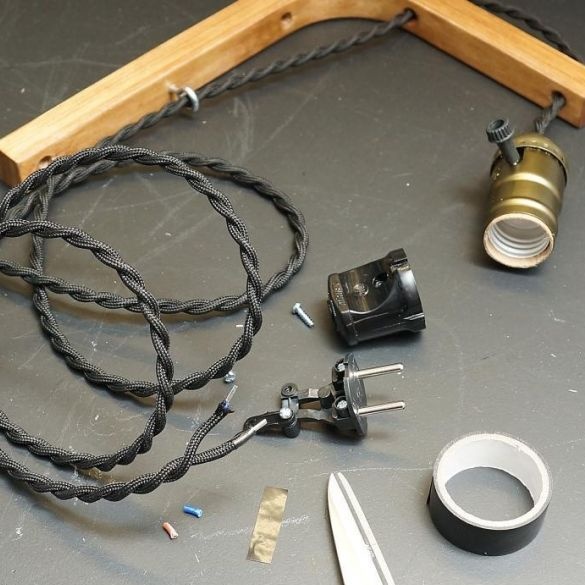
Electrical connection starts with the cartridge, it must be disassembled and the cable pulled through the upper part. It is necessary to remove the braid from the cable, and strip the wires by 1 mm. Then the copper core is twisted, as a result, a hook should turn out. These hooks are then pressed by the screws on the chuck. In order not to swell the fabric braid, you need to wrap the cable at the end with a piece of electrical tape.
When the wire is connected, the cartridge can be installed on the console. To do this, the wire is drawn through a metal ring and holes in the console.
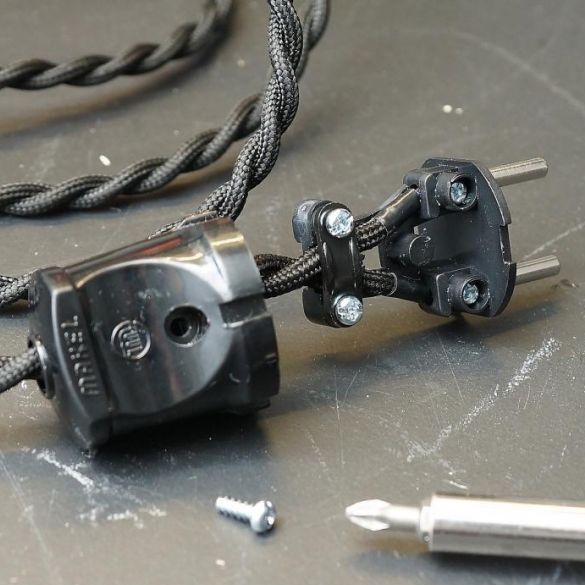
Well, now it remains only to connect the plug, the connection procedure is similar to connecting the cartridge. That is, first you need to disassemble the plug and strip the insulation on the wires. The peculiarity of the connection here is that the wire is connected not by pressing it with a bolt, but thanks to the connector. In this regard, the insulation from the wire is removed only by 0.5 cm, but the plugs, of course, are different. You also need to remember to wrap the edge of the cable with electrical tape so that the braid does not fluff.
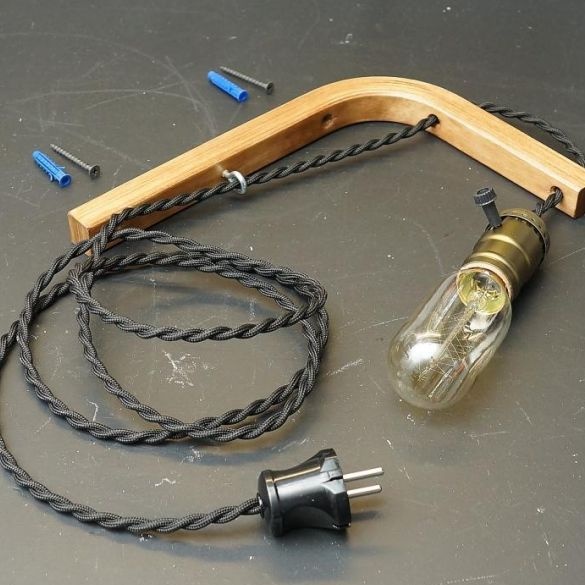
That's all, the lamp is ready, now you only need to install it on the wall and connect the current.

