Today, as everyone knows perfectly well, people are sorely lacking in unique things, although manufacturers offer the consumer just a lot of all kinds of products and items, both household and for other purposes, but it’s hard to please a person. People are so arranged that from the beginning to the end of their days something is missing) The person is constantly looking for him 24 hours a day, even when the mortal body is resting in a warm bed, the brain continues to work without slowing down for a second, which means it continues to seek the truth.
So the guys in the direction of steampunk are always only for honest and conscientious work, both physical and mental, because creative people have nowhere to go without it. For masters only for the joy of doing hard mental work to create and develop unique things, this gives strength to subsequent actions and accomplishments.
Children’s products are never repeated, much less copied, and therefore one must constantly be in the mental search for a new idea.
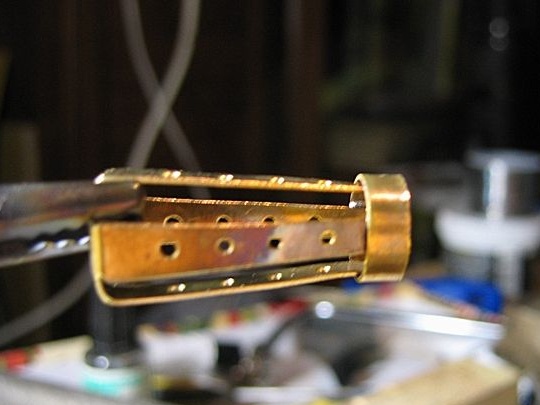
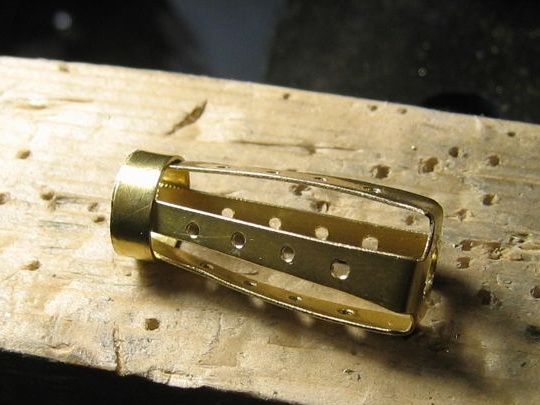
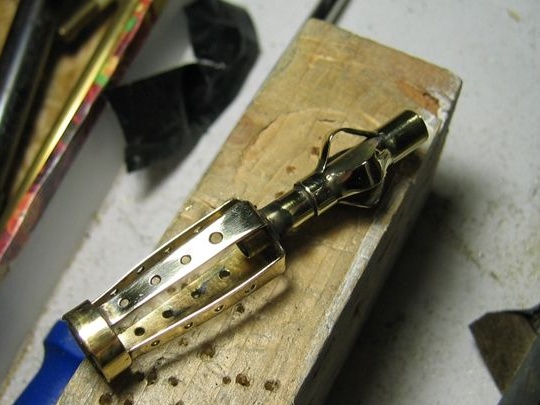
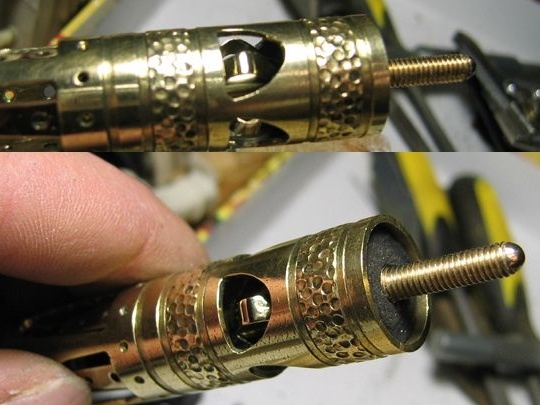
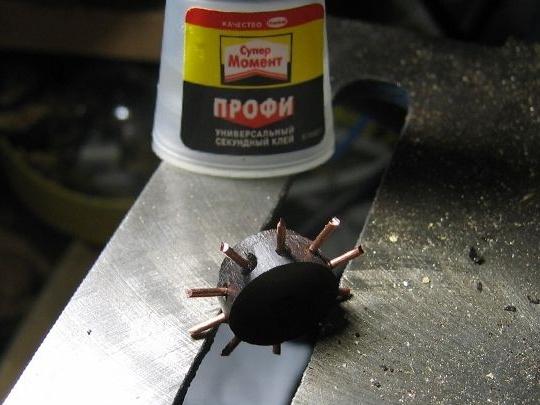
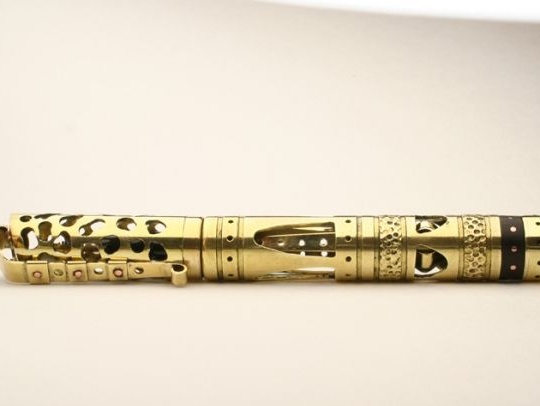
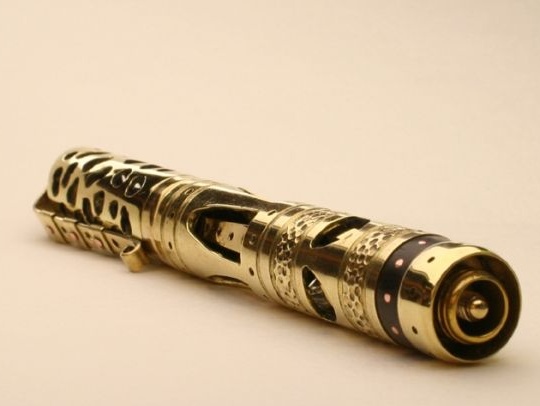
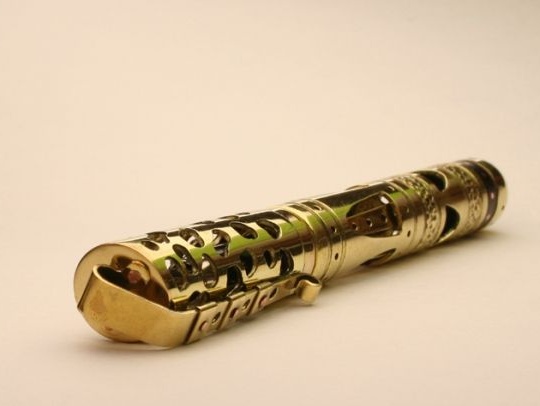
Also, for their work, masters use only noble non-ferrous metals, such as copper and brass, over time, a little thing made of such material will be covered with a beautiful patina and will become doubly attractive.
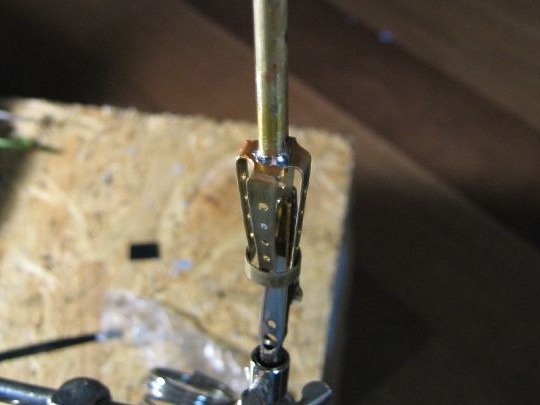
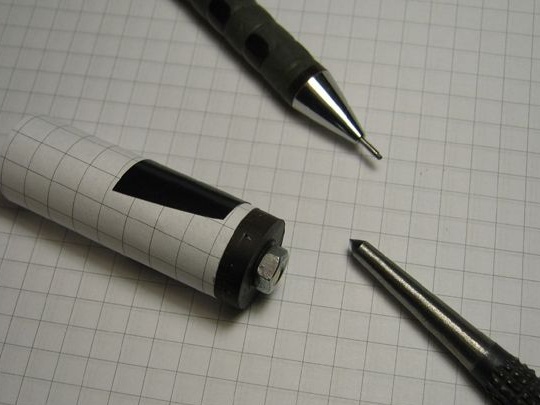
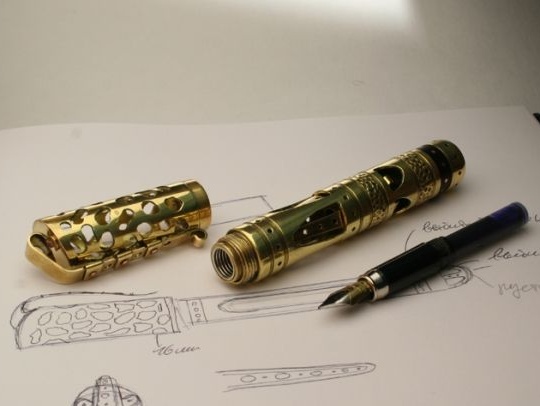
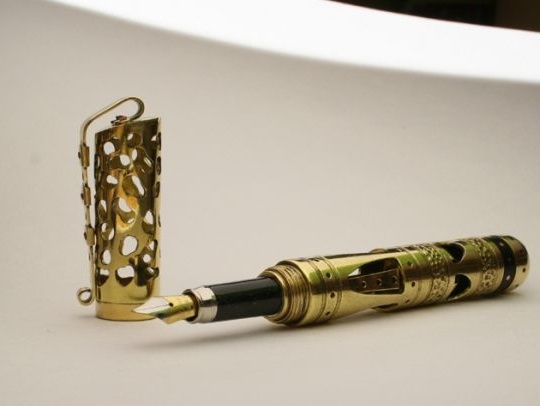
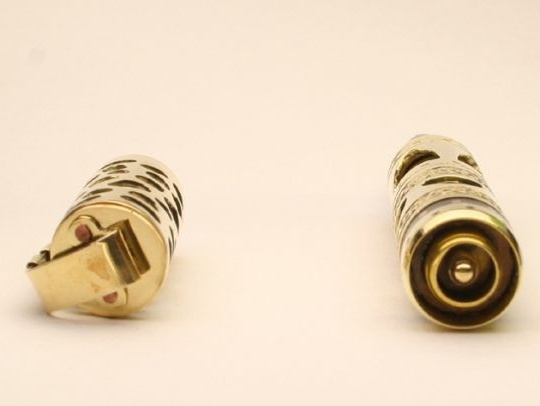
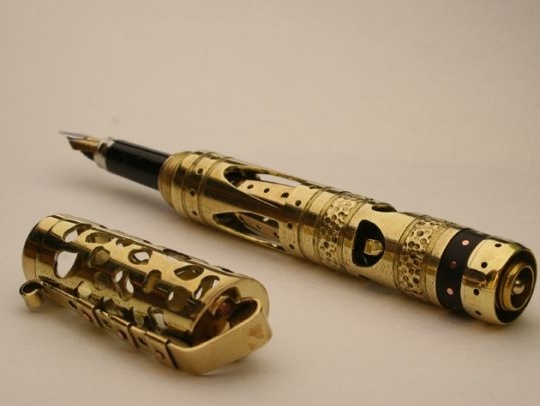
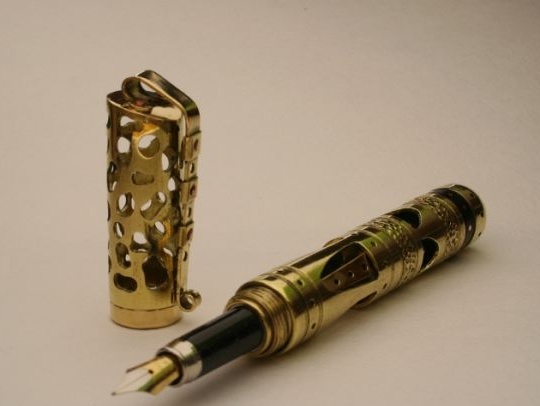
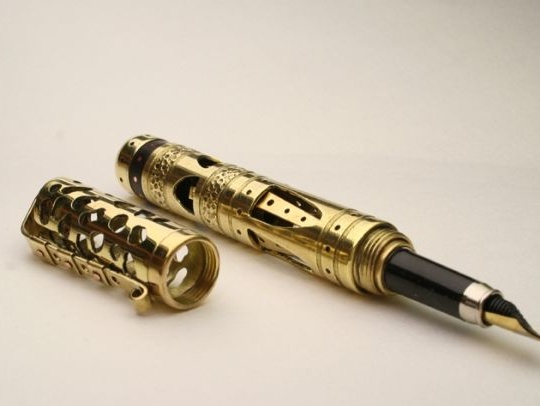
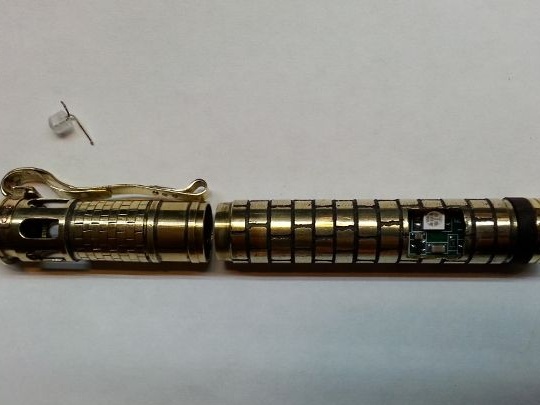
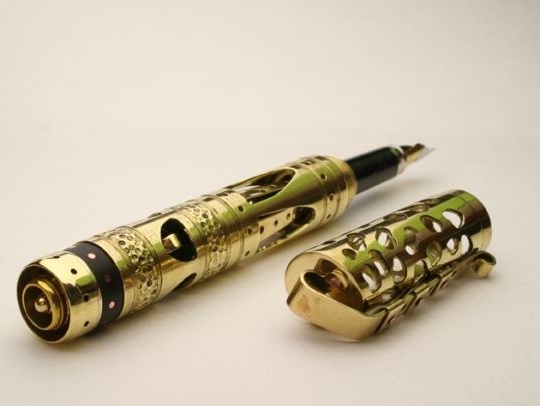
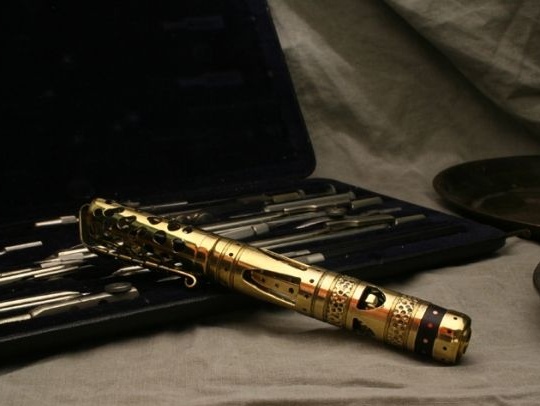
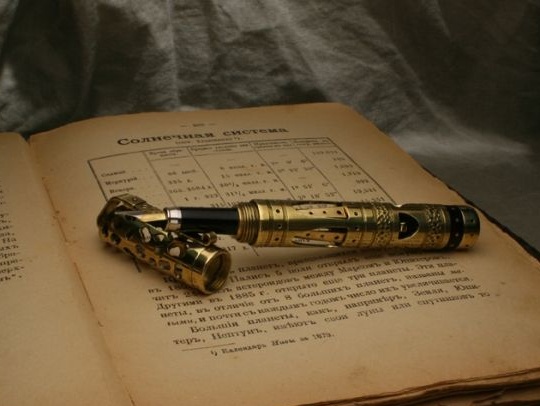
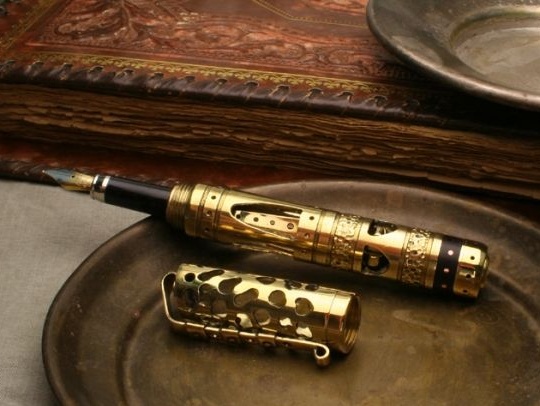
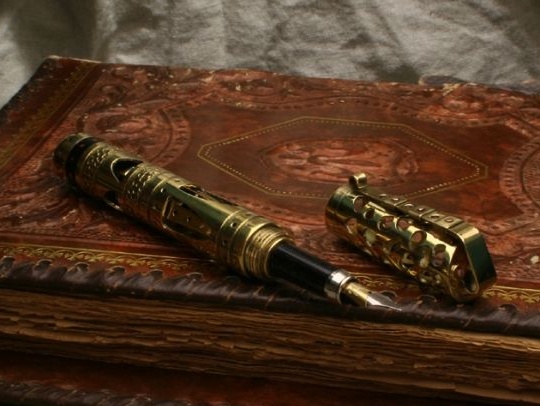
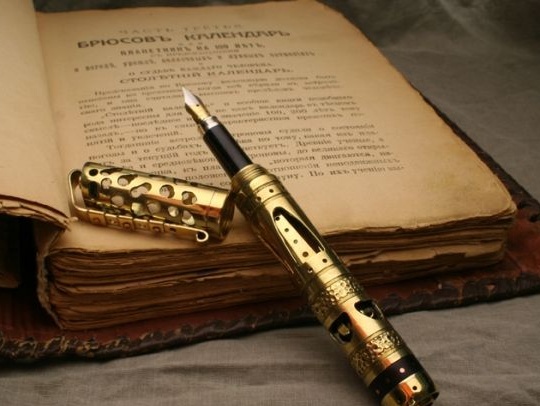
So our author uses only such metals in his works, though he adds black wood to everything) After making the last order, the master shot a wonderful photo report, after which the reader will immediately understand and want to immediately make the same thing for himself, but before moving on, It’s worth looking at the necessary list of materials and tools needed to create a Worclog fountain pen.
Materials
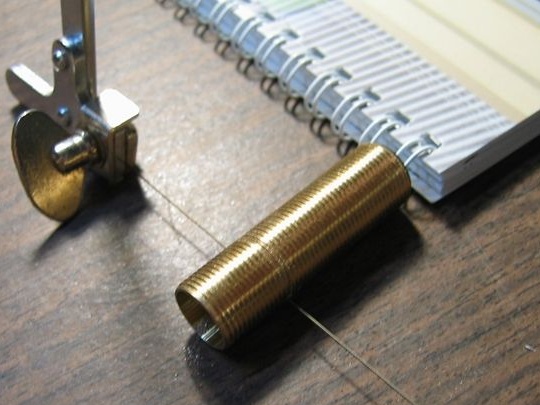
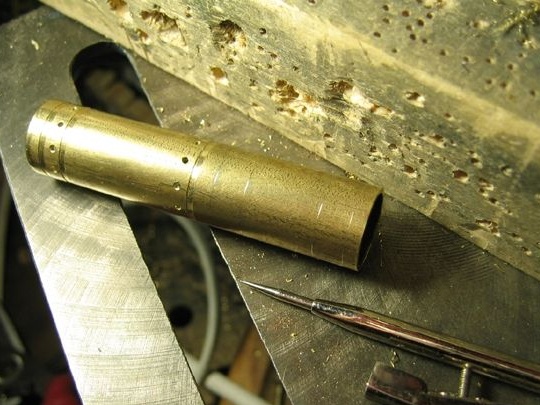
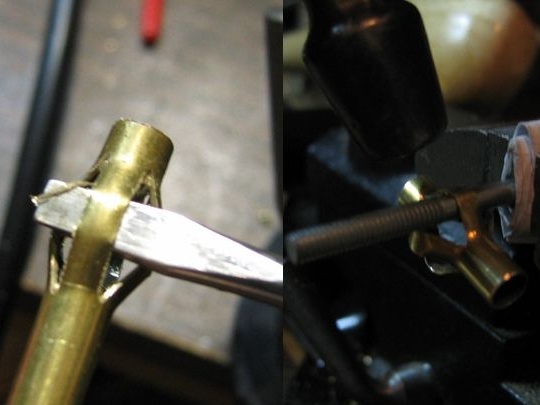
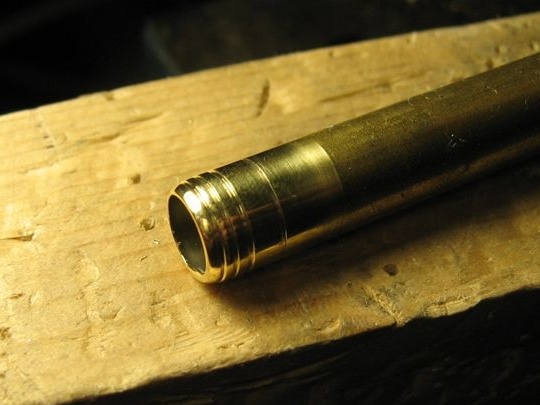
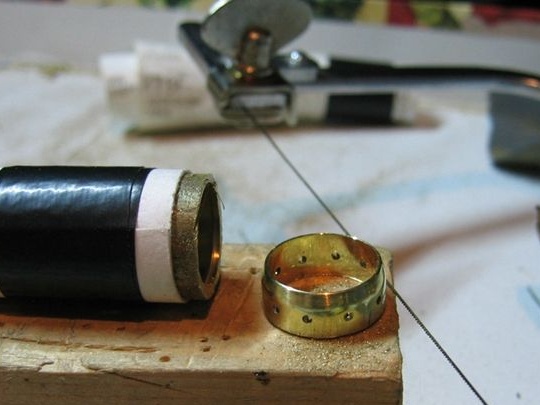
1) brass tube 16 mm
2) brass tube 8 mm
3) copper wire
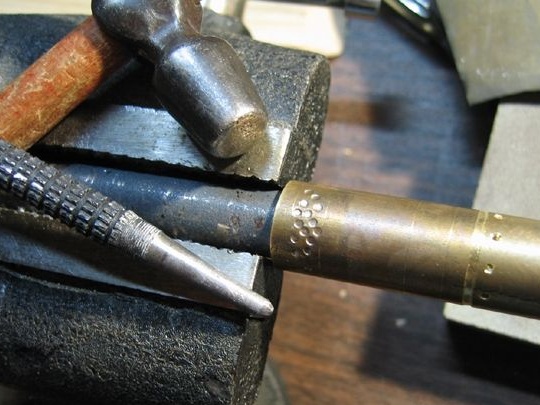
4) brass sheet
5) fountain pen
6) ebony
Instruments
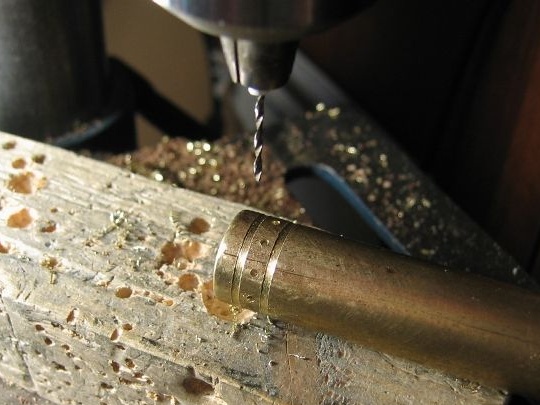
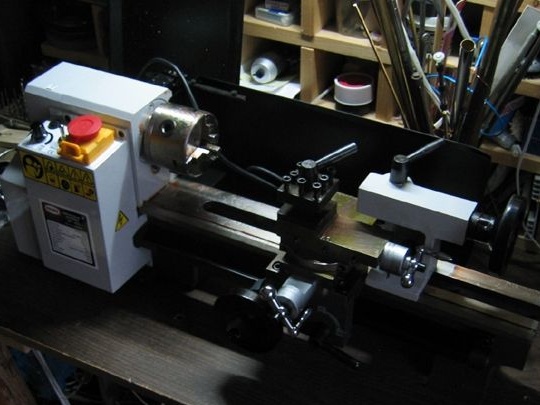
1) lathe
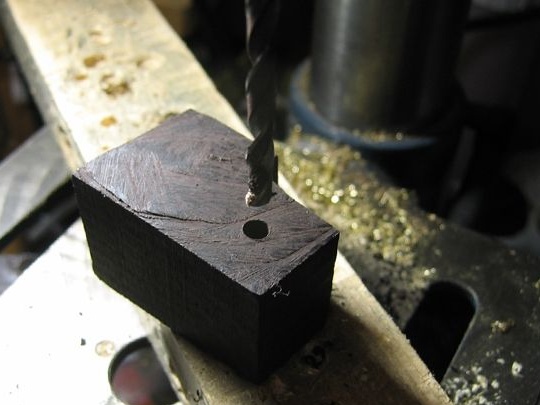
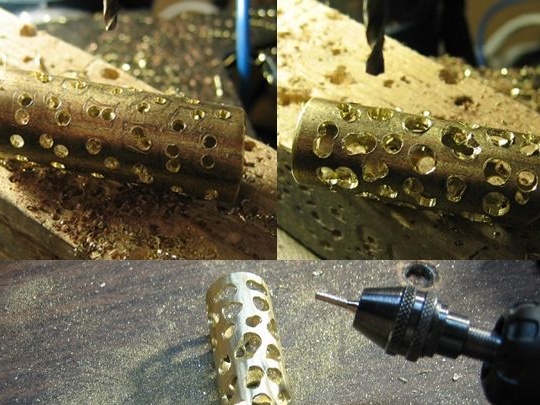
2) drilling machine
3) jigsaw
4) metal sheet
5) file
6) drill
7) hammer
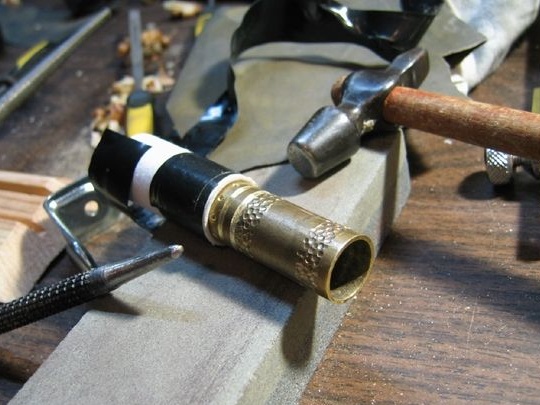
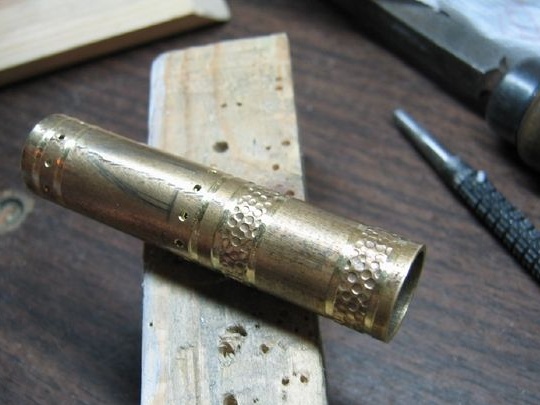
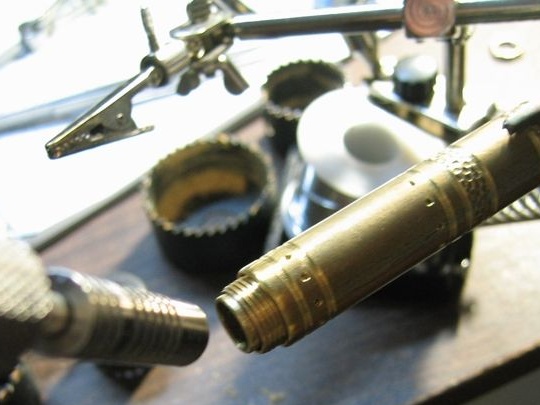
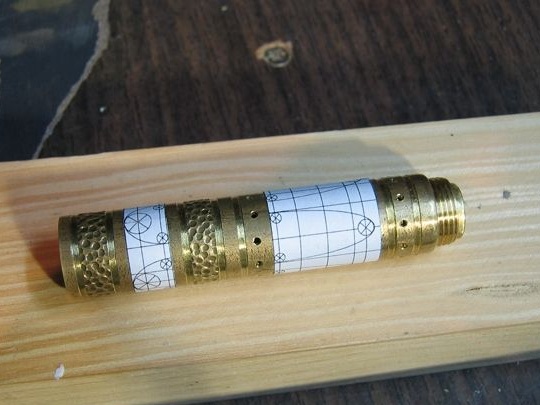
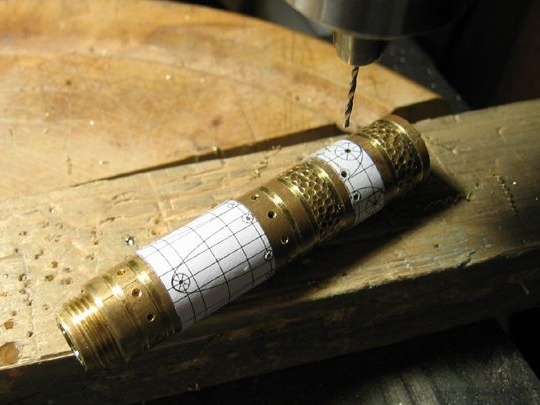
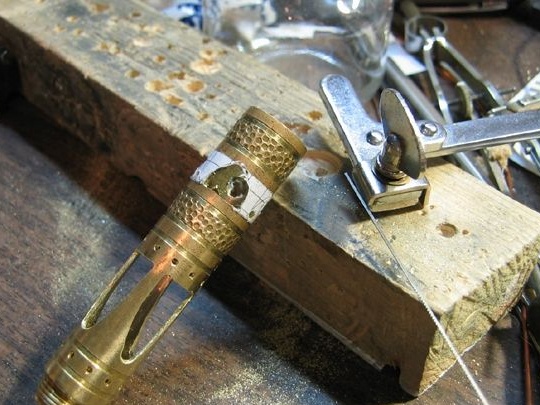
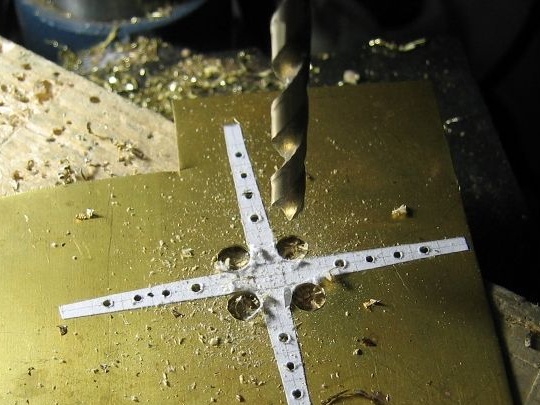
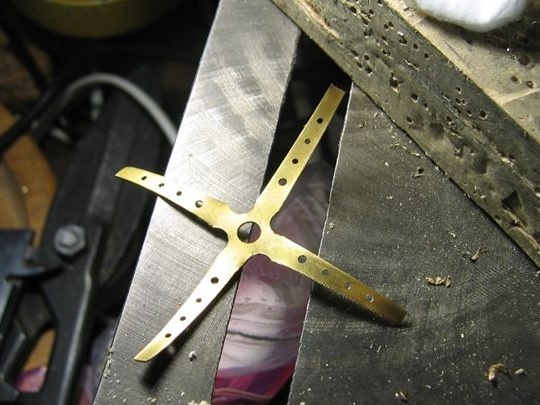
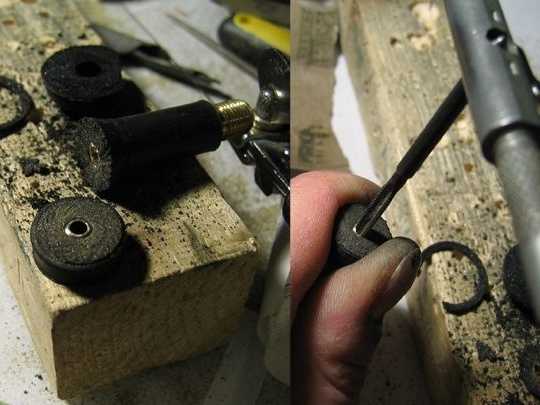
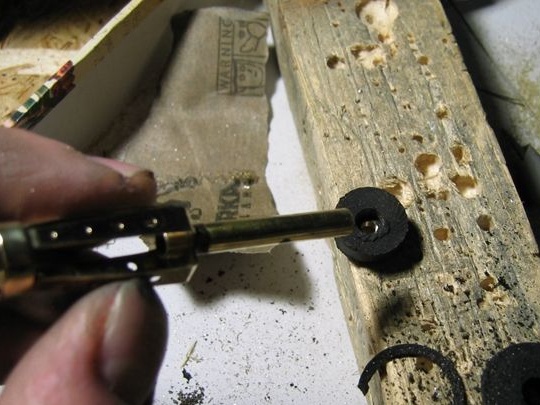
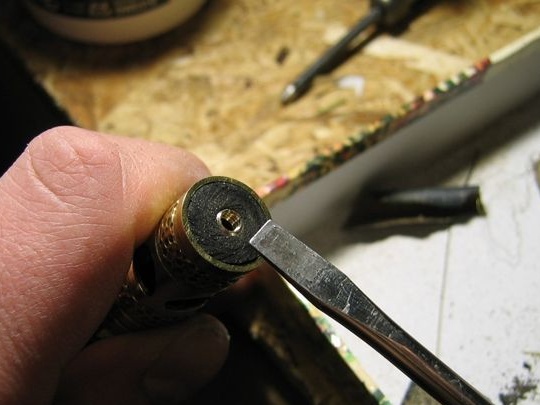
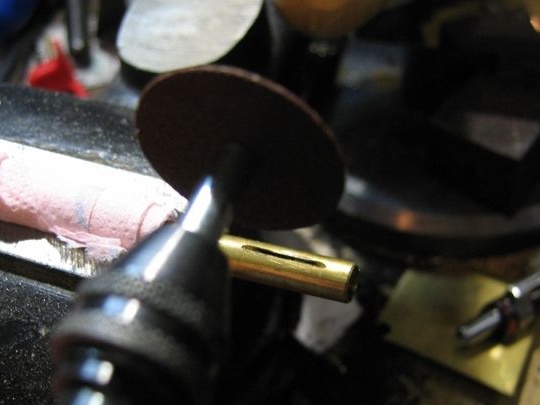
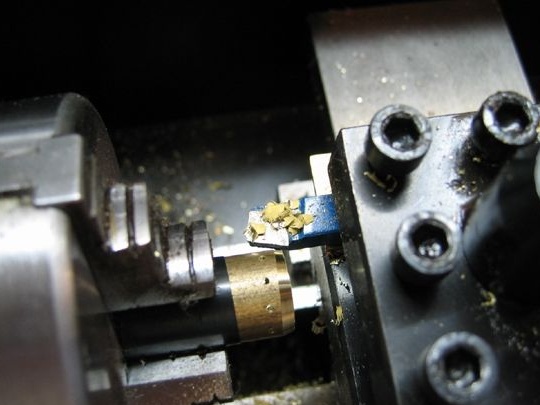
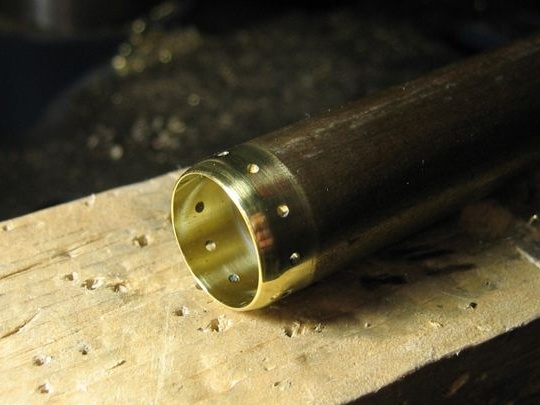
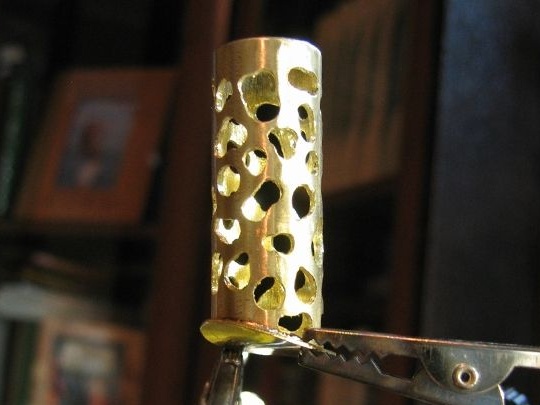
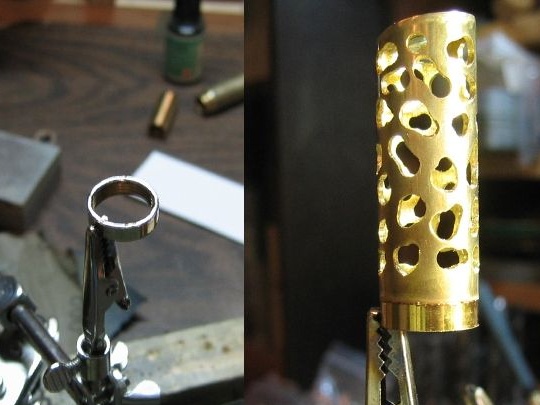
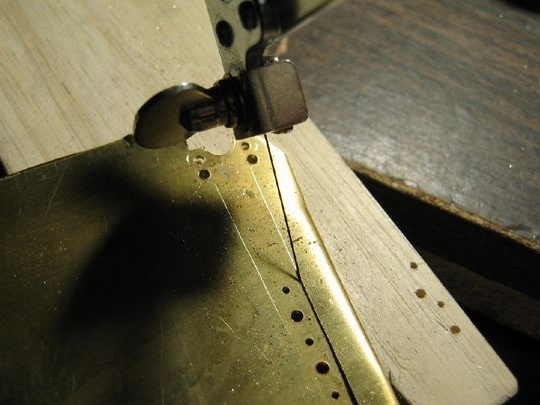
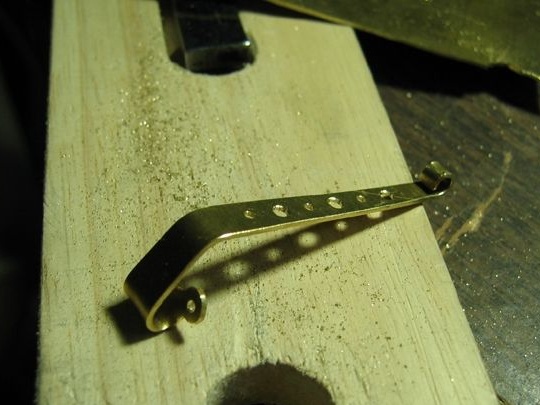
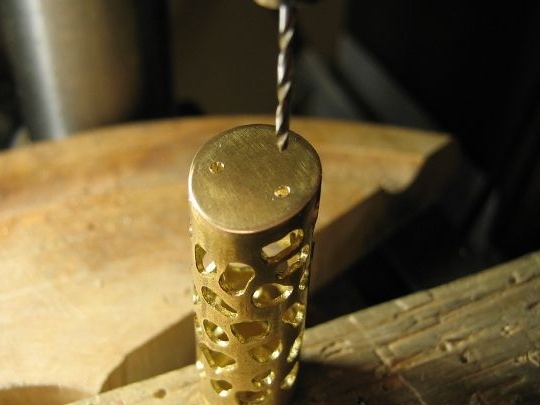
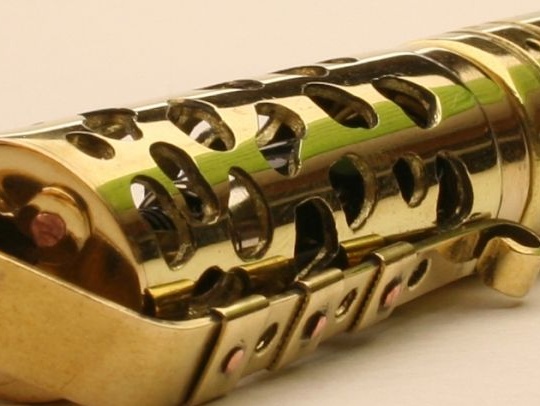
And so, first, the author takes the workpiece and outlines the places for future drilling.