
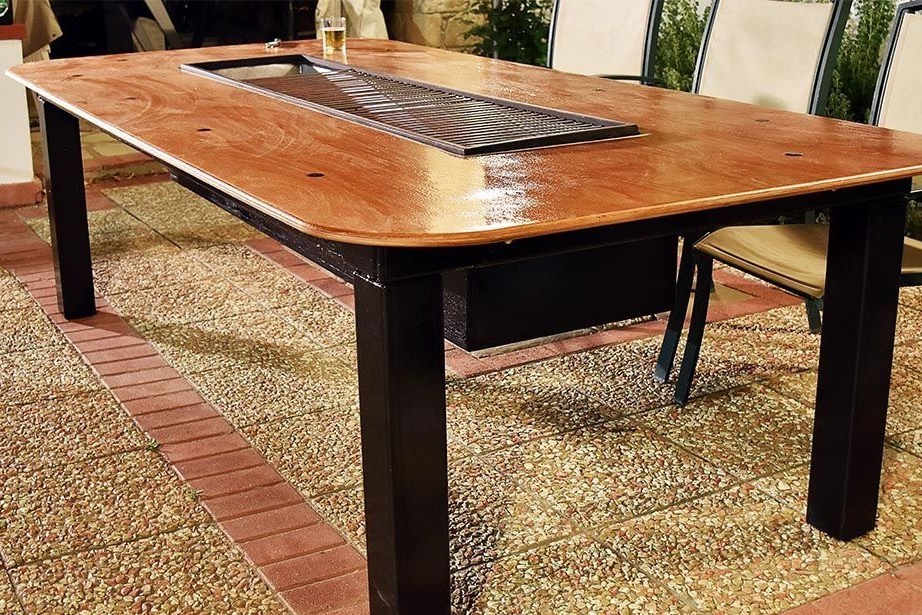
This unique table with a place for a barbecue will not leave anyone indifferent and will gather around you a big and warm company. You and your guests will be able to watch how the dish is being prepared, and this, you will agree, will add a twist to any feast.
The design of the table is concise, simple and safe to use. The temperature of the metal box is not felt at all, and the heat from the coals will not interfere with the guests.
Despite its appearance, the table is exceptionally fireproof. The wooden table top does not come in contact with metal and therefore does not heat up.
In this step-by-step article, you will learn how to make a barbecue table. do it yourself.
For work you will need:
1. Materials:
- metal profile of square section;
- thin board (plywood);
- mineral wool to insulate the metal box;
- basalt plates (fiber cement);
- varnish on wood;
- joiner's glue;
- silicone as a sealant;
- paint for wood processing;
- epoxy resin;
- rubber caps for legs;
- work gloves;
- mask of the welder;
- magnetic corners;
- drills for a drill;
- consumable fasteners - self-tapping screws, bolts, nuts.
2. Tools:
- grinder;
- welding machine;
- grinder;
- jigsaw;
- screwdriver;
- furniture stapler (you can do without it);
- drill;
- roulette.
Now that all the materials and tools have been assembled, can you get to work.
First of all, it does not hurt to draw a diagram of the future product on paper. Decide on the dimensions and dimensions of the table and its details. Since the frame of the product is welded, it is better to calculate and double-check everything in advance, otherwise it will be difficult to fix something later.
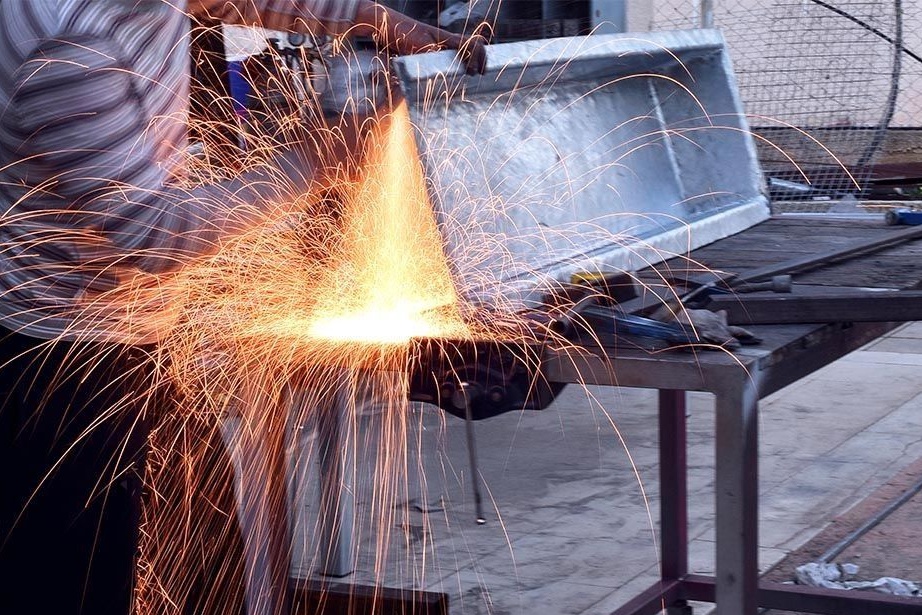
Step 1. Using a grinder, cut the metal profile into parts of the desired size.
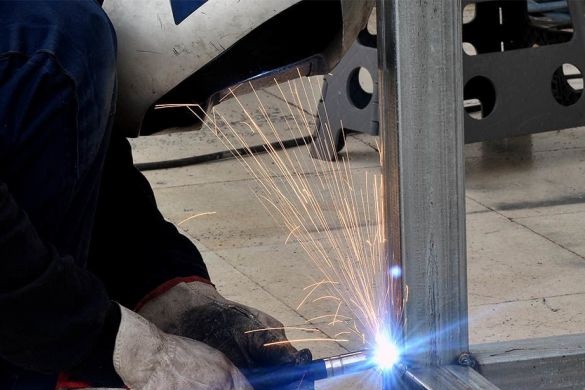
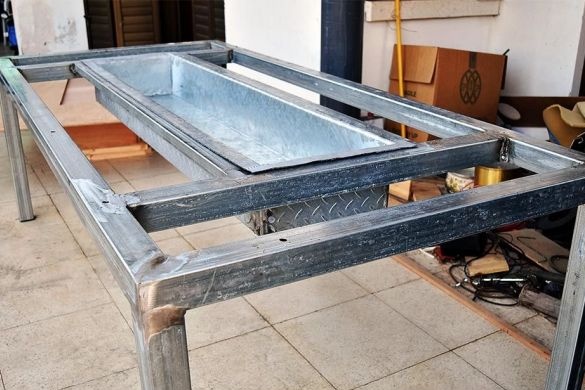
Step 2 Now proceed to welding the base of the frame. We have it in a rectangular shape, since the table should accommodate a large company. Weld the crossbeams at the same distance on the inside for structural rigidity.
Step 3 Weld two longitudinal bars to these rails to make the base of the barbecue in the center of the table, which for the convenience of operation we will later surround with wood and insulate.
Step 4 Using the magnetic corners, weld the legs of the table to its base in previously designated places. Make sure they are at an angle of 90 degrees.
The design of the table is concise, simple and safe to use. The temperature of the metal box is not felt at all, and the heat from the coals will not interfere with the guests.
Despite its appearance, the table is exceptionally fireproof. The wooden table top does not come in contact with metal and therefore does not heat up.
In this step-by-step article, you will learn how to make a barbecue table. do it yourself.
For work you will need:
1. Materials:
- metal profile of square section;
- thin board (plywood);
- mineral wool to insulate the metal box;
- basalt plates (fiber cement);
- varnish on wood;
- joiner's glue;
- silicone as a sealant;
- paint for wood processing;
- epoxy resin;
- rubber caps for legs;
- work gloves;
- mask of the welder;
- magnetic corners;
- drills for a drill;
- consumable fasteners - self-tapping screws, bolts, nuts.
2. Tools:
- grinder;
- welding machine;
- grinder;
- jigsaw;
- screwdriver;
- furniture stapler (you can do without it);
- drill;
- roulette.
Now that all the materials and tools have been assembled, can you get to work.
First of all, it does not hurt to draw a diagram of the future product on paper. Decide on the dimensions and dimensions of the table and its details. Since the frame of the product is welded, it is better to calculate and double-check everything in advance, otherwise it will be difficult to fix something later.
Step 1. Using a grinder, cut the metal profile into parts of the desired size.
Step 2 Now proceed to welding the base of the frame. We have it in a rectangular shape, since the table should accommodate a large company. Weld the crossbeams at the same distance on the inside for structural rigidity.
Step 3 Weld two longitudinal bars to these rails to make the base of the barbecue in the center of the table, which for the convenience of operation we will later surround with wood and insulate.
Step 4 Using the magnetic corners, weld the legs of the table to its base in previously designated places. Make sure they are at an angle of 90 degrees.

Step 5. Now you should pay a little attention to aesthetics.Thoroughly grind the metal frame at the points of welding of its elements.
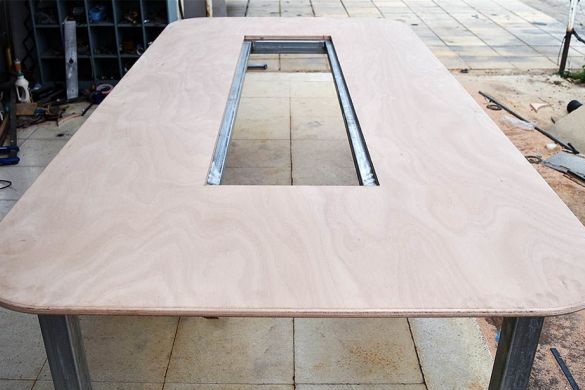
Step 6 From a thin board, carefully processed and sanded, or waterproof plywood, make a countertop. According to the plan, the corners of our table are rounded, so treat them with an electric jigsaw.
Step 7 Grind the edge of the countertop, smoothing its edges. Then apply putty on the wood, wait until it has completely dried and carefully sanded again.
Step 8 In order not to spoil the floors during the operation of the table, it is better to insert rubber plugs into the legs.
Step 9 Using a jigsaw, make a rectangular hole under the barbecue in the center of the table.

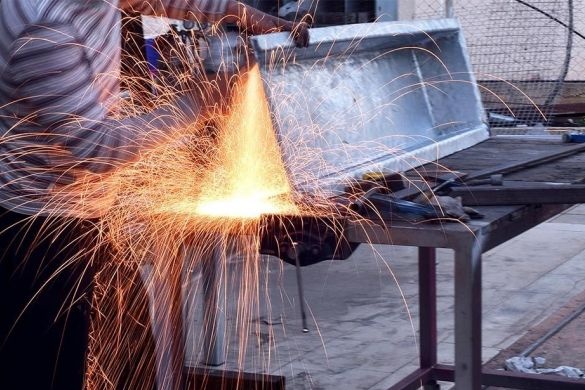
Step 10 Mark and grinder the sheet of metal for the base of the barbecue. Bend it to the desired shape. Do not forget to arrange ledges at the top around the entire perimeter, which will allow you to fix the box in the countertop. Weld the box and grind the seams.

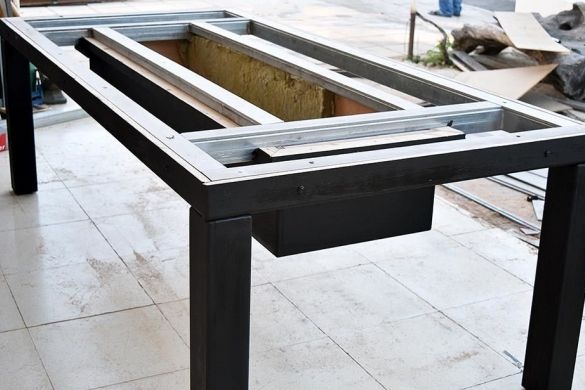
Step 11 Now you need to isolate the barbecue so that during use no one gets burned. To do this, make a wooden box from a board of any suitable thickness. He will close the heated metal barbecue. Carefully cover the box inside with basalt cardboard, fixing it with screws or brackets. Attach the box to the wrong side of the table with self-tapping screws. But first, fix with brackets basalt cardboard around the perimeter of the box in places where it is in contact with metal.
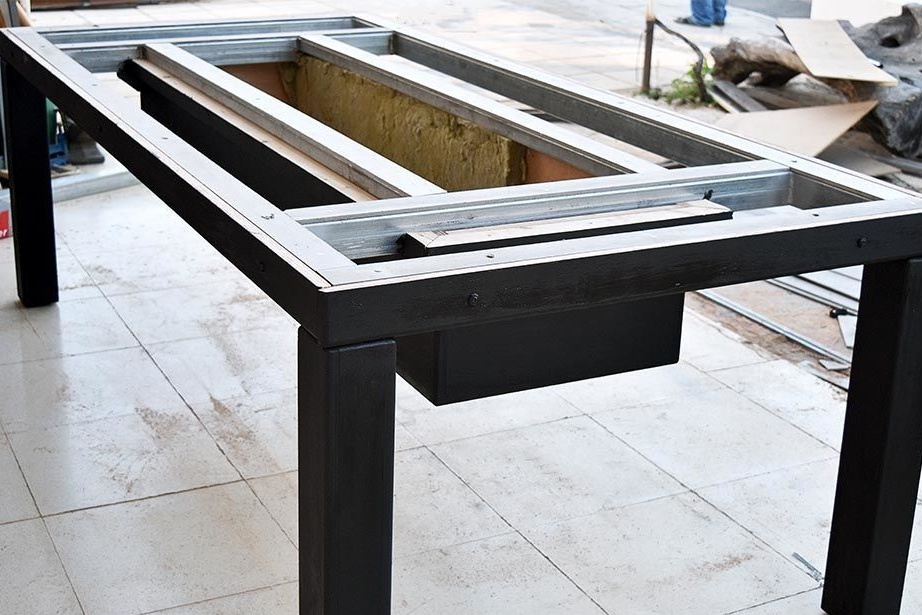
Step 12 To ensure our table is resistant to fire, lay basalt cardboard around the perimeter of its metal frame in places where it is in contact with the countertop. It will not allow the wooden elements to heat up while you are absorbed in your culinary cares.
Step 13 From a thin board, make box-covers for the legs of the table. Treat each box at the joints with putty on wood, wait until it is completely dry and sand it thoroughly. This technique will allow you to simulate an array of wood. Putty the mounting holes as well. Grind the surface of the covers and round the edges.
Step 14 Sew the side faces of the countertops with rails using self-tapping screws using sealant. In places of fastening, plaster and grind or cover the self-tapping screws with decorative caps. Such a frame will come in handy - it creates additional comfort and looks very decorative.
Step 15 Install wooden covers on table legs using sealant.
Step 16 Paint the details of the base of the table with black paint and set aside all work until it dries completely.
Step 17 Drill holes in the frame for fastening the countertops. Use the bolts and nuts to attach the countertop to the metal base.
Step 18 Do not be lazy - for the last time, polish the table surface. Fill the caps of the syringe bolts with epoxy.
Step 19 From a board of suitable size and optimum thickness, make a cover for the barbecue. You will need it to close the barbecue when you are not using it.

Step 18 Do not be lazy - for the last time, polish the table surface. Fill the caps of the syringe bolts with epoxy.
Step 19 From a board of suitable size and optimum thickness, make a cover for the barbecue. You will need it to close the barbecue when you are not using it.
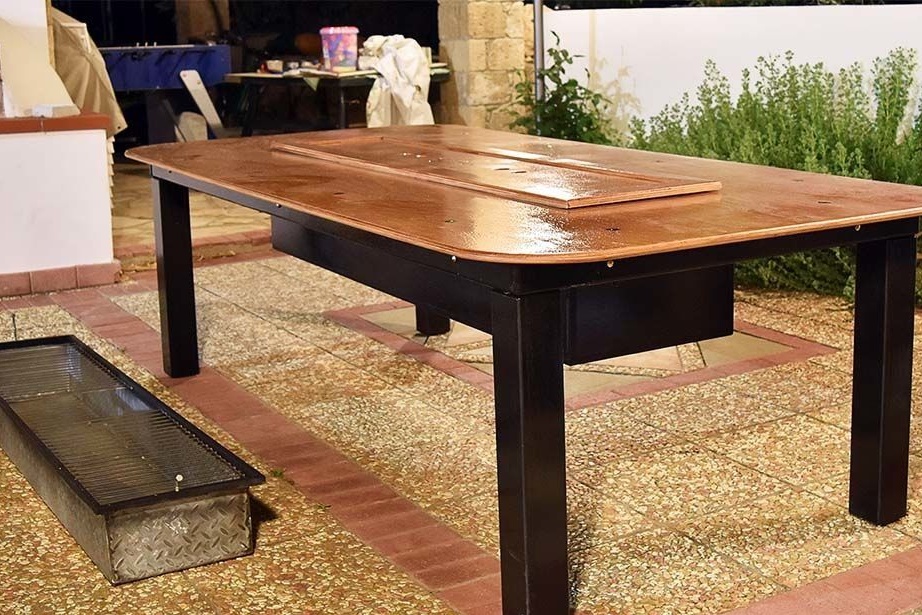
Step 20 Coat the wooden tabletop with varnish, wait for it to harden completely, sand it lightly to form micro-scratches and apply a layer of varnish again. This will create a more resistant coating and protect the table surface from damage. Let the varnish dry.
Our table is ready! Now, in order to try the barbecue, you just need to shift the burning coals into a metal box, carefully place it in the center of the table and install the grill on top.
Our table is ready! Now, in order to try the barbecue, you just need to shift the burning coals into a metal box, carefully place it in the center of the table and install the grill on top.
If you strive for excellence and want to create the most comfortable conditions for yourself and your guests, mount a hood above the table. Thus, smoke from coals, even in windy conditions, will not fall on the audience at the table.