

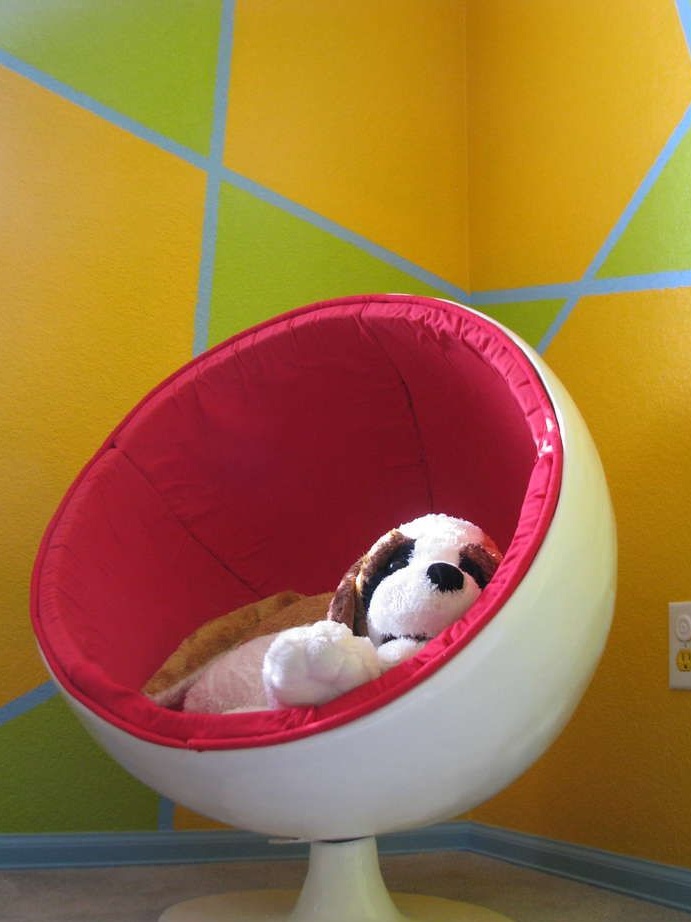
A round chair does not fall into the definition of everyday and everyday of furniture, and its price in furniture stores sometimes just rolls over. It turns out that not everyone can afford to buy such a chair.
However, despite its original shape and unusual appearance, a round chair is very practical and convenient. The author of this workshop came up with and tested a whole technology for its creation and shared with us. Well, let's see how to make such a chair do it yourself.
Today we need:
1. Materials:
- a fitness ball of a suitable size;
- newspapers (a lot of newspapers);
- ordinary wheat flour;
- salt;
- water;
- MDF-plate;
- plastic pipe;
- threaded rod with a diameter of 16 mm;
- nuts suitable for the stud;
- cap nut;
- putty;
- emery paper;
- paint (we used white matte);
- epoxy enamel;
- foam rubber 40 mm thick;
- wearproof fabric;
- threads;
- cord;
- glue in the form of an aerosol.
2. Tools:
- drill;
- roulette;
- scissors;
- a sharp knife for cutting foam rubber.

Now let's get to work.
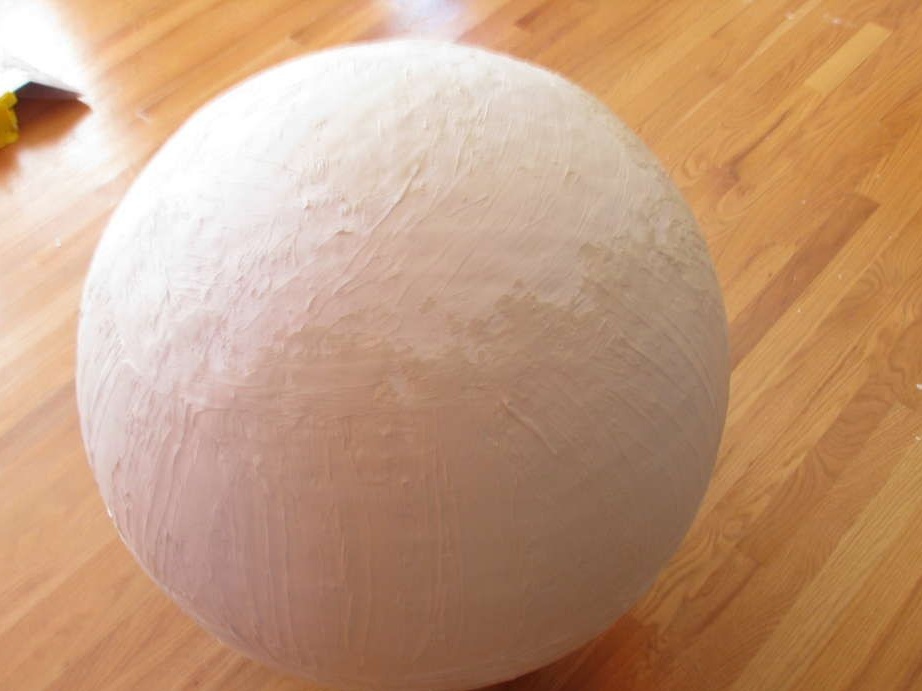
1. Papier-mâché
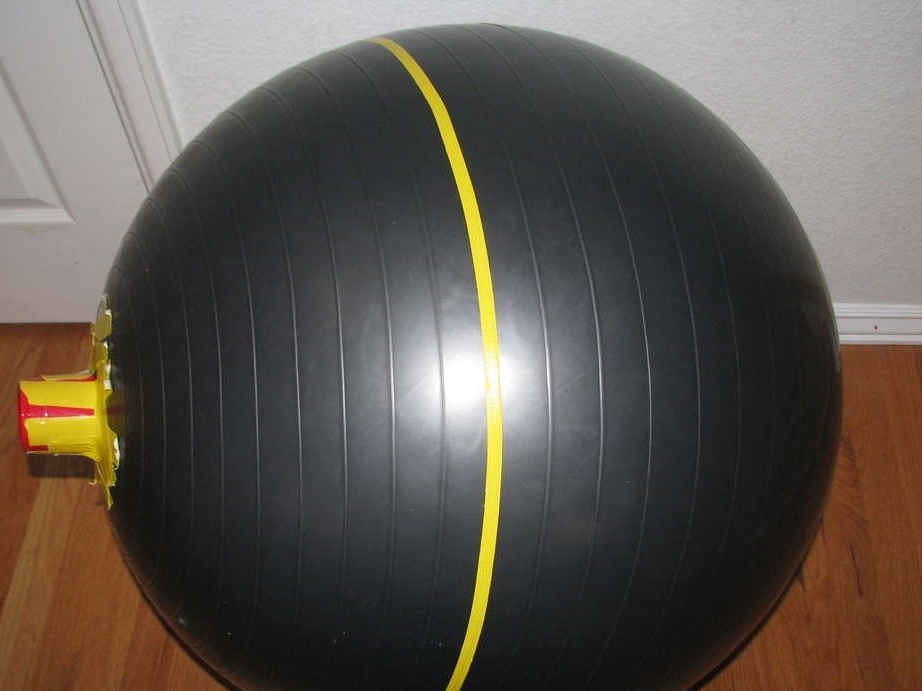
So, from the list of necessary shows that we need the ball. We will certainly spoil it, so you can try to find and purchase an unnecessary used ball on the Internet. However, you can buy a new one.
To determine the size of the seats of our future chair, glue the ball around with colored tape. Thus mark the borders of papier-mâché. Glue the adhesive tape, slightly displacing it from the center line.
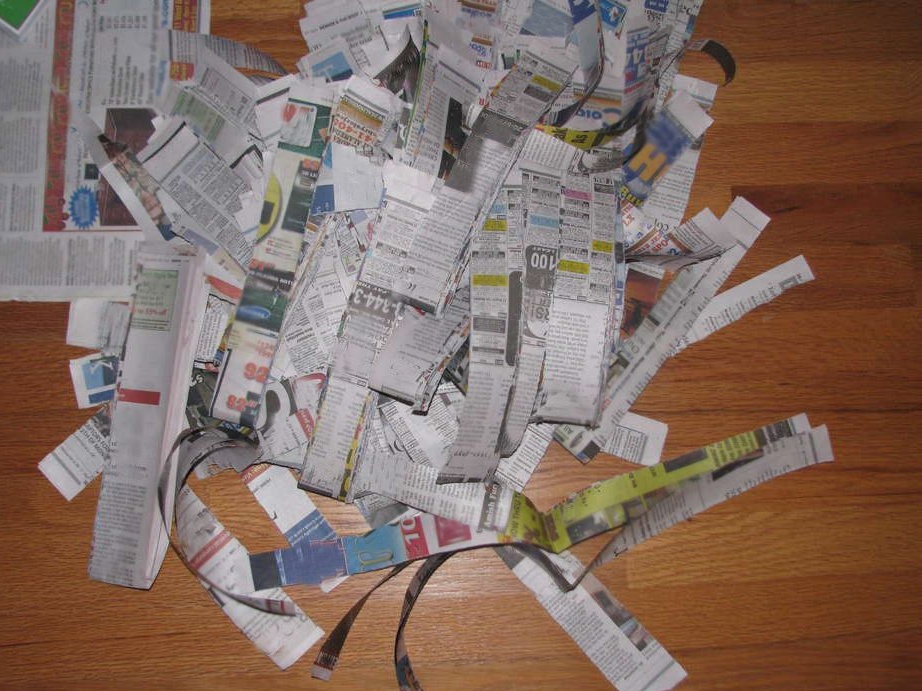
Narrow or cut newspapers into strips approximately 4-5 cm wide for easy gluing. You can not aim too much - the bands do not have to be even and the same. Make sure that the pieces are not too wide, otherwise when glued they will become wrinkled and the work will go awry.
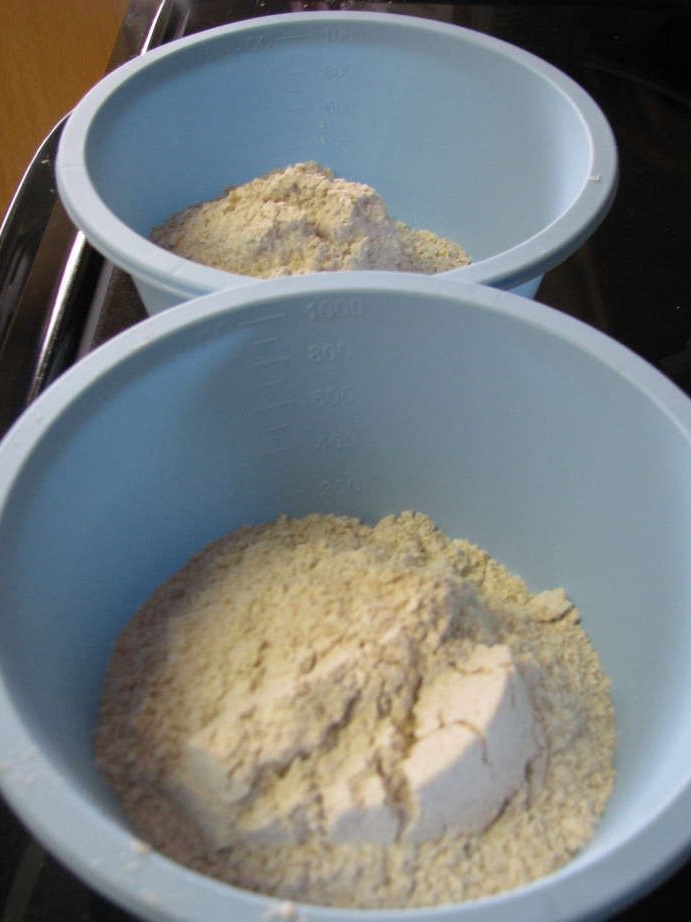
Now prepare the paste for our papier-mâché. To do this, mix a couple of glasses of water and a glass of wheat flour, and then add a pinch of table salt there so that mold does not form in the flour. In this case, salt will serve us as a preservative. The consistency paste should resemble a liquid sour cream. In this form, it will be convenient to apply.
It is better to prepare the paste in several stages so that it does not freeze and does not dry out, since the creation of papier-mâché will take a fair amount of time.
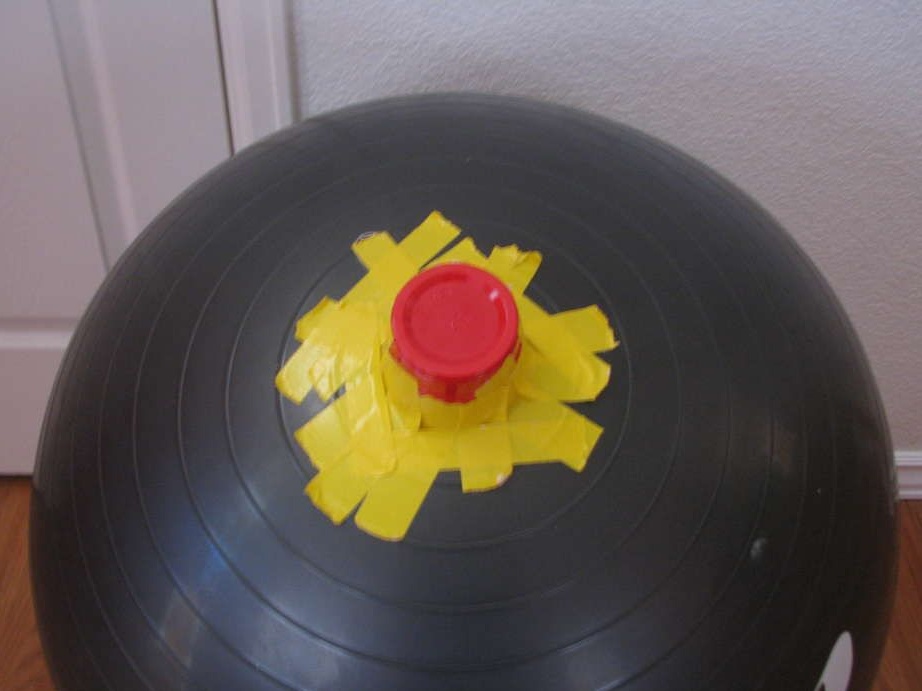
To prevent the ball (and you along with it) from rolling around the house while sticking newspaper strips, put it in a bowl or any other suitable container.
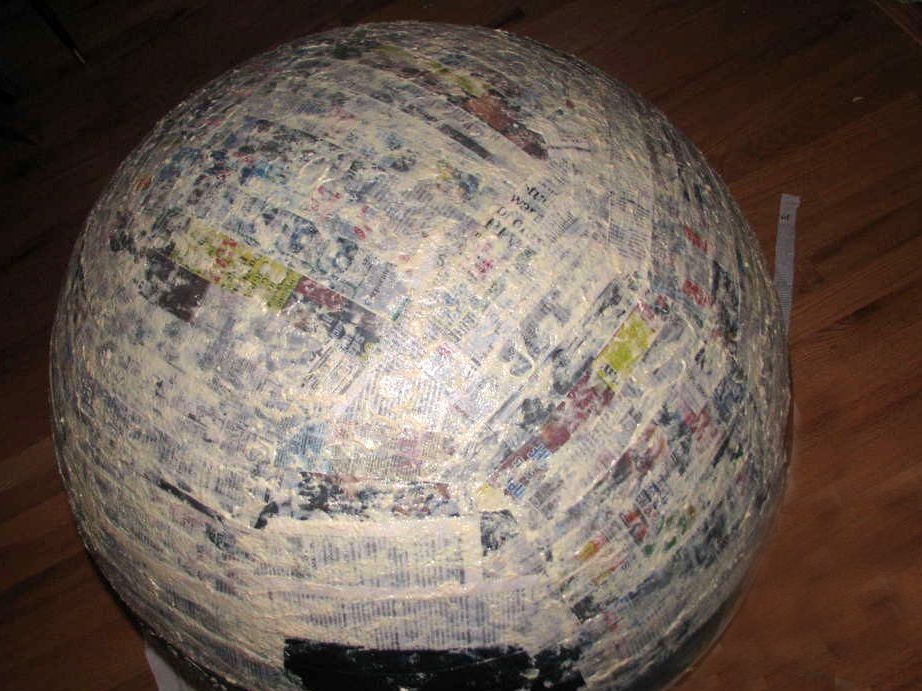
Please note that the paste must be applied on both sides of the strips, and the strips themselves are glued layer by layer - first in parallel and then perpendicularly, thus alternating each new layer.
Also make sure that the newspaper does not go beyond the line of tape.
Newspaper mass should dry for 12 hours. And all you need to do is apply at least 20 layers of papier-mâché. After every second coat, allow the product to dry for 12 hours. As you can see, you will have to be patient, and the process of creating a chair will take at least a week.
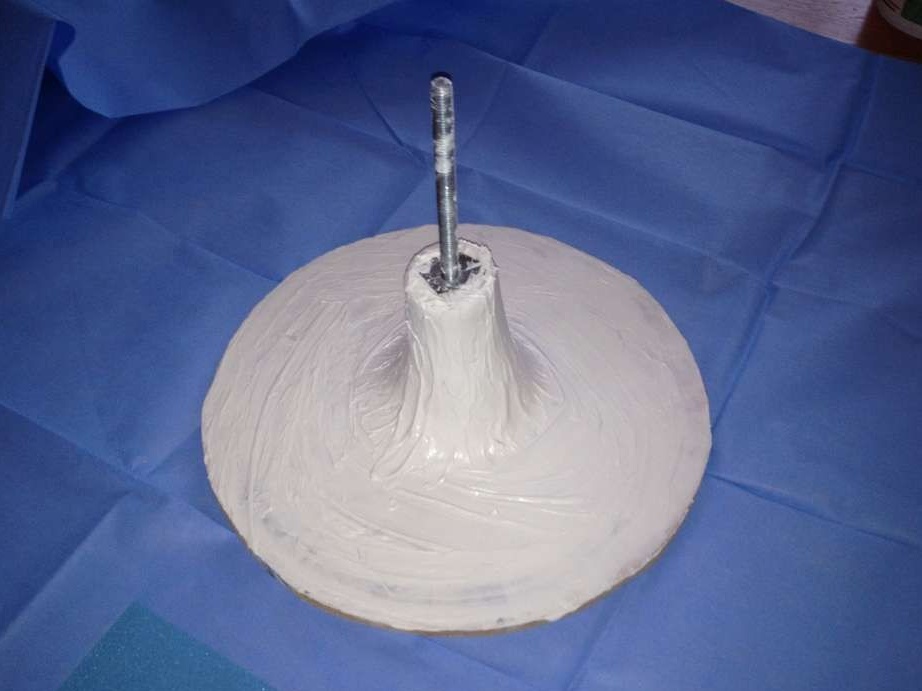
2. The base of the chair
The turn has reached the bottom. Saw the circle from the MDF board. When determining the diameter, consider the size of the chair as a whole - it should be stable, but also proportional. Our circle turned out to be 40 cm in diameter.
Mark the center of the circle and drill a hole. Its diameter should correspond to the size of the nut you selected. Install the nut into the hole and screw the threaded rod into it.
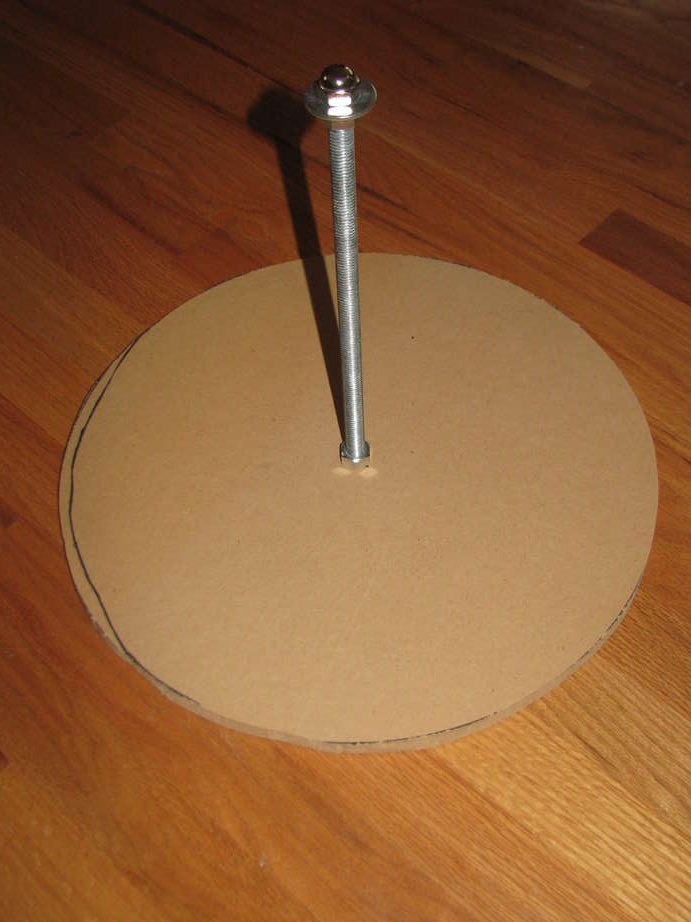
Now install a plastic pipe of the required length. Consider the estimated seating level and overall height of the product.
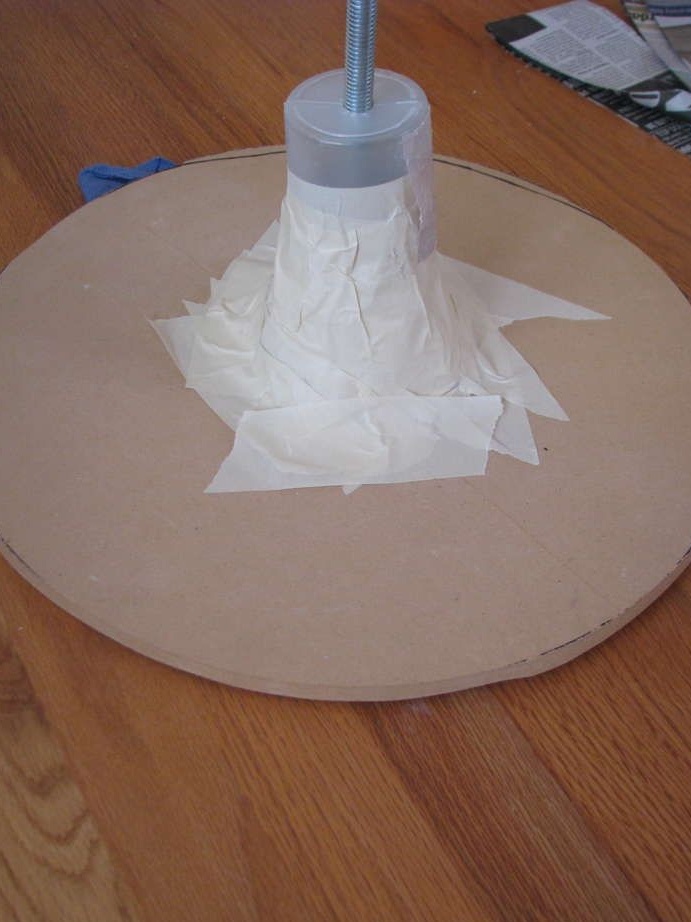
Using newspapers and scotch tape, make a smooth transition from the base to the pipe and glue its surface with several layers of papier-mâché so as to obtain the desired shape.
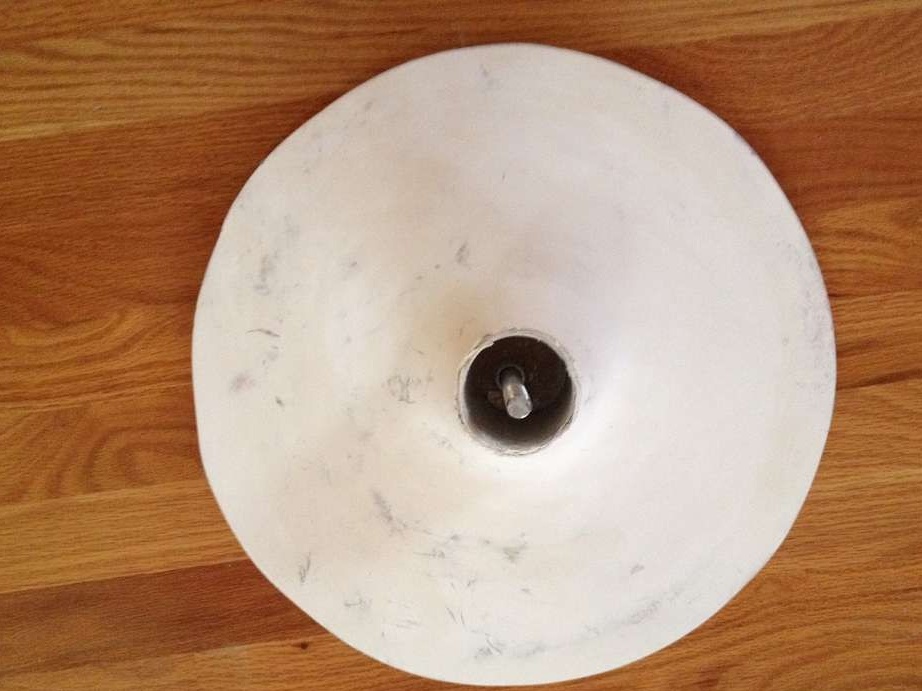
3. Putty
You can already see that our chair is gradually gaining the desired shape. Although at this stage there is a temptation to take out the ball and test the resulting product for strength, this, of course, cannot be done. A little more patience.
You need to evenly apply a layer of putty on the surface of the chair and legs approximately 5 mm thick. Leave it to dry for a day.
It is time to retrieve the ball and see what you get. In order to do this, it must be deflated.
Now apply a layer of putty on the inside of the chair. It can be much thicker than the outside. Note that the putty that was frozen on the outside may begin to crack, but you should not worry about this. Just leave it to dry for another day.
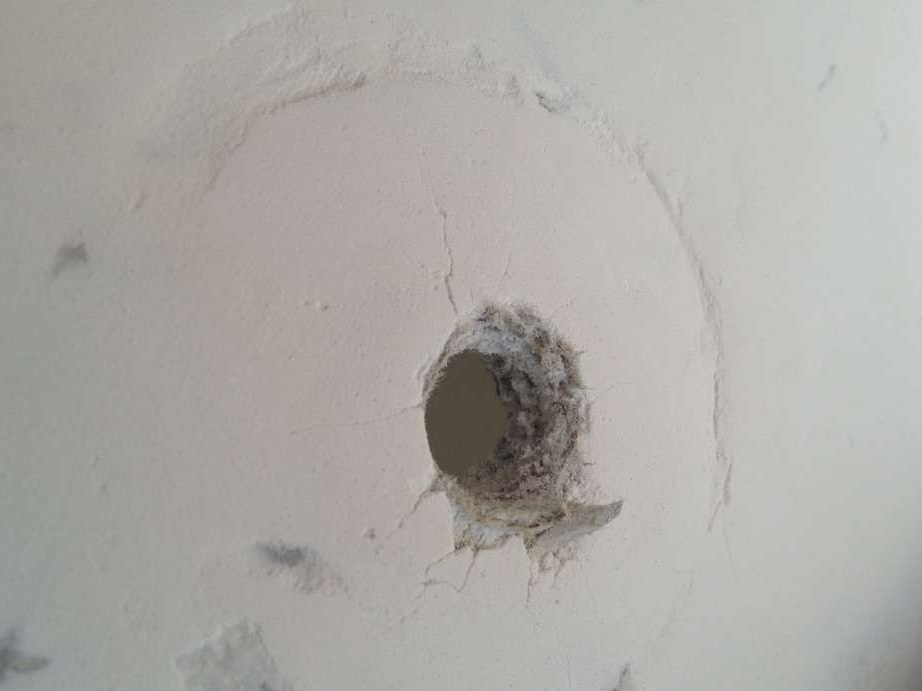
4. Grinding
Grinding as usual should be started with a larger sandpaper. Grinding inside the chair makes no sense, since the inner surface will not be visible. In the process, you can detect small voids on the surface. Do not pay much attention - it will turn to them.
When the first grinding stage is completed and the seat has acquired the necessary shape and shape, fill the voids formed with putty. Leave to dry completely.
Sand the surface of the chair and legs again, but this time with fine sandpaper and as carefully as possible.

5. Painting
Spread the workplace with some unnecessary material so as not to stain anything and proceed to the next step. Paint the chair in the desired shade. In our case - white matte paint. For uniform application, it is advisable to use spray paint. Apply the first coat of paint, wait for it to dry and lightly sand it. Repeat the whole process at least a couple more times. So you achieve a dense, abrasion resistant coating.
Leave the chair to dry for 24 hours.
However, painting is just the base. To achieve the most aesthetic appearance, apply epoxy enamel. It will fix the previous layers of paint and give the product completeness.
Wait for it to dry again.
6. Foot assembly
Take a good look and drill a hole in the seat in the place where you want to install the leg. Please note that its diameter must match the diameter of the threaded rod.
Place the base on the chair and determine in which place the threaded rod needs to be sawed off. Saw off the excess and fix the leg on the chair.
7. Foam rubber
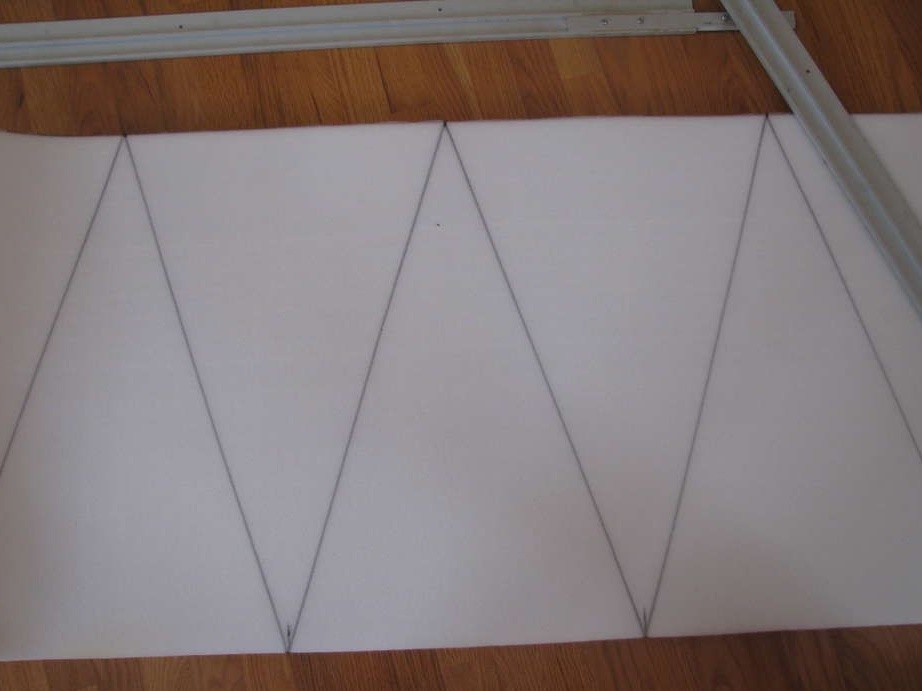
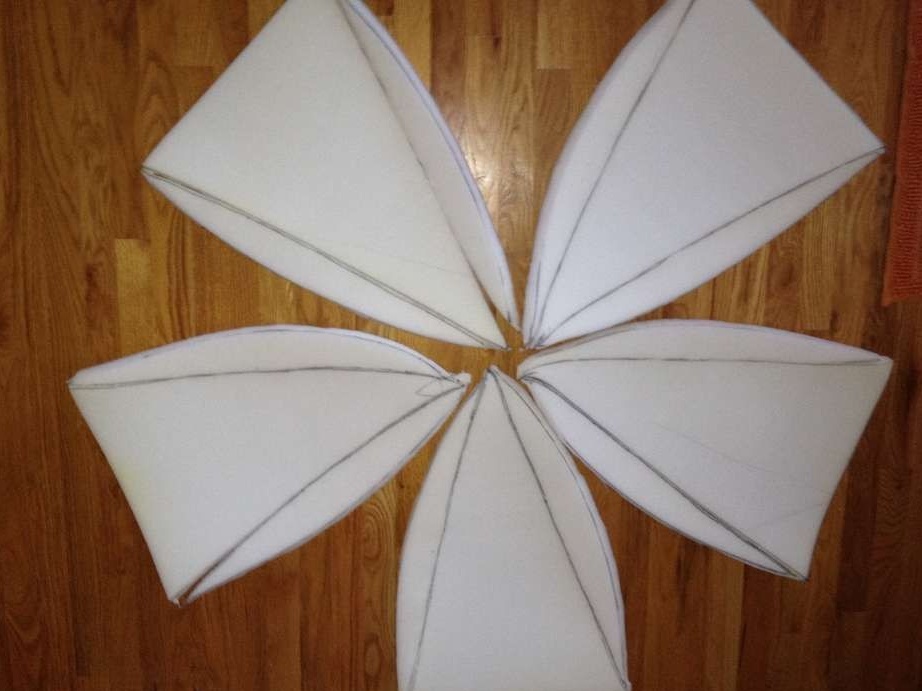
In order not to return to the school course of geometry and not to go into exact calculations, take a tape measure and measure the circumference of the opening in the chair. Divide the resulting figure by 5. On the foam rubber, postpone the resulting length five times. At these points, draw five isosceles triangles, as shown in the photo.The height of each of them will be 1 meter.
Cut the triangles with a sharp knife and spread them on the inner surface of the chair so that their tops are in contact. You will see that there are spaces between them in the form of “petals”. Transfer the outline of such a “petal” to a piece of paper.
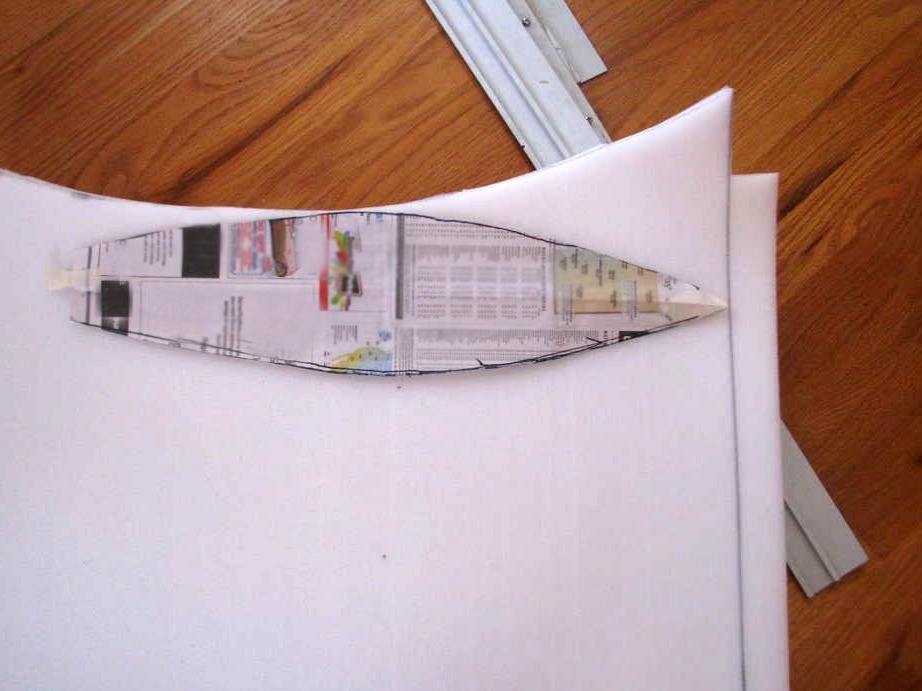
You have a template. With a knife, cut five “petals” of foam rubber on it.
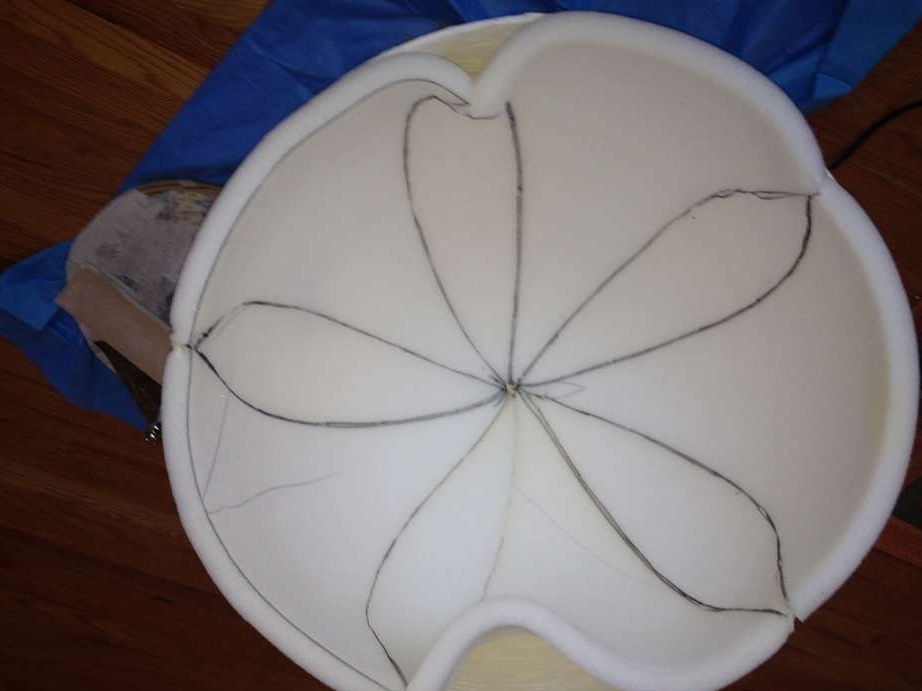
Now, so that we get the base for a chair of a spherical shape, you just have to grind the “petals” and triangles together.
Do not laugh, but now take the foam base and carefully cut it into five parts so that the cuts pass along the axes of the “petals”.
8. Upholstery
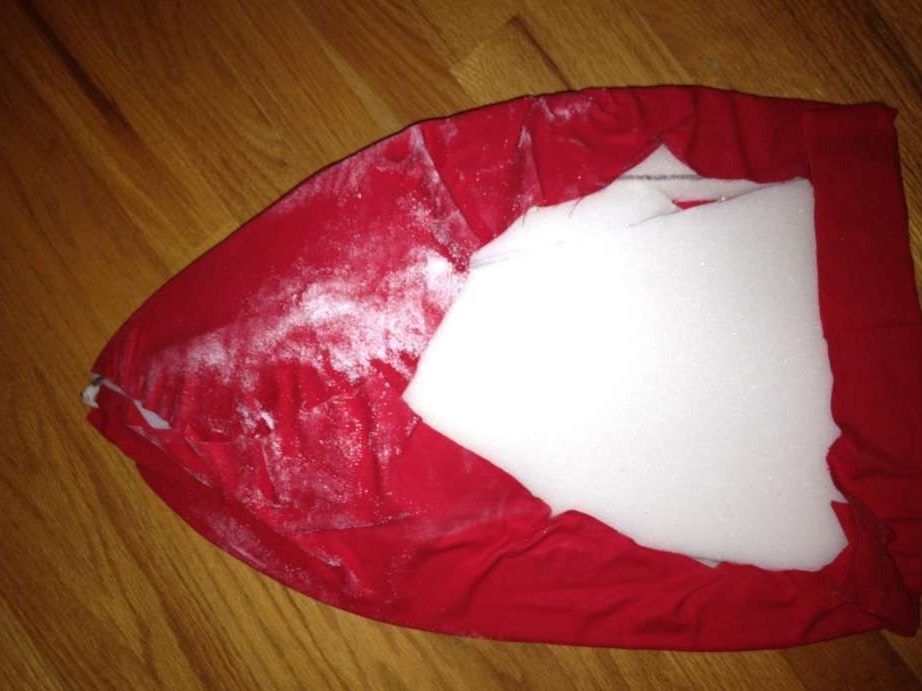
Lay the resulting foam blanks on the fabric of your choice. Outline them with a marker along the contour, adding 5 centimeters to the allowances. Cut the fabric along the lines.
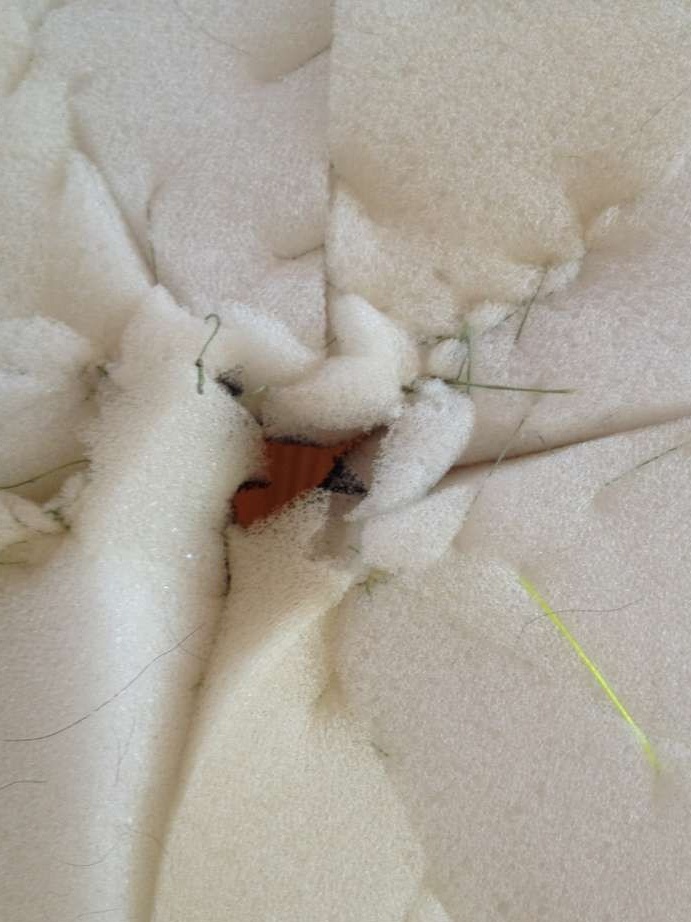
Lay the foam so that the seams on it are on the back.
Apply glue to the foam and glue the fabric. Remember that the foam must be treated with glue, otherwise spots will appear on the fabric.
Turn the resulting part upside down with foam rubber. Apply glue along the edges from the wrong side and wrap the fabric. During gluing, try to evenly distribute the resulting folds. Give the workpieces a little time to dry and proceed to the final stage.
9. Fabric ruffle
Apply glue evenly on the inside of the chair. Starting at the bottom, lay down the details of the upholstery, gently pressing them to the base.
Turn to the tape measure again and measure the circumference of the chair opening. Measure and cut the cord of the resulting length.
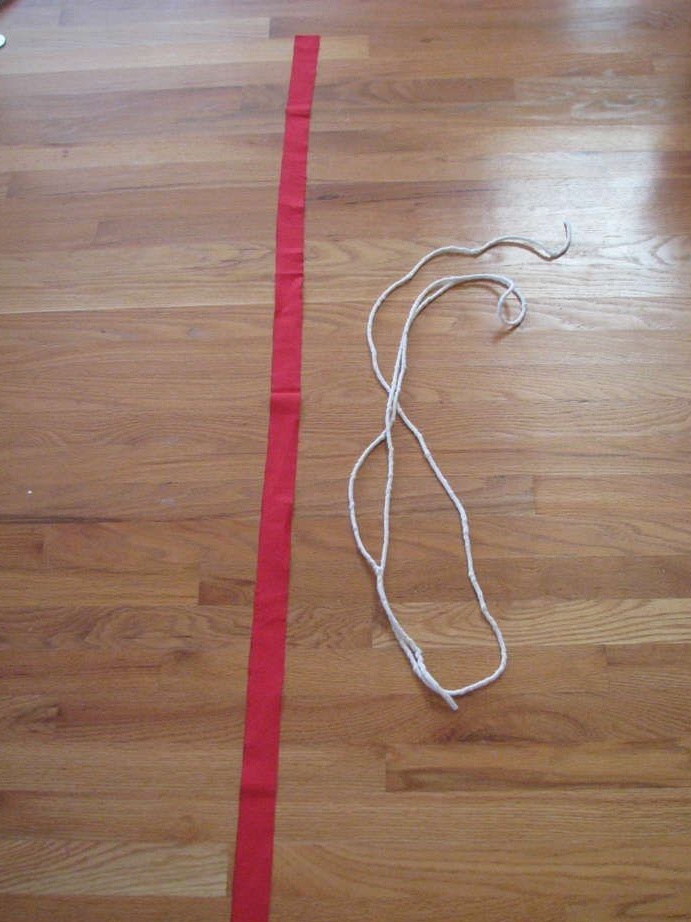
Cut a strip of fabric and wrap the cord tightly.
Join and sew the edges of the strips. Trim the excess fabric. Glue the decorative cord around the perimeter of the opening, covering the seam.
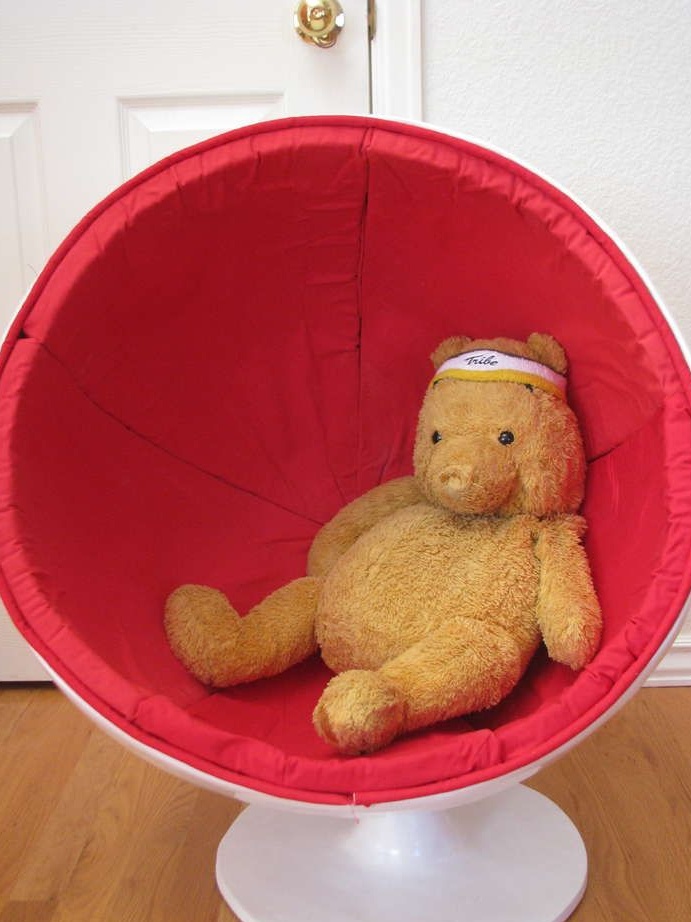
Our chair is ready! Hurry up to surprise your guests and loved ones.