
To try your hand at restoration of furniture and to get the first skills necessary for this, restore the old table to begin with. If in your attic there is no such good - it does not matter, on the Internet you will find a lot of ads for the sale of tables at the lowest prices from people who dream of getting rid of them.
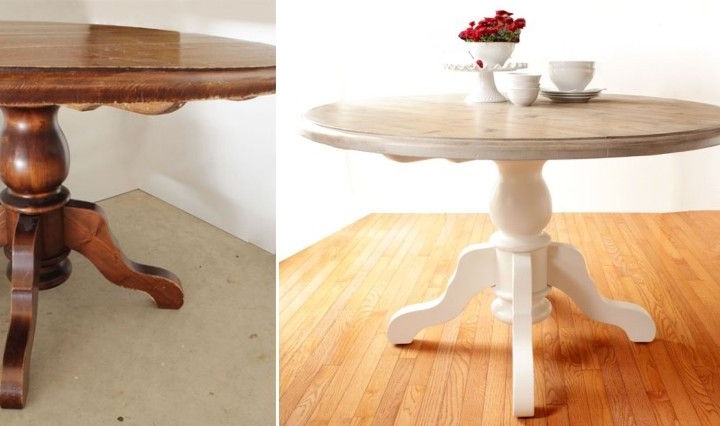
Of course, it is better to choose a table that has a small, but still artistic value. It is much more interesting and pleasant to work with such furniture. In any case, the end result will please everyone. If in doubt, take a “before” and “after” photo, and you will see how the table received a new life with the help of your hands.
Be patient and get ready to make a couple of mistakes. Do not rush to be upset about this. Consider this your training project.
You got a table and we we can start restoration.
You will need such materials and tools:
- the hero of the occasion is the old table;
- paint;
- water-based varnish;
- solvent for degreasing the surface;
- putty;
- sandpaper of coarse and fine granularity;
- self-tapping screws and furniture bolts (as necessary);
- rubber putty knife;
- brushes for applying varnish and paint;
- roller for applying paint to the countertop (you can use a brush);
- clamps;
- grinding machine (you can do without it).
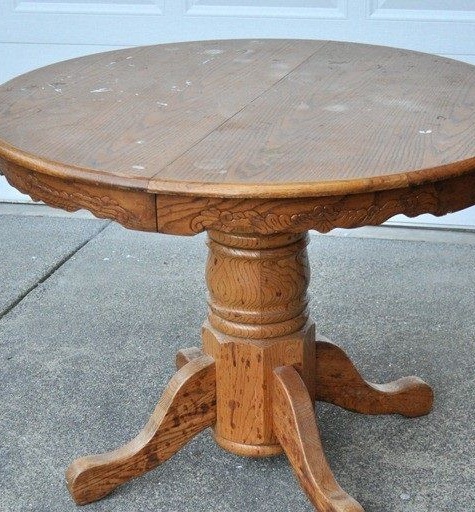
1. Inspection, defect determination and repair
Start by looking at the table and evaluating its general condition. Find defects; old furniture always has them. On our table, for example, cracks and scratches were found. In addition, in some places the varnish has worn off, in others it has cracked. All this will have to be fixed.
With the legs luckier. They do not stagger and do not hang out, which means that we do not have to disassemble the entire table. If you are less fortunate, it’s even better - correcting the situation, you will get useful repair experience.
Inspect the foot mount. If this is a screw connection, you just need to tighten the screws and watch the table. Will begin to stagger again - replace the screws.
If the leg is attached to the table with glue and it is loose, then the glue has dried out. To correct the situation, disassemble the table, thoroughly clean the connection surface from the remnants of the old glue and, according to the instructions, apply a new layer. Secure the leg with clamps and leave to dry completely for a day.If the design allows, attach it additionally with self-tapping screws, and even better with furniture bolts.
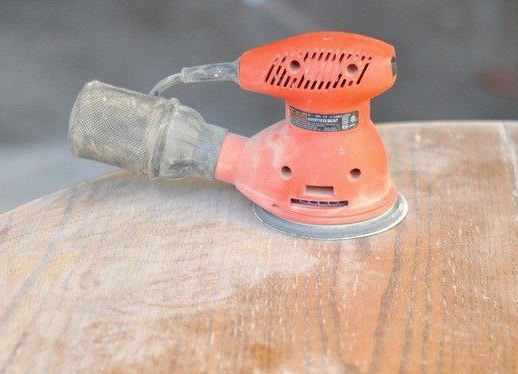
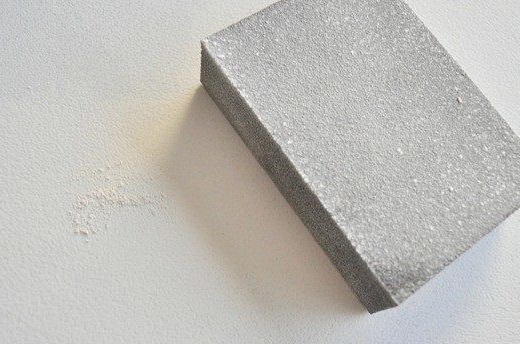
2. Grinding
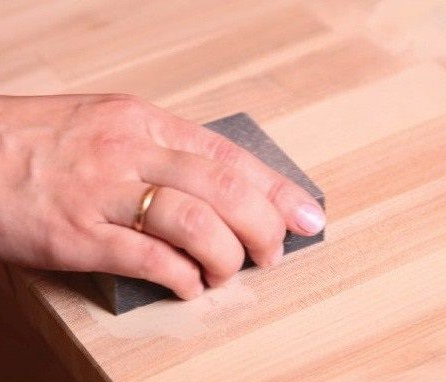
The repair is over, and you can start grinding. To do this, use a grinding machine. If this is not the case, take coarse and fine grit sandpaper and sand it by hand. However, depending on the type of wood and the degree of damage, such manual work can take a lot of time and effort. But there are also positive aspects. For example, without the necessary skill, you will not be able to spoil the product during operation, and manual grinding will allow you to feel the material and get concepts about some of its properties.
We used a grinder. First, walk along the surface of the table with a nozzle with coarse paper. Grind carefully, without pressure and special efforts. To get started, feel the material. Now move on to a smaller grain paper to make the surface as smooth as possible. Remove any remaining paint and varnish.
Grinding curly parts is carried out exclusively by hand, so as not to damage the terrain. Only in cases where the design does not allow this, do electric tools with suitable nozzles be used.
After grinding, be sure to remove all dust from the surface of the table and workstation. Use a vacuum cleaner.
3. Putty
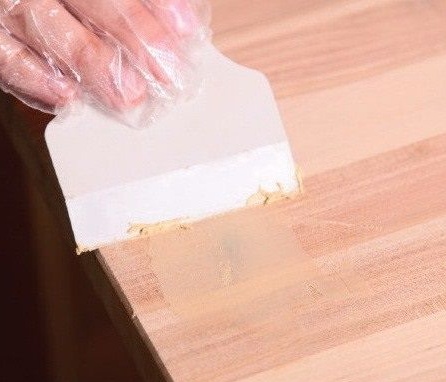
All deep defects, whether scratches or dents, which could not be eliminated during the grinding process, should be puttyed with special hard putty on wood.
To do this, use a rubber spatula and putty on damaged places. Wait for it to dry completely and sand the surface thoroughly.
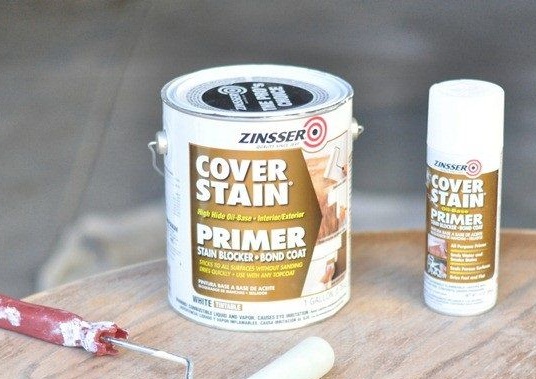
4. Coating
We proceed to surface treatment with paints and varnishes.
You can combine the coating on different parts of the table. For example, we decided to paint only the lower part of it, and treat the countertop with a stain and open it with varnish.
Start with a countertop. Cover it with a stain of your chosen tone and leave it to dry completely to correctly evaluate the resulting shade. If the tone does not suit you, apply another layer and wait for it to dry again.
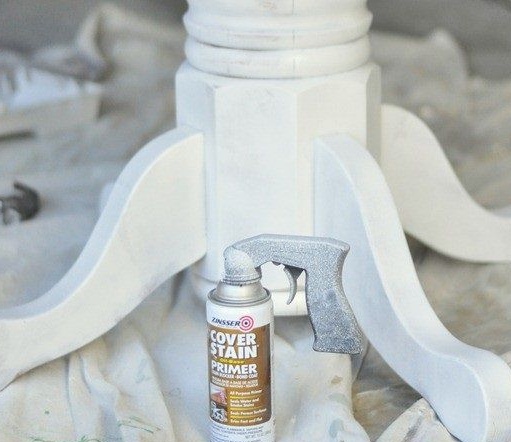
Now you can start painting the bottom. Turn over and set the table in such a way that it is convenient for you to work and in the process of work does not have to shift it from place to place.
We advise degreasing the surface of the painted elements with a solvent. This will remove from it everything that interferes with better adhesion of the coloring materials.
Surely, you have already decided on the color scheme of your future table, and we have chosen for our own white matte paint in a warm tone.
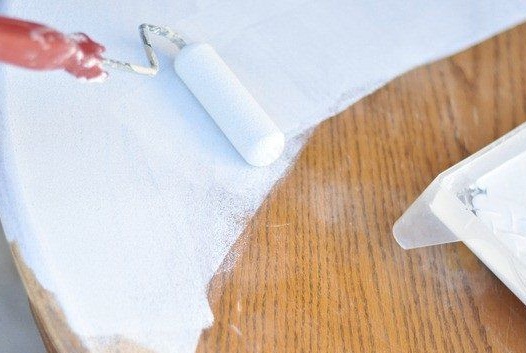
Paint one element and only then move on to the next so that the coating lays evenly. Allow the first layer to dry completely and sand the surface with fine sandpaper to achieve micro-scratches. Apply a second coat of paint, wait for it to dry and sand again.
Let there be at least three such procedures, and even better 4-5. Sanding helps each new layer of paint to penetrate the previous one without forming a thick layer. Thus, at the exit we get a very durable coating, which will last for more than a decade and protect the table from mechanical damage and other external influences.
To fix the result, apply water-based varnish. It dries quickly, is relatively safe and does not have the unpleasant odor characteristic of other types of varnish. Apply varnish with a brush, each time picking it up a little so that smudges do not form.
Also varnish the countertop. To achieve a more durable coating, do the same as in the case of paint. In this way, apply at least a couple of coats.
In fact, work is over. Dry the table thoroughly in a ventilated place or a ventilated room to get rid of a specific smell and admire the creation of your own hands.