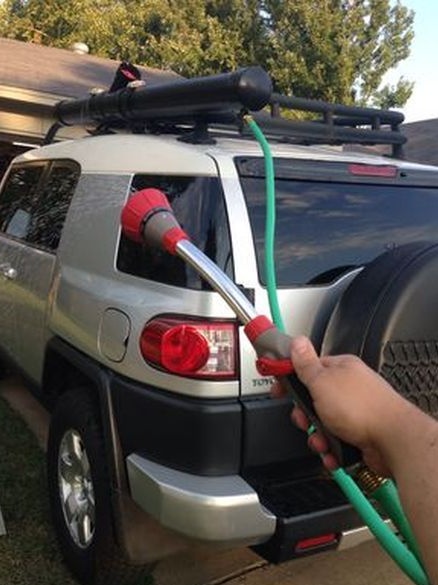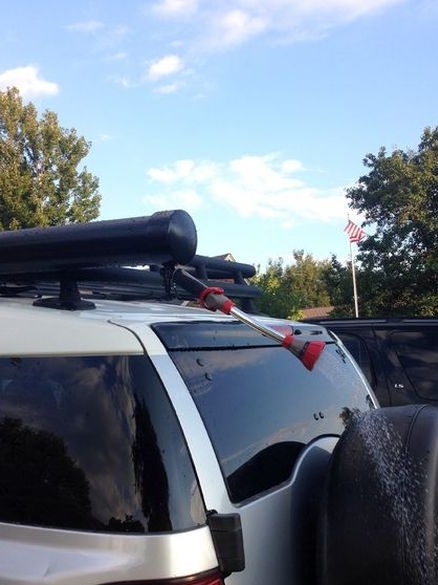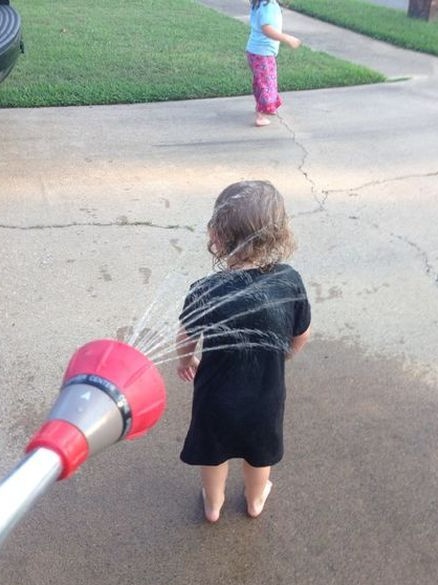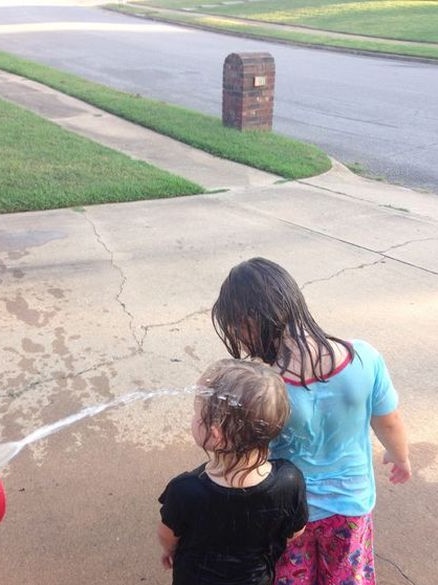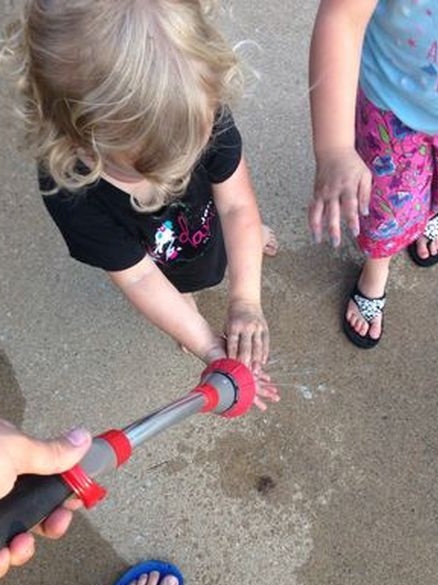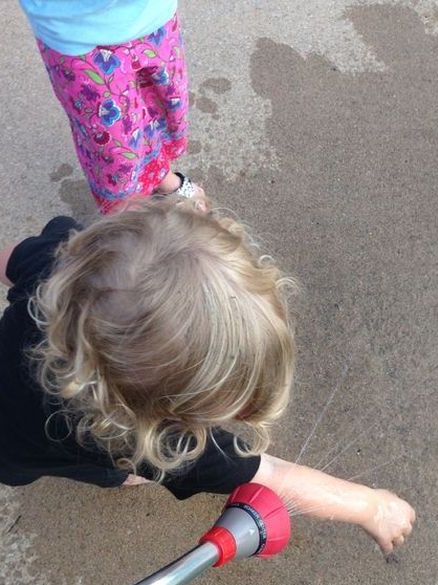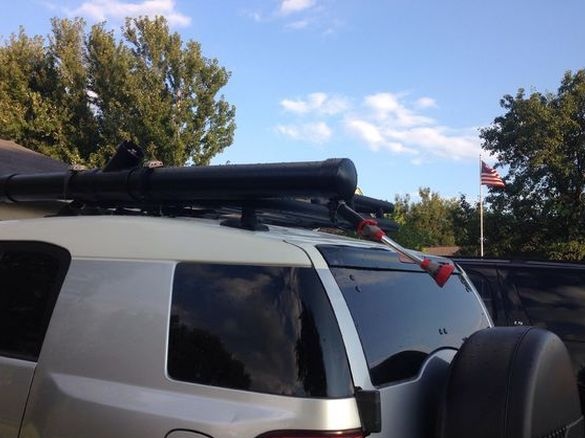
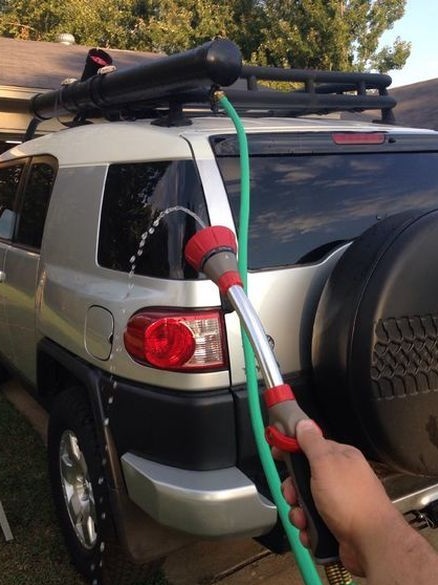
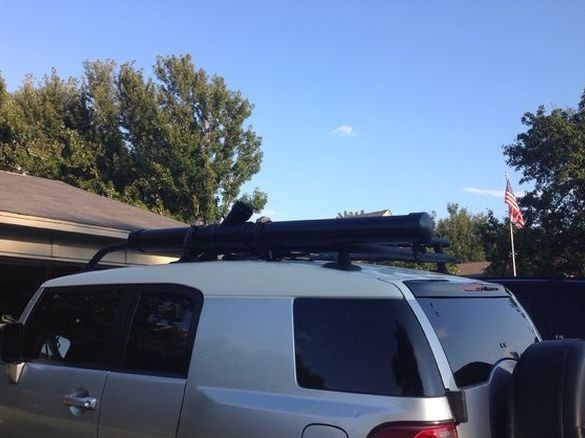
The summer season has come to an end and it's time to start preparing for ... the next summer season. And what a summer without a shower and trips to nature. The author decided to combine field trips and the ability to take a shower. To do this, he decided to make such a shower so that he could fit on the trunk of the car.
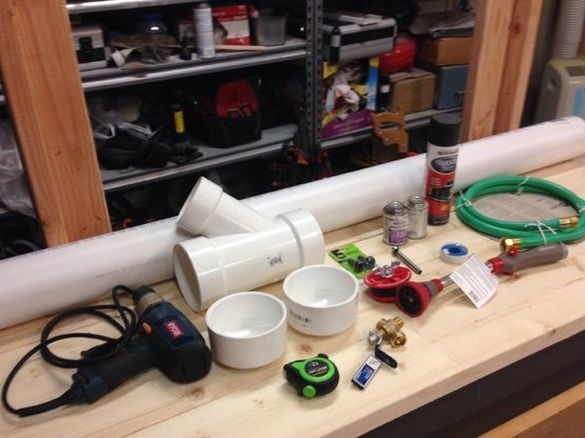
Tools and materials:
- PVC pipe;
-2 stubs;
-Tee;
- The valve is tubeless;
-Crane;
-Safety valve;
-Hose;
-Spray;
-FUM tape;
-Primer;
-Paint;
-Drill;
-Burner;
-Roulette;
- Adjustable wrench;
-Saw;
Step 1: Pipe Connection
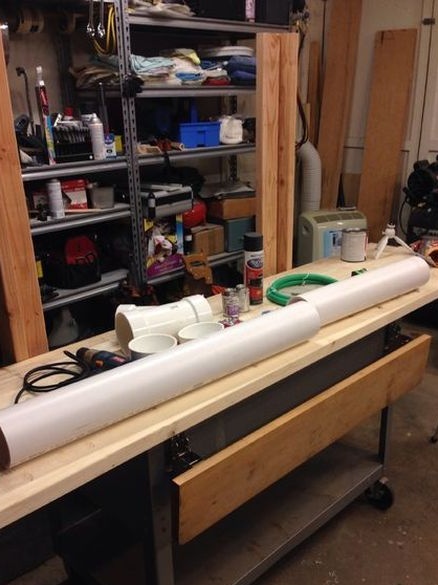
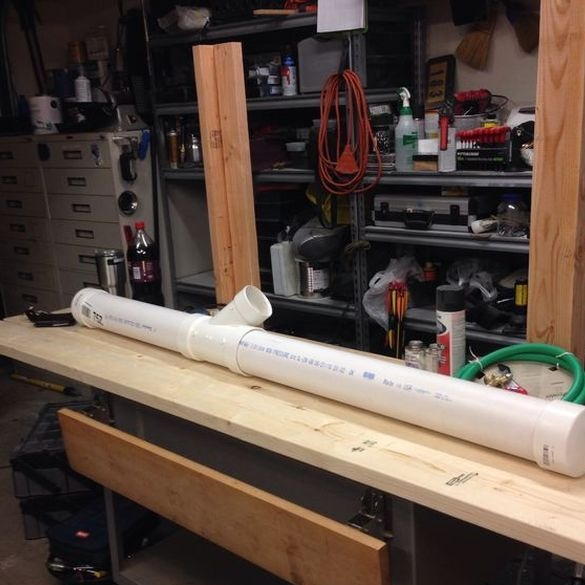
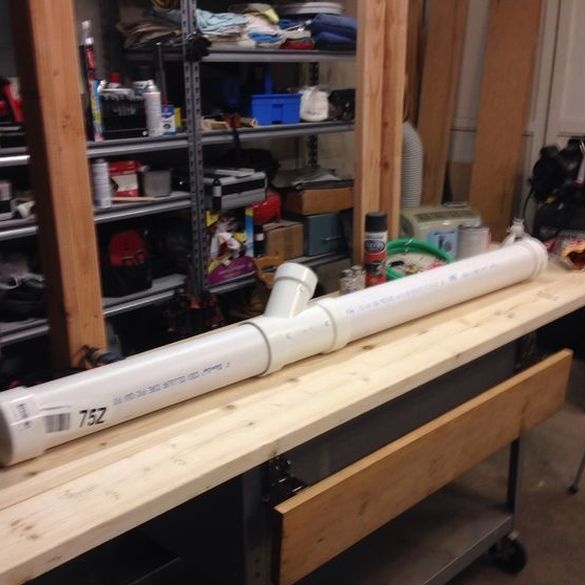
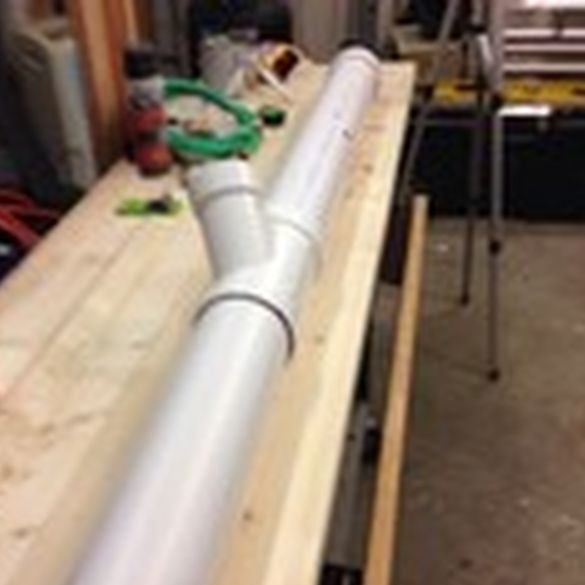
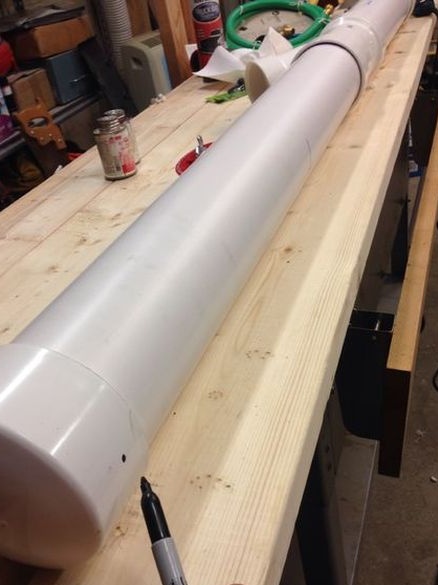
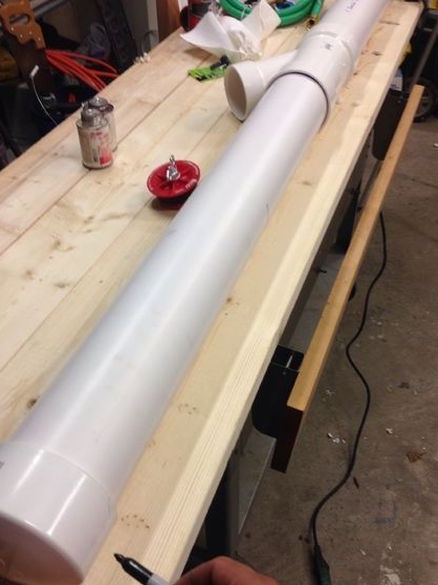
By measuring the trunk of the car, the author of the project, cut off the right amount of pipe. I assembled all the parts and tried on the trunk of the car.
Step 2: Glue the pipe parts together
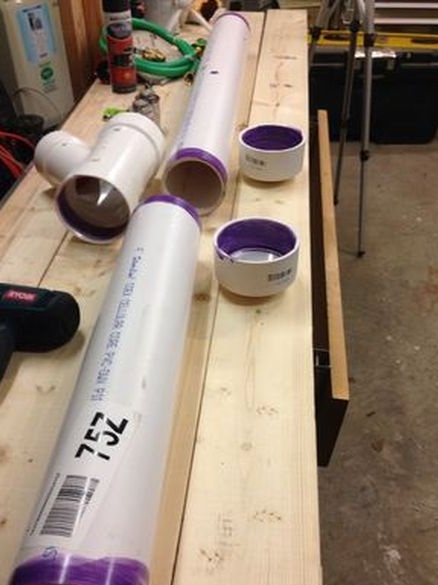
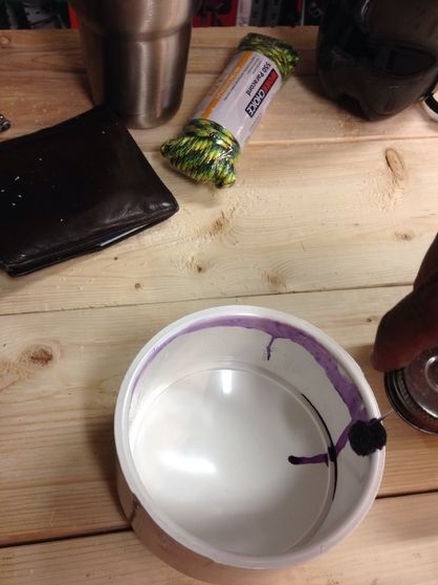
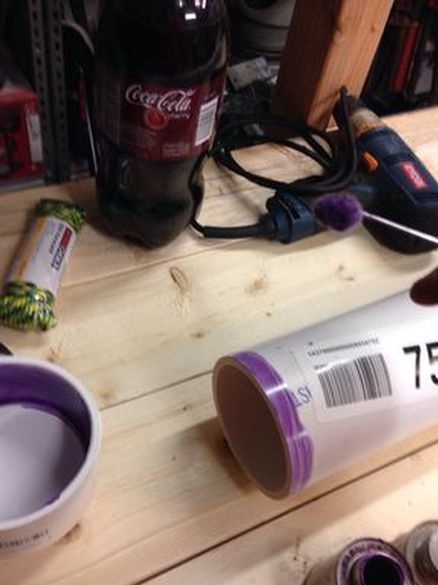
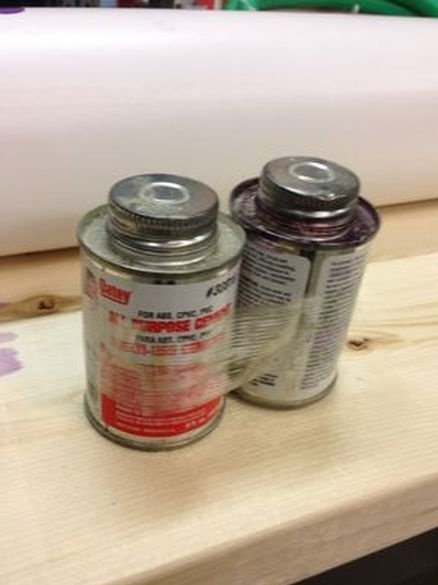
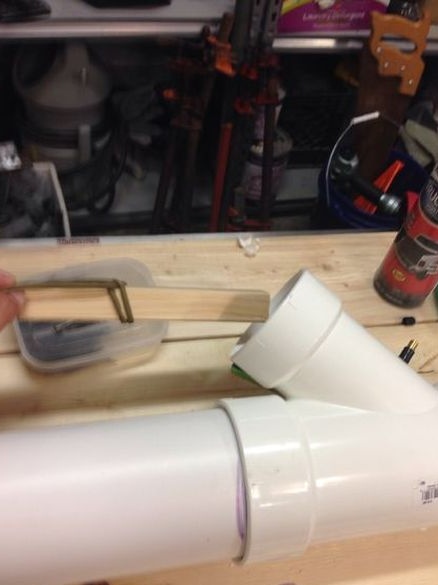
Applies a primer to the bonding points, then glue and connects the parts.
Step 3: Install Stop Valves
Installs a safety valve. The safety valve is designed for 21.6 psi, but the author does not recommend exceeding a pressure of more than 15 psi.
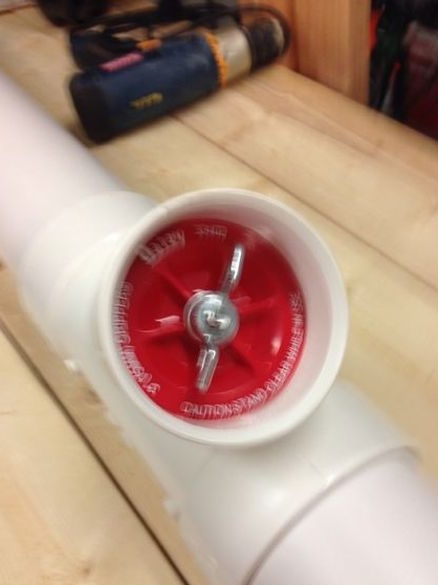
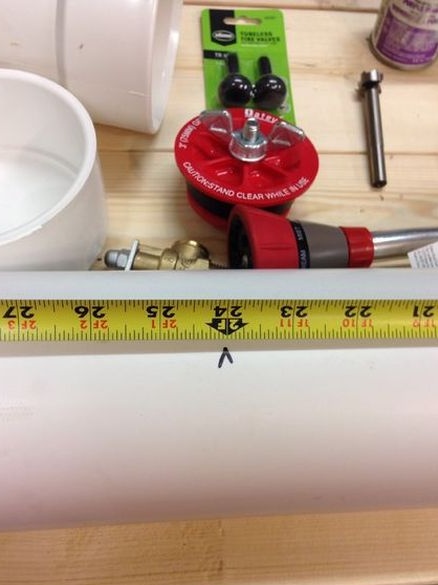
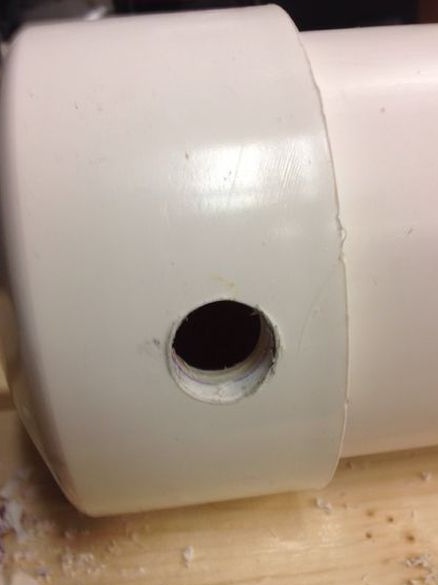
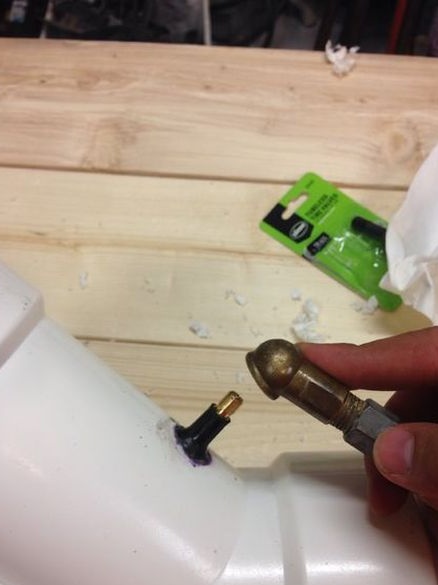
On the tee marked the place for the valve tubeless tires. I drilled a hole and installed a valve.
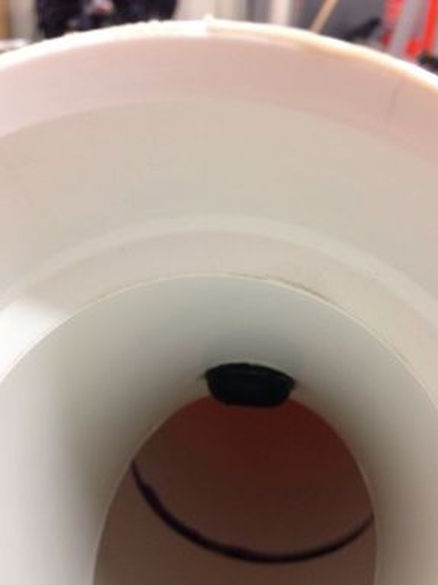
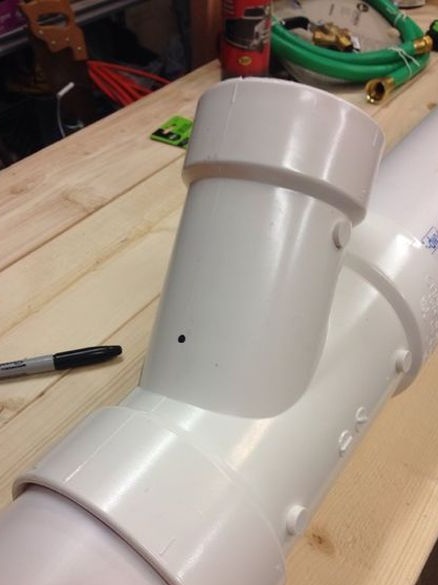
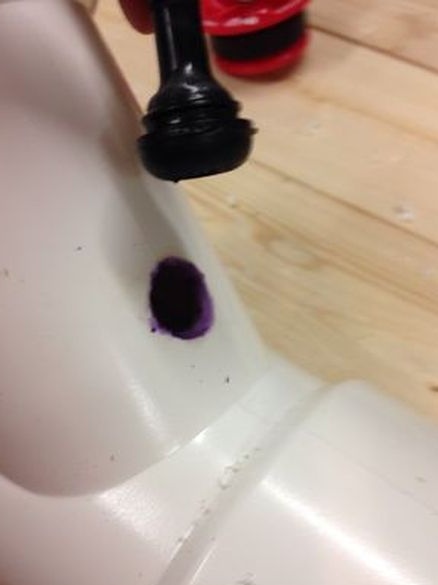
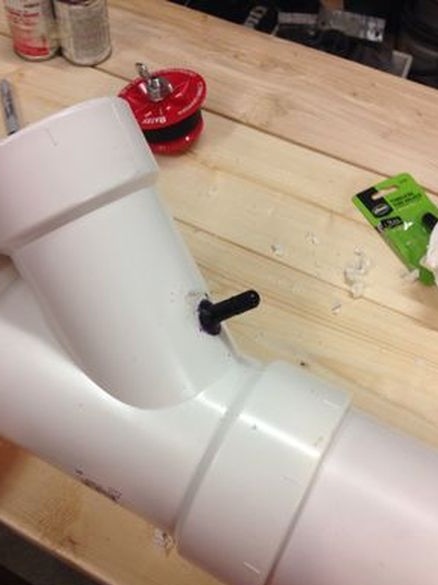
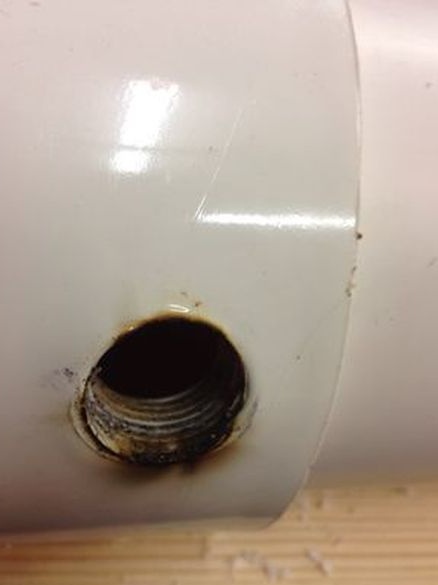
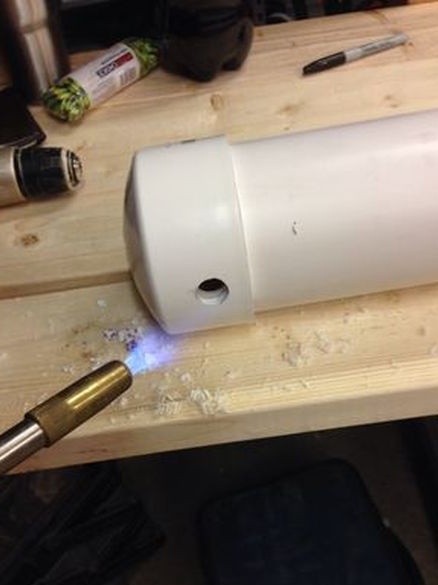
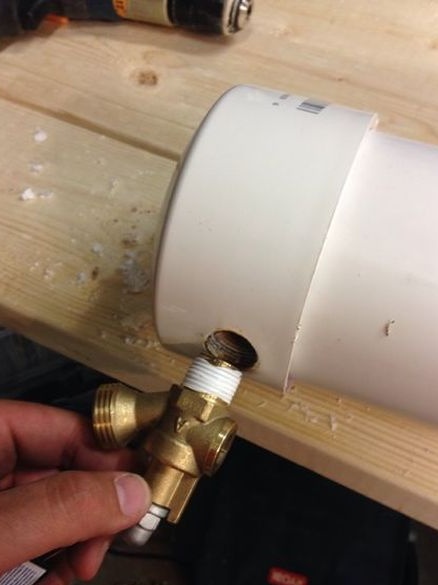
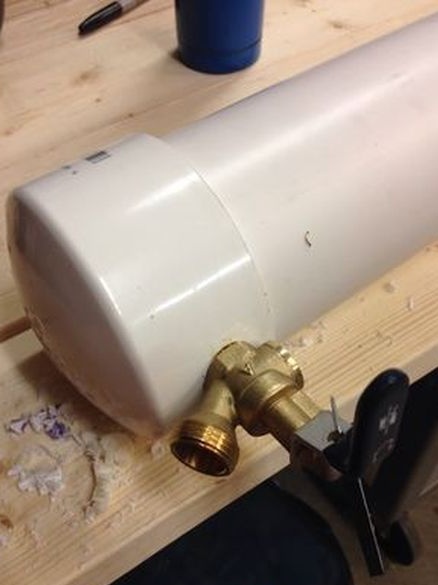
Set the ball valve. He noted the installation location and drilled with a drill of the desired diameter. Then he warmed the hole with the burner and cut the thread with the threaded end of the tap. I wrapped the fum tape, screwed in the tap.
Step 4: Strength Test
Through the valve I pumped air into the fabricated container. A pressure test of 15psi showed that all nodes and connections hold firmly.
Step 5: painting the pipe
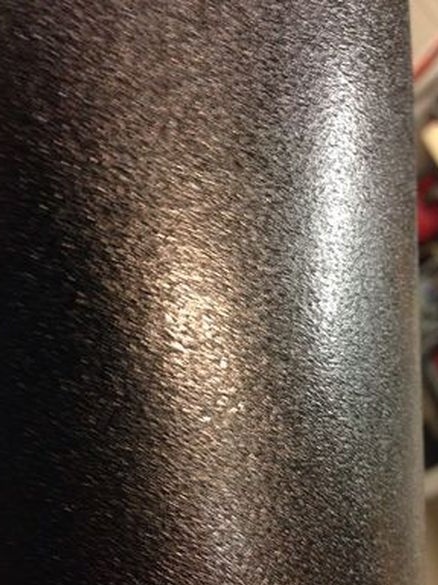
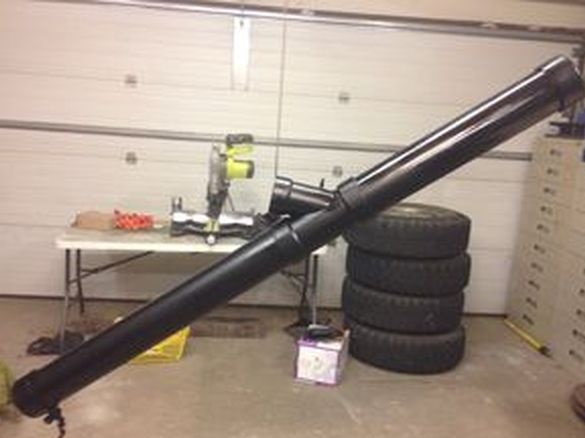
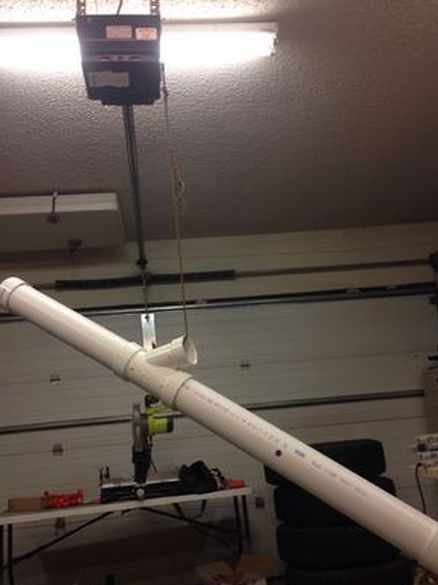
So that the shower does not stand out against the background of the car and the trunk, the author decided to paint it black. He hung up the pipe and covered with spray paint.
Step 6: Installing and refilling the shower with water
Sets the shower on the trunk and fixes it firmly.
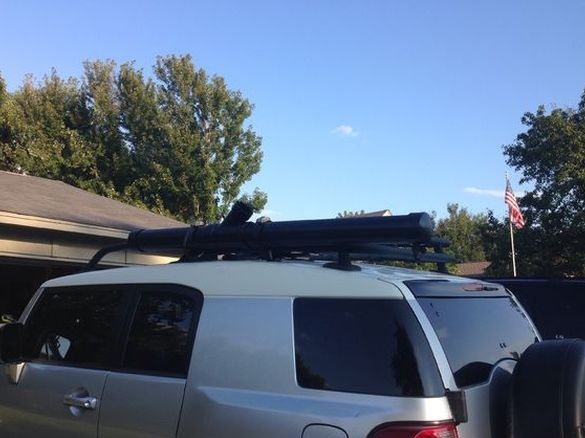
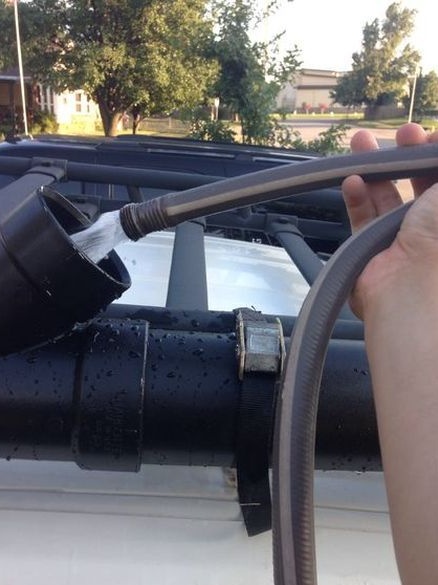
Having removed the safety valve, it fills in water and replaces the valve.
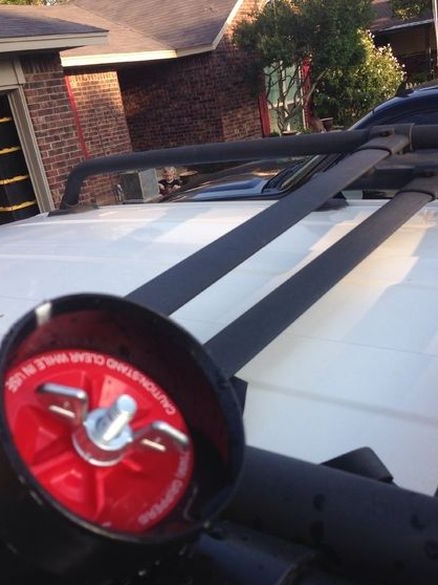
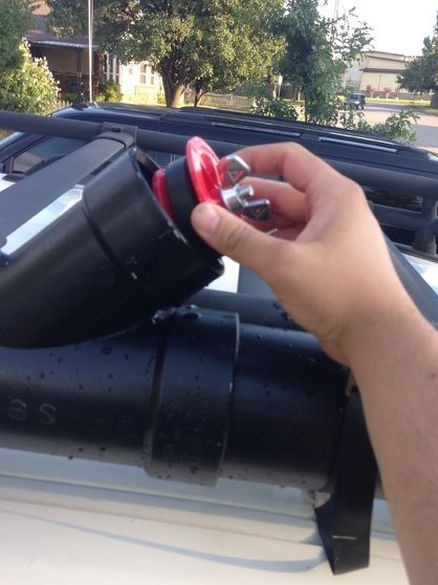
Through the valve pumps air.
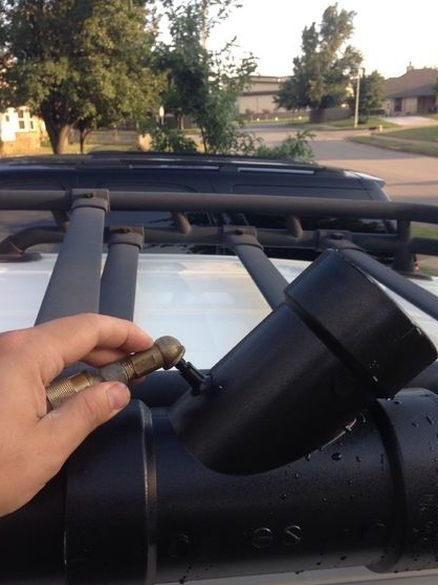
Connects a spray hose.
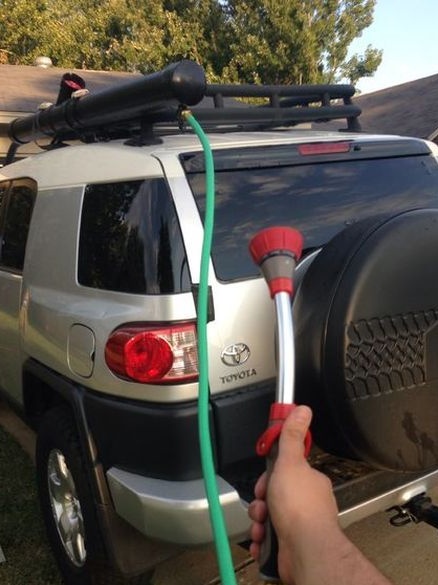
Now you can use the shower.

