
If you are a true connoisseur of coziness and comfort, but still have not got a hammock - you lose a lot. But it’s not too late to fix the mistake. You can, of course, buy a hammock in the store - and that’s the end, but you must admit, it’s much more pleasant to make it yourself and acquire another useful skill.
This work is not as difficult as it might seem at first glance and does not require special skills and expensive tools. The main thing is to get a detailed manual. This workshop will help you with this, where we will tell and show how to make a hammock. do it yourself.
In order to make a hammock you will need such materials and tools:
1. Materials:
- at least 2.5 m. of dense fabric (can be canvas);
- eyelets (about 20 pcs.);
- a pair of bars of solid wood with a section of 30x50 mm. (note that the length of the bars = the width of the future hammock);
- strong cotton rope of suitable size (about 35 meters);
- a pair of large metal rings;
- strong threads.
2. Tools:
- scissors;
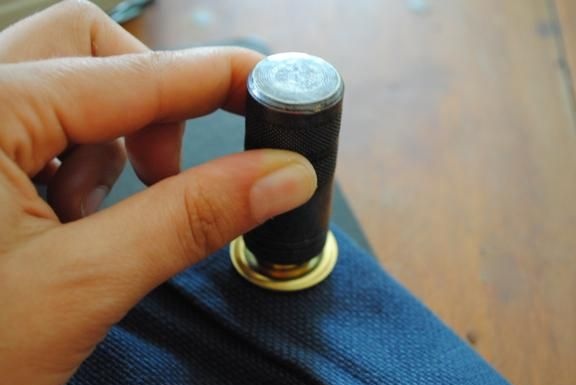
- tool for installing eyelets;
- drill and drill 12 mm .;
- a sewing machine (in extreme cases, you can do without it or use the services of an atelier).
1. Fabric basis
Decide on the fabric for the hammock. It should be tight, wear and have such strength that it could support the weight of an adult. We used canvas cloth, which is usually used in the manufacture of hammocks.
Keep in mind that if you plan to hang a hammock on the street, the fabric should have hydrophobic properties and dry quickly if wet, but the main thing is to be resistant to ultraviolet radiation.
The length of the fabric cut was 2.7 m. We took into account the seam allowance, as well as the allowance for those areas along the edges that are added and remain unused. A hammock of this size will fit for a person up to 1.8m tall.
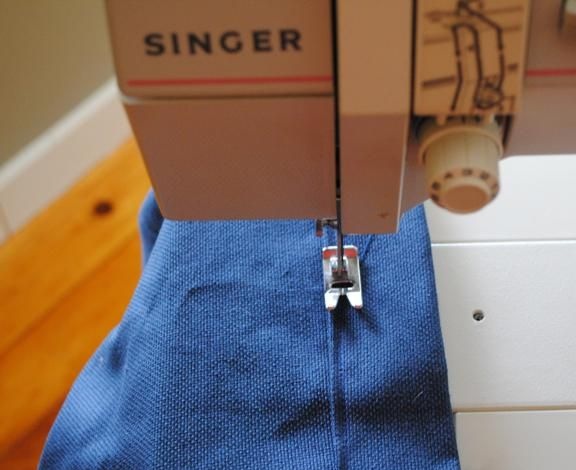
So, tuck and then sew the edges of the fabric. The allowance on each side will be about 6 cm. Do as follows: wrap the edge 6 cm., Iron, fold the resulting edge in half, iron again and only then sew. The side with the bend should be inside out and remain invisible.
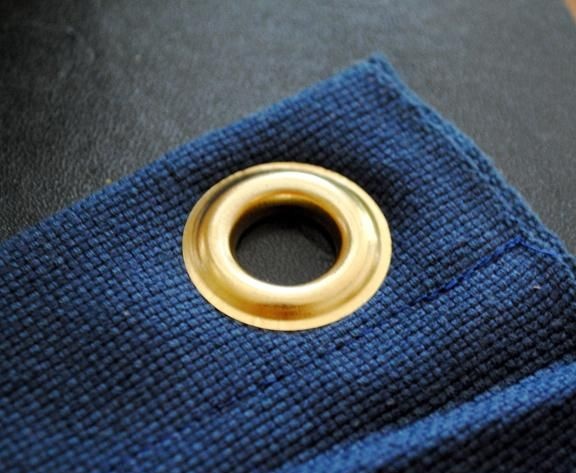
2. Installation of eyelets
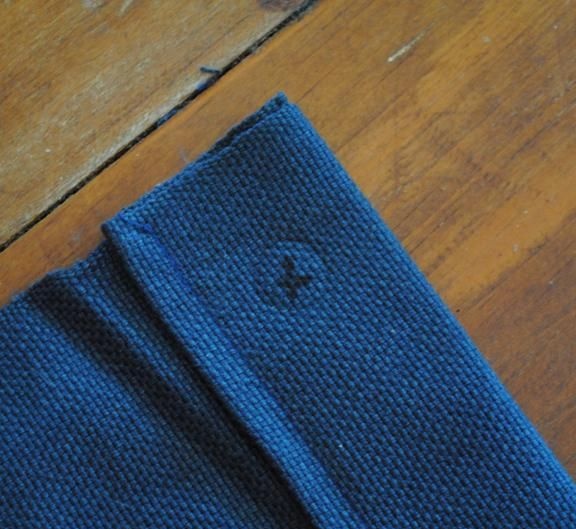
Now that the canvas is ready, mark up the grommets with a marker or a simple chalk. For the same purpose, you can use a small remnant. In our hammock on each side we planned 11 grommets.Make sure that they are located as far as possible at the same distance from each other.
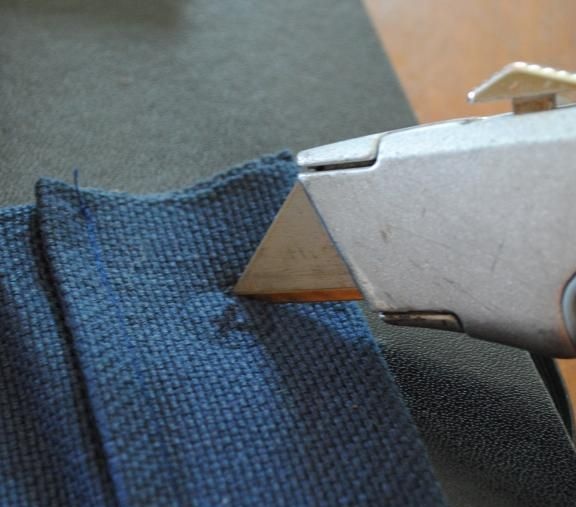
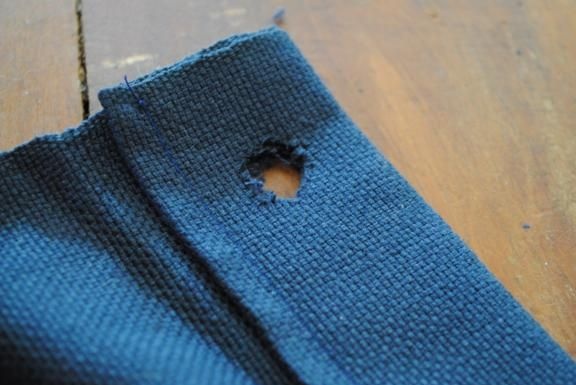
Make holes for the grommets. In order not to purchase special devices, use a sharp clerical knife, as we did. The holes turned out to be far from ideal, but the main thing here is to guess with the size. Please note that
eyelets have a front and back side.
If this is your first time doing this, check out the video below.
3. Making wooden struts
The wooden spacers that will be discussed are bars with holes drilled in them, through which we will later thread the rope. They will not allow the hammock to fold and give it the desired shape.
We have already said that the length of the spacers will correspond to the estimated width of the hammock. The holes in the bars must match the position of the eyelets, so attach the canvas to the bar and mark the places for drilling. Using a drill, drill through holes according to the marked marks.
To give the braces a more aesthetic look, sand them with sandpaper and treat the surface as you see fit:
- linseed oil or natural drying oil;
- paint (choose paint that is resistant to weathering);
- varnish on wood.
4. Slings for a hammock
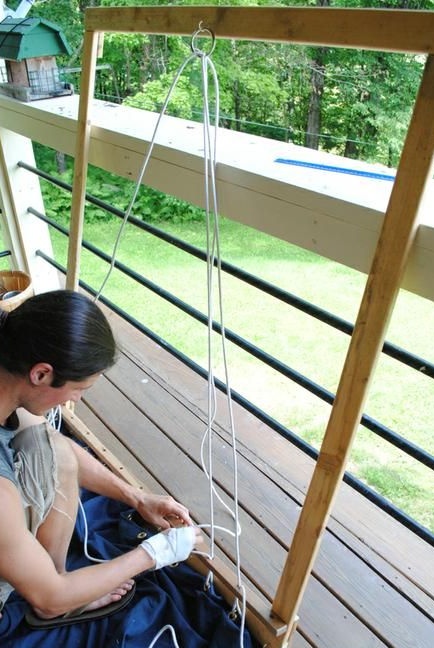
Let's move on to the slings. To simplify the process, it is better to make a special frame, but you can do without it. Just fix the ring, and securely fix the hammock cloth on the floor with something heavy and arrange it in such a way that it is convenient for you to weave the rope into the holes with the eyelets. The main thing is that in the process of work all these elements remain in their places and do not move.
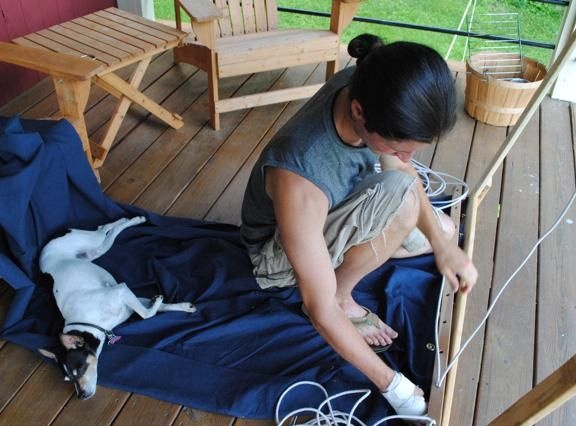
We used the frame. Securely fix the wooden spacer on the frame, but first estimate the estimated length of the slings by moving the block lower or higher from the top of the frame.
Measure the center of the crossbar and securely fix the hook on it with the metal ring put on it. Now start threading the rope and remember that each sling passes through its corresponding eyelet, then through the hole in the wooden strut and ring, after which it returns to its previous position and is threaded into the next eyelet - etc.
Do not forget to tightly tie the ends of the rope at the end of work.
So that the slings do not get confused and look beautiful at the base of the ring, they must be woven. This process is shown in the video below.
If you do not consider it necessary to bother with weaving, simply tie the slings together closer to the base at the ring.
Similarly, repeat all operations on the opposite side of the hammock.
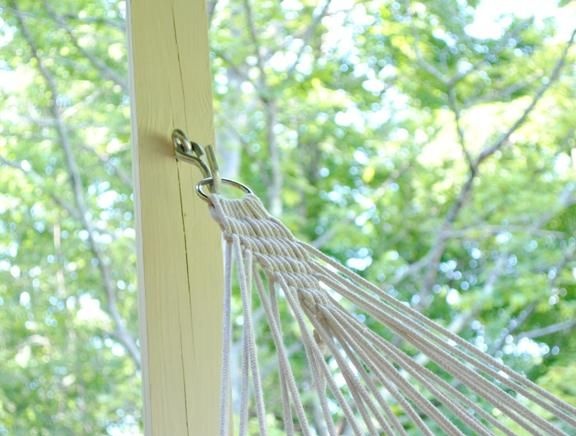
5. Mounting the hammock in a permanent place
Select the two supports on the site and screw the large screw hooks into them. It remains to hang a hammock using metal rings. Most likely you will miss the distance between the supports, so in order to adjust the length of the hammock you will need a couple of pieces of chain and carbines.
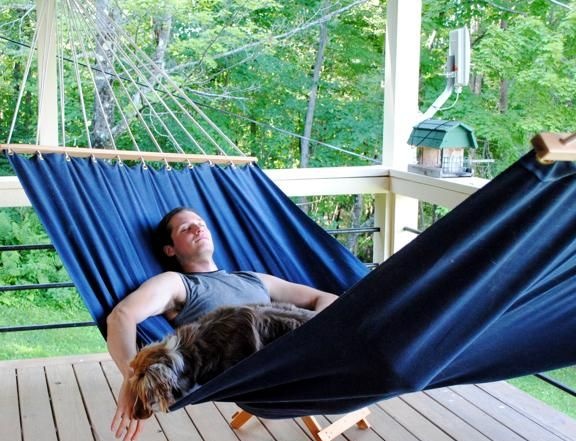
Work is ready- and you can try out your hammock and soak up the sun in the gentle sun!