All unnecessary trash that has not been raised for years to throw out a hand, is in due time in the attic, in the garage or in the country. It accumulates uncontrollably, like the treasures of the landowner Plyushkina, but does not fulfill any role.
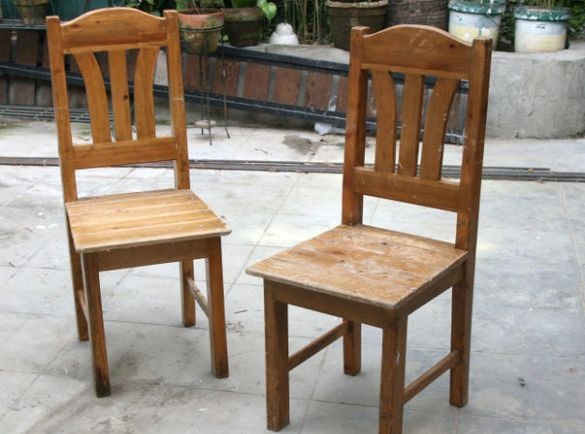
We found several unnecessary boards on the site, processed them properly and made a garden table, which found its place under a canopy near the house. Everything would be fine, but something is missing. So the idea came to my mind to give a couple of old chairs that were lying around in the garage idle new life - to make of them a wonderful bench in a pair to a new table. And they decided to share the experience gained with you.
You will need the following materials and tools:
1. Materials:
- two old wooden chairs;
- paint;
- water-based varnish;
- solvent for degreasing the surface;
- putty;
- sandpaper of coarse and fine granularity;
- self-tapping screws and nails;
- strong threads for a cover;
- furniture foam 40 - 50 mm;
- furniture or any other fabric (can be used).
2. Tools:
- rubber putty knife;
- brushes for applying varnish and paint;
- hammer;
- clamps;
- screwdriver;
- a sharp knife for cutting foam rubber, scissors;
- grinding machine (you can do without it);
- sewing machine.
Step 1: Finding Material
So, we need a couple of unnecessary shattered grandma's chairs, which are surely languishing in your garage or pantry. In any case, in the flea market you can find and purchase such for a penny.
In addition to chairs, prepare boards for the bench frame and plywood, from which we will make the base for the seat, as well as a shelf under it. The latter can be very functional.
Step 2: preparing materials
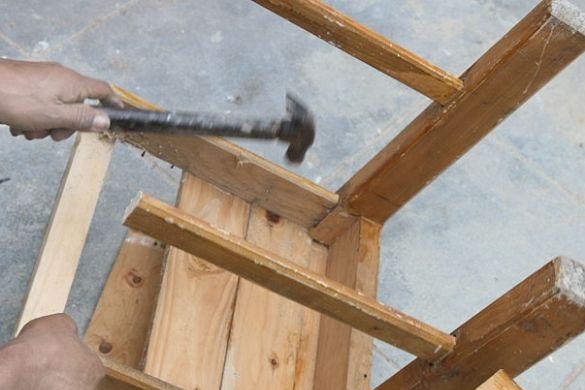
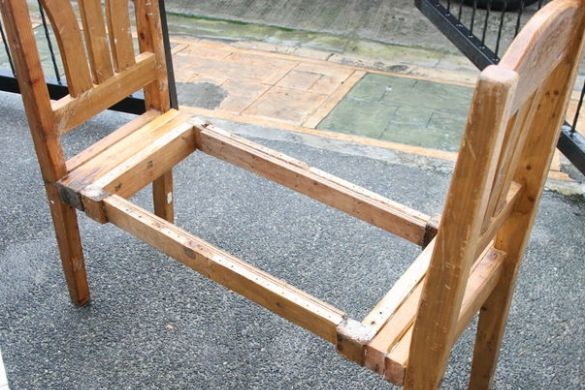
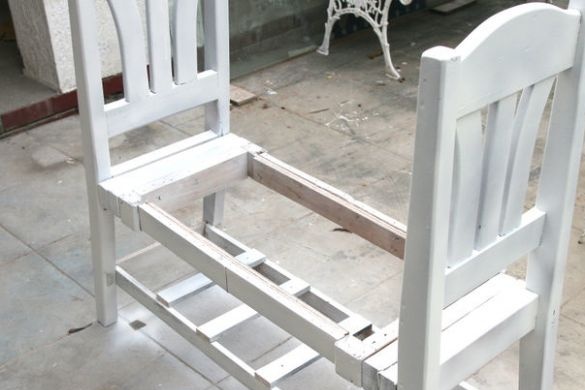
Start by disassembling the chairs. We need to disconnect the back of the chair on which the back rests. Such backs will serve us as the sides of the future garden bench.
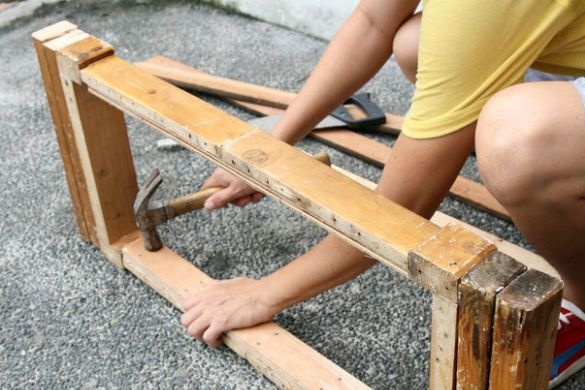
Next, from the residues that remained after disassembling the chairs or suitable bars of the necessary section, we assemble the product frame.We went on principle and used the remnants of the old chairs, because in general they seemed to us pretty much nothing.
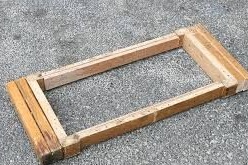
The base will be rectangular, of arbitrary length, but choose the optimal size - such that the finished product has the strength necessary for intensive use.
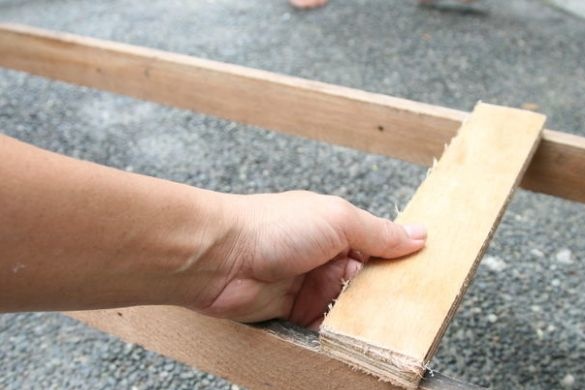
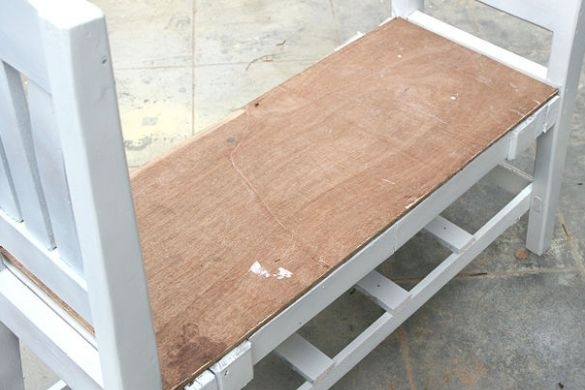
Screw the plywood sheet to the base.
Step 3: assembling the bench
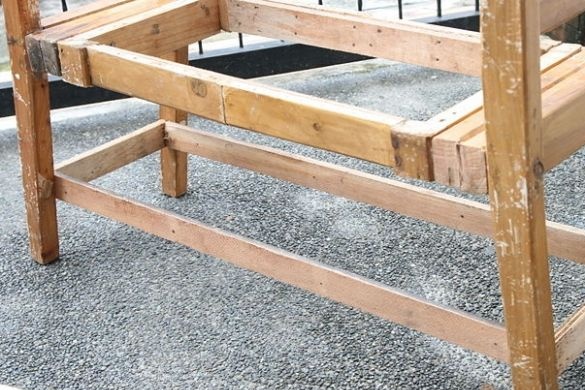
We connect the received details, forming the prototype of the future bench for cottages. For added strength, we arrange a strapping of slats below the perimeter - just the one on which we will lay the shelf we conceived of from the remaining plywood.
Step 4: take care of the aesthetics
Now you have the most responsible work on which the final result of all the work done will depend.
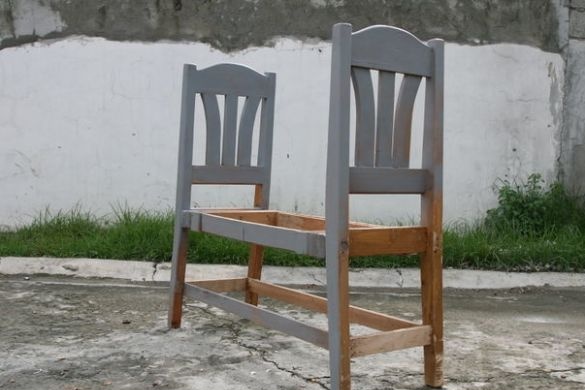
Thoroughly clean the bench from dirt and dust. Sand all surfaces, and also, if necessary, sharp corners and faces, giving them a slightly rounded appearance - first with large emery paper, then fine-grained.
Fill cracks, joints and irregularities using a rubber spatula. Grind everything well again. The process takes a lot of time and requires patience, however, believe me, the end result is worth it. All elements will take on a complete shape and aesthetic appearance.
Treat the surface with solvent and start painting. Apply the first coat, let it dry completely, then sand it so that the next coat of paint penetrates the previous one. Paint all the details a second time, wait for drying and apply a coat of varnish.
It is better to do with varnish the same way as with paint - lightly sanded and varnished again. Thus, you get a very resistant to external influences coating. And since the bench will presumably be on the street under a canopy, this will be very welcome.
Step 5: the final touch
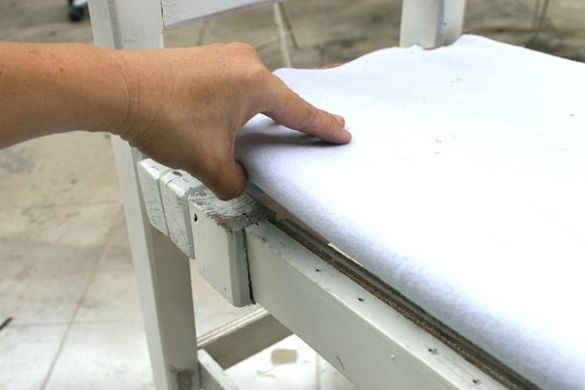
Sew a pillow to sit on. To do this, cut a piece of furniture foam of the required size with a sharp knife. Having attached to it a piece of furniture fabric, which is usually used for covering sofas, determine the size of the cushion cover, not forgetting to add a little to the allowances for seams.
In fact, buying furniture fabric is not necessary. You can use any other durable material, though not necessarily new.
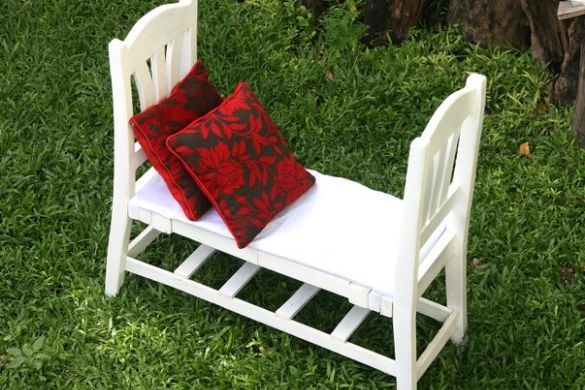
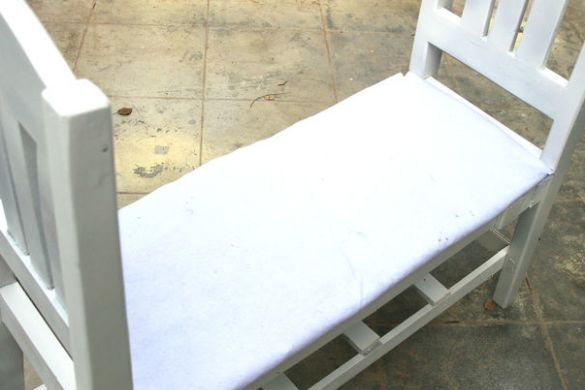
Sew the cover and sew a zipper into it from the side. This will simplify your pillow care later on. Put the foam in the cover and lay it on the seat. A pair of bright pillows will complement the ensemble.
Now you can praise yourself and admire the creation of your own hands - a country bench from a pair of old chairs is ready!

