And so what is steampunk, you should probably start with this, this direction has been formed in our country not so long ago, but is rapidly gaining momentum in its development.
Steampunk is a word of English origin and is translated literally as (steam) and (garbage) or steam. Everything is based on science fiction and steam engines, all the style is screaming about it.
Our craftsmen were able to discern the positive aspects in this direction, and they began tinkering in the English manner, with Russian perseverance and color) And this lesson is profitable for the reason that the products are very unusual and stylish, at the same time unique and exclusive. While markets and shops are littered with consumer goods, and a human individuality requires something extraordinary, here the masters are activated, realizing that people need their art.
Creative people always carried a spark of light to lost humanity in order to guide and correct along the way of life. And today, these people are making for ordinary people, making good money by the way)
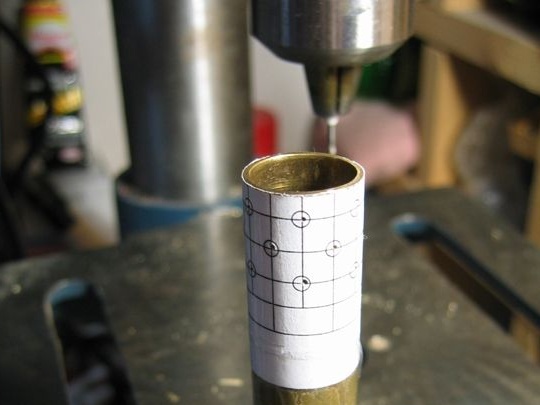
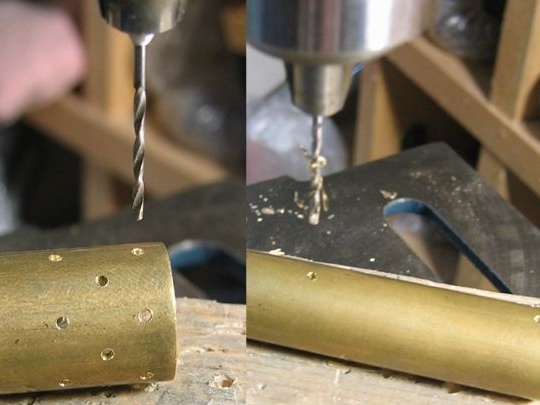
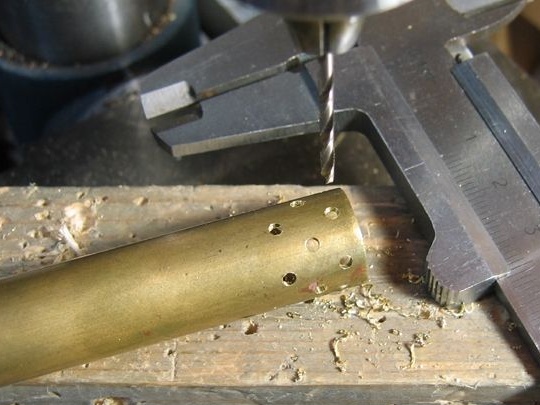
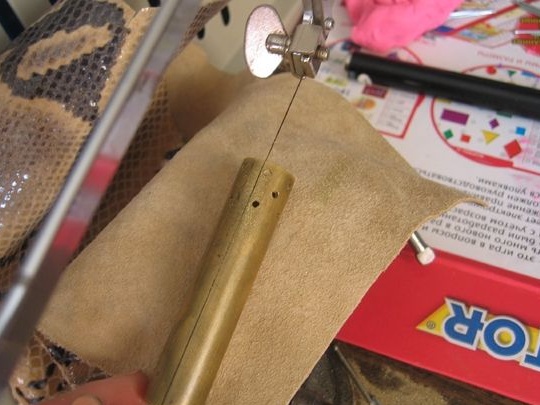
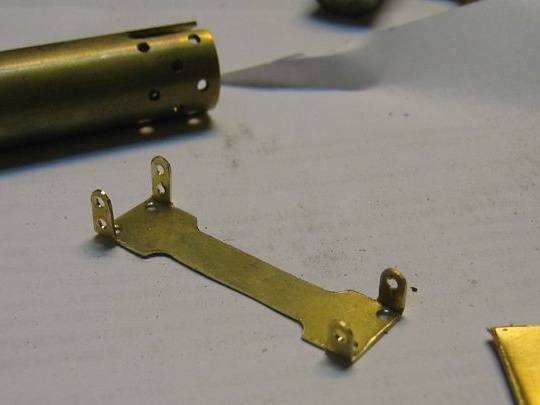
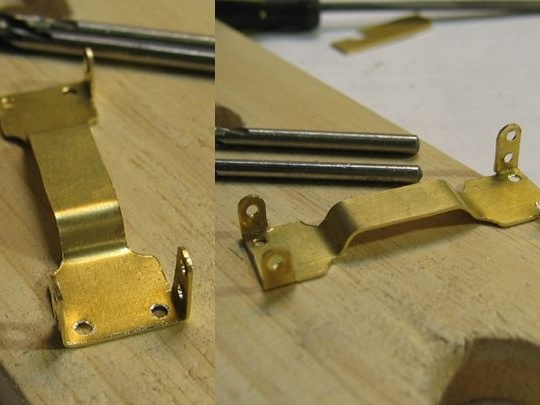
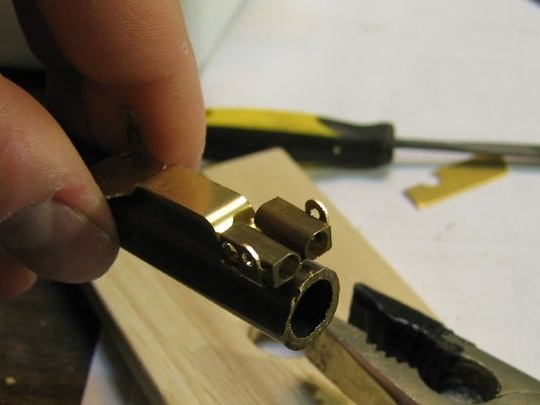
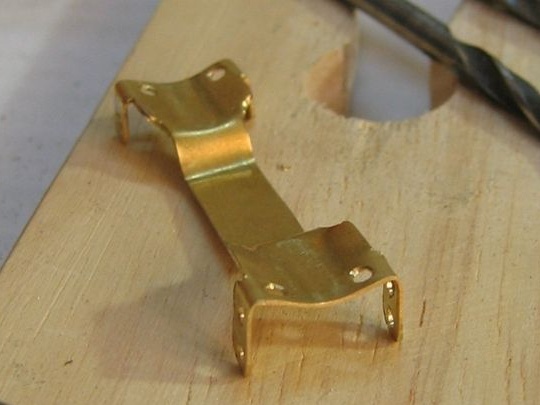
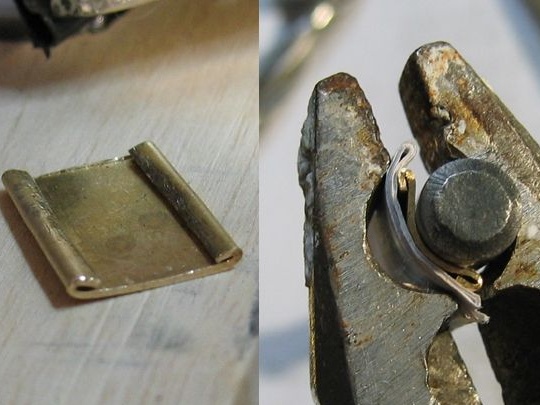
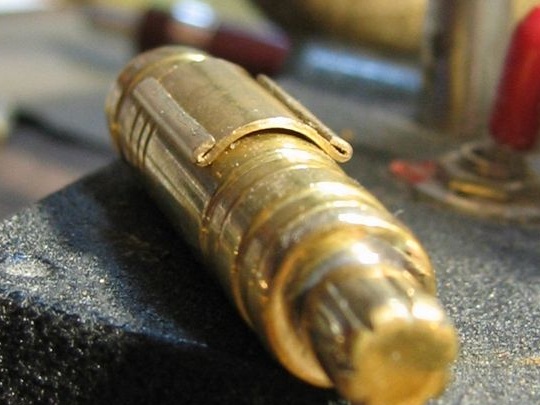
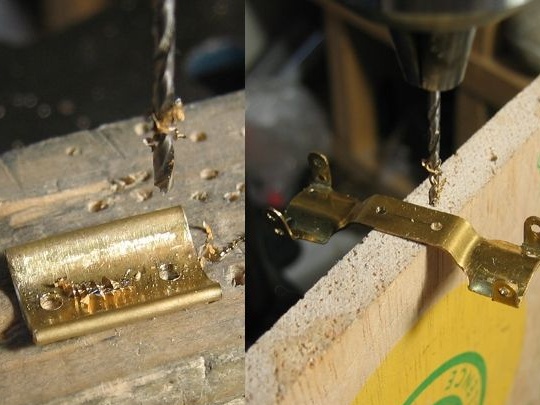
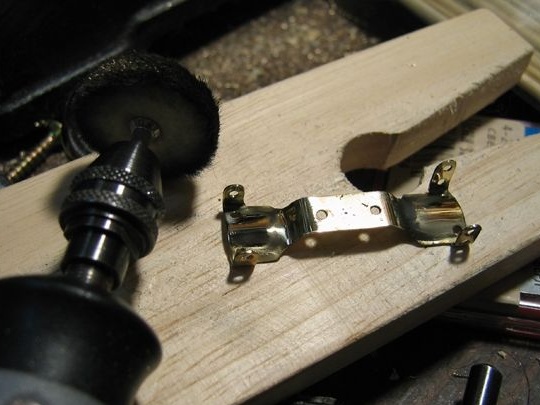
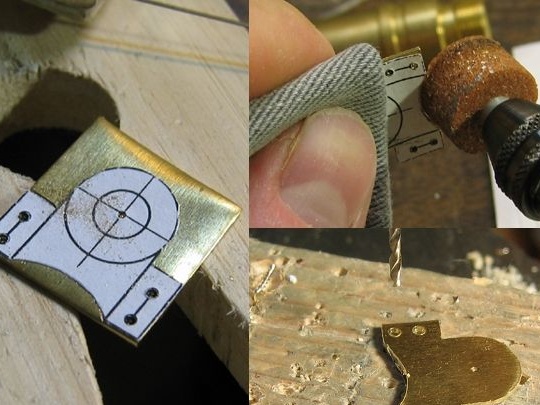
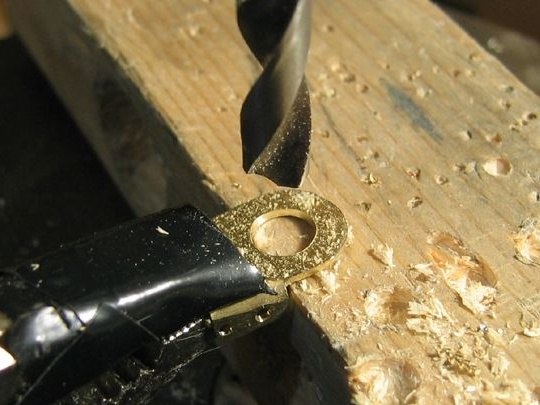
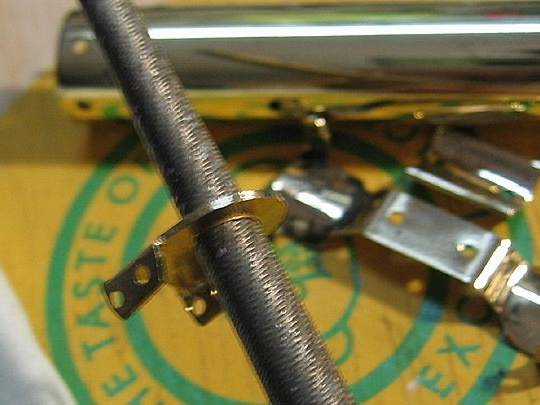
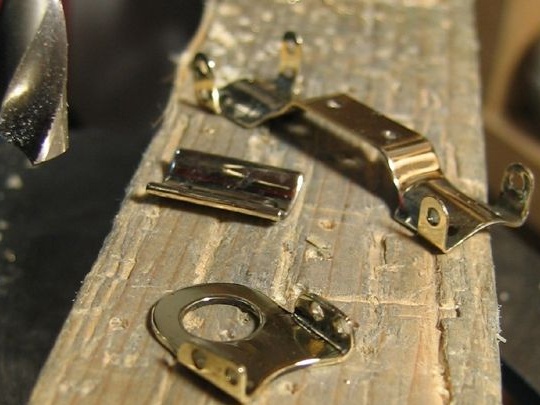
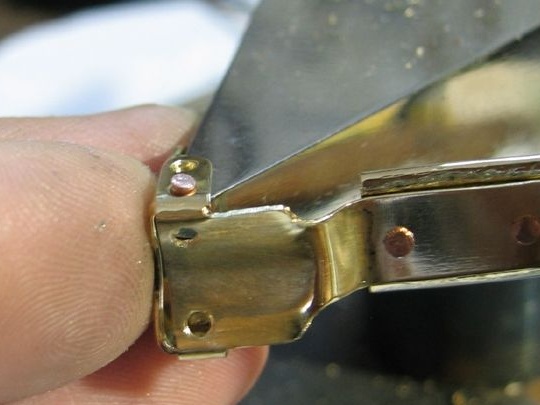
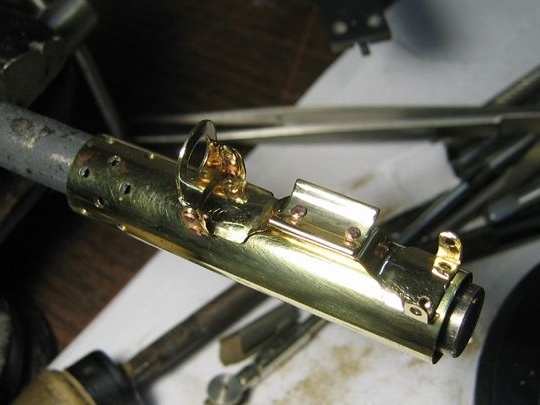
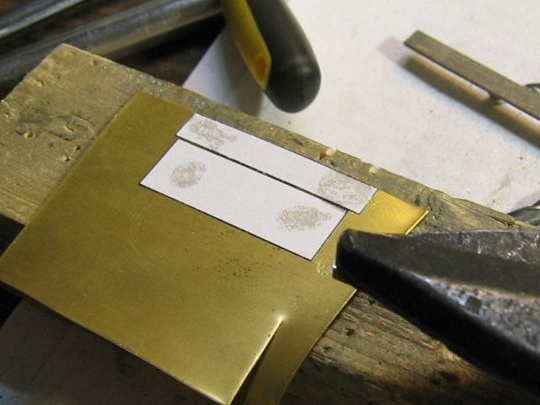
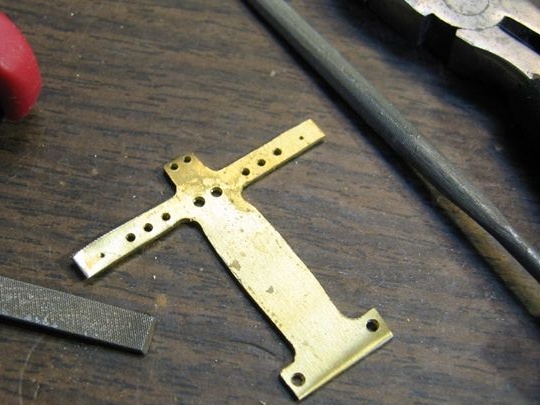
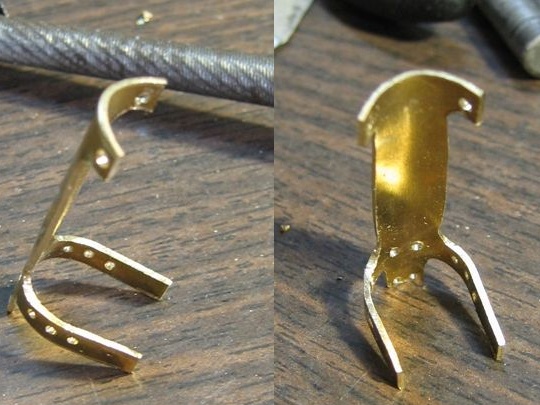
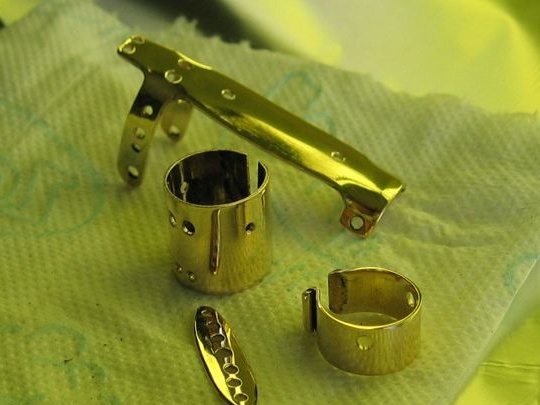
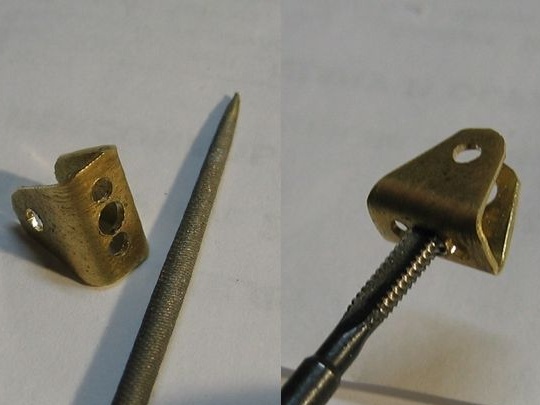
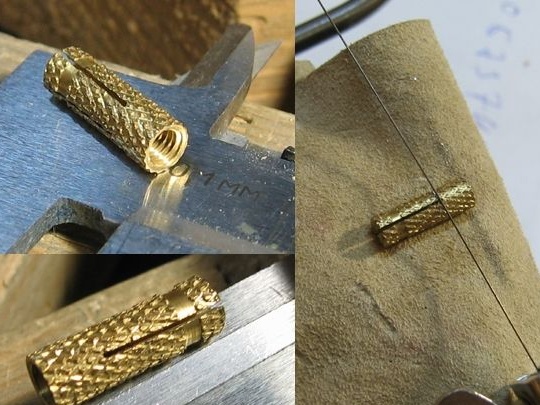
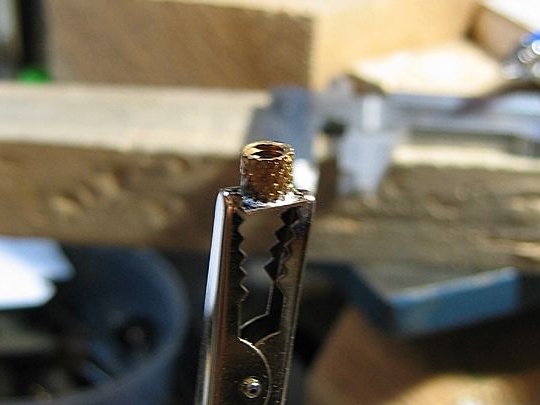
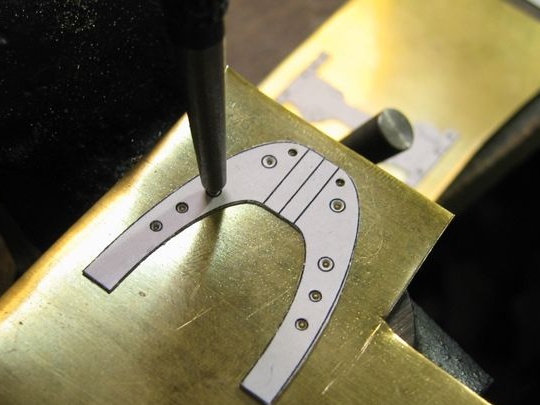
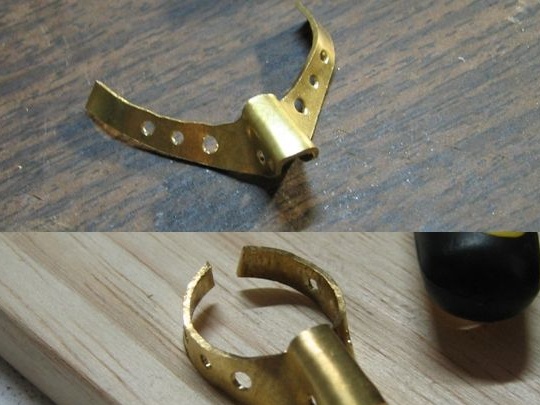
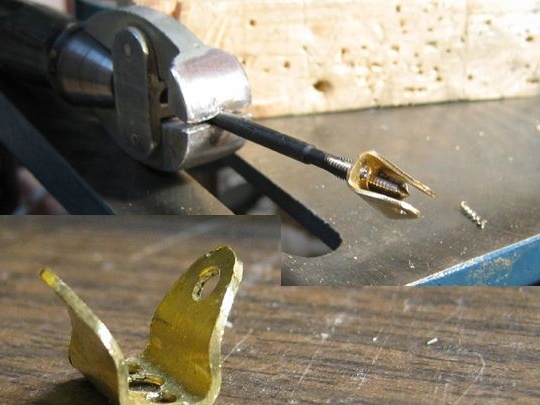
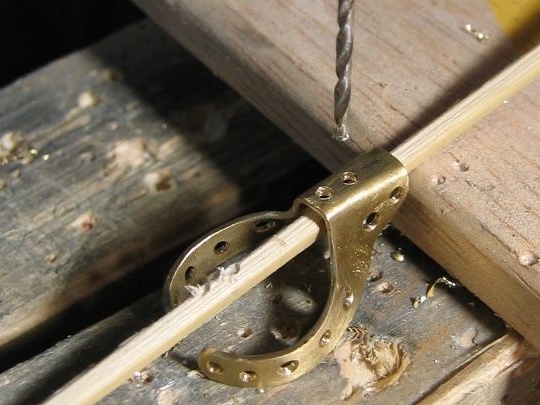
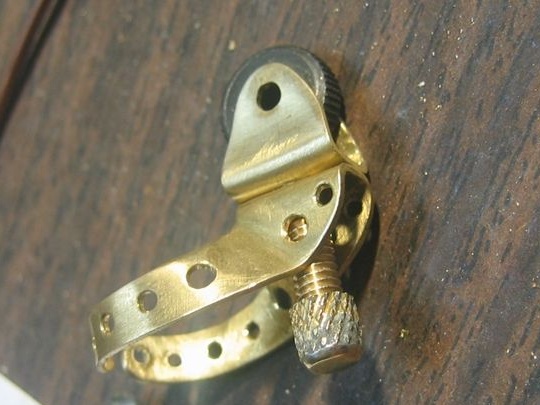
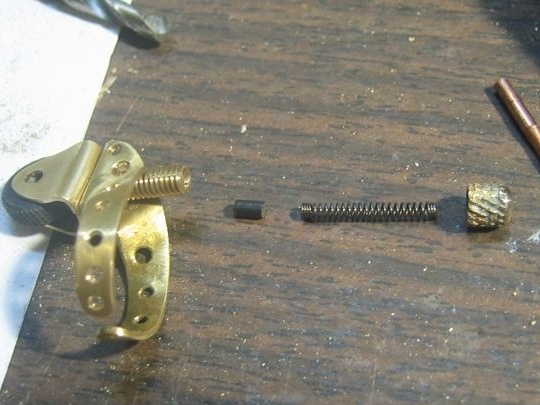
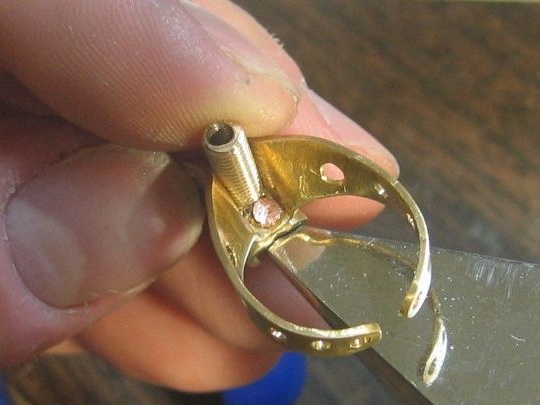
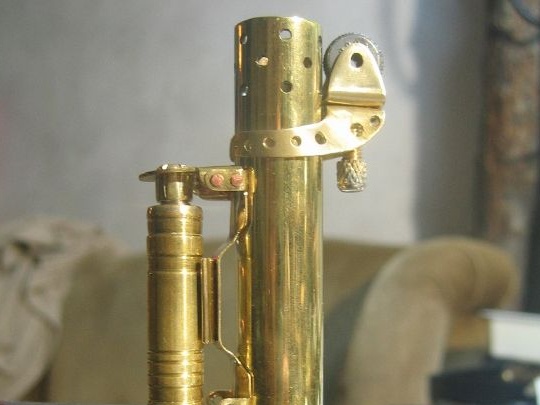
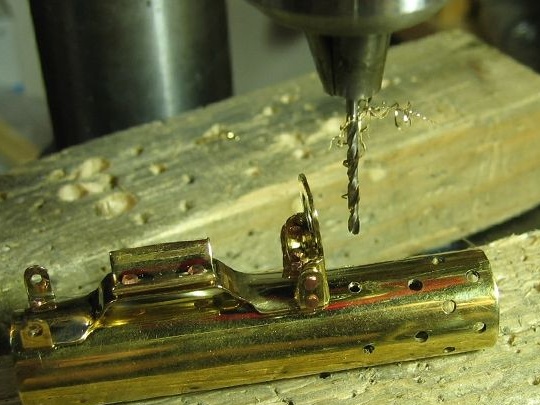
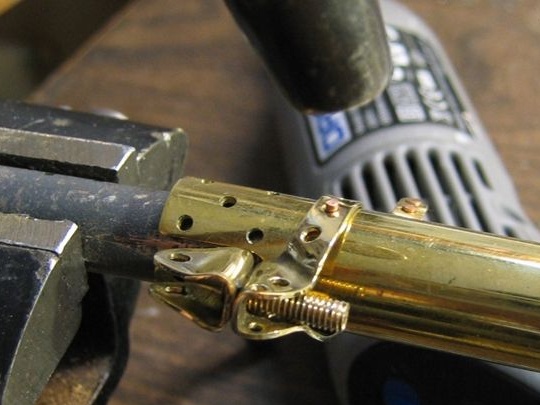
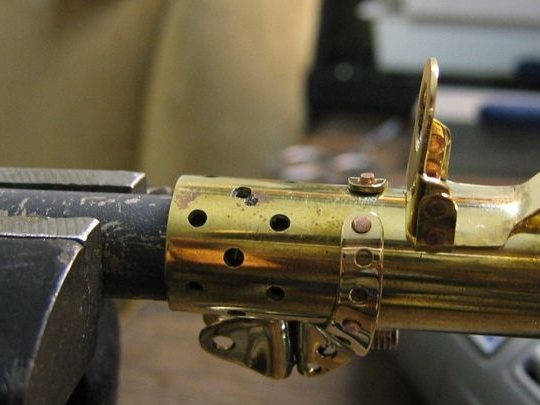
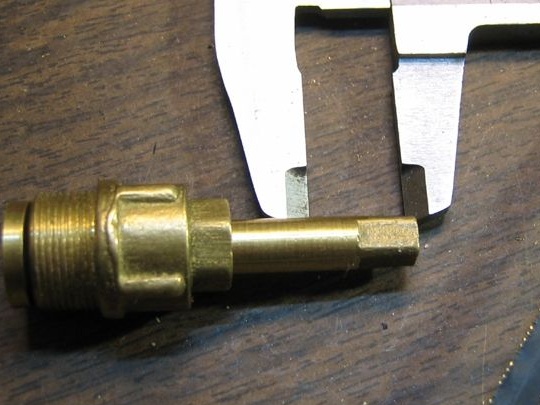
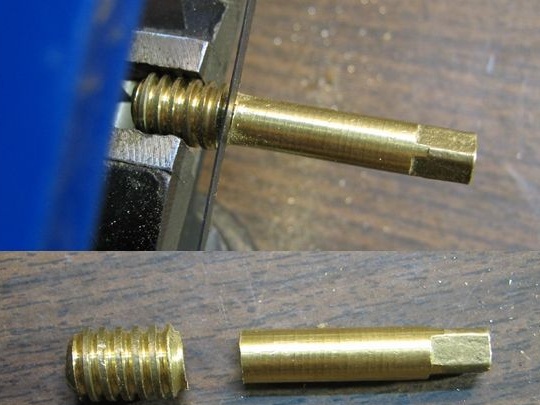
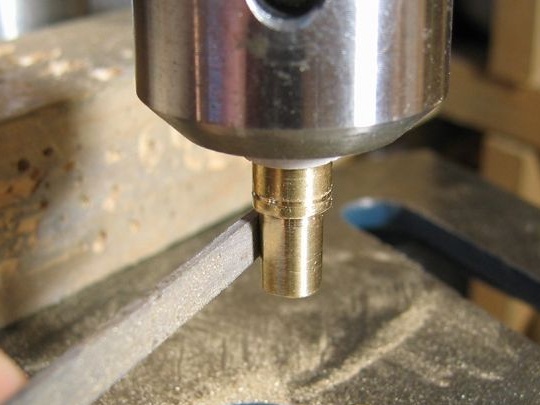
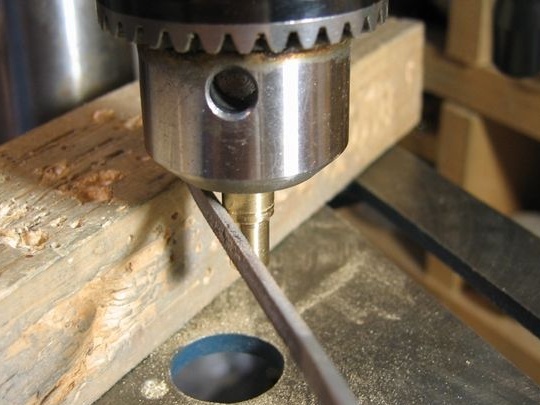
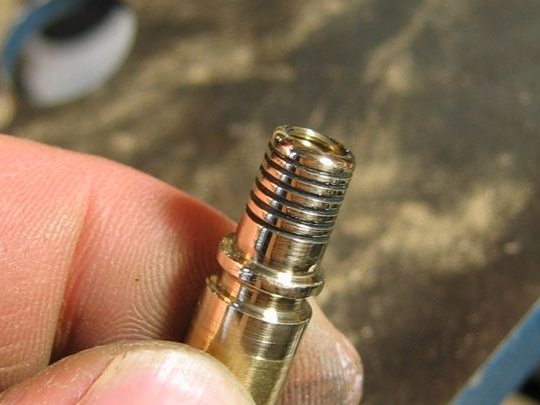
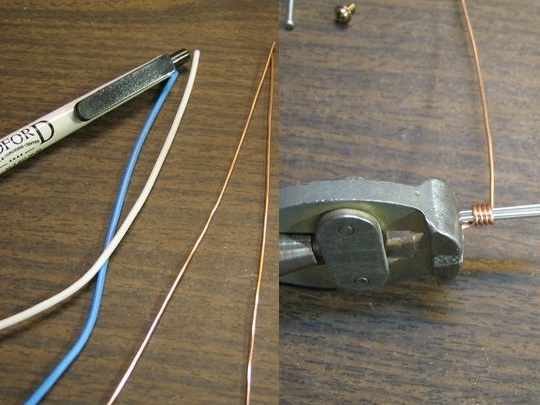
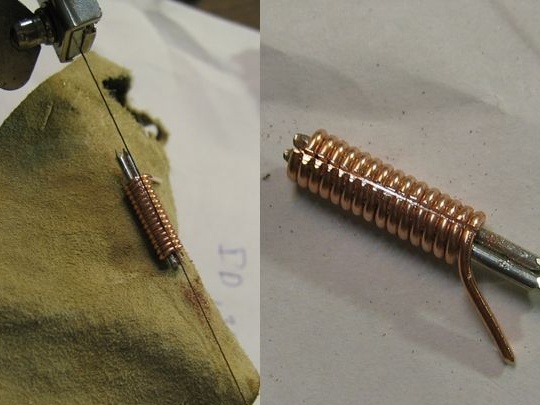
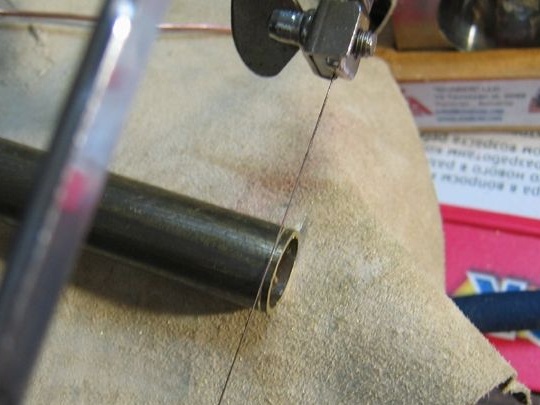
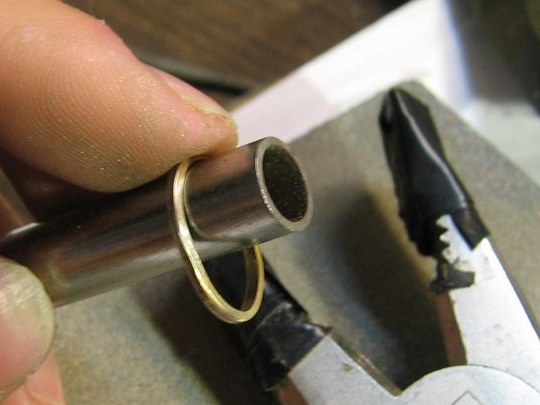
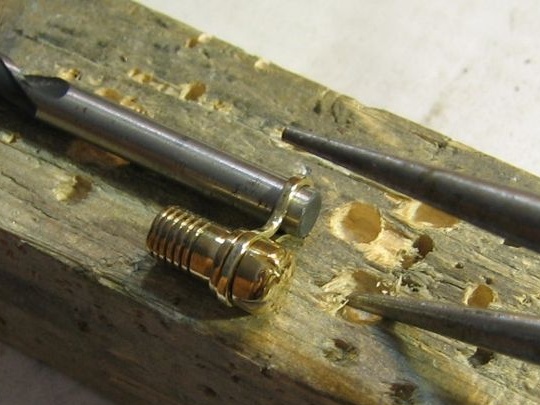
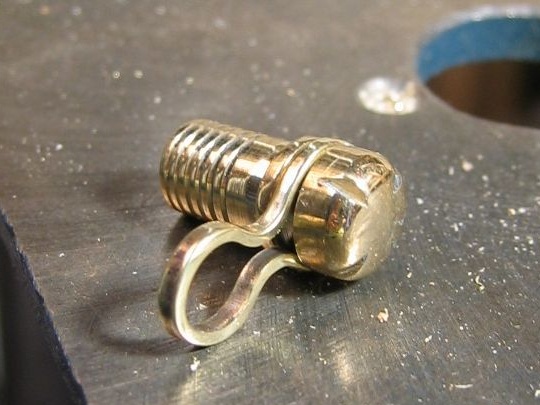
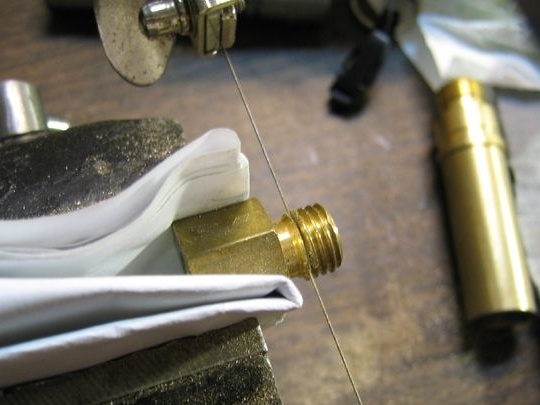
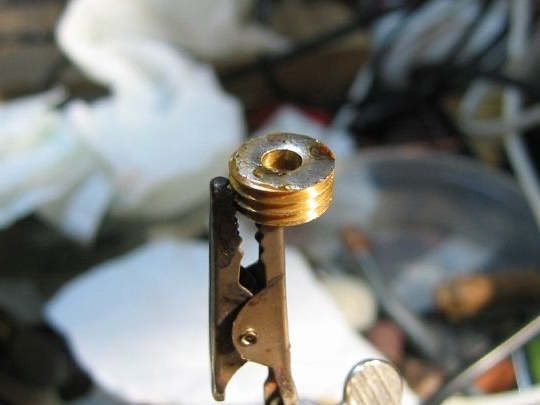
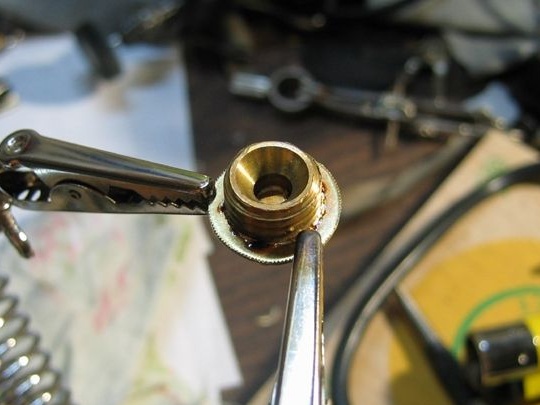
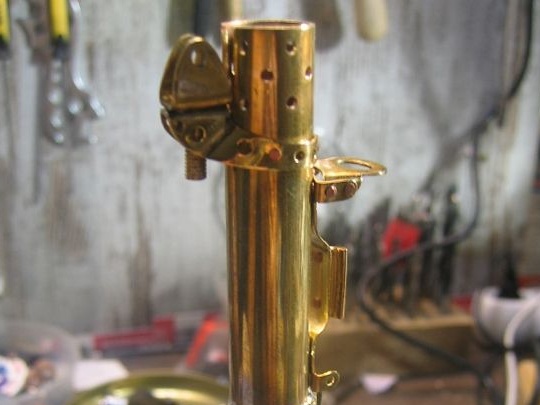
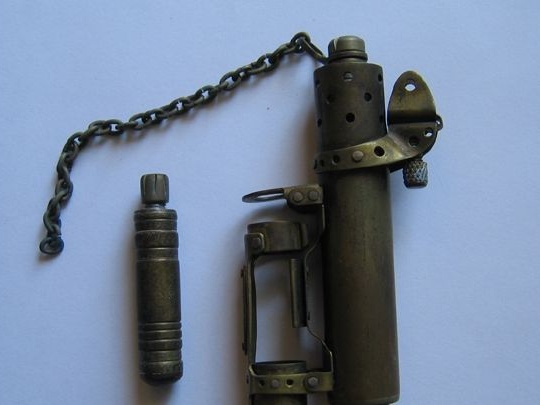
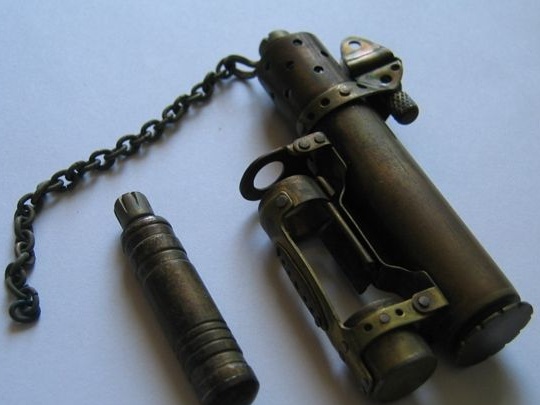
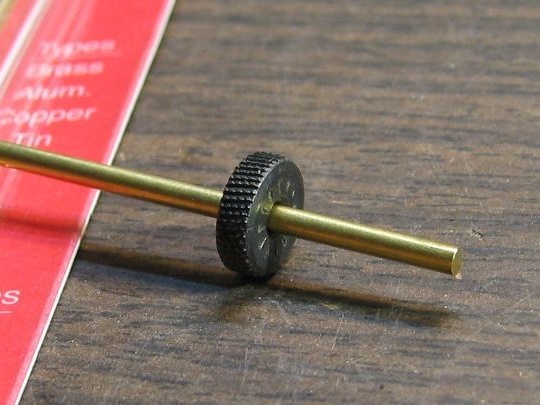
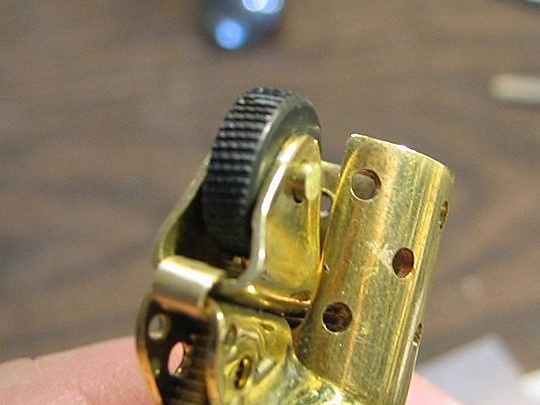
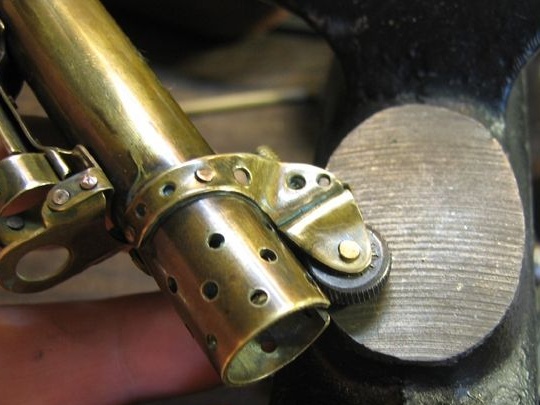
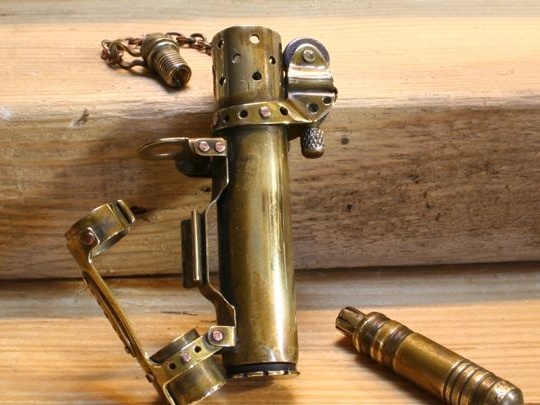
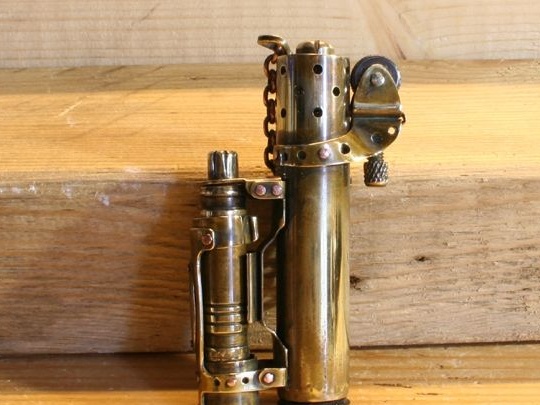
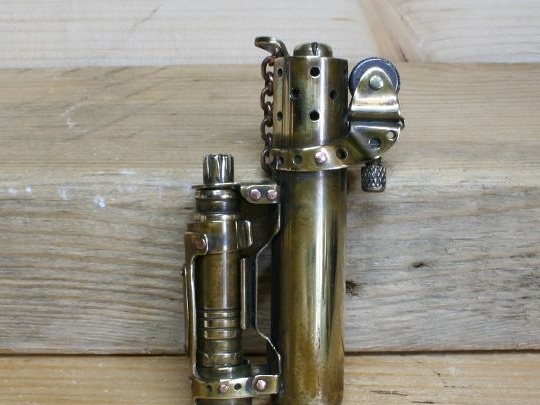
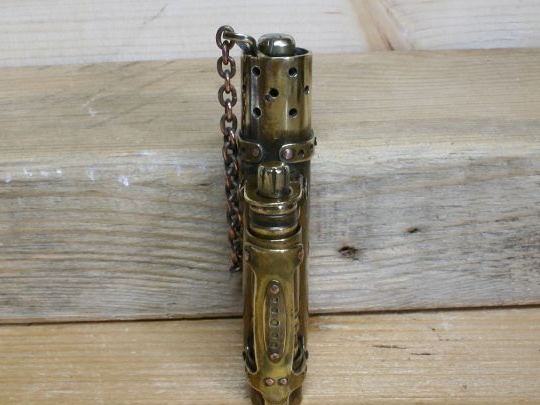
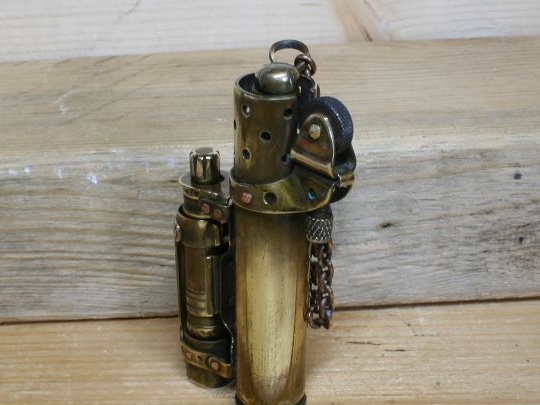
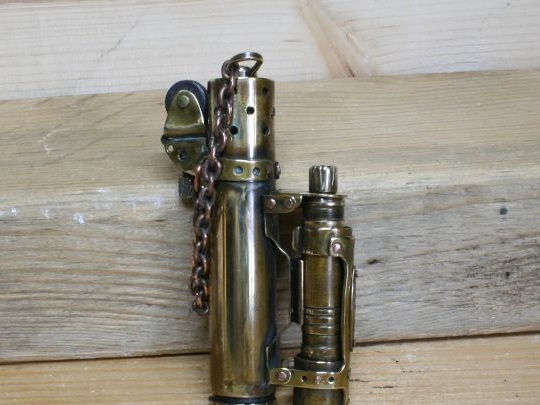
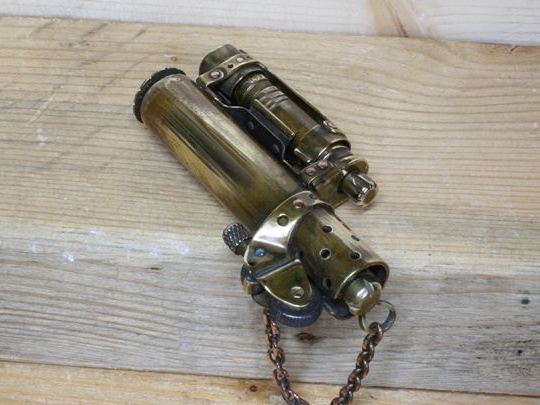
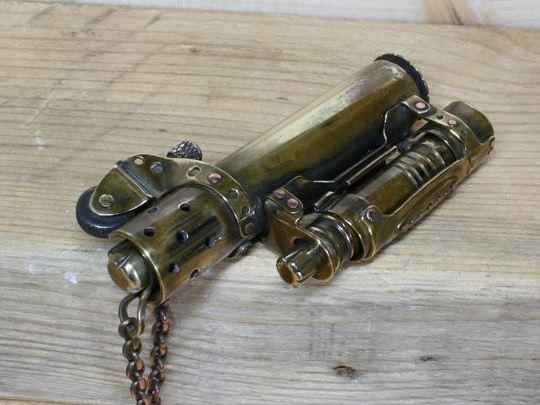
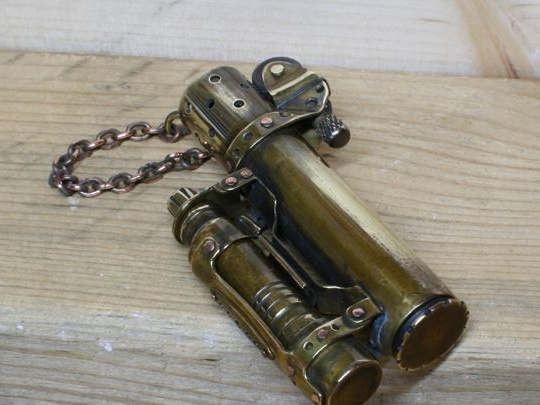
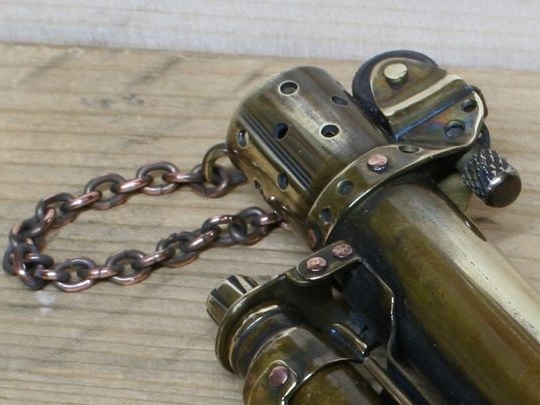
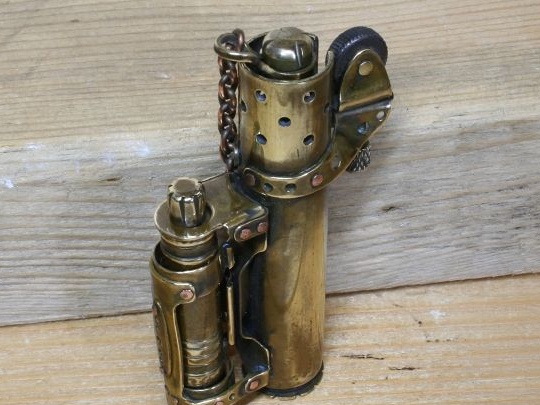
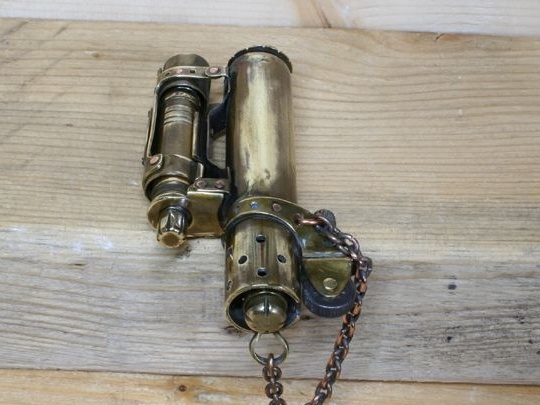
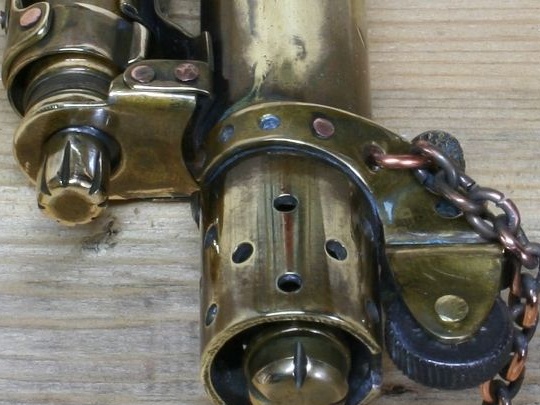
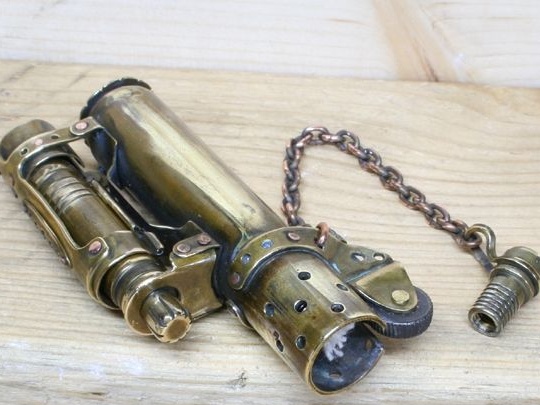
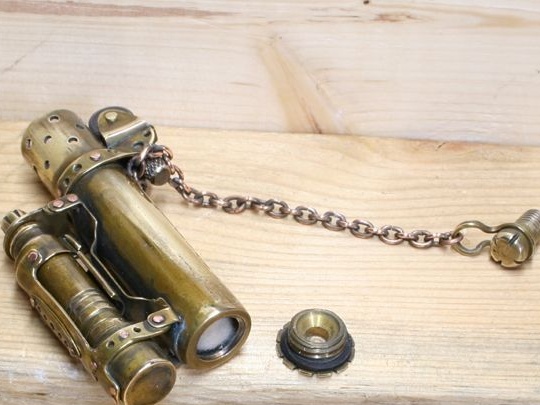
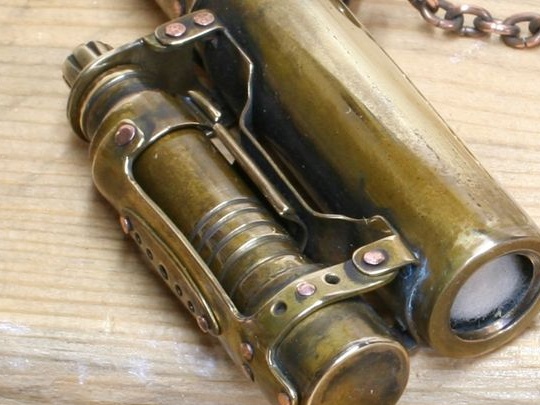
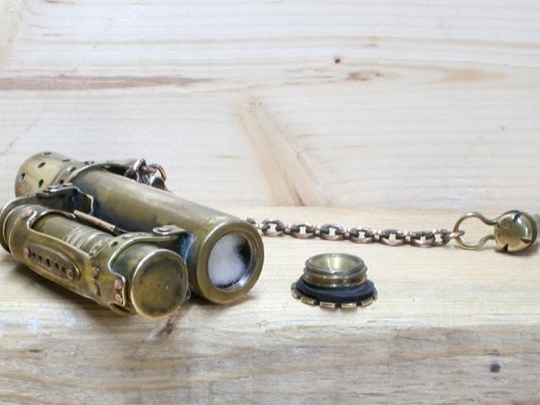
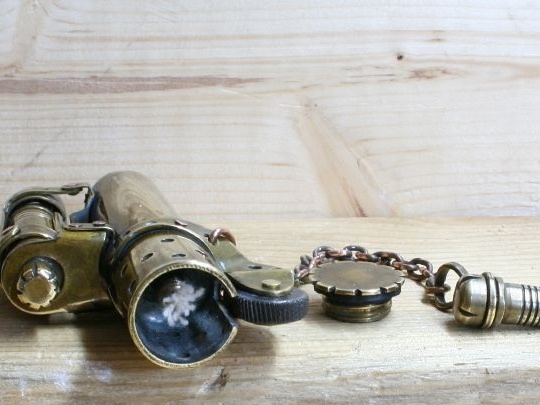
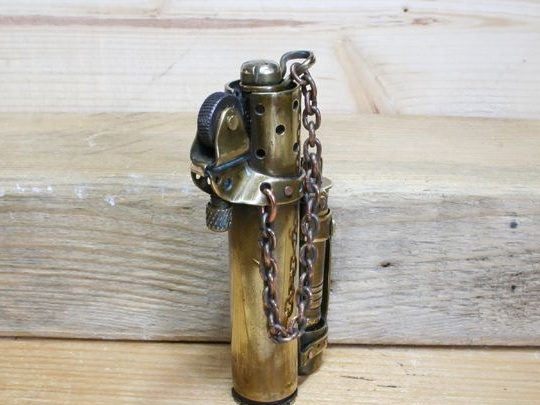
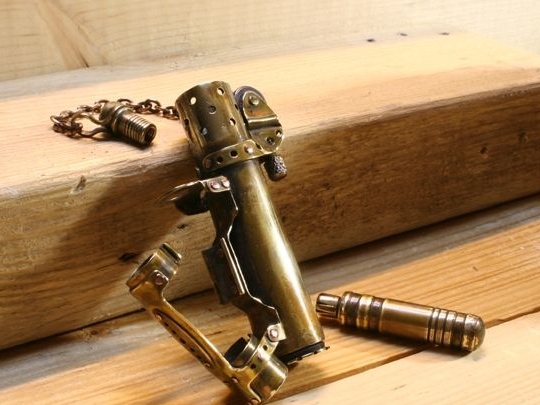
Our author, who recently mastered this type of skill, has already managed to become skilled and gain experience, because orders go one after another. And while doing another job, he decided to share the manufacturing technology, and he photographed the entire creative process on a camera so that the followers could understand everything and they could easily repeat this work on making a lighter with a canister, and the master also recommends reading the list of materials and tools necessary for subsequent work.
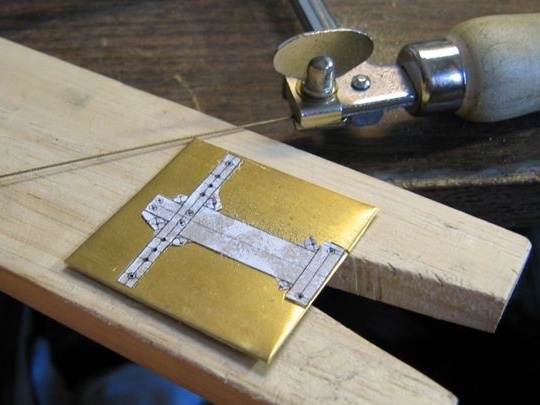
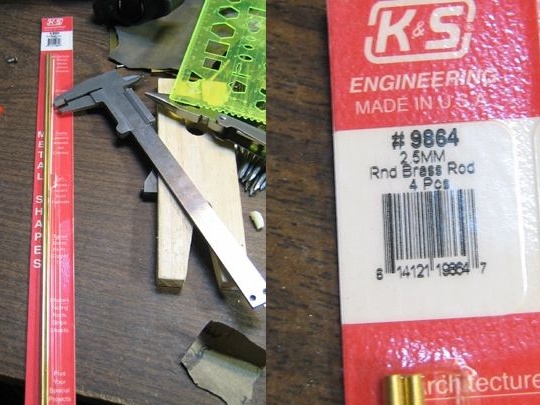
Materials
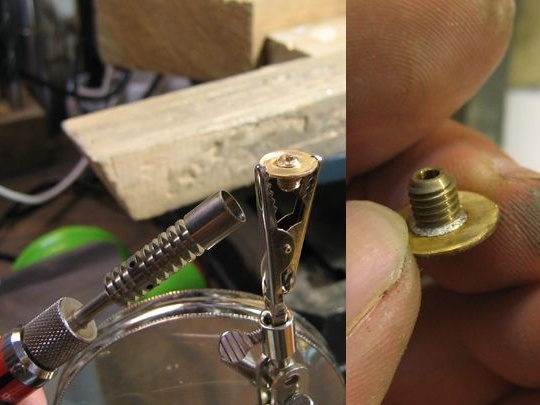
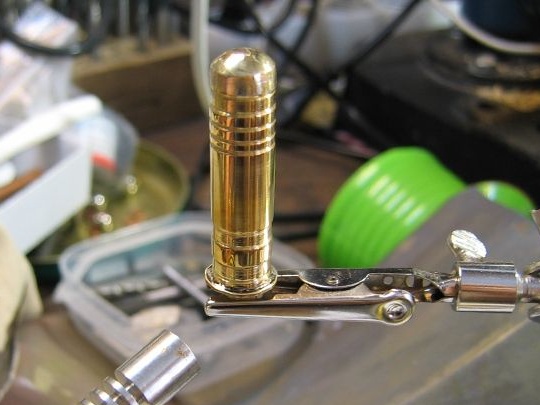
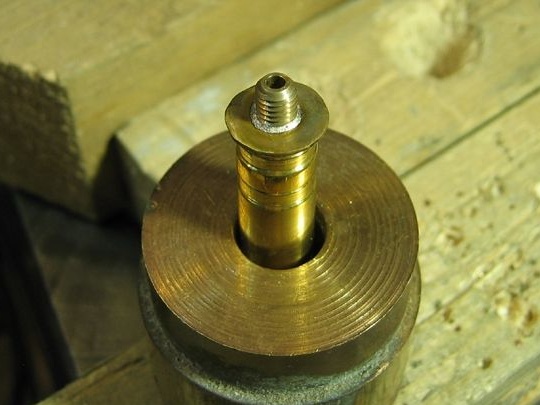
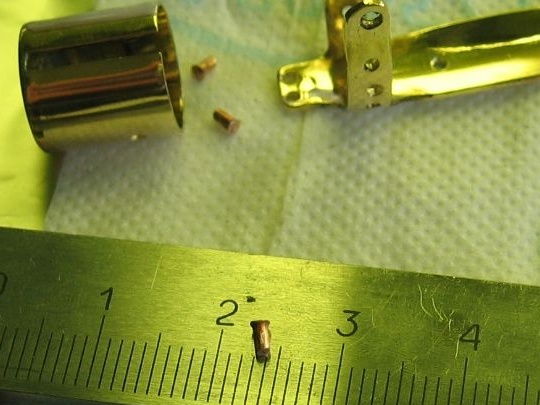
1) brass tube 16 mm
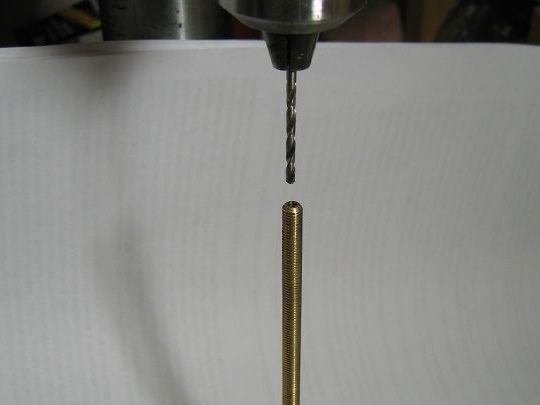
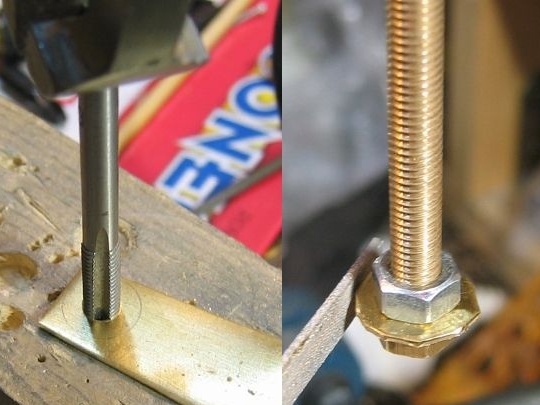
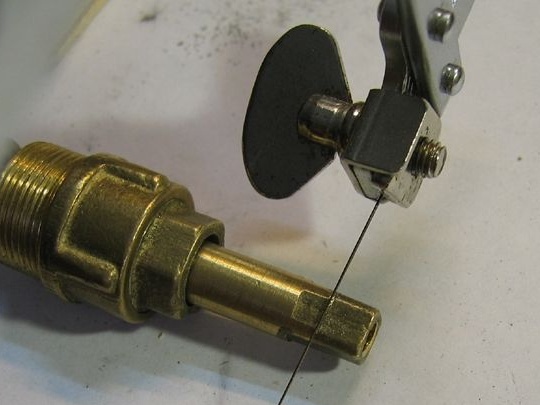
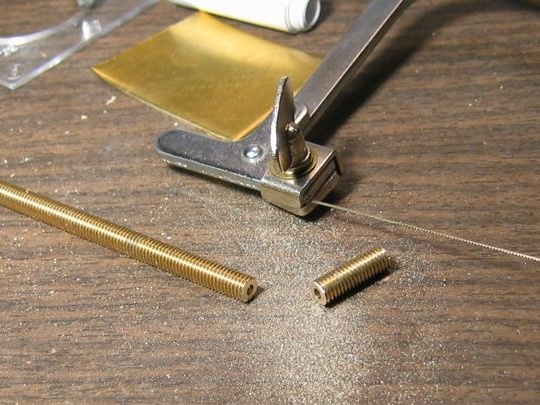
2) 4 mm brass bar
3) flint
4) spring
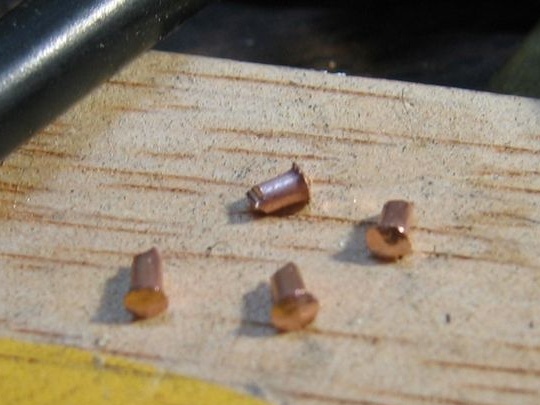
5) copper wire
6) wick
7) cotton wool
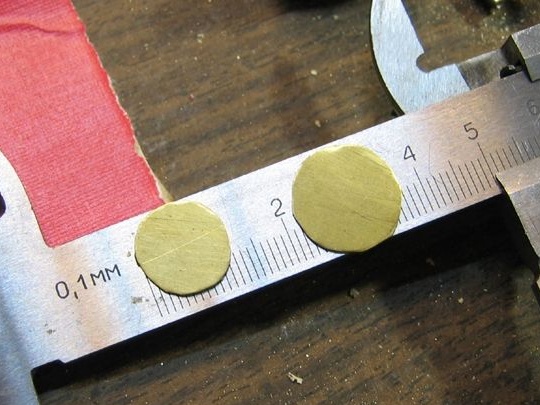
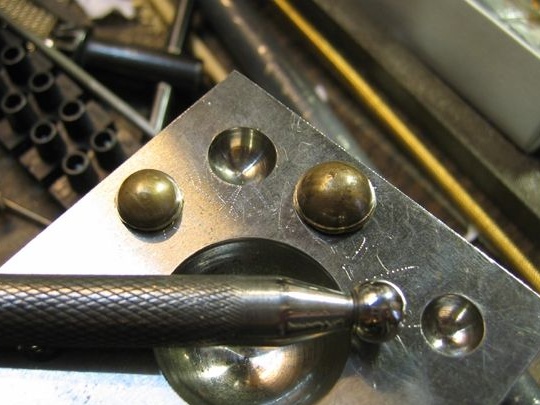
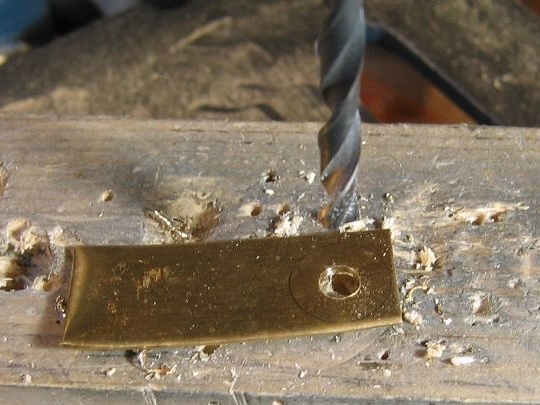
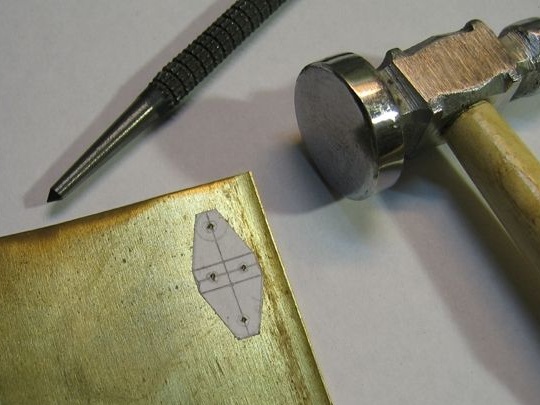
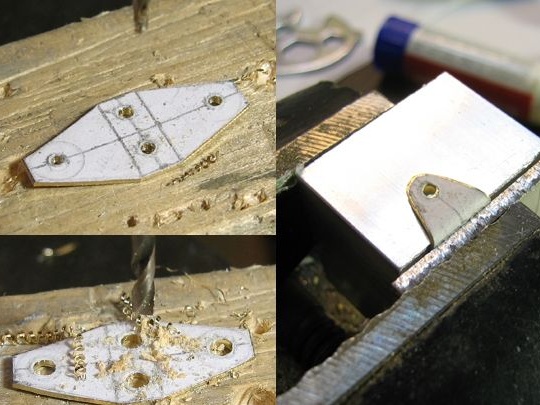
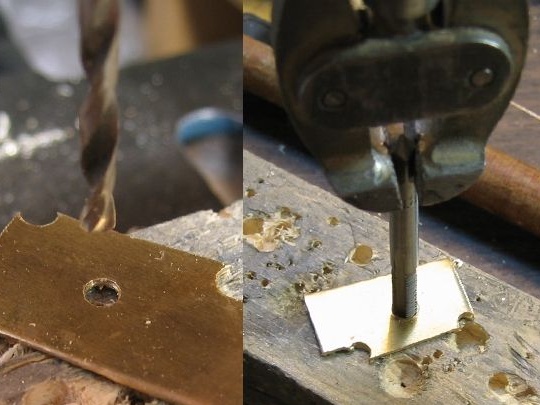
8) brass sheet
Instruments
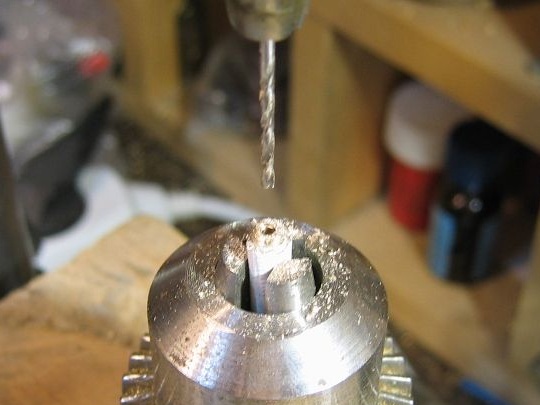
1) lathe
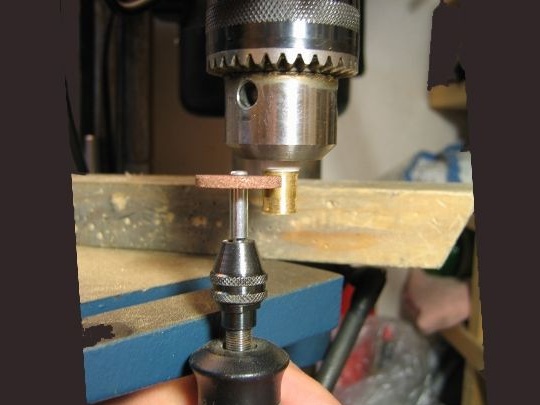
2) drilling machine
3) drill
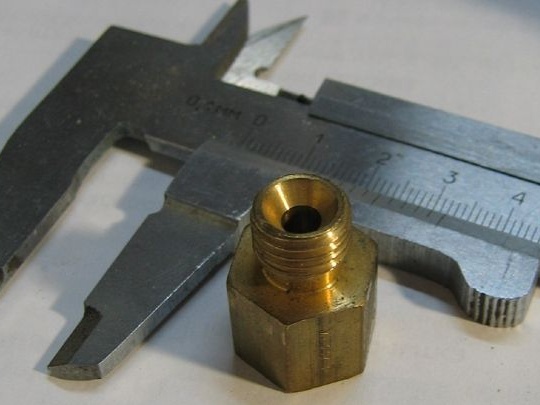
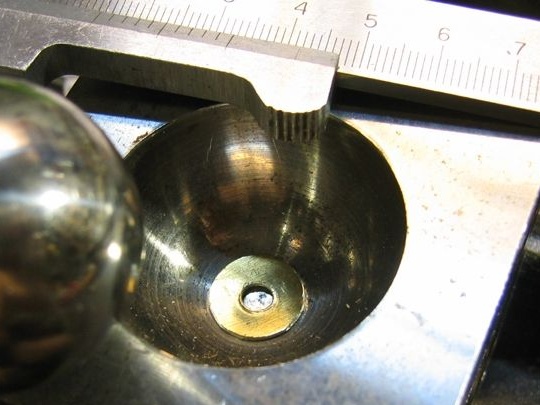
4) vernier caliper
5) file
6) metal sheet
7) jigsaw
8) template
9) burner
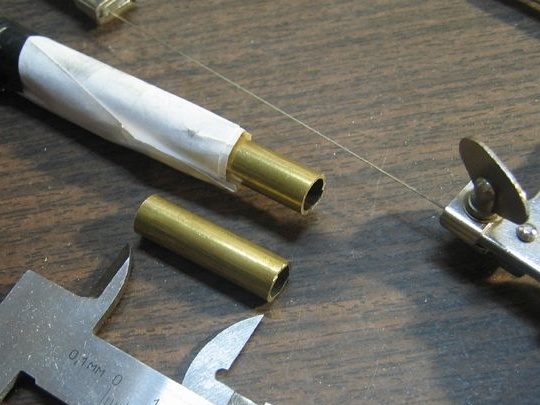
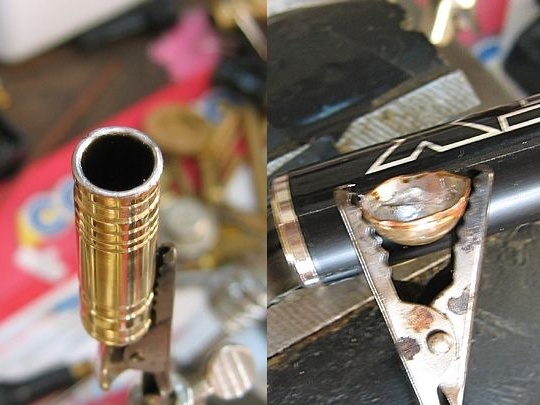
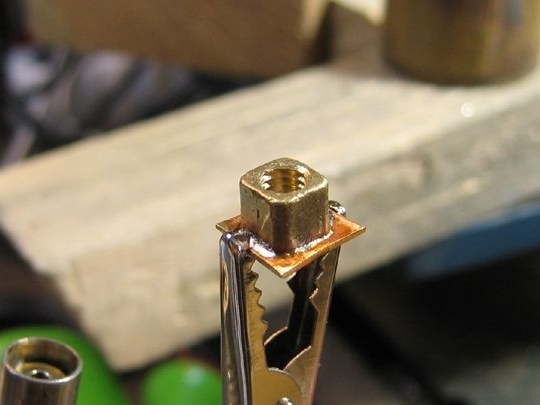
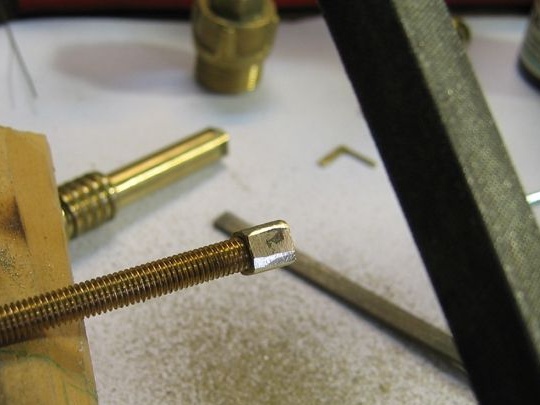
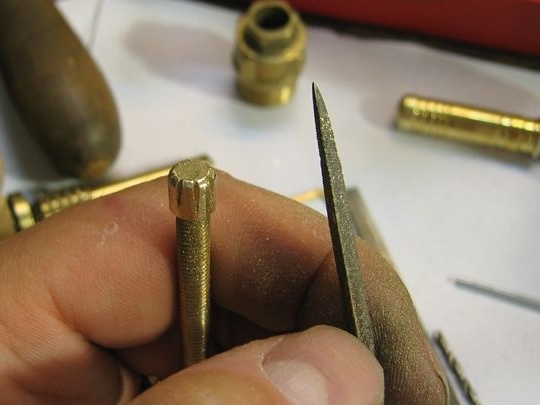
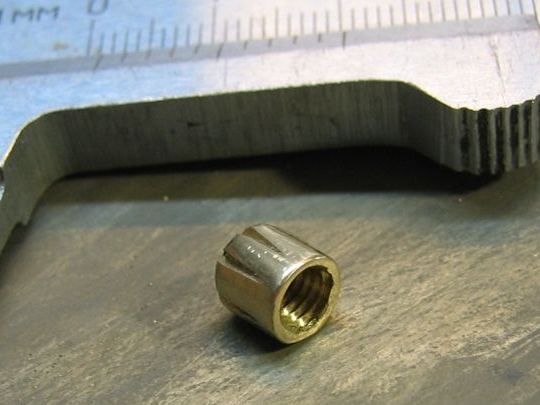
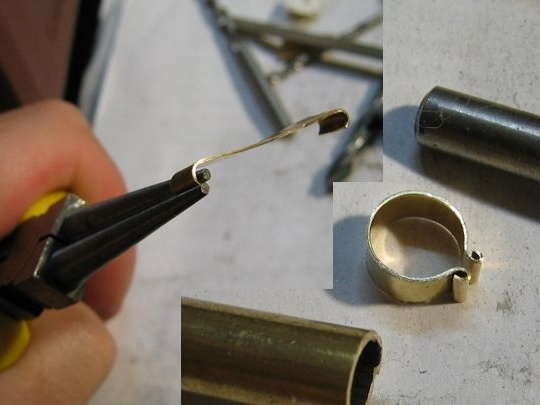
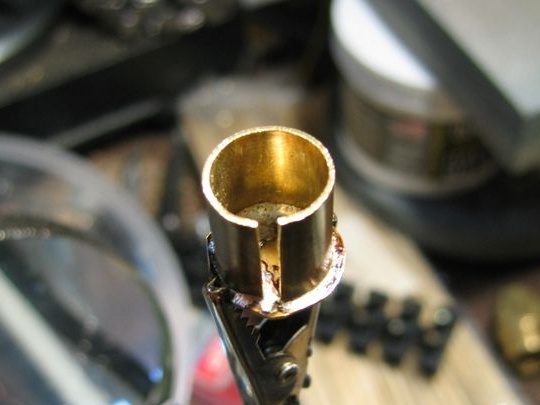
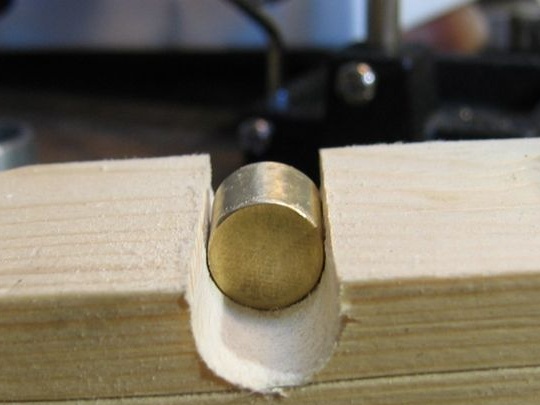
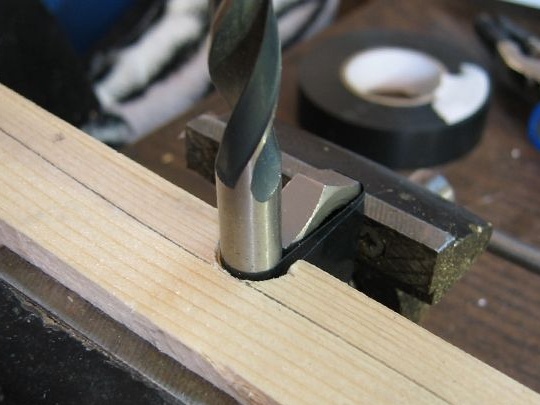
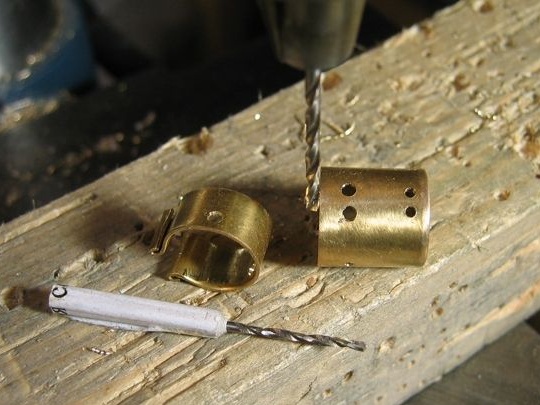
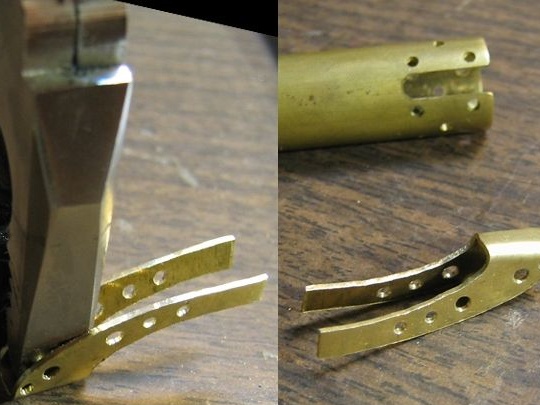
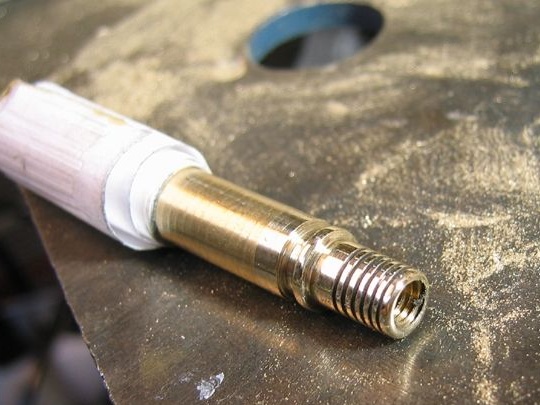
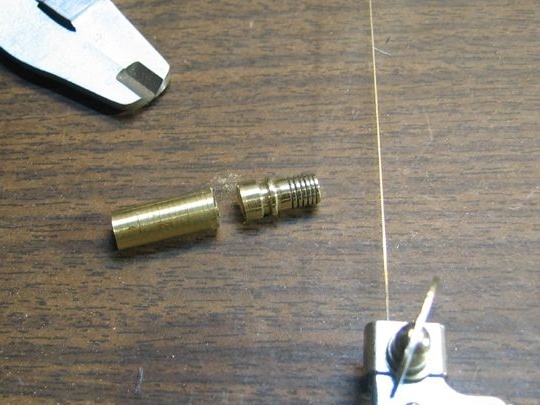
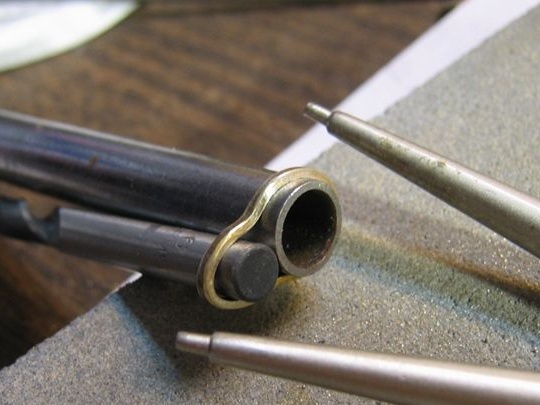
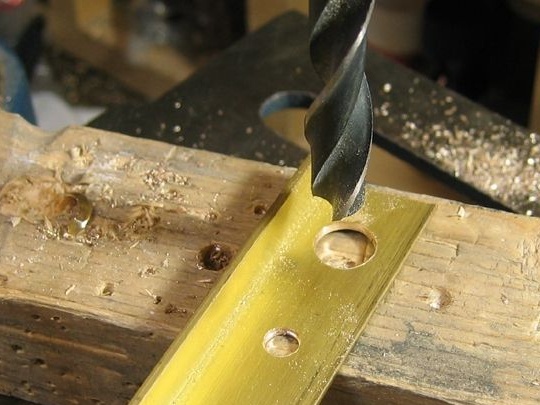
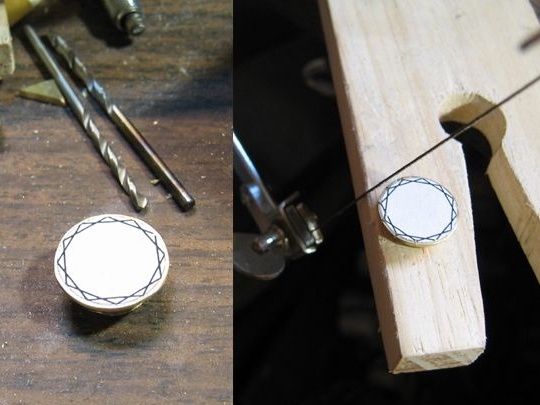
And so first, the author sawed off a piece of brass tube to a given size.