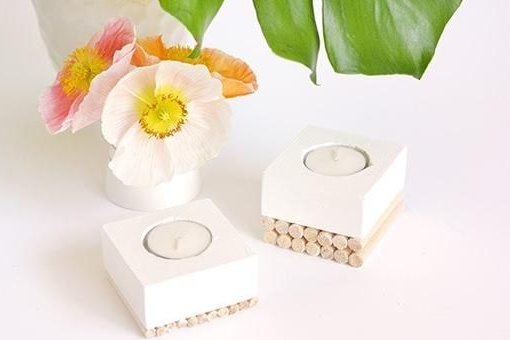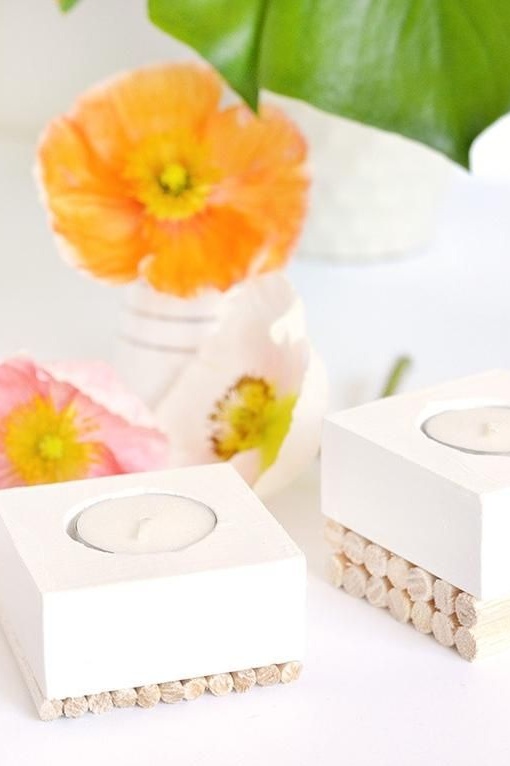
Nothing will create a warm, romantic atmosphere in a house like a candle, not counting the fireplace of course, but such a joy is not available to everyone. However, you can’t just put a candle on the table, at least it will look ugly, and it’s flammable. A candlestick is required for a candle. In this article we will look at how you can do it yourself make a candlestick for little candles.
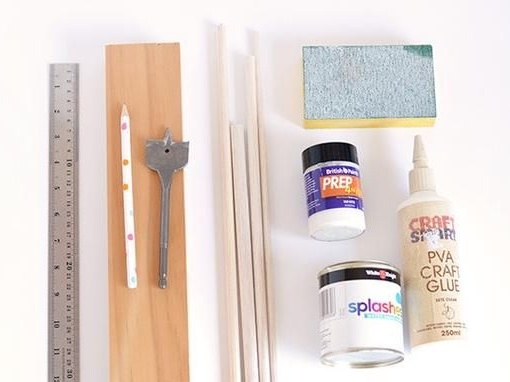
Materials and tools for homemade:
- wooden sticks;
- a wooden board 1 meter long and 7 cm wide;
- 40 mm pen drill;
- a hacksaw;
- drill;
- a pencil;
- ruler;
- electrical tape or masking tape;
- carpentry glue;
- sandpaper;
- varnish;
- white paint.
Candlestick making process:
Step one. We prepare the workpiece
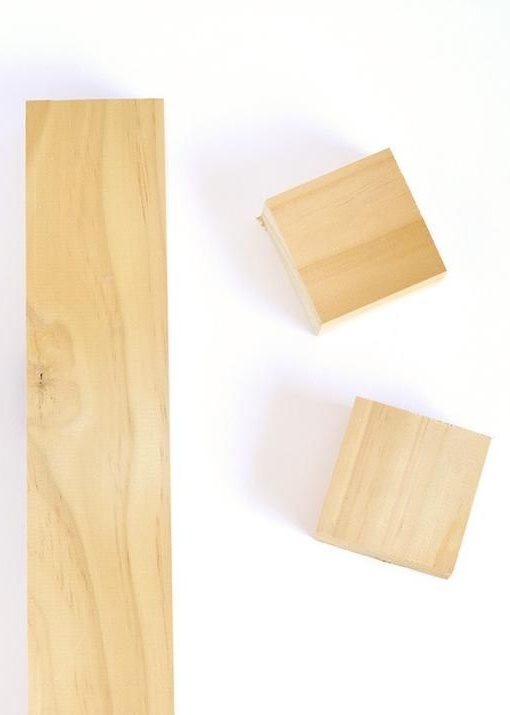
First, the board must be marked with a ruler and a pencil into sections in the form of squares. The author's width of the board is 7 cm, so the length of the marked parts should be 7 cm.
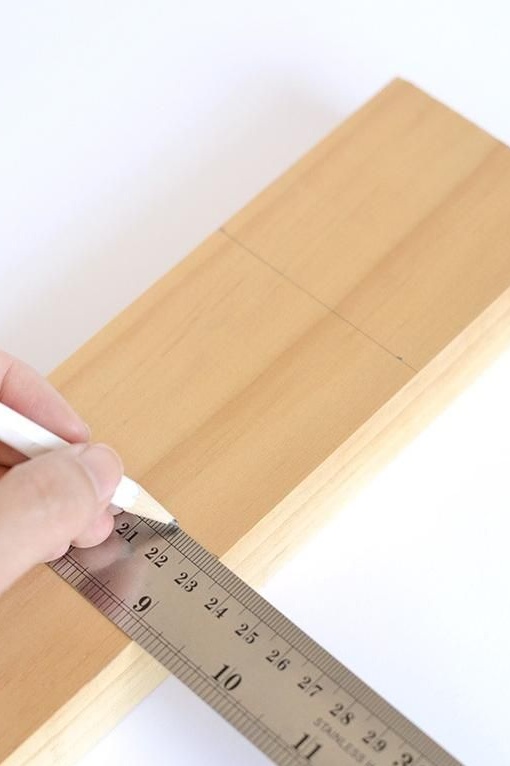
Now the board needs to be cut using a hacksaw, or any other suitable tool for such purposes.
Step Two Drill a hole
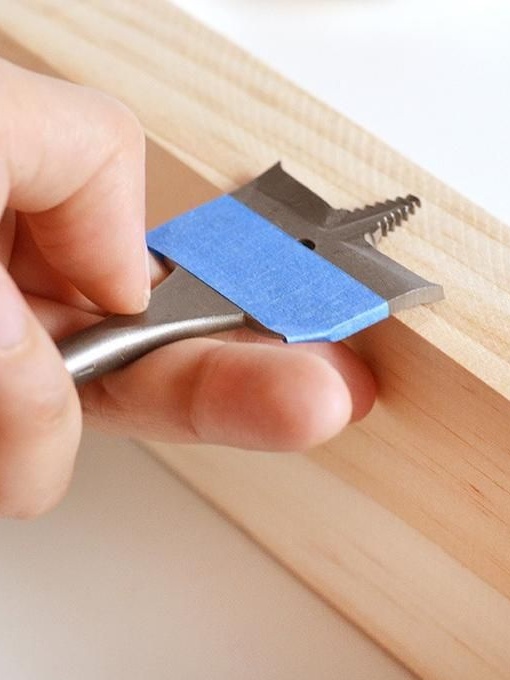
Before you drill holes in the planks, you need to decide what depth they should be. To do this, a core drill must be attached to the side face. To make a mark on the drill to what depth to drill, the author wound an electrical tape on it (masking tape would do).
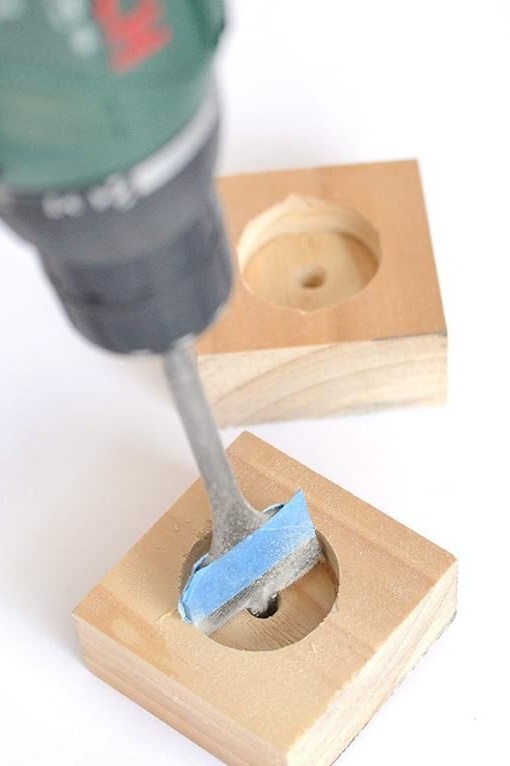
Now you can drill holes, focusing on electrical tape (or masking tape).
Step Three Preparation for painting and painting
Before painting workpieces, they must be carefully treated with sandpaper. It is necessary to remove the roughness, process the corners and bring the workpiece to a smooth state.
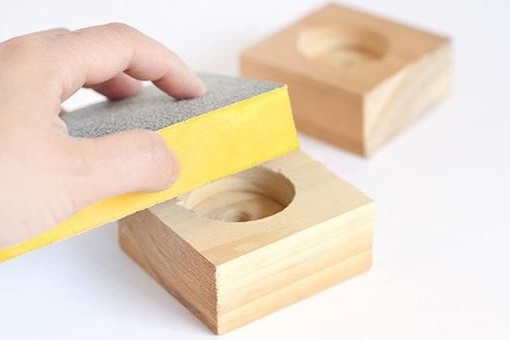
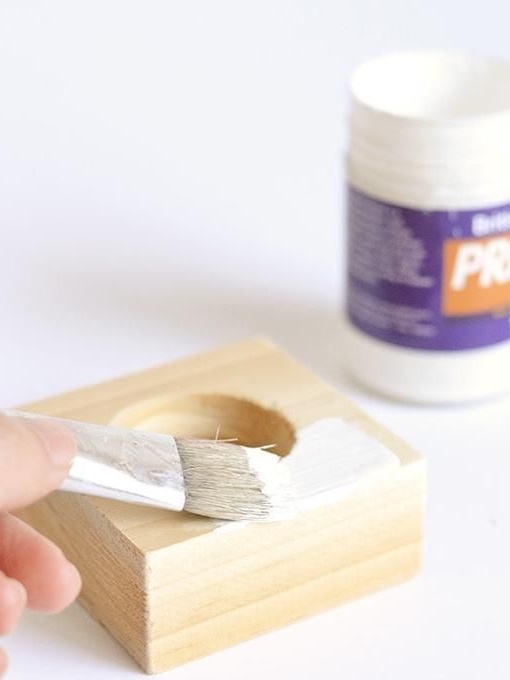
Then, having removed the dust from the workpiece, it can be painted, the author used white paint for such purposes. You need to apply several layers, between each layer you need to wait a certain time for the paint to dry.
Step Four The final stage. Dressing
To give the candlestick a more interesting look, you will need wooden sticks. They need to be cut into pieces of such a length as the sides of the future candlestick (square) have.
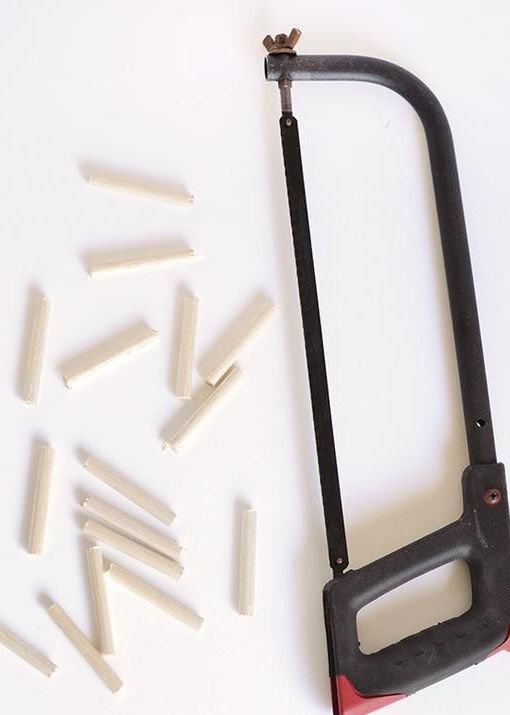

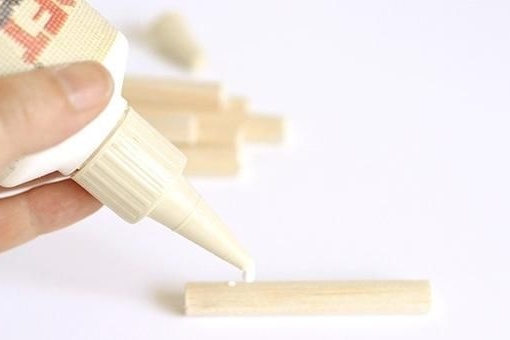
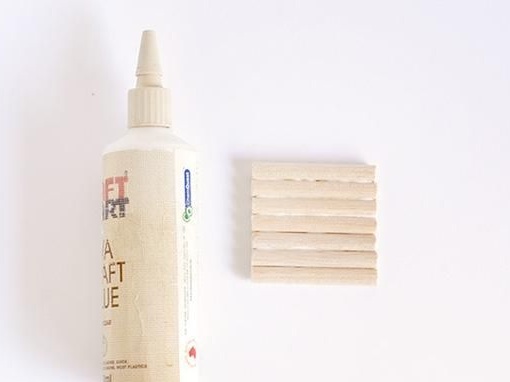
Now the made pieces can be glued together. In total, you need to dial such a number of segments so that in total their width is equal to the width of the candlestick. This will be its basis. When the glue dries, the base can be glued to the candlestick. That's all, the candlestick is ready. In conclusion, a couple of layers of varnish can be applied to it.
However, it is not necessary to make the candlesticks white, you can use any color to your taste. You can also experiment with the number of layers of a helmet and varnish, well, you can also try to slightly change the basis.
