
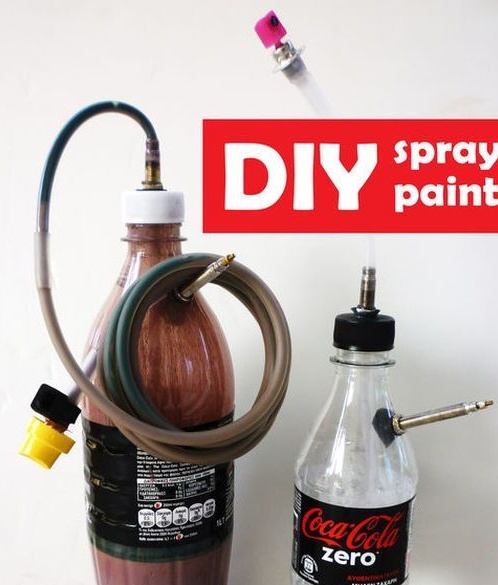
Painting with an aerosol can greatly facilitates the staining process itself. The paint lies flat, thin layer and penetrates where it is difficult to get a brush. But the cans also have drawbacks, namely a small amount of paint in the can and their price. Just start painting once and the paint in the spray is over. And even more offensive when the paint is still there, and the pressure to squeeze it is no longer enough. Make aerosol can do it yourself and decided to save the author.
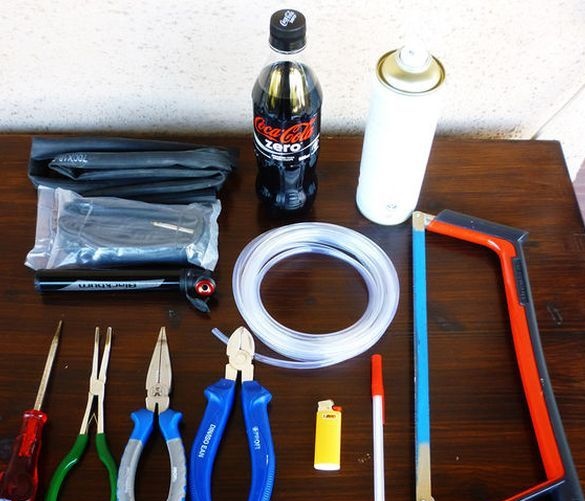
Tools and materials:
-Two bicycle cameras;
- A bottle of Coca-Cola;
- Empty spray can;
Tube for aquarium compressor;
-Awl;
- Hacksaw for metal;
-Pump;
-Lighter
-Circular pliers;
-Pliers;
-Nippers;
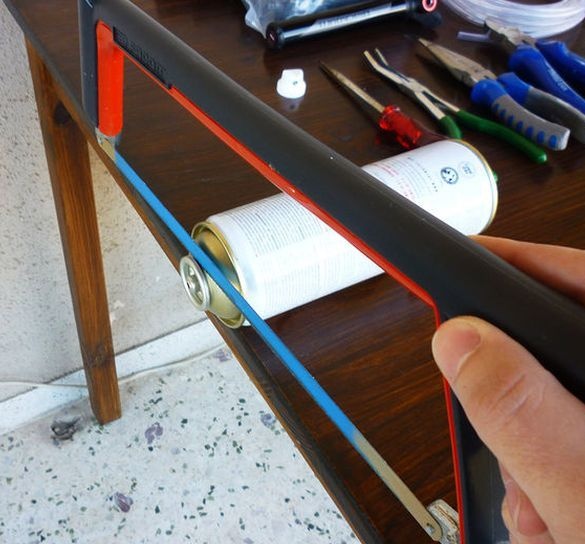
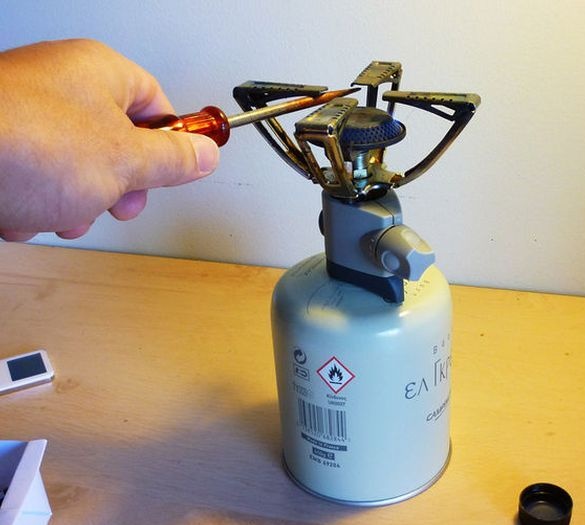
Step 1: aerosol can valve
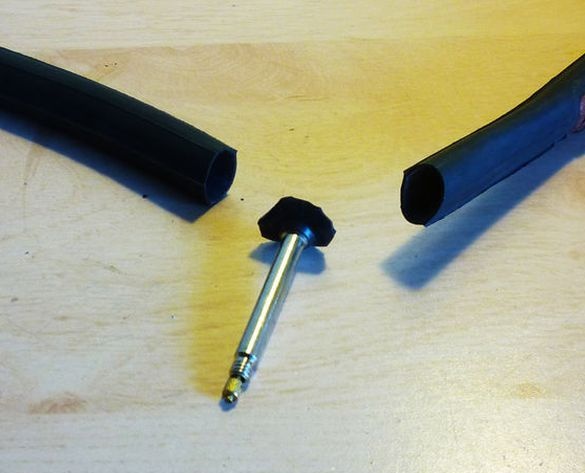
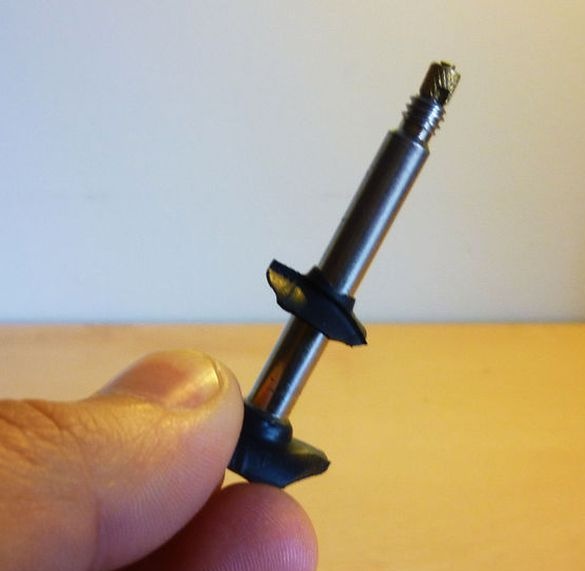
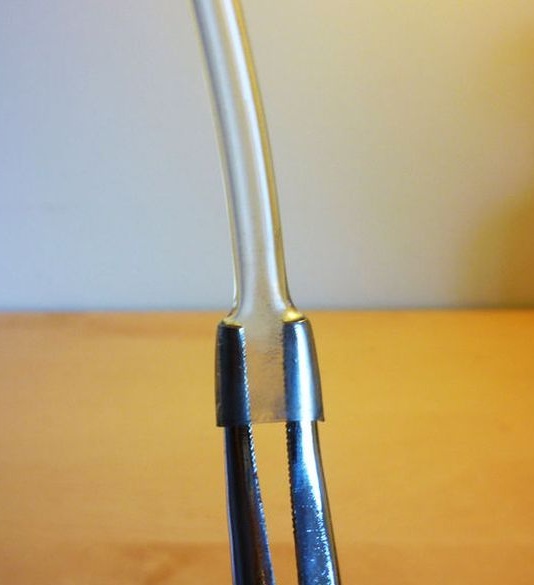
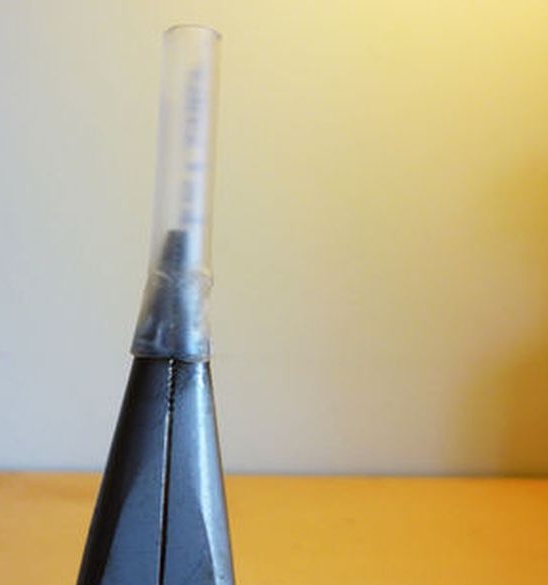
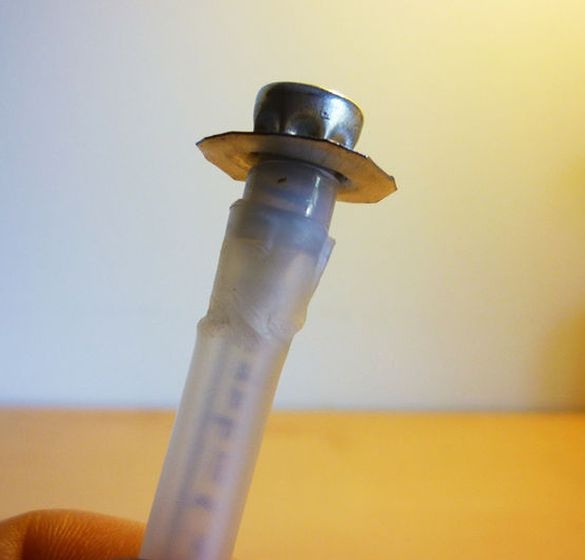
Before removing the valve from the aerosol can, the author blew all the air out of it. After making sure that the cylinder is not under pressure, he carefully makes an opening in the side wall with an awl. Further cuts off the cylinder valve with a hacksaw.
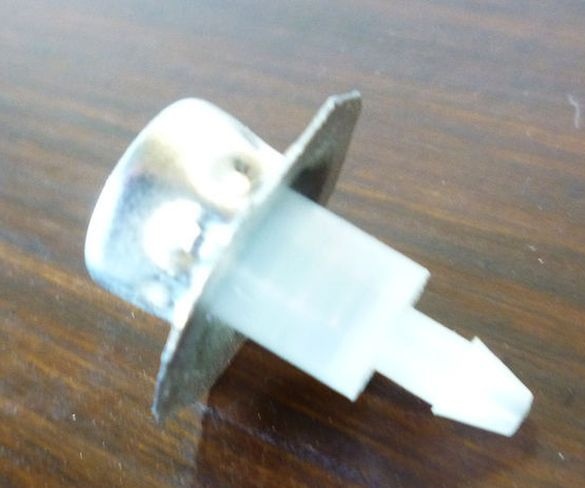
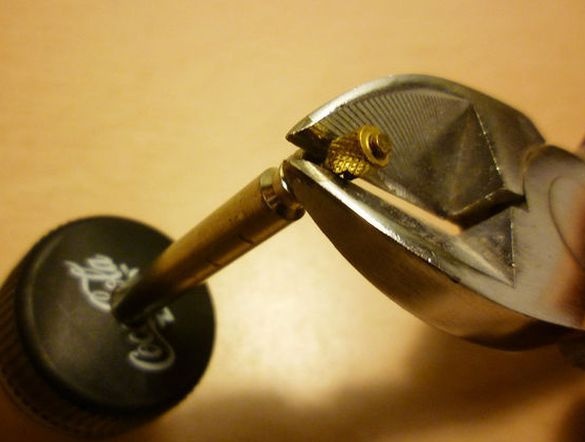
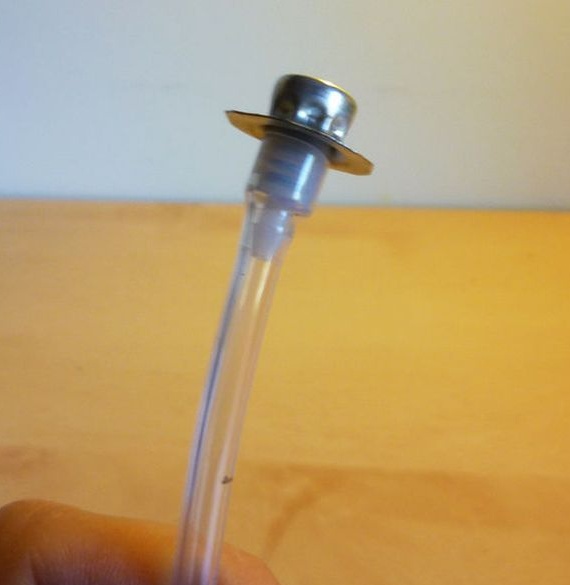
And with the help of nippers and pliers it removes excess metal around the valve. It turns out as in the next photo.

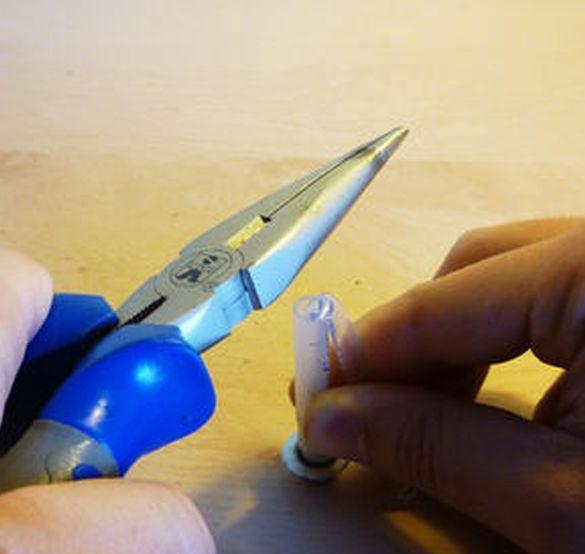
Step 2: Valve of the bicycle chamber.
Shears valves from bicycle chambers with scissors.
Cuts three o-rings from the chamber. In the middle of the gaskets makes holes for the valve tube.
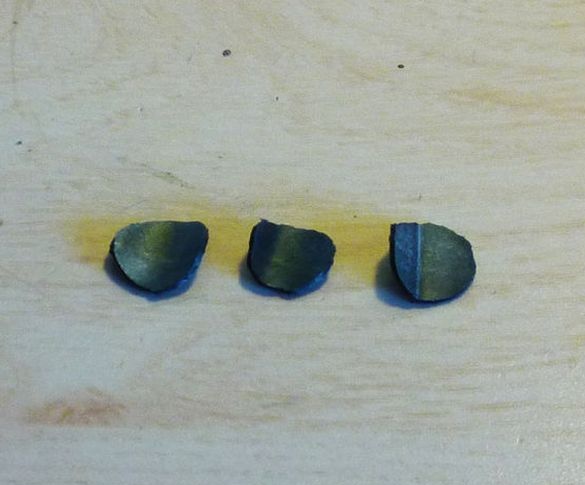
Slips one of the o-rings onto the valve tube.

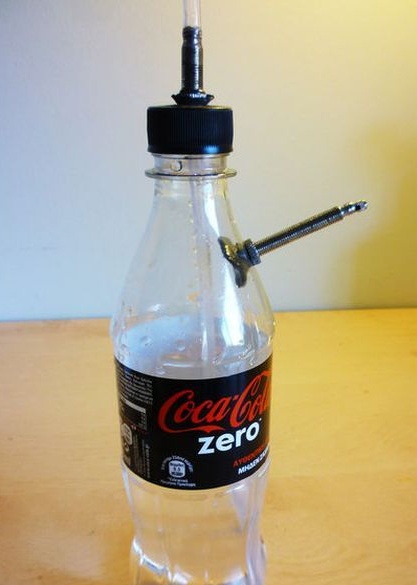
Step 3: Installation bicycle valve
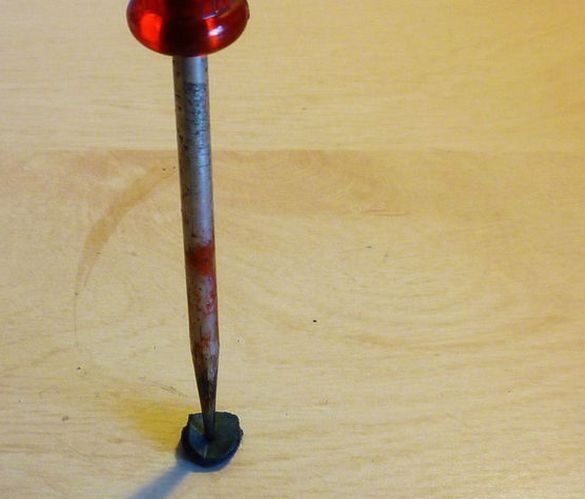
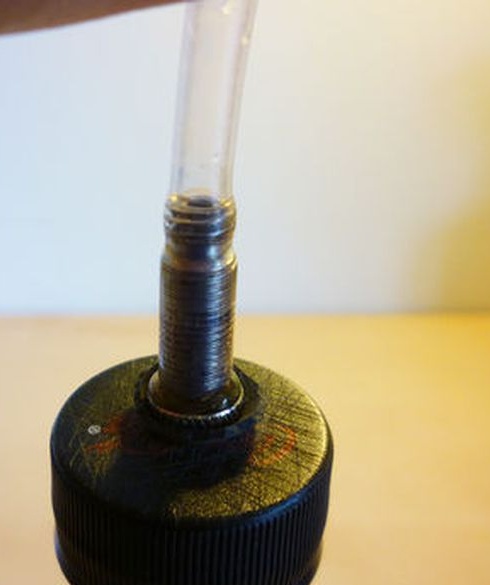
Heats the edge of the awl on the burner and makes a hole in the upper side of the bottle. The hole should be such that the valve tube fits tightly into it.
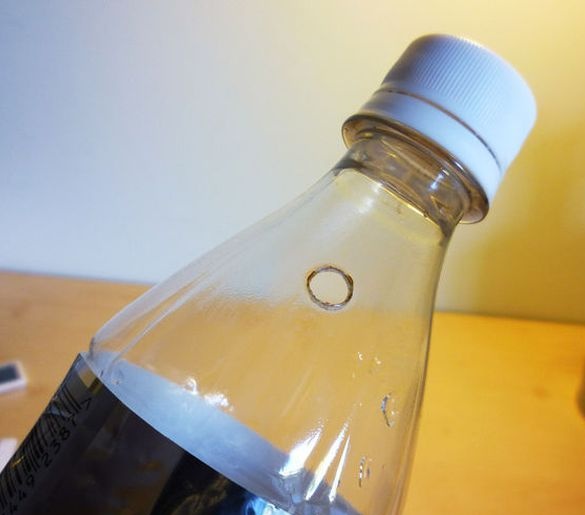
Inside the bottle, it inserts a valve into the hole. Fixes the valve with a nut. The sealing ring, tightly pressed against the wall of the bottle, seals the junction.
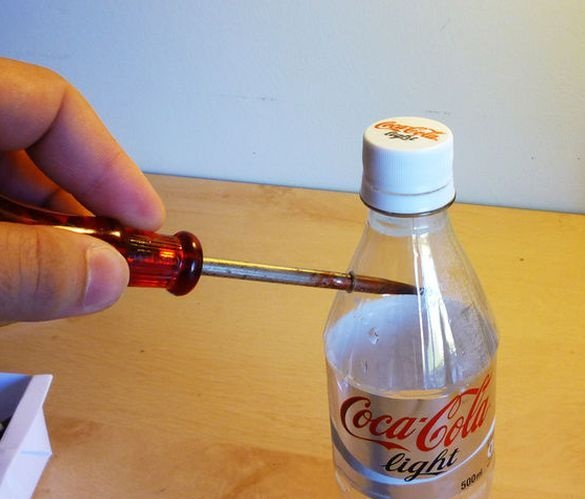
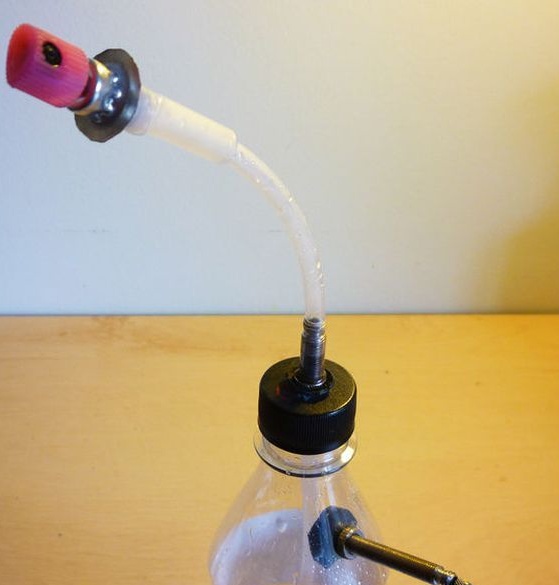
Step 4: Install the valve in the cover
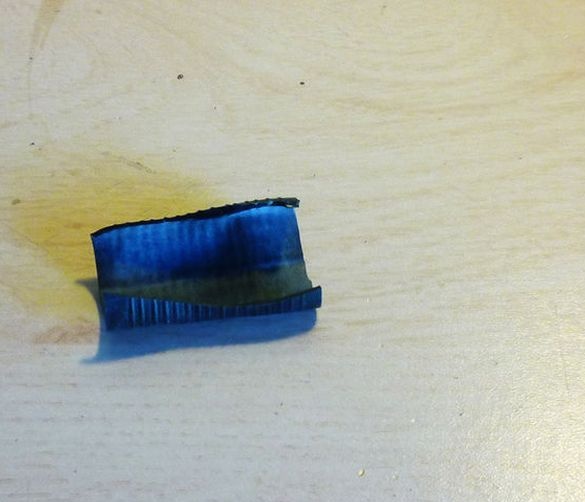
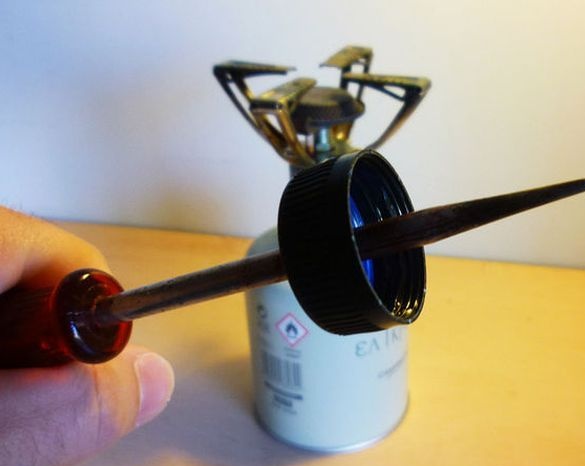
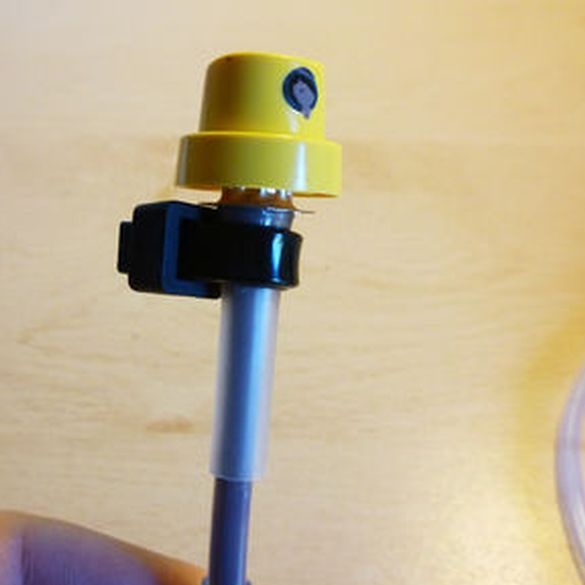
Heats the awl and makes a hole in the lid.
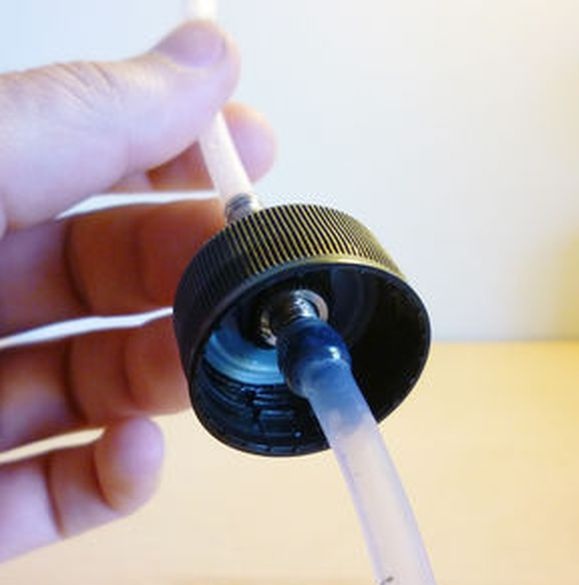
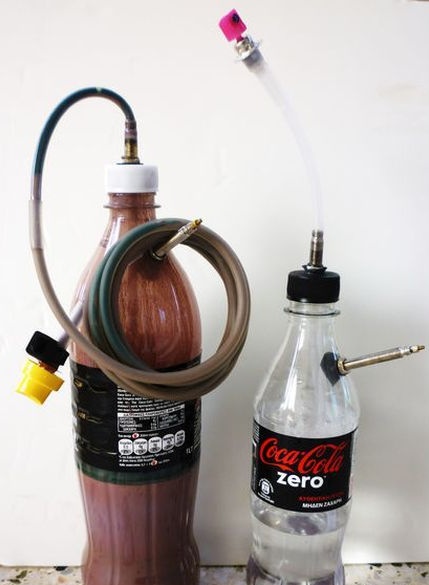
Puts the bottle cap on the valve tube. It removes the "spool" from the valve. On top and bottom of the tube puts on gaskets and tightens with nuts. Inserts a plastic tube into the bottle to the bottom and cuts it off to the edge. Puts one edge of the tube on the valve tube at the bottom of the cap.On the upper part of the valve puts on the rest of the plastic tube pre-smearing it with glue.
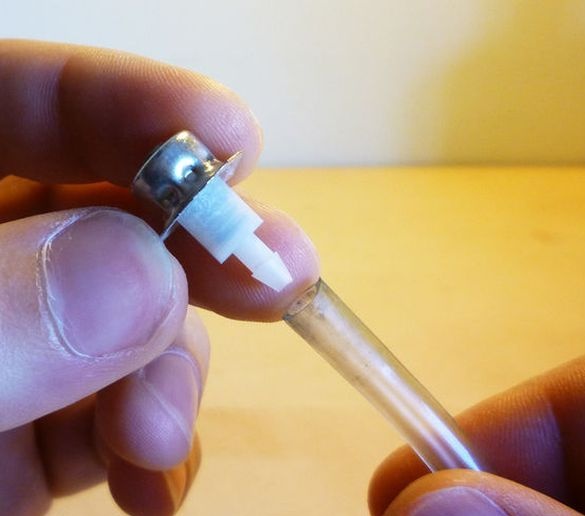
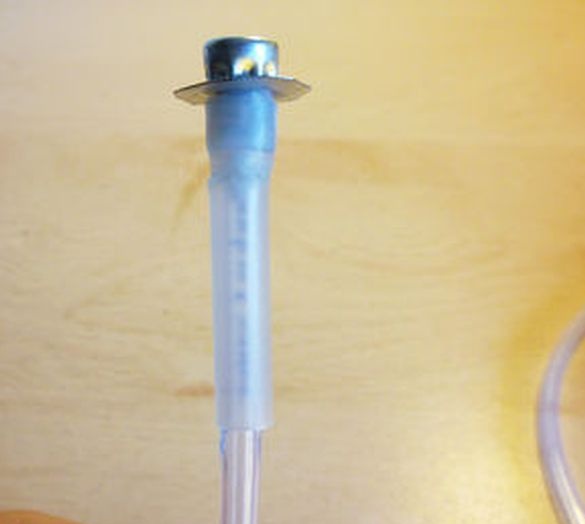
Step 5: Install the can valve
The other end of the tube puts on the valve from the aerosol can. Fixes the connection with glue. Put a cap on top of the valve.
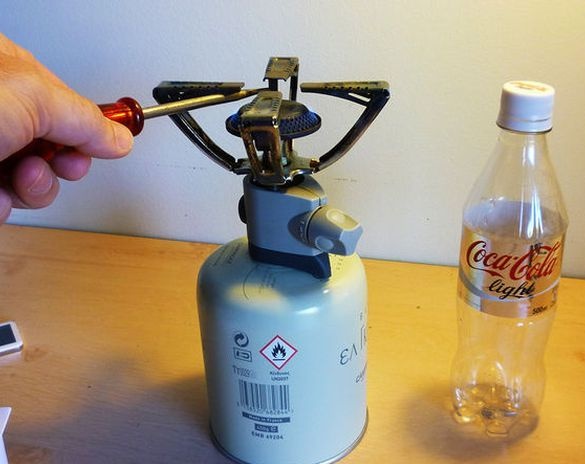
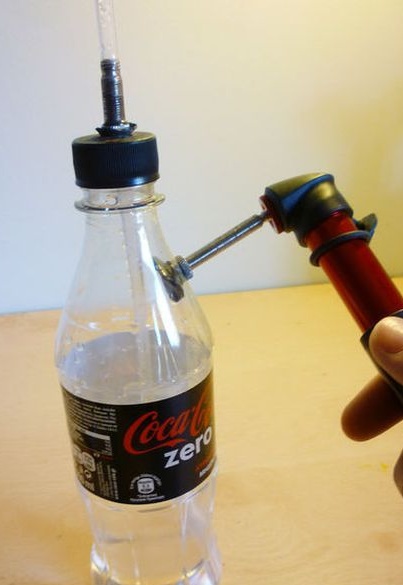
Step 6: Testing
Fills the bottle halfway with water and gradually injects air. If there are no leaks, you can fill the cylinder with paint.
Any paint can be used, the main condition is not aggressive with respect to plastic.
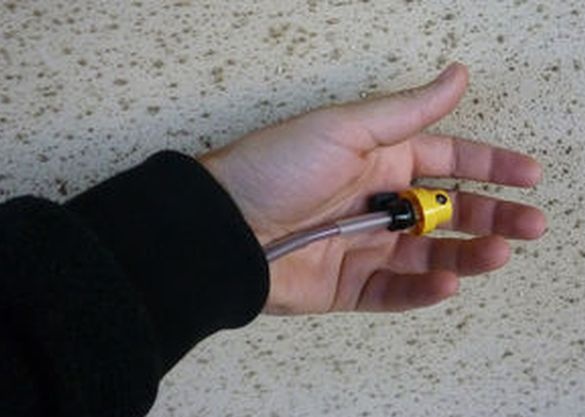
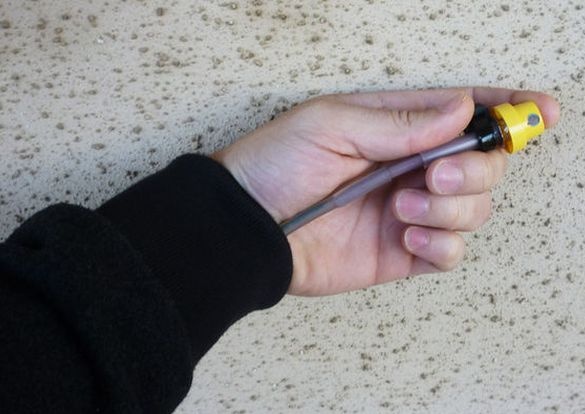
For those who are fond of graffiti, the author advises taking the pipe more authentic and putting it on the sleeve.
The operation of the cylinder can be seen in the video.
I’ll add that in my opinion it is better to fix the pipes with clamps. In preparing the article, it was possible to find out that the plastic bottle can withstand from 6 to 8 ATM. Therefore, a 1-2 Atm cylinder can stand calmly. It is better to pump air during the test and leave the cylinder for a couple of hours. When unscrewing the cover, be sure to relieve pressure beforehand.