

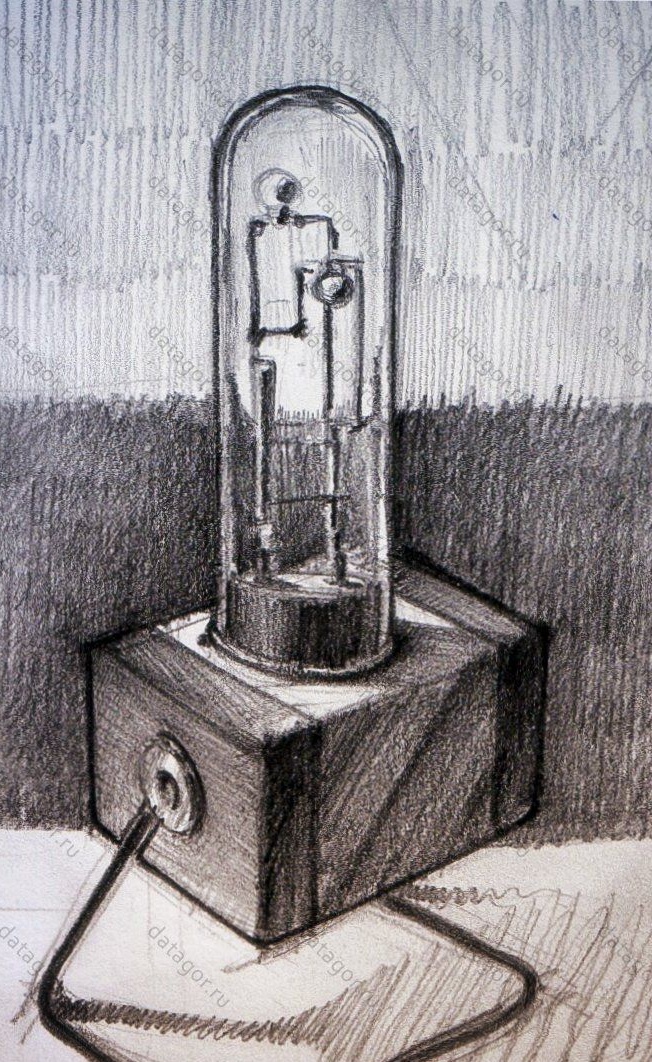
Today, let's look at an example of creating an interesting lamp in the popular Steampunk style today. Besides the fact that the lamp is interesting as a product, it still works very nicely, emitting a warm, soft light. An atmosphere of coziness and comfort is immediately created, under such a light it is pleasant to think or talk.
Author homemade first painted it. As materials, he planned to use aluminum, a bent bar to create legs, and the holders were planned to be made of bronze or brass. For the manufacture of the upper part, it was decided to use glass, which was on a plastic insert. Inside, the homemade product should have copper elements with several bulbs, and everything should work from USB. For the project, the drawing was not made, everything was figured out by eye. What came of it. We will see further.
Materials and tools for homemade:
- a piece of aluminum profile:
- a hacksaw or other cutting tool;
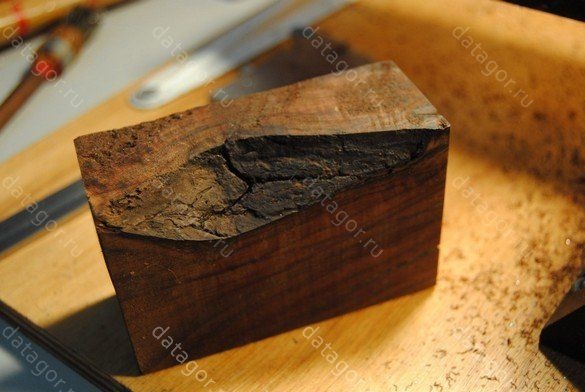
- a piece of wood (used American walnut);
- drill with drills;
- screws with nuts and washers;
- milling machine;
- tool for threading;
- steel bar (the author used the handle of the bucket);
- varnish;
- 5V incandescent bulbs;
- copper wire;
- soldering iron and more.

The manufacturing process of the lamp:
Step one. Making the base of the lamp
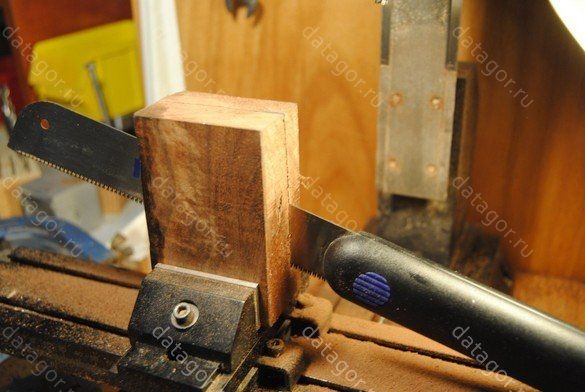
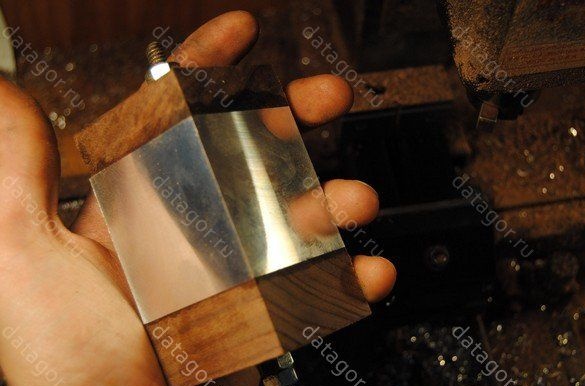
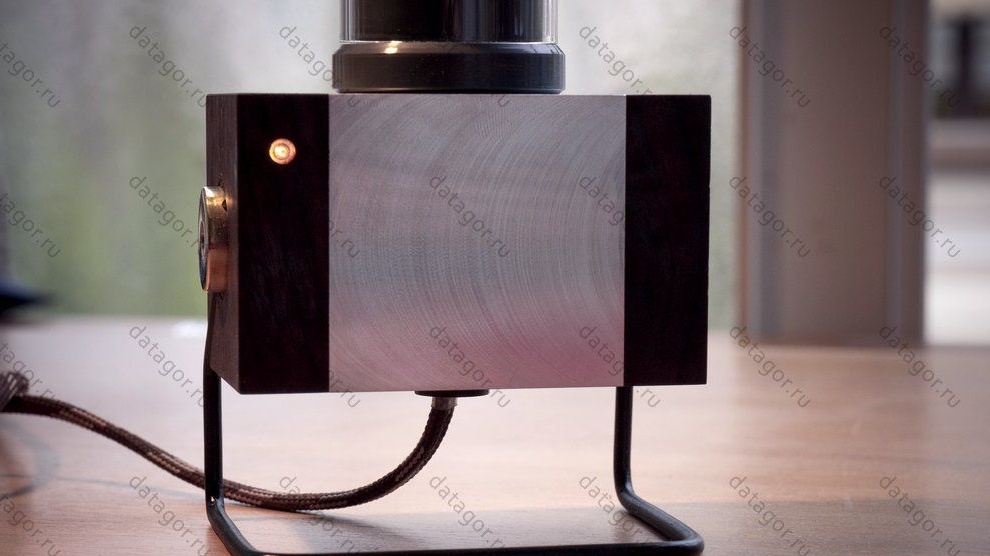
To make the base, the author needed a piece of aluminum profile and wood. An American nut was used as a tree. It is good because it has a good pattern and a noble dark color, especially if it is coated with oil.
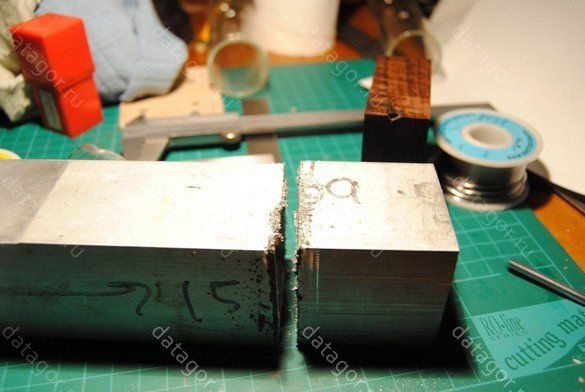
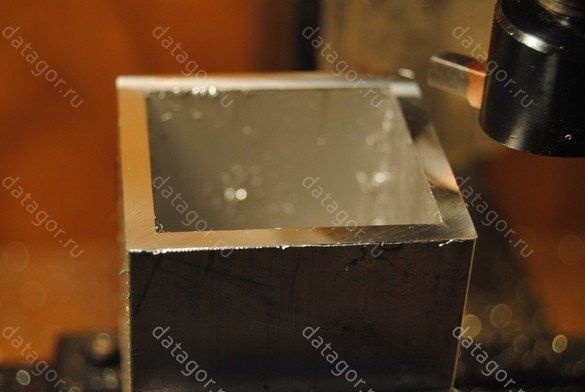
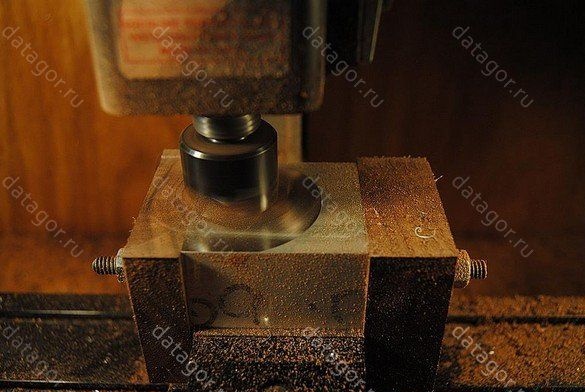
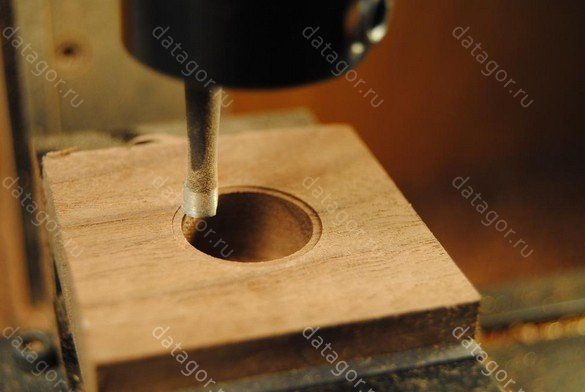
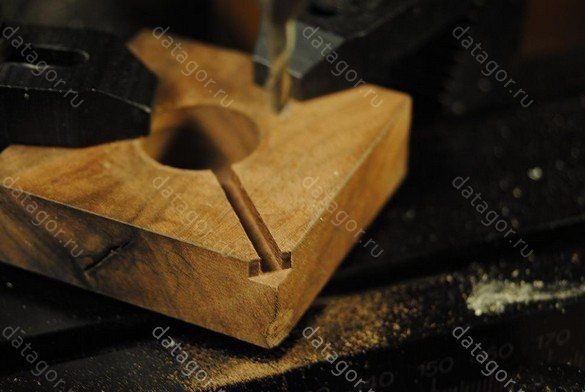
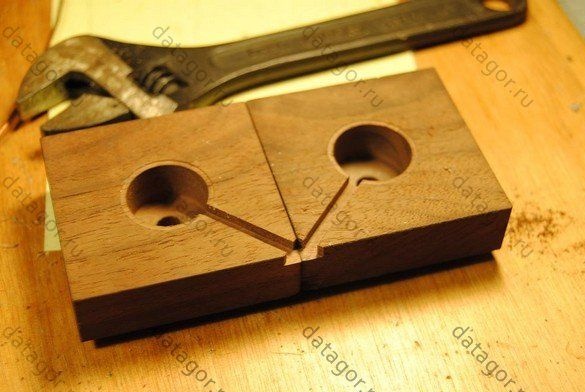
From a piece of profile, you need to cut a piece of the desired length and then remove the burrs. As for the wooden beam, it is cut into two parts, and then grooves for the aluminum profile are made on the milling machine on both halves. When everything is ready, the profile is clamped between the two halves of the tree with a bolt and nut.
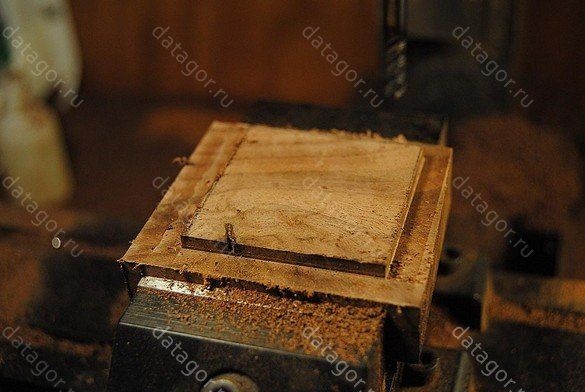
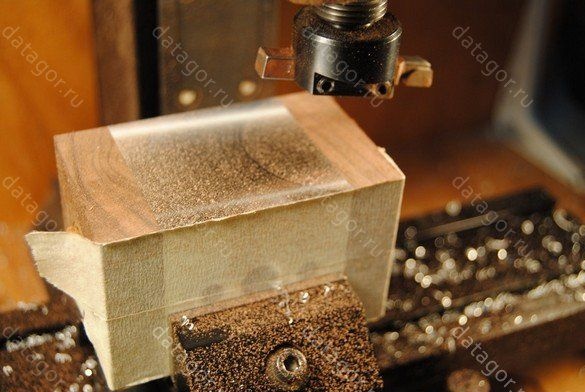
Subsequently, the workpiece is again sent under the machine, now the wood and metal are aligned, and a single plane is obtained.
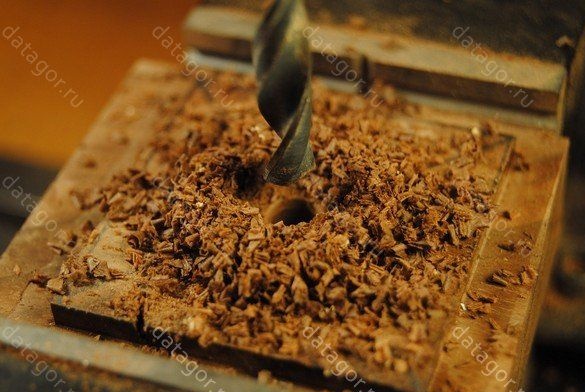
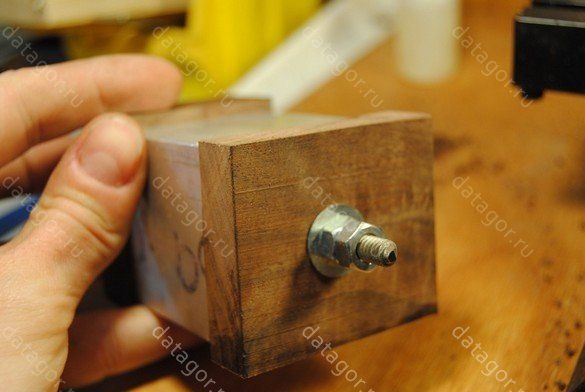
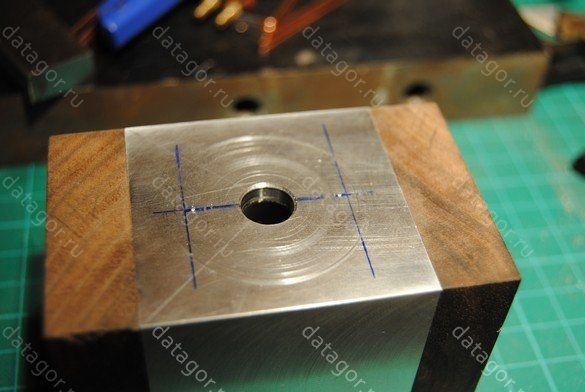
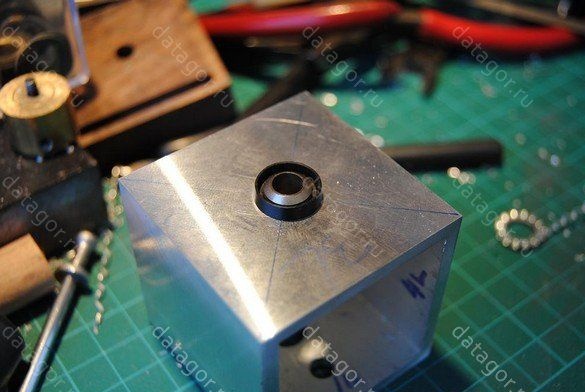
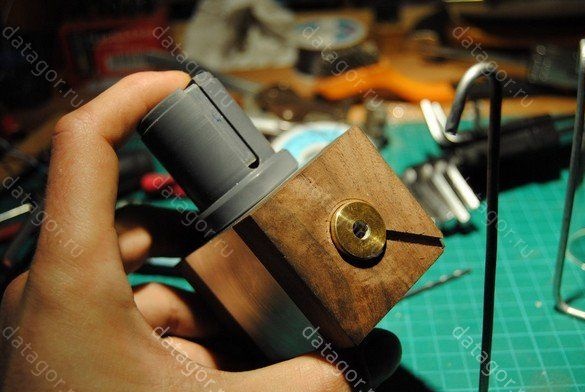
After that, the structure is disassembled again. Next, you need to prepare a brass billet. In it you need to drill a landing hole under the leg. Then it is grinded and polished, all in all, the author made two of them.
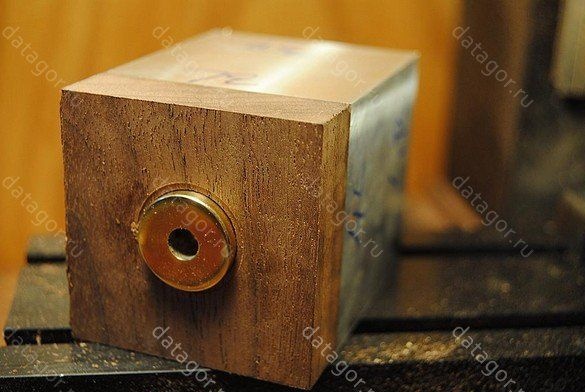
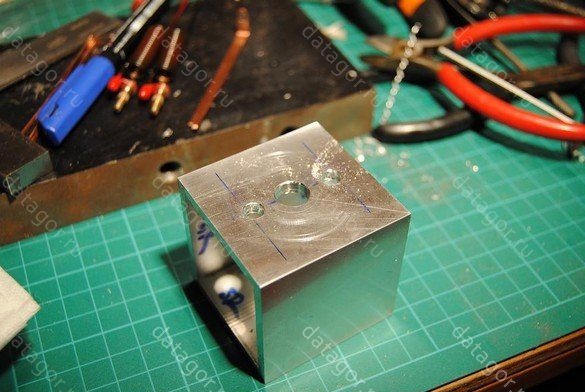
Now you can begin to disassemble the package, the holes need to be drilled under the legs fasteners. The diameter of the hole should be two dozen more than brass inserts. This is in case the tree suddenly "plays", and the assembly of the structure becomes easier.That's all, now you can try on.
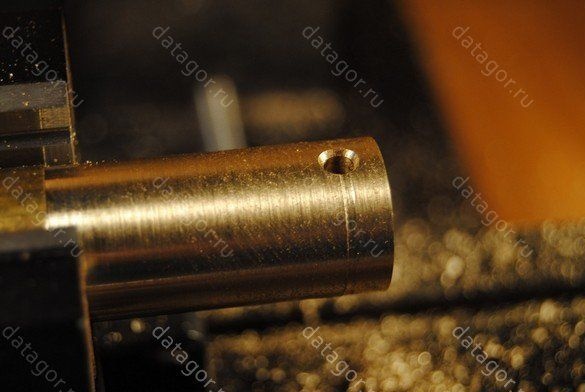
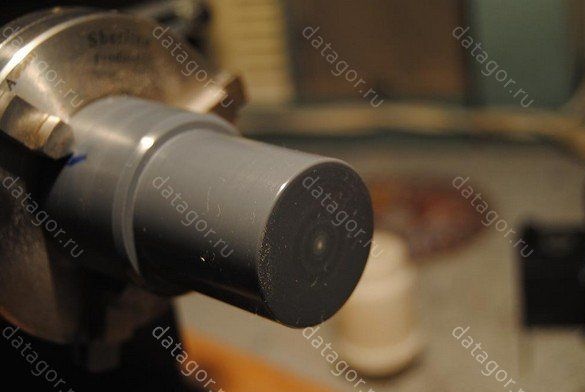
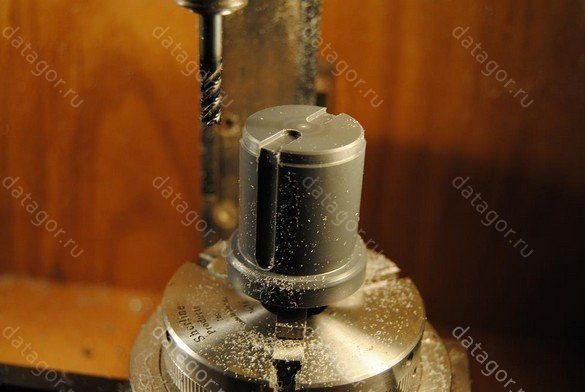
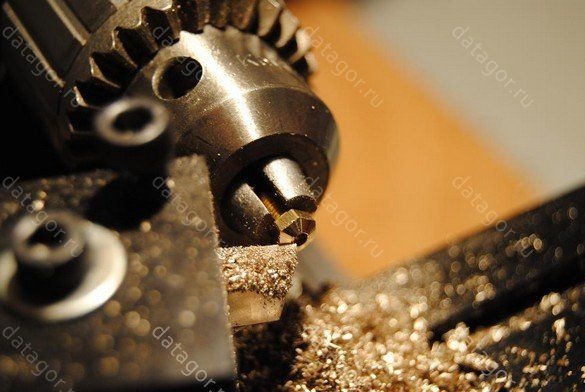
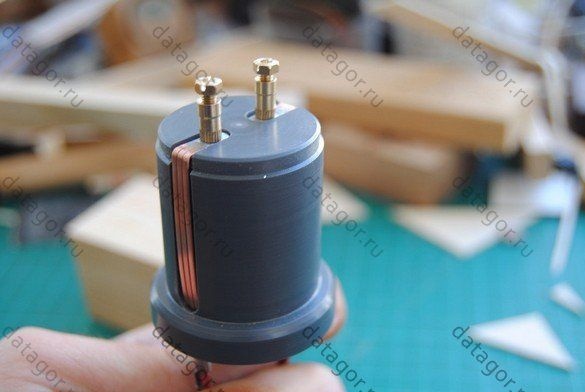
Step Two Making a landing column for a glass bell
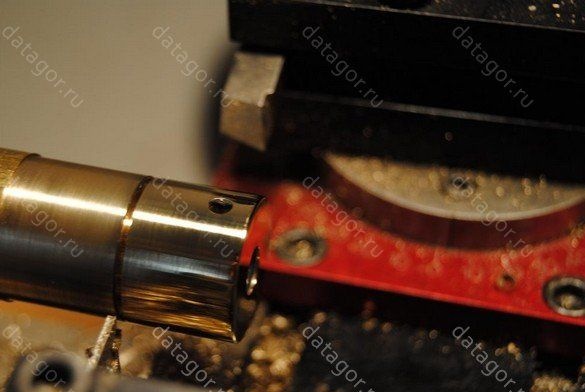
The landing column is turned and polished on the machine. Next, you need to make channels and holes for wires. And then in the holes you need to cut the threads.
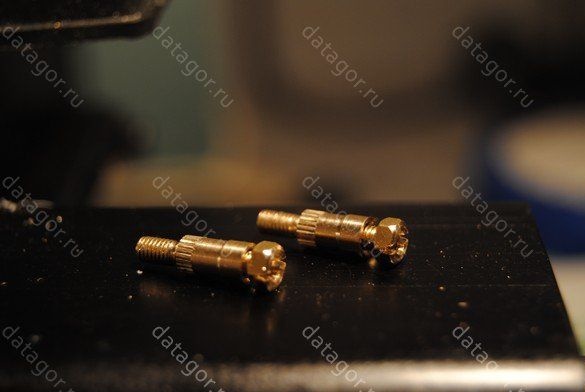
At the same stage, small bolts and mounting posts are made. At the base you need to do a small direct knurling.
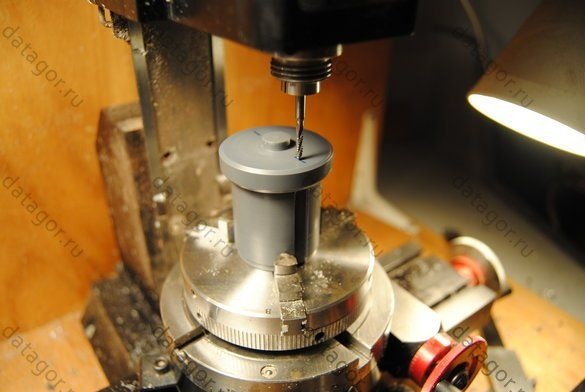
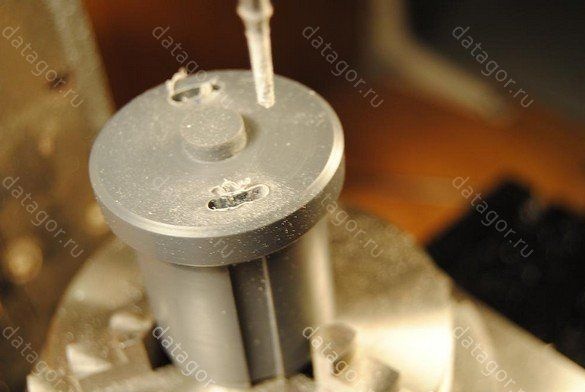
Step Three Column Holes
The author drills holes in the right places, exactly how, you can see in the photo. In the lower part, you can try on wire fasteners.
Step Four Lamp legs
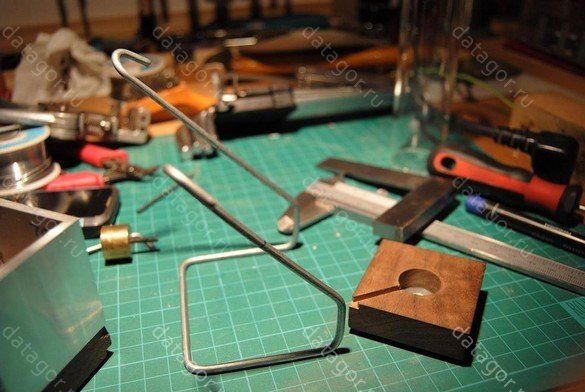
To make the legs, the author used a handle from a bucket. She was bent to the desired shape and painted. To fix the legs, you will need to make grooves.
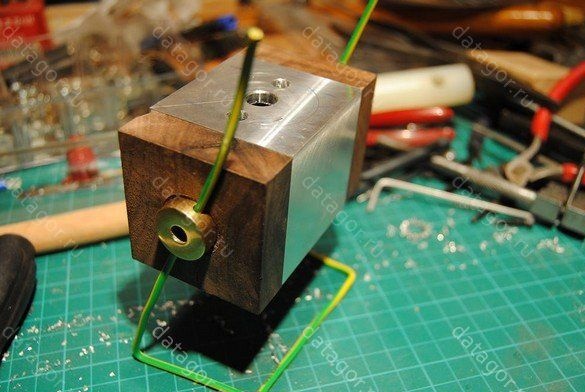
At this stage, you can assemble the structure and figure out whether everything is done correctly. Well, then the surface is milled “clean”.
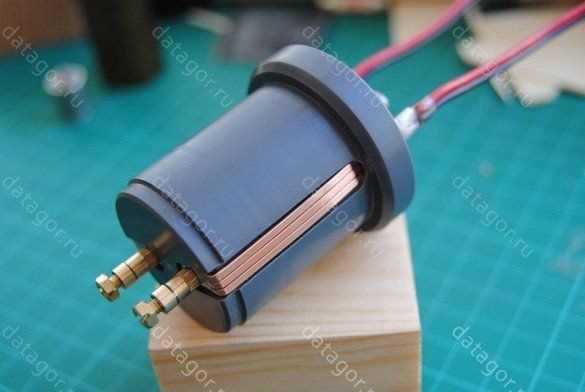
Step Five Lamp parts
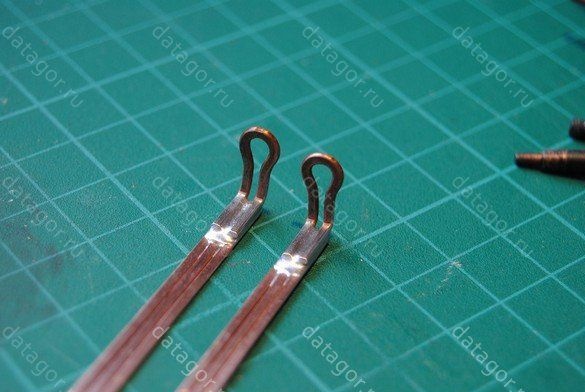
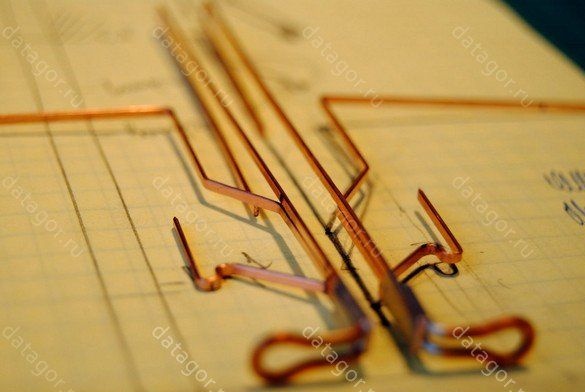
The copper wire must be rolled into a rectangular profile and soldered into the "bus". Holes are also drilled and polished.

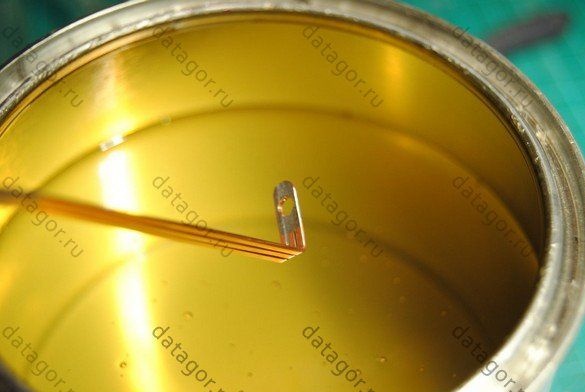
After that, the elements can be degreased and varnished.
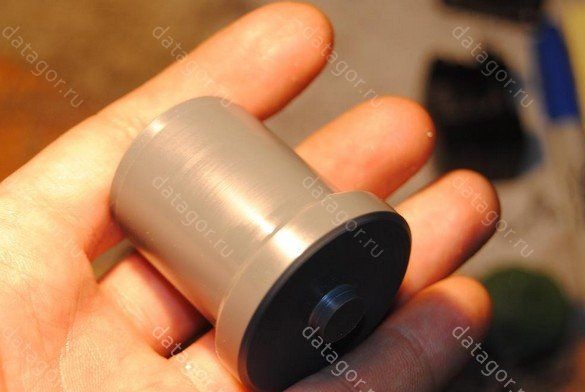
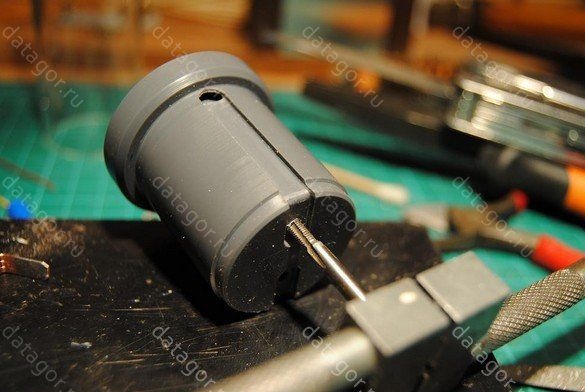
What the assembled column looks like can be seen in the photo.
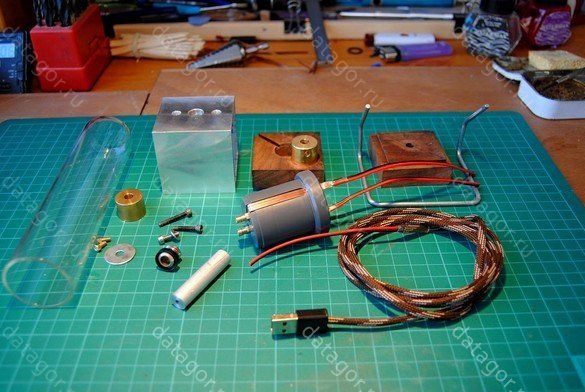
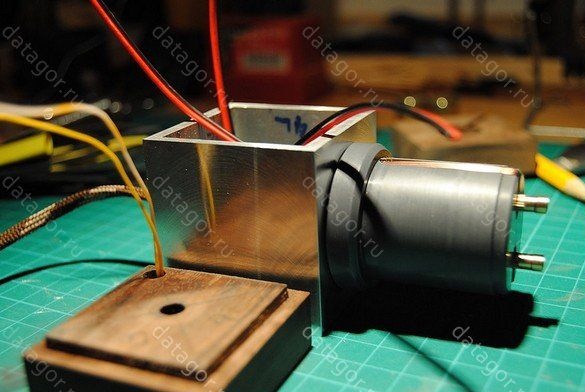
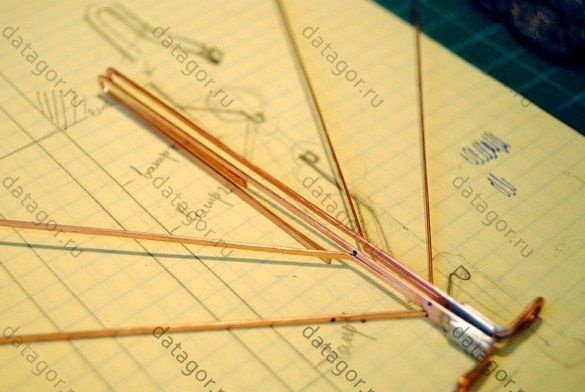
The main elements of homemade made.
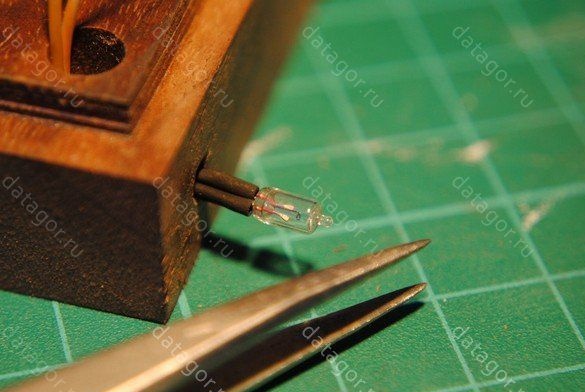
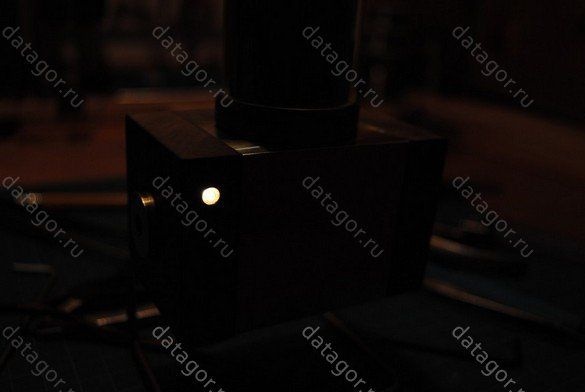
Next, the author drills a small hole in the homemade body under the glow lamp. Then everything is put together. Now you can check the health of the system.
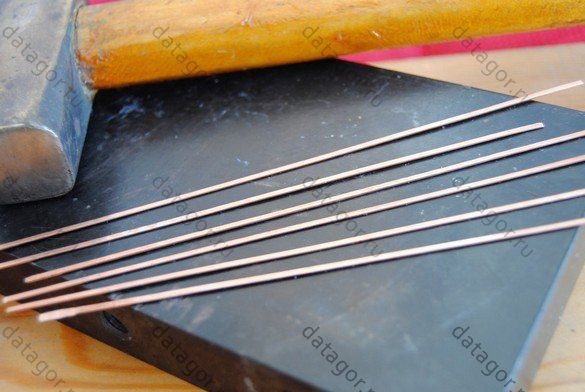
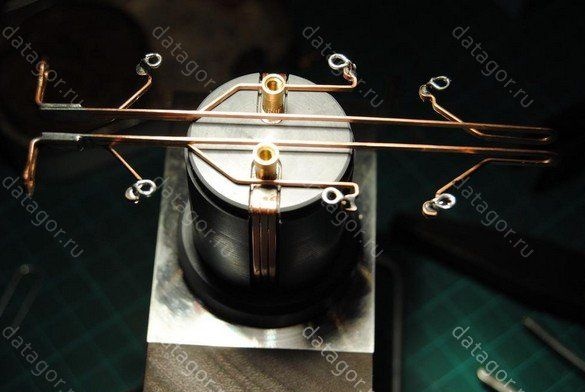
Now the author again rolls the wire and smoothes it with a copper hammer. Then he solders into a flat tire.
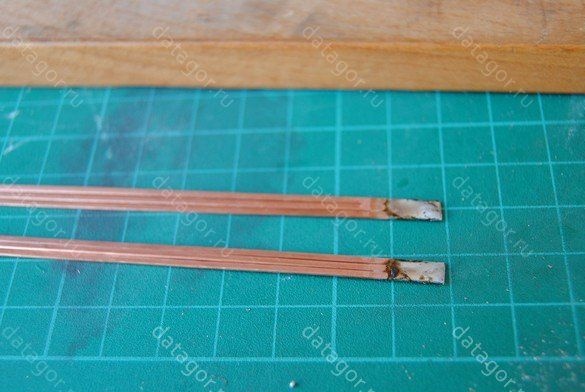
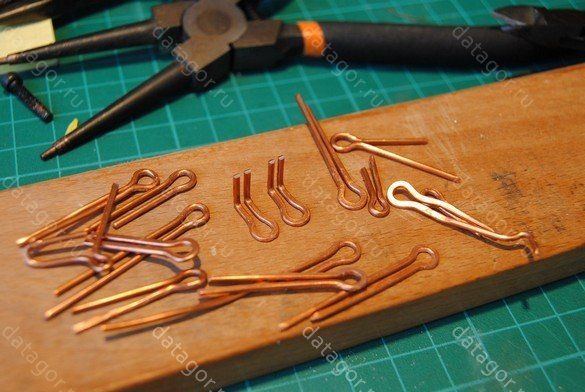
For tires, ears must be made; they are made of copper wire. These ears are soldered to the tires, and the solder points are then polished.
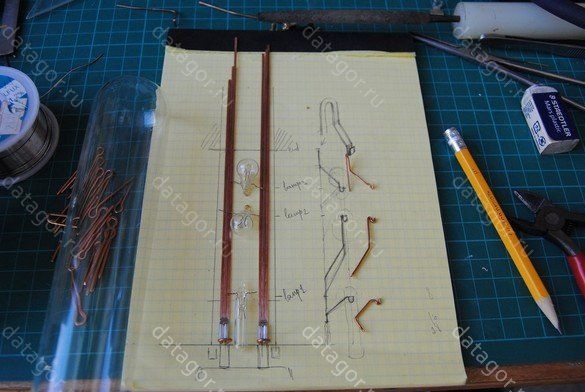
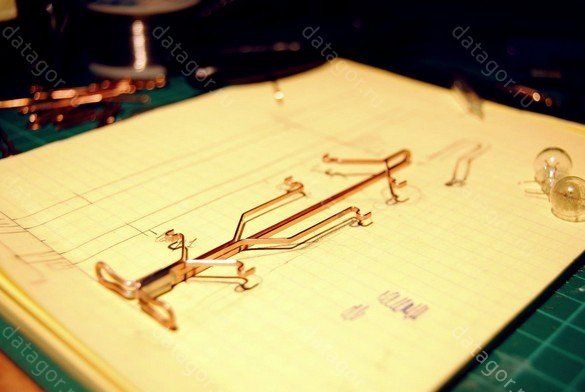
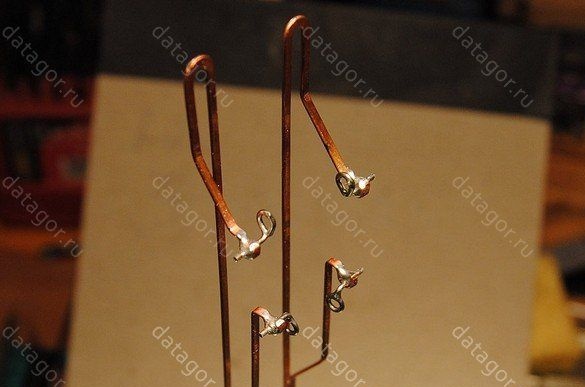
After the tires are ready, you need to think about how the bulbs will be located. What will turn out in the end, can be seen in the photo.
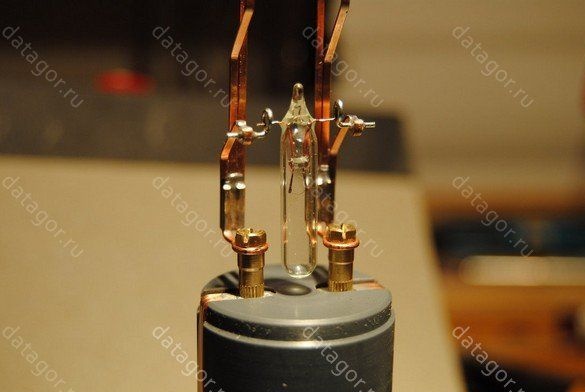
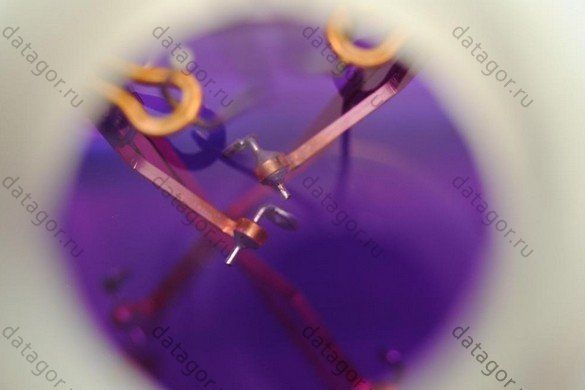


When the copper frame is made, it remains to solder the bulbs, they are soldered to the ears. And of course, everything is subsequently polished, degreased and varnished to protect copper from oxidation.
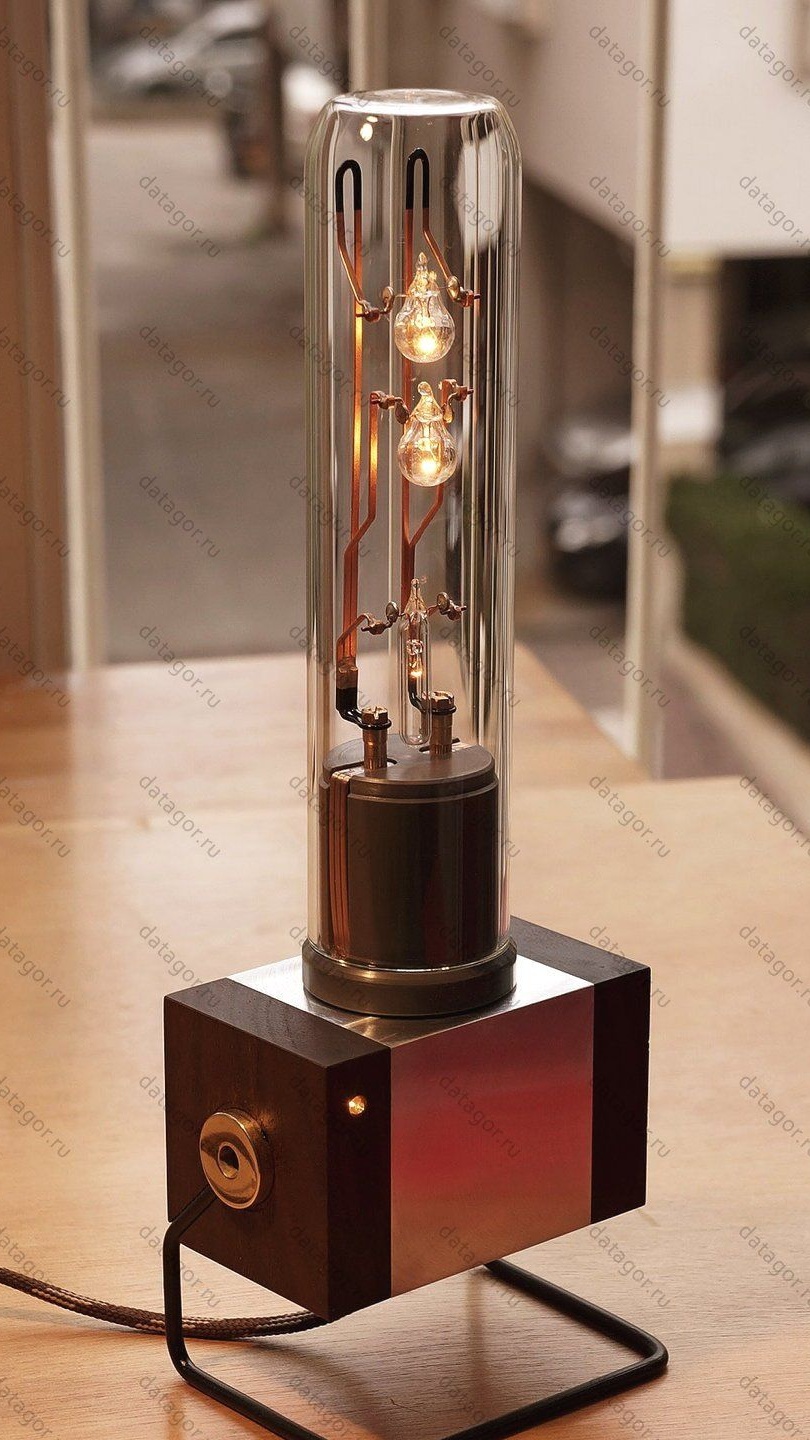

That's all, the homemade product is ready. What eventually happened can be seen in the photo.