
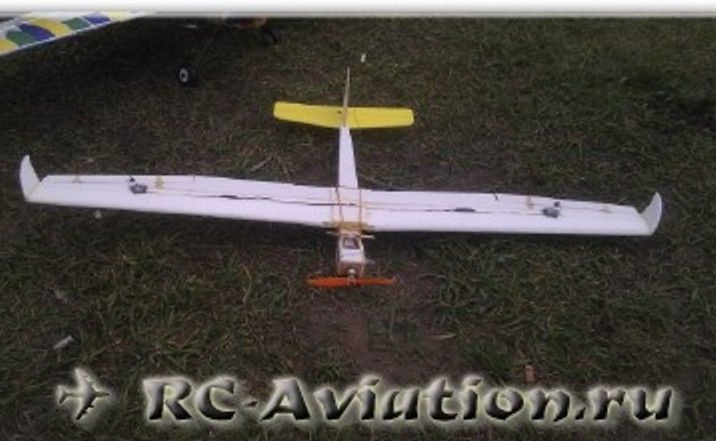
Ceiling tile is one of the most popular materials in the creation of aircraft models. This time we will look at an example of how to make it model small glider. IN homemade the author decided to use the wings of a stepped profile. This method can be considered one of the easiest ways to make wings.
According to the author, the use of a stepped wing profile did not endow the model with any special characteristics. Perhaps all this is due to the fact that the wires of the servomotors were laid indented, and ideally, the wires needed to be mounted deep into the foam. As a result, the glider turned out to be very light, it flies best in calm weather or with gusts of wind up to 3 m / s.
As a power unit, the author used a 9 gram engine, the same was used in, the battery was also used from there. The engine for this model is not too powerful, it is barely enough, but so it has a small weight. There is no vertical take-off at the glider either.
The flight weight of the model is 134 grams with a wingspan of 1000 mm (this includes the projection of the endings).
Materials and tools for homemade:
- for the homemade engine C1818 Micro brushless Outrunner 3500kv 9 gram engine was used;
- propeller size 5x4.3;
- engine regulator Hobbyking SS Series 8-10A;
- servomotors for controlling ailerons S0361 3.6 grams;
- Servo steering wheel height HXT500 5 grams;
- as a power source, the battery Rhino 360mAh 2S 7.4v 20C;
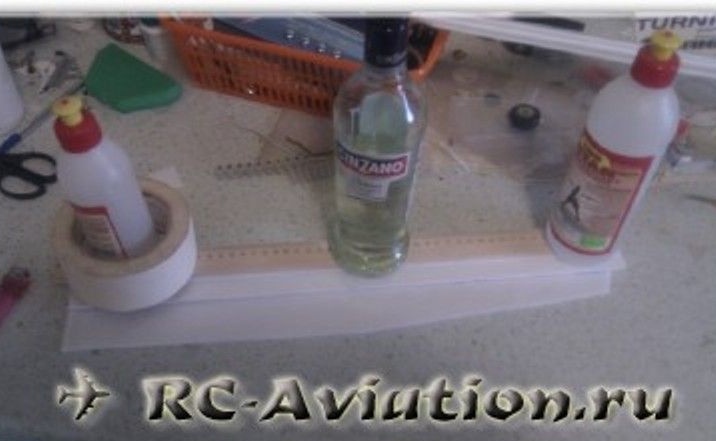
- ceiling tiles;
- glue Titanium (or another for the ceiling);
- scissors;
- stationery knife;
- drawing and measuring tool (ruler, pencil and so on);
- soldering iron, wires and more.
The process of manufacturing an aircraft model:
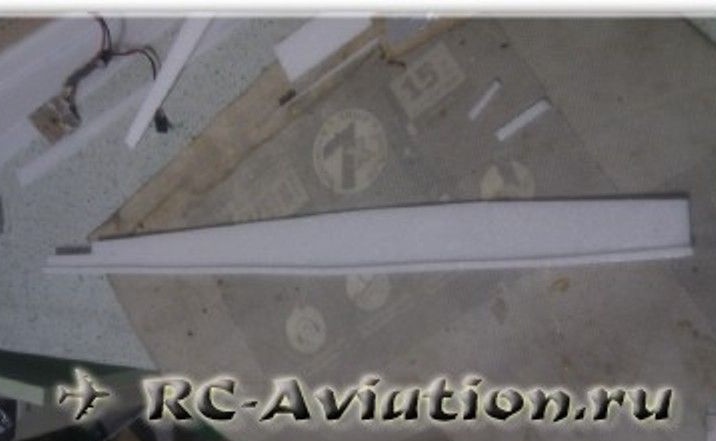
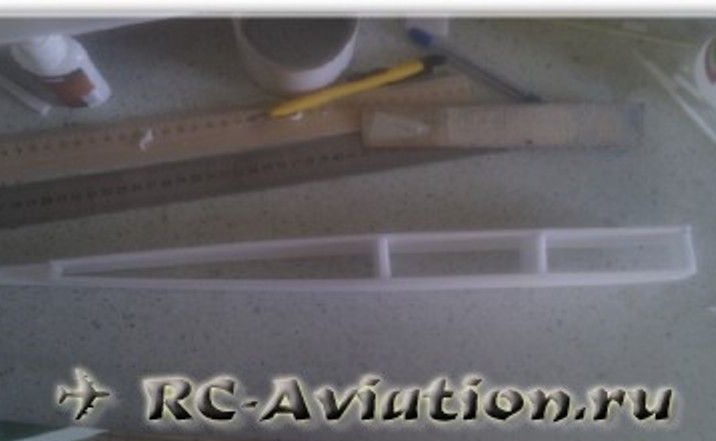
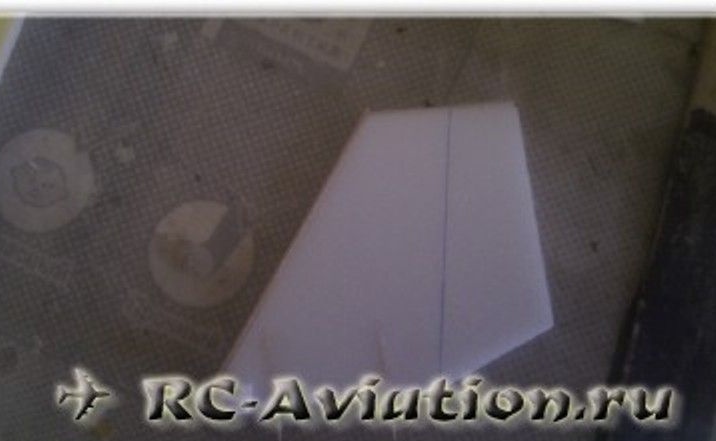
Step one. Cut the workpiece. Wing consoles
As a basis for homemade work, the author decided to take the Glider 400 model. Here the ailerons and the shape of the endings were finalized. Also, as a basis, you can take a drawing of any other glider. The very essence of the article is to show an example of manufacturing small gliders.

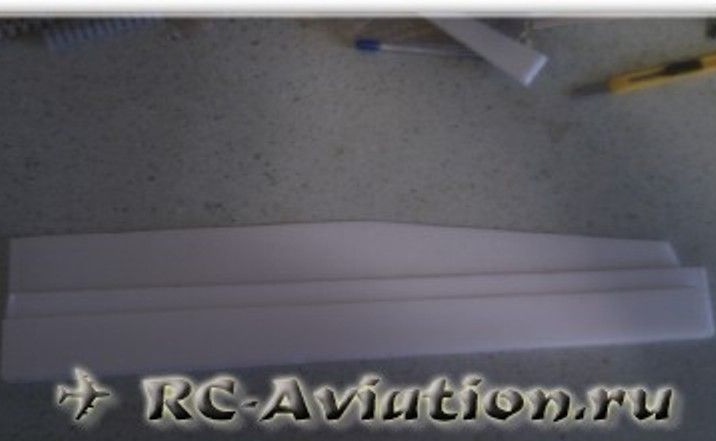
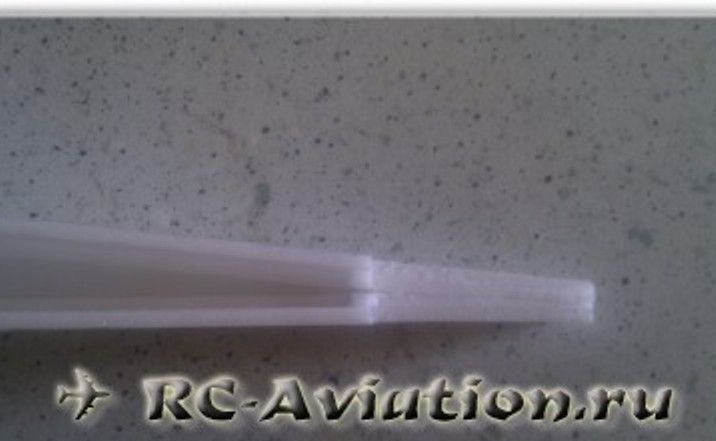
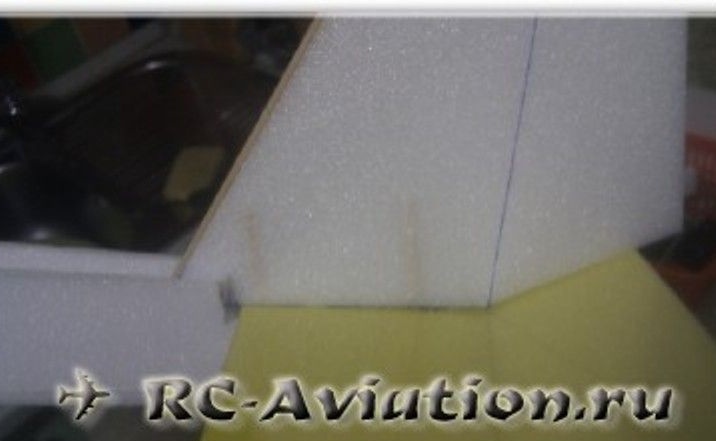
Then the ceiling can be cut into blanks according to the selected and printed drawings. You can start with the wing consoles. Making them is very simple, the templates are glued together. It is necessary to work with glue accurately. To make the model easier, glue must be applied with a grid on both parts of the parts to be glued. In this case, the strength of the connection will not be lost.
In the central part, it is necessary to glue the spar, a piece of a ruler or bamboo is suitable. Since the author did not do this, the spar had to be glued on top. To get a solid connection without voids, the gluing meta must be sent under the press. For such purposes, a ruler and some kind of weight are suitable.
Step Two Fuselage model
The fuselage can be made box-shaped, but if you do not use additional elements to give rigidity, it can bend during sharp maneuvers due to its small size. For these purposes, along the bottom, the author glued stringers from the ceiling, segments of 5-6 mm wide will be needed. They need to be glued to the side walls from the inside. Thanks to them, the bonding area of the bottom will also increase.
In the rear part under the stabilizer, it will be necessary to thicken, for this you need a couple of layers of the ceiling, sewn from the bow to the edge. When assembling the sides of the fuselage, frames are glued. The most important thing is to maintain the evenness and perpendicularity of the frames.
Step Three Kiel model aircraft
The keel is made of a single layer of ceilings with an uncontrolled steering wheel. It is glued back to back, for additional fixation, the author used halves of toothpicks. First, with the sharp part, you need to pierce the channel through the center of the keel width, then there you need to insert toothpicks dipped in glue and wait until the glue sets.
So that the keel was additionally held by the sides of the fuselage, thickenings were glued in the front part.
To increase the strength of the keel in its front edge and at the top you need to put a half-bamboo.
Step Four Stabilizer and elevator
To create the elevator and stabilizer, you will also need a single layer of the ceiling. The elevator is attached with adhesive tape. This technology is most fully described.
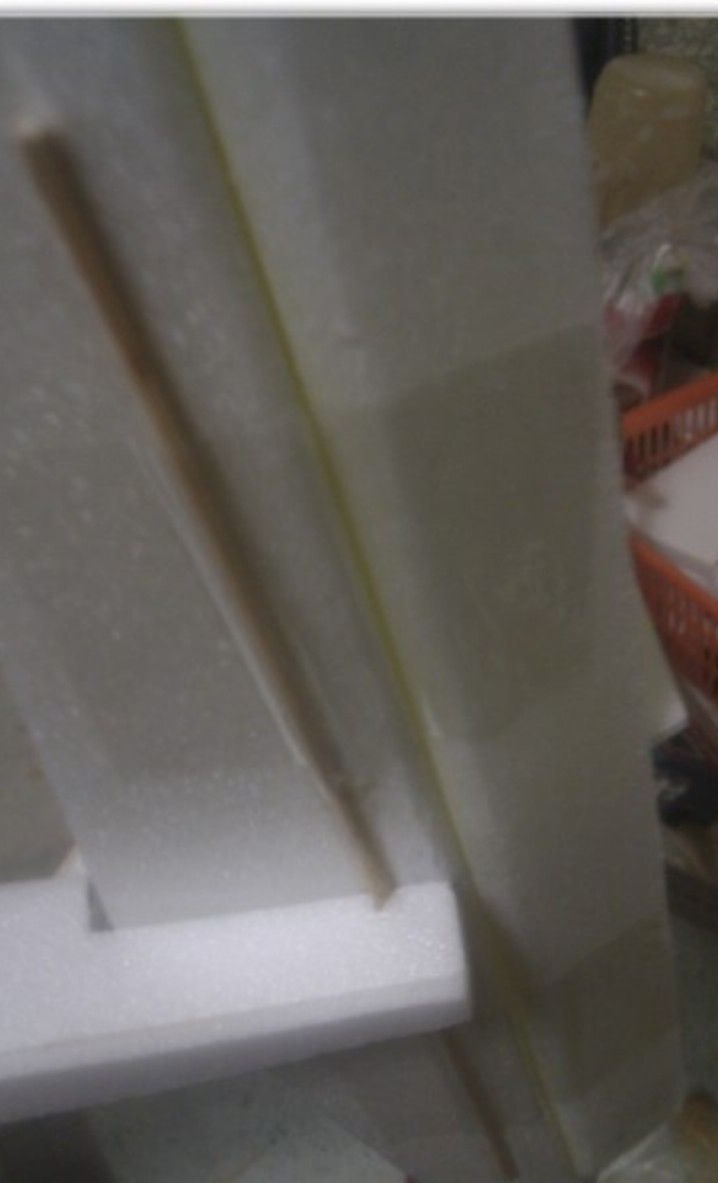
Since the stabilizer area is quite large, it needs to be strengthened by installing bamboo on the bottom. For these purposes, the author made a recess in the stabilizer and pasted bamboo into it. Such a deepening can be done with sandpaper folded in half.
Now you can collect the tail. On the back of the fuselage, it is necessary to glue the stabilizer with a thickening, and pierce the keel bamboos through it and then remove them. Then these holes are filled with glue, and the keel is inserted a second time. Now you need to wait for the polymerization of the glue.
The bottom of the fuselage adheres without problems thanks to previously installed stringers.
Step Five Further assembly process
For fastening the wing you will need bamboos, they are glued back to back with twigs. For additional fixation, the author glued pieces of ceiling 4-5 mm wide on top and bottom to them.
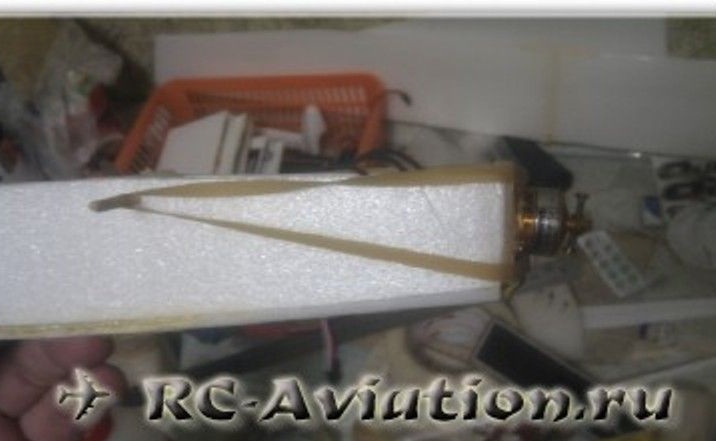
The front wing fastener bamboo was used to fix the engine mount during adhesive polymerization. To make the frame, I needed a piece of a wooden ruler. The engine is mounted using self-tapping screws, they come complete with servos.
As for the elevator machine, it is installed behind the rear twine. A hole must be made in the center of the twine to extend the cable. To transmit movement to the rocking servomotors, the author used a thin wire in a plastic tube (Bowden). It sticks inside the fuselage.
The servo needs to be centered, for this a wing is inserted, the battery and the servo moves along the tail in order to find the desired balance. The upper part of the fuselage is glued at the end.
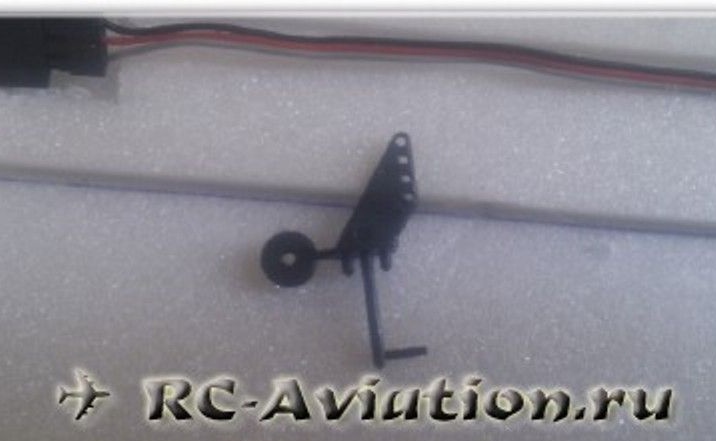
For rudders, the author used ready-made hogs, but they can be made independently. Also, ready-made hinges on which ailerons are hung were installed. Hinges used pin type. The easiest way to hang them on tape or loops is also to do it yourself.
So that the aileron does not bend due to its small size, they were edged with half-bamboo on the trailing edge. They give extra rigidity.
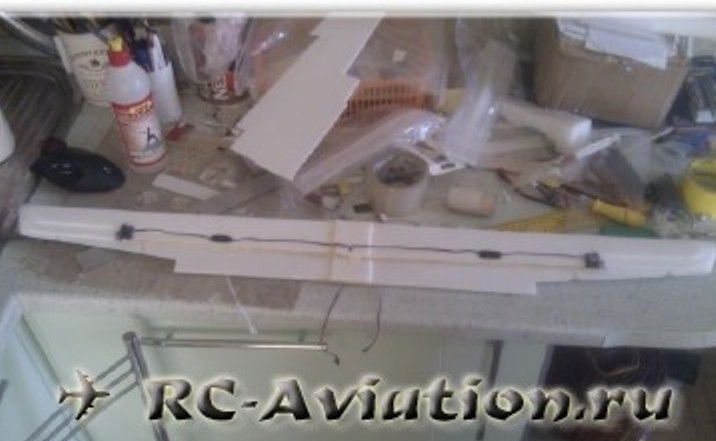
The servo cable was carried out according to the first difference, the author used a ready-made extension cord to connect, but you can solder it yourself if you wish. The wires were fastened with hot glue. It must be dripped at the angle of the wing thickness difference and then the cable should be pressed to these drops.It is best to do this not with your finger, but with some object, since in the first case it is very unpleasant.
The junction of the extension cord with the servo wire is hidden in a special recess and is also fixed with drops of hot glue.
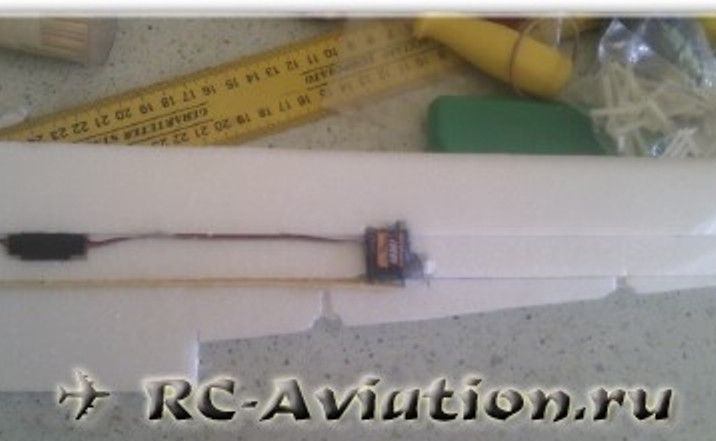
The author also fixed the servos with hot glue. To do this, in the second layer of the ceiling, under the dimensions of the servo, you need to make a niche, and then the server is attached from four angles using hot glue.
Channels were made for the pin loops, this is done with toothpicks. Then protruding parts of the aileron loops get into the glue in these channels.
In order to prevent gum from missing the wing, in the middle of the wing, segments of the ceiling and halves of bamboo were glued along the rear and front edges.
Lastly, a 4 cm length was glued to the wing nose. The upper space will be open, the battery is inserted here. When flying, this part is closed with adhesive tape.
At the edges of the wing, the author made the endings from the ceiling in two layers. If sharp maneuvers on the plane are not planned, then they are placed at an angle of about 30-35 degrees. With a roll, this angle will allow the model to self-center. If you make an angle of the order of 60 degrees, then it will not so much affect the stabilization, while it will be possible to do more active aerobatics.
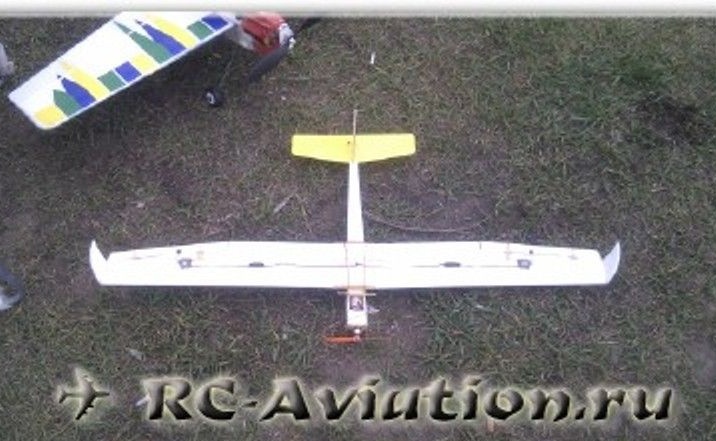
That's all, the homemade product is ready. Unfortunately, the author did not have time to shoot the video of flights. The glider behaves best in light winds, and it is best that it does not exist at all. With calm, the model gains height well, and then plans well with it.
Due to the fact that the model is lightweight, even a slight gust of wind immediately picks it up. But the wind turns such flights into a fight. Due to the large wing area and weak motor, a wind speed of 4 m / s can already take the model quite far from the take-off point. But in sunny weather and lack of faith, this model can bring many pleasant minutes of flight.
Download drawings of this model: