A rabbit is not just an object for admiring. A decorative rabbit is a wonderful pet that needs personal space just like a cat or dog. Many breeders keep their pets in absolutely inappropriate conditions - in cramped metal cages designed for hamsters and guinea pigs.
Of course, in such a limited space, the rabbit cannot lead a full-fledged lifestyle. He runs the risk of gaining excess weight, will become homesick and can easily get sick. Therefore, the cage for a decorative rabbit should be light and spacious so that it can constantly move and not linger in place.
We set out to build a house for the rabbit from improvised materials, namely from what we managed to find in the apartment. It does not shine with beauty and perhaps not as practical as it could be, but we managed not to spend a dime on its construction. That was the original idea.
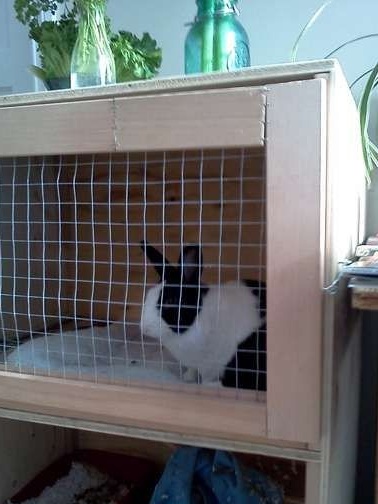
In fairness, we add that the rabbit liked the house, and he was glad to move into it from his cramped purchased plastic cage.
Our cage is two-story and there is enough space in it for a comfortable pastime. In addition, it is lightweight, which allows it to be carried even by a child. The dimensions of the inner part were 60 x 70 cm. This is quite a lot, considering that the optimal content area per decorative rabbit is 0.7 square meters. m
So, to build a two-story house for a decorative rabbit you will need:
1. Materials:
- plywood thicker for floor and roof - 3 pcs. (60 x 75 cm.);
- thinner plywood - 2 pcs. (60 x 90 and 75 x 90 cm.);
- board 12 x 40 mm. for vertical supports (approximately 4 m.);
- board 12 x 60 mm. for the threshold and door frame (approximately 8 m.);
- board for the ramp (approximately 20 cm wide and 60 cm long);
- steel mesh (about 1 sq. m.);
- furniture legs (we took used);
- carpentry glue;
- linseed oil or natural drying oil for wood processing;
- self-tapping screws and staples.
2. Tools:
- hacksaw for wood;
- electric drill;
- furniture stapler;
- brush for oil;
- roulette.
It is advisable to pre-drill the guide holes for all the hardware, otherwise the planks may crack.
1. The basis
For the floor, the cages would ideally fit the old from the old Soviet bed, covered with a very resistant varnish. The rabbit will not be able to gnaw at them, because there are no ledges for which he could grasp with his teeth. But the cleaning process for your pet would be greatly simplified.
In any case, the choice of material for the foundation is an occasion for creativity. You can screw a sheet of plastic from an old pan for dishes to your plywood or come up with something better. Most importantly, do not use metal - it accumulates cold, and the rabbit can easily catch a cold and get sick.
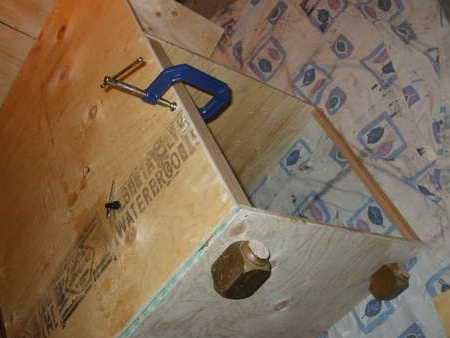
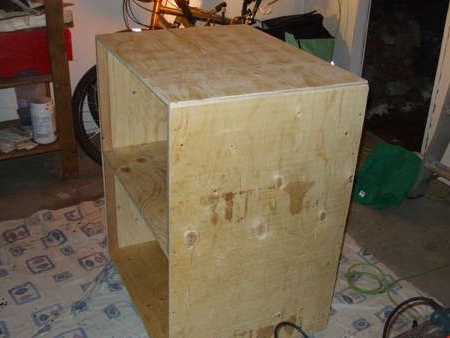
So far, we have used simple plywood, 60 x 75 cm in size, to which we screwed the boards with self-tapping screws, pre-marked and sawn off with a hacksaw. The height of such planks is 45 cm.
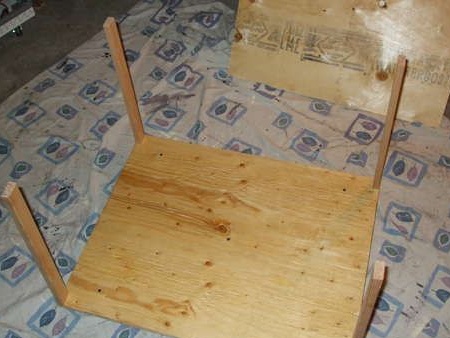
Given that the planks are short, before twisting the screws in them, it is better to pre-drill holes.
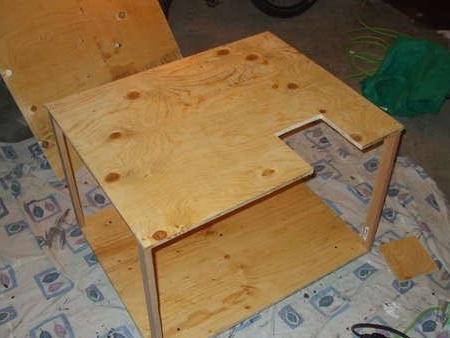
2. The partition
To the partition (it is the base of the second tier) - the same requirements as for the floor of the house. The only difference is that we need to make a hole in it, thanks to which the rabbit will be able to move between tiers. Choose the hole size, taking into account the dimensions of an adult rabbit.
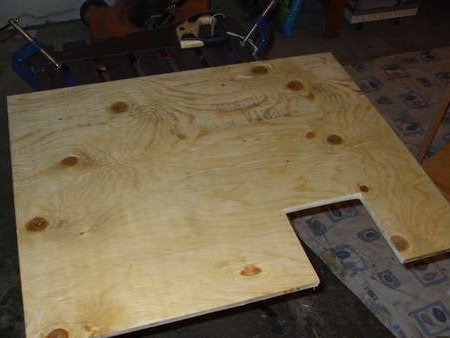
Saw out the hatch and attach the partition with screws to the uprights.
3. Walls
Mark out the side wall cladding on a plywood sheet (60 x 90 cm) and cut them with a hacksaw. Sheathe the walls using self-tapping screws.
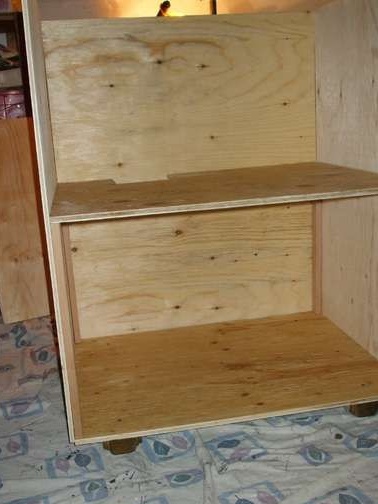
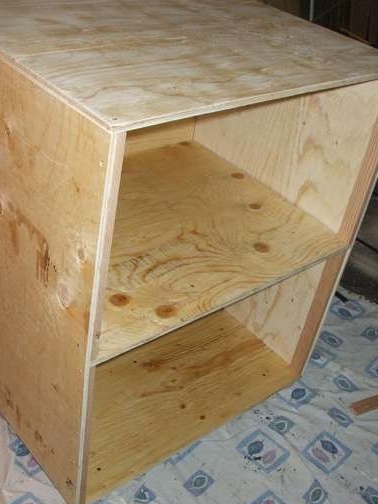
4. The upper tier
Install four more tiers of the 2nd tier. Attach the plywood sidewalls to them and screw the ceiling.
5. Thresholds
In addition to preventing thresholds from spilling out litter and food residues, they will also prevent your pet from bending and spoiling the door.
For their manufacture, we took a board of 12 x 60 mm., And the resulting sills were fastened with screws to vertical posts.
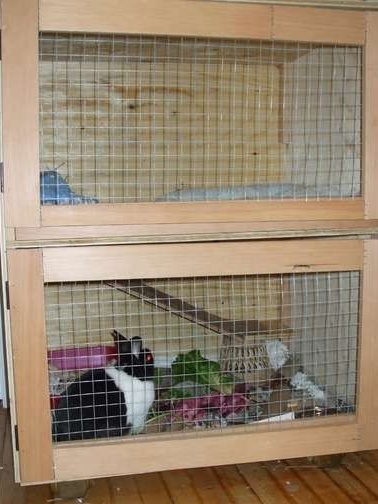
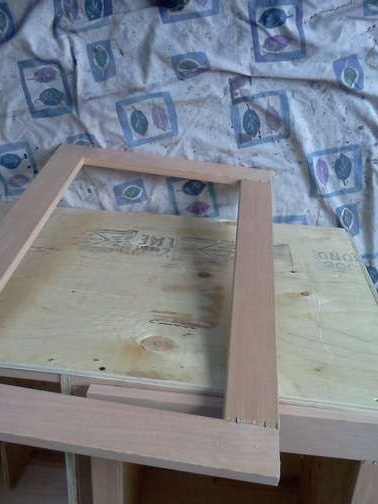
6. Doors
We decided to make two doors. For the manufacture of the frame used planks, which were fastened together by a stapler. To make the structure stiff, securely fix a rigid metal mesh to the frame.
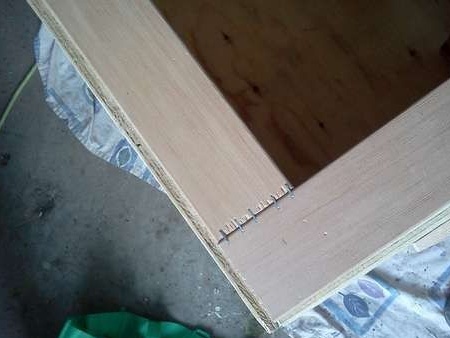

If you think that the structure is not strong enough, use metal corners to secure the frame.
Hang the doors on the hinges and install the locks.
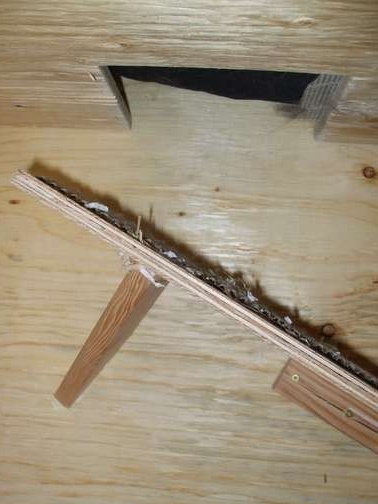
7. Ramp
In order for the rabbit to climb to the 2nd floor, he will need a ramp. Install it using an inclined plank. Moreover, its surface is better sheathed with carpet or any other similar material so that the rabbit's paws do not slip.
8. The final touch
Install furniture legs on the house.
Start processing all internal and external surfaces with oil (drying oil). Such a coating is absolutely non-toxic and safe for any pet, and the rabbit is no exception. The oil will give the plywood some hydrophobic properties and protect the tree from destruction.
Outside, the cage can be painted with water-based paint and even painted, but we left everything as it is.
The house is ready! We hope that he will serve your rabbit for more than one year.