Composting on vegetable beds is perhaps the most rational, safe, as well as environmentally friendly method of increasing soil fertility. It minimizes the use of mineral fertilizers and contributes to a tremendous increase in the diversity of microorganisms in the soil, which in turn process the organic matter and make it available for plants.
However, composting organic waste is not such a simple task as it might seem at first. If you delve into the study process, it turns out that this is not just a “method”, but a whole science about how to turn organic matter into a nutritious substance, which will be much more easily digestible for plants than mineral fertilizers, the mode of which seems to be slow, but truly coming to an end.
So, for example, organic waste must be interbedded with earth. Also, compost at least a couple of times during the entire composting period must be crushed, shifting from place to place. This is done so that the mass is saturated with oxygen, and aerobic microorganisms get a boost to development in it, instead of anaerobic - for example, putrefactive bacteria.
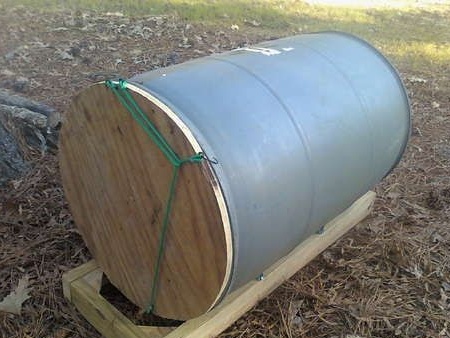
Removing compost from the ground and crushing it not only takes a lot of time, but is also relatively laborious. In order to simplify the task, we decided to build a compost barrel that would be equipped with a swivel mechanism and could do the work in our place.
For the manufacture of such a summer "assistant" you will need:
1. Materials:
- barrel (we took a plastic one);
- plywood 6 mm .;
- wooden block with a section of 50 to 100 mm .;
- furniture castors, which are usually used in the manufacture of furniture - 4 things.;
- nails;
- self-tapping screws.
2. Tools:
- jigsaw;
- hacksaw for wood;
- screwdriver;
- electric drill;
- screwdriver;
- hammer;
- marker or pencil.
Step 1: making the cap
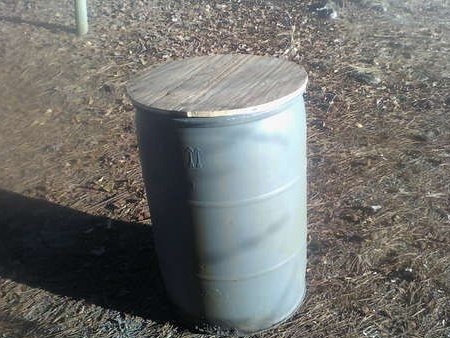
As the material for the barrel lid, we chose plywood, 6 mm thick.
Place the barrel on the plywood sheet with the neckline to the surface and outline its outline. Cut the resulting circle using an electric jigsaw.
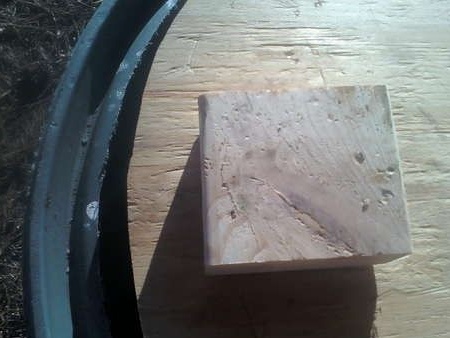
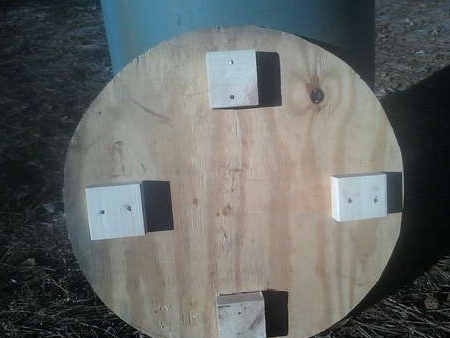
Saw small squares from the bar. In total, we need four of them. With a pencil, “write” an imaginary square into the circle and in each corner fix one square using nails or self-tapping screws (see photo below).To prevent parts from splitting, pre-drill holes for fasteners with an electric drill.
In addition, drill a couple of dozen holes in the lid itself. This will provide the necessary aeration of the mass and prevent the development of unwanted bacteria and organisms in it.
Step 2: making the frame
Making a frame will not take much time, because its design is extremely simple and is a rectangle of timber with braces installed in the corners, providing it with rigidity.
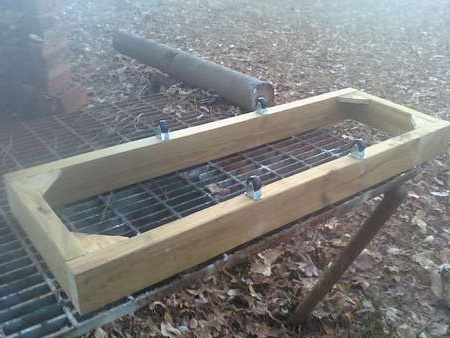
The length of the frame is arbitrary, however, it should be slightly larger than the length of the barrel mounted on it. While the width is 1/4 less than the size of the barrel. Given these comments, make the necessary calculations.
We took a beam with a cross section of 50 x 100 mm., But, in fact, you can choose any other dimensions that will provide the design with the required “load capacity” from it.
We made braces from scraps of plywood. According to the test results, it is quite suitable for these purposes.
Step 3: Install the Rollers
During operation, the barrel will rotate thanks to the rollers. Our frame is ready, so proceed with installing the rollers.
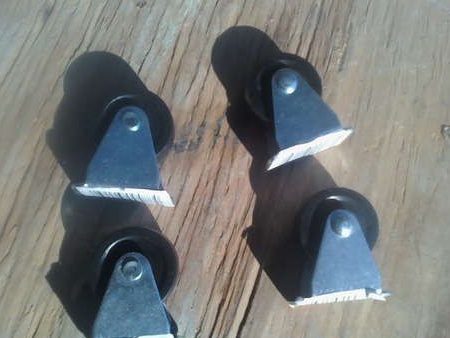
Each pair should be fixed on the long side of the frame as shown in the photo - slightly stepping back from the edge. For fastening use self-tapping screws. This greatly simplifies the process of replacing the rollers, adjusting their location or adjusting.
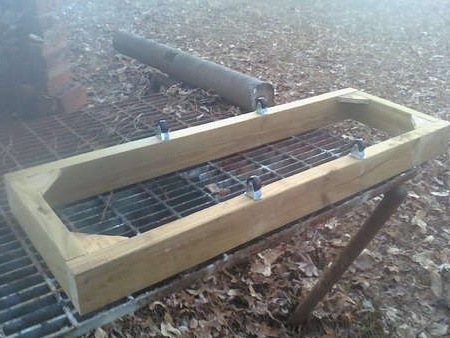
If you are afraid for the safety of the barrel, choose rollers with rubber coating - they will not scratch the walls of the container.
Please note that the closer the rollers are to the neck and bottom of the barrel, the more stable the entire structure will be.
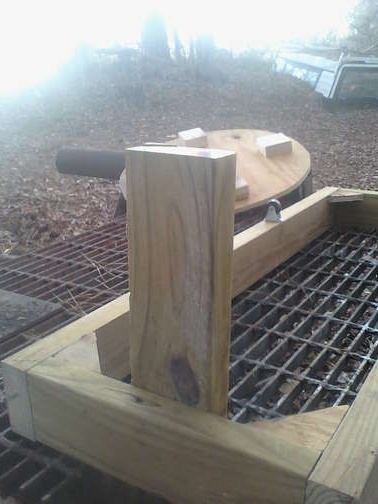
Step 4: setting the stop
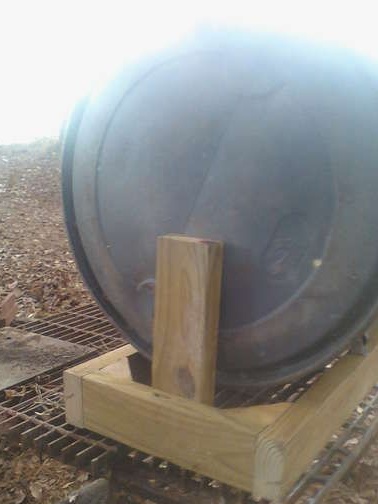
The emphasis in this design is designed so that the barrel does not slide to the side during rotation. It is mounted on the frame and is a regular piece of board. Subsequently, it will hold the barrel in axial position.
Step 5: Install Cover Lock
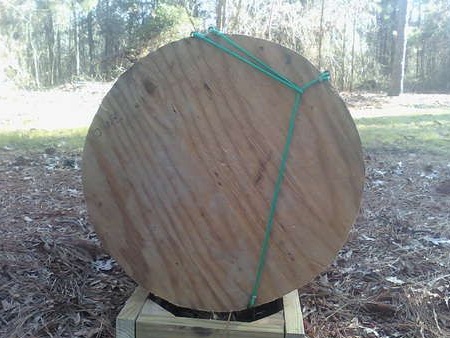
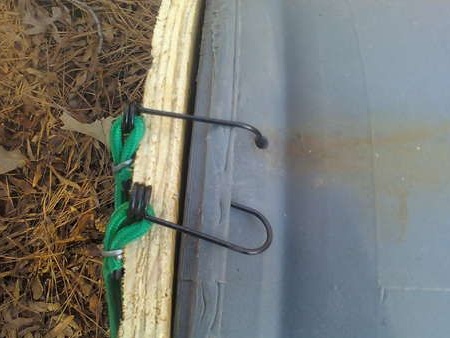
As can be seen in the photo, the "latch" is a set of rubber bands with hooks, which are usually used for transportation of goods. You can find such in any market. Their length should not only ensure a tight fit of the lid, but also should not prevent the removal of the harnesses. For the convenience and reliability of the connection, several holes for hooks need to be drilled around the circumference of the neck of the barrel.
Step 6: installing the ribs
Inside the container, parallel to its walls, you need to install 3-4 bars, which will contribute to the effective mixing of the contents. Otherwise, the mass will simply slide along the walls, and the final result will be reduced to zero.
Barrel for composting organic waste is ready! Here you can load not only foliage and weeds ground on beds, but also food waste from the kitchen. Moreover, the second option is even preferable, since the nutrient medium will end up being much richer.
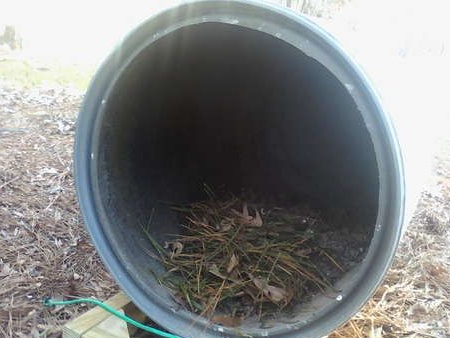
Do not forget to use a little soil in the composting process. This will greatly speed up the process.
