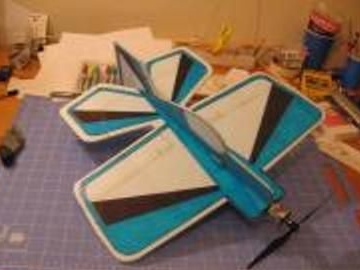
Let's see how you can create a simple flying aircraft model as an example homemade "Shark-Bait." The idea was borrowed at one foreign forum-
The flight weight of the model is 154 g with a wingspan of 46 cm (18 inches). The length of the model is 42 cm.
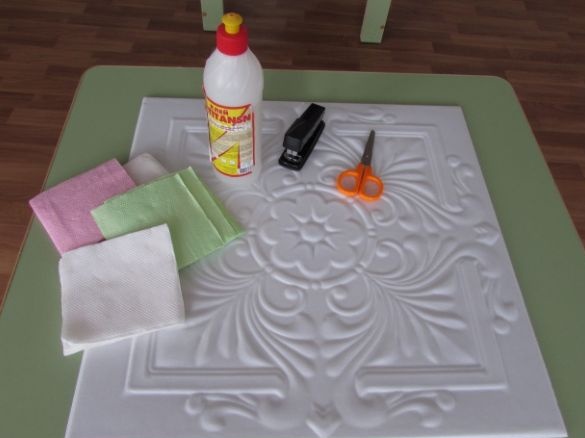
According to the author, homemade work is going to be easy, and you can run it right in the yard. As a material, a depron 6 mm thick will be needed here, but since our author did not find such material, model was made from the ceiling.
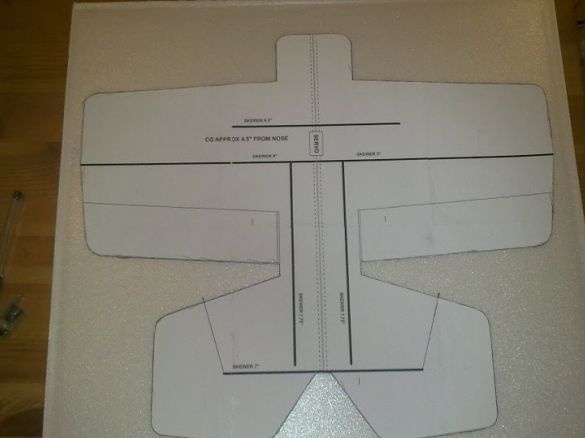
Everything is assembled according to the drawings, for this, cut drawings are taken in Letter format and then printed on A4 without preliminary scaling. You can download drawings for the model. The archive has all the necessary drawings from the forum, as well as options for installing electronics and coloring.
Materials and tools for homemade:
- ceiling tiles;
- glue for the ceiling (like Titanium);
- stationery knife, scissors;
- carbon lath 1x6 mm;
- fiberglass bar;
- materials for creating rods, boars, etc .;
- HobbyKing 12A BlueSeries regulator;
- engine HobbyKing 2402 Brushless Outrunner 2350kv;
- GWS 8x4 propeller;
- Battery Turnigy nano-tech 460mah 2S;
- Three HTX500 servomotors.
The process of manufacturing an aircraft model:
Step one. We transfer the drawing and cut out the elements of the model
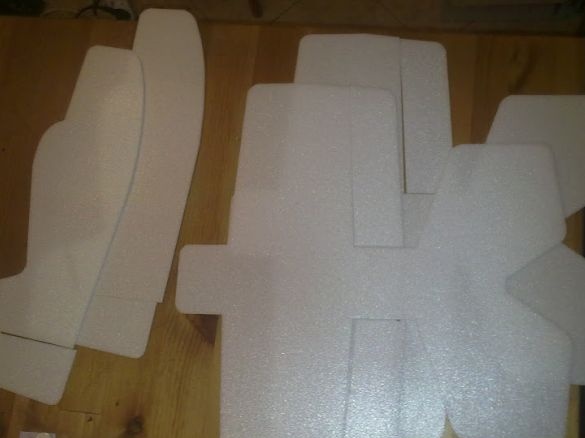
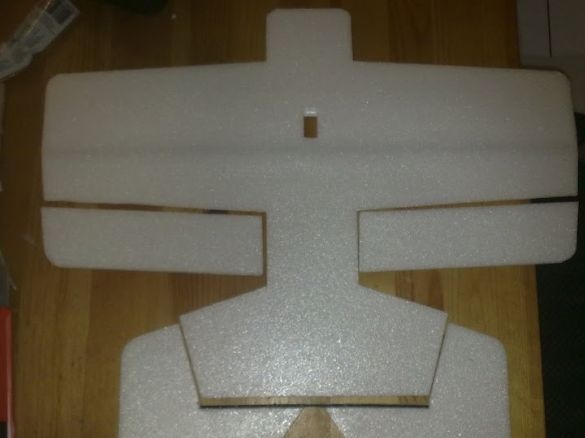
First you need to print a drawing on paper. Then it sticks evenly to the ceiling and is cut out. In the homemade product there are many parts from the double ceiling, so it is important to correctly and evenly glue such parts together. To save weight, the author decided to make the rudder single-layer.
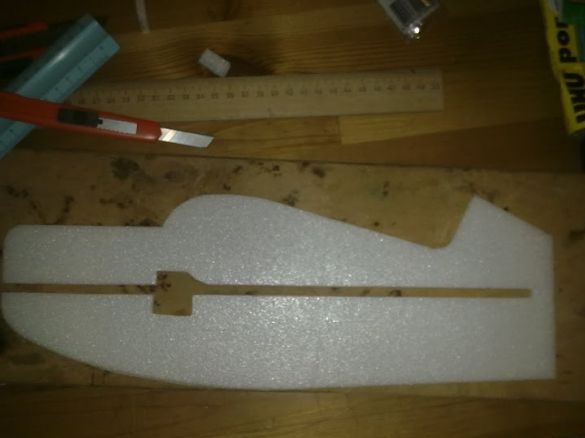
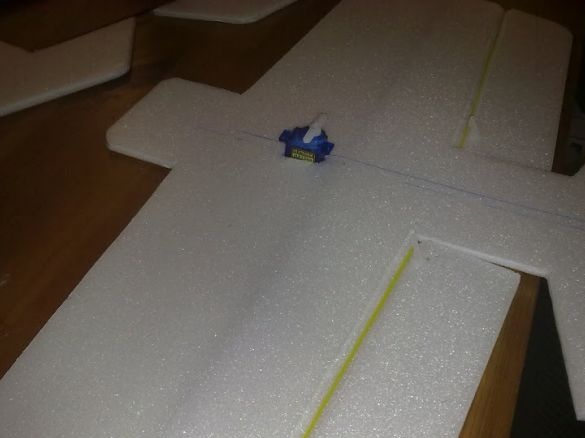
To give rigidity to the wing along the entire length, the author pasted a 1x6 mm carbon lath (this was at hand). Guided by the drawings, at this stage you also need to cut a groove for installing the wing and a servomotor that controls the ailerons. In the horizontal part of the fuselage also need to cut out the appropriate place for the servo.
Step Two We begin assembly of model
Now you need to glue the two parts of the elevator, for these purposes you will need a fiberglass bar. In order to get maximum strength, the elevator halves can be additionally joined with staples and paper clips.
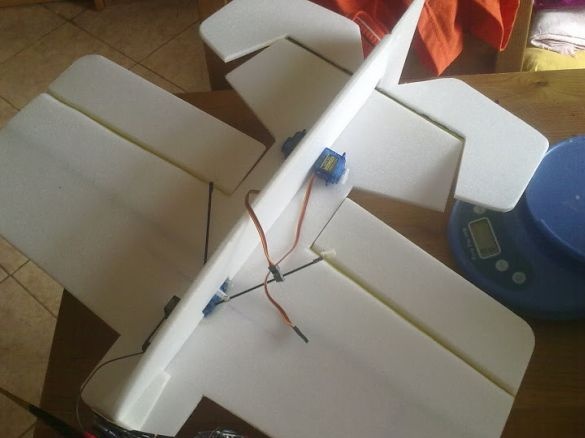
The elevator and ailerons are hung on tape. The author chose purchased pigs, but you can make do it yourself. They were pasted into the ailerons. Plastic boars for such small models are great. As for the single-layer rudder, it was hung on loops made from the cover for DVDs. The rods are made of fiberglass rod.
Step Three Final stage
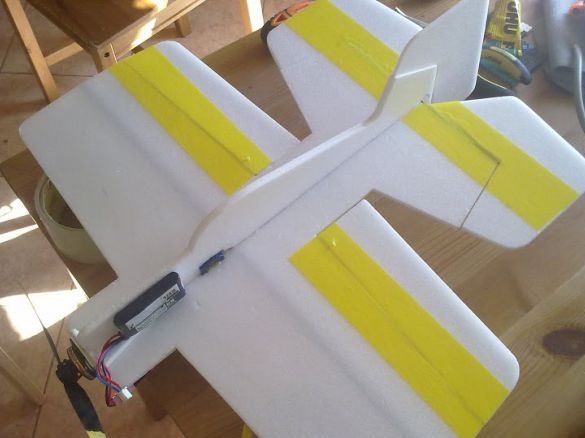
At this stage of the assembly, the weight of the homemade product was 149 g, but we still need to install the tail rods and glue the plane lightly with tape. The wings were strengthened only due to the carbon lath, the author did not install anything else due to the fact that the two-layer ceiling already has excellent rigidity.
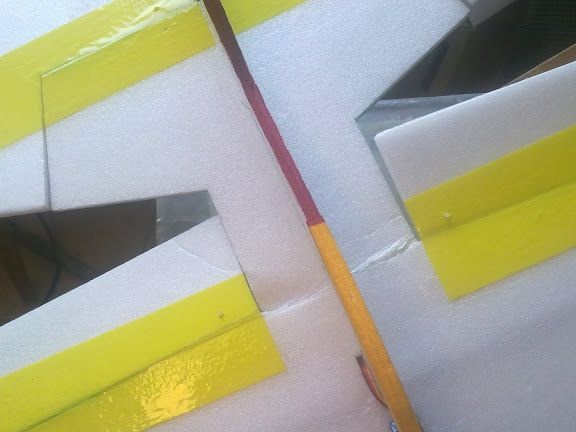
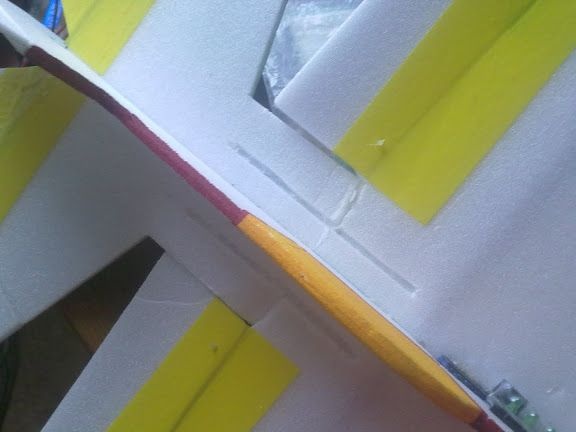
However, along the fuselage, the structure will need to be strengthened to avoid bending at this point. If this is not done, the horizontal part can completely burst, as the author did, but everything was kept only due to the vertical. To give the necessary rigidity, you need to cut out the grooves and glue the bamboos.
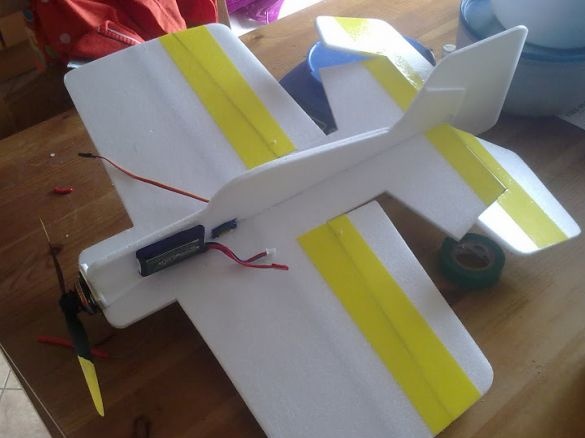
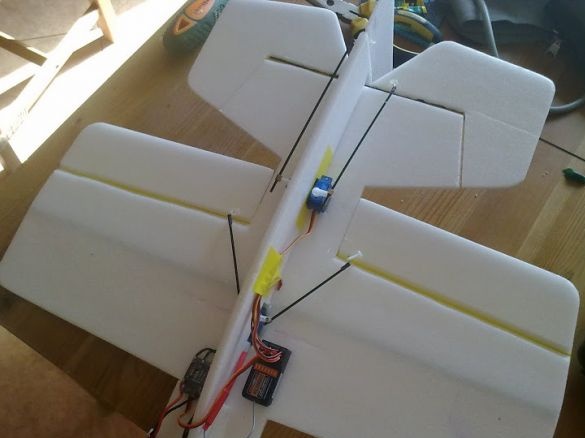
Next, you can put tail servomotors and connect traction. At the same stage, the regulator and receiver are attached. As a result, the total weight of the structure was 154 g. How is it distributed? electronicscan be seen in the photo. The battery before test flights does not yet need to be fixed tightly, the homemade product will still have to be centered. Then you can cut out the groove for the battery.
Tests have shown that the model behaves quite well. The only drawback is that the plane does not plan well, so when landing it turns out high speed. As for reliability, the model is pretty solid. The author flew into branches and bushes a couple of times, after which the plane remained operational.
They tried to install a 9x4.7 screw on the plane, but because of this, the engine was overloaded and the thrust fell. With an 8x4 screw, the speed of the model is very high to fly on it in the yards.
According to the author, on the installed engine, you can hang on the screw. It so happened to do a couple of seconds.

