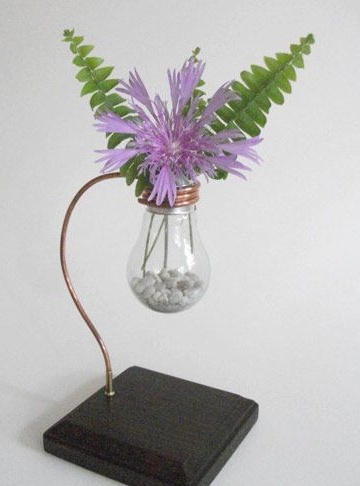
Incandescent lamps burn every now and then and we replace them with new ones, sending faulty ones to the trash bin. Meanwhile, even from a burnt-out light bulb you can make something worthwhile and thereby make the world a little more attractive.
In our master class, we will tell you how to turn a burned-out light bulb into a miniature vase or flower pot. Do not doubt that this original trinket will decorate any interior.
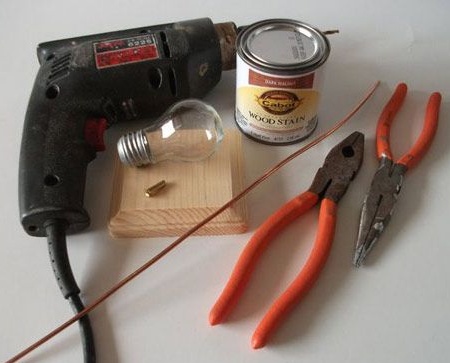
For, so that do it yourself To make a vase from a lamp you will need:
1. Materials:
- the incandescent bulb itself, which has served its;
- copper-plated or chrome-plated wire, necessarily plastic 3 mm. - 40 cm.;
- any suitable wooden base (we took a square base);
- furniture buttons for legs - 4 pcs .;
- paint, toner, stain, oil, varnish - at your discretion.
2. Tools:
- nippers or pliers;
- furniture stapler and staples;
- electric drill;
- fine sandpaper;
- knife;
- brush;
- protective gloves.
Step 1: preparing the foundation
The wooden base can have any shape that seems most attractive to you - starting from the classic square, as in our case, and ending with a fancy base in the form of some interesting driftwood.
In any case, start by sanding it with fine emery paper, thus preparing the surface for painting.
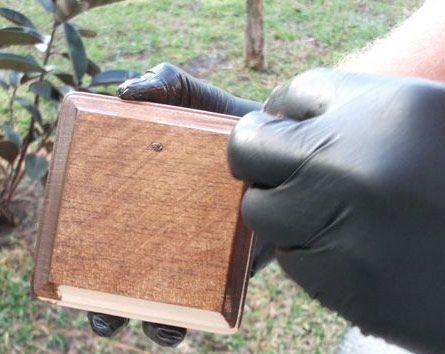
Then you can safely proceed to the staining procedure itself.
To do this, use one of several of the most common materials:
- paint - if you want to get a dense bright coating;
- toner - if you plan to tint wood, but at the same time preserve its natural texture;
- stain - if you want to imitate some rare kind of tree and emphasize its texture;
- oil (mineral or organic - for example, linseed) - if you want to leave the color and texture of the material unchanged, but add a little depth to the natural tone, and practicality to wood;
- varnish on wood - if you want to preserve the natural color of the wood and reliably protect it from mechanical damage and other adverse effects.
Some materials can be combined to achieve the desired effect. For example, stain and matte varnish or stain and oil.
Decide on the choice and apply the coating on a wooden base with a brush. Wait for it to dry. If you feel the need, repeat the procedure. Let the workpiece dry thoroughly.
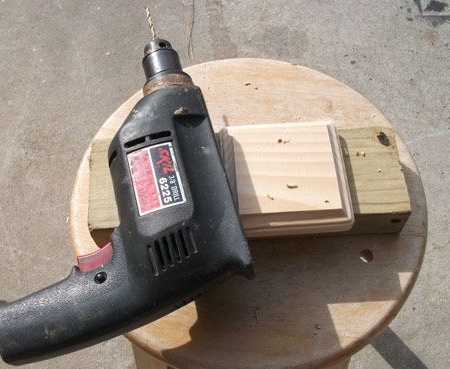
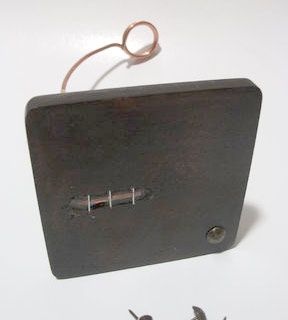
Use a drill and drill a hole for the wire in the base as shown in the photo - slightly backing away from the edge.
On the reverse side, cut out a narrow groove 2-3 cm long in order to hide the bend of the wire in it. In the corners, fix the furniture buttons instead of the legs.
Step 2: make the lamp mount
The lamp should be screwed into a wire spiral. To make such a spiral, simply wind the wire around the thread of the base to make several turns.
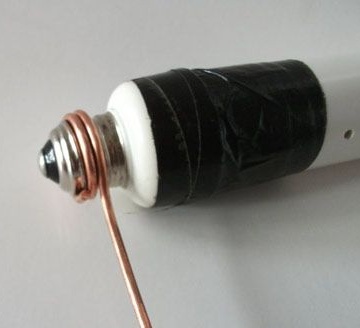
For these purposes, choose a flexible and plastic wire with a copper coating or white chrome - depending on what visual effect you want to achieve. Please note that it must be strong enough to support the weight of the lamp along with its contents.
The wire and base of the lamp can also be painted using gold, bronze or any other paint of your choice.
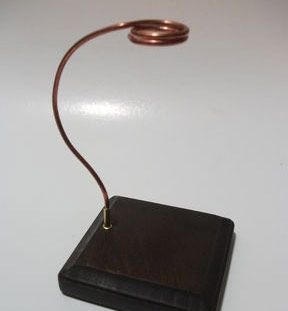
Pass the opposite end of the wire into the hole, bend and fix it in the previously prepared groove using brackets and a furniture stapler.
Bend the wire so that the vase is above the center of the base. This will give the structure the required stability.
Step 3: preparing the lamp
Use gloves when handling the lamp. Do not forget that if it bursts right in your hands, you can be seriously injured.
In order to remove all the insides from the light bulb, you need to remove that part of the cap, which is filled with black substance. To do this, use a knife, act slowly and as carefully as possible.
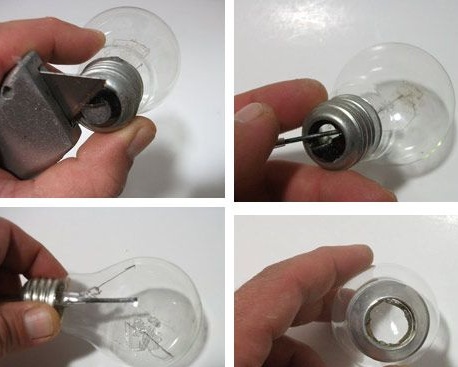
The lamp is properly prepared and now it remains to screw it into the wire spiral.
You can use the accessory as a miniature flowerpot, or you can fill it with nutritious soil and plant small plants like succulents in it.
