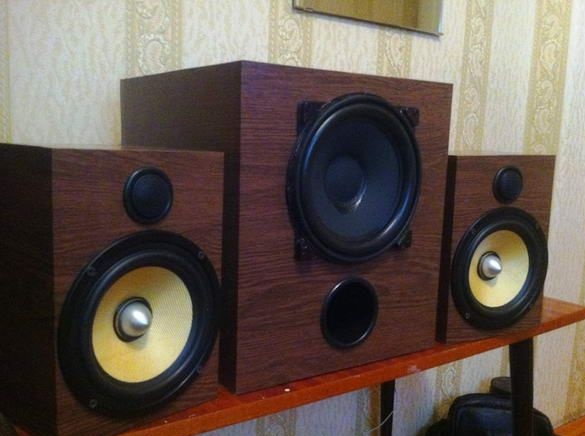
Hello to all lovers homemade.
It happens that the budget does not always allow you to purchase a thing in the store, so there is an option to do it yourself, while spending less, but making an effort. Making acoustic speakers based on proprietary speakers may seem at first glance a fairly simple job. However, in reality, it is not so simple to make speakers for your own home, as it might seem at first glance. In this article I will tell you how the author made a homemade speaker system.
In order to build our homemade product, you will need materials such as:
* The dynamic head 35gdn in the role of low-frequency, in this case, the 1980th year of release.
* Low-frequency speaker and midrange.
* MDF boards for the body.
* Fixing tools: screws, as well as glue.
* Self-adhesive wallpaper.
* Crossovers from old speakers.
When all the parts are assembled, you can proceed to the assembly phase.
First step.
As a result of the experiment, the parameters were obtained, which indicates the suitability of the low-frequency head in the bass reflex enclosure. The calculations were as follows: Fs = 46Hz, Qts = 0.39, Vas = 23L, calculating the box according to the program, it turned out to be 25 liters with a setting of 45Hz. Alphard DW65k2 and high-frequency car kicx were purchased as midrange.
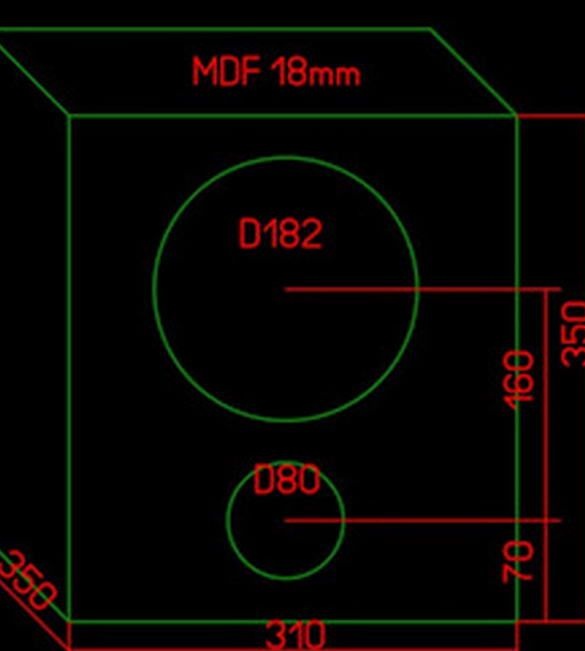
The dimensions of the box under 35GDN are shown in the picture, cuts are made on it, but this is a bit later. First you need a pipe with an inner diameter of 75mm, if you make 200mm length. then the setting will be 42 Hz, if 170, then 45 Hz, if 50 Hz, then you need only 121 mm. In general, the taste and color, as you know, therefore it is better to trust your preferences.
Step Two
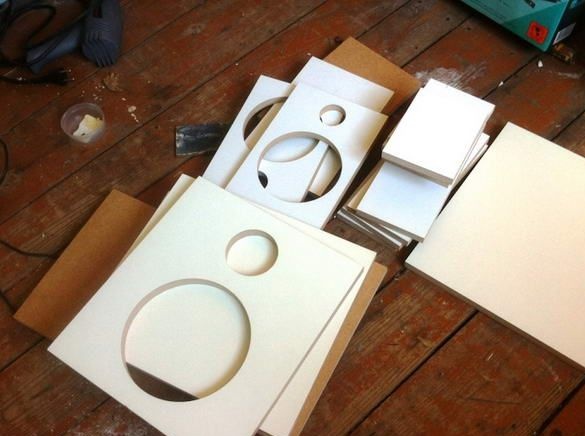
Making the box exactly difficult is difficult without having good tools, so for a better view and the assembly phase itself, it is better to use a circular saw and a jigsaw, for cutting holes for speakers and a pipe on a subwoofer. We saw off MDF strictly according to the drawing, and also keep in mind that you are working with an instrument of increased danger, which requires you to be careful and take precautions, like safety glasses and a bathrobe. All work must be carried out in a ventilated area. For finishing MDF, we grind with sandpaper until a smooth surface is formed.
Step Three
This stage consists in assembling all the finished parts together, and it is necessary to assemble them strictly on level surfaces in order to avoid distortions and displacements of parts of the boxes.We will collect this acoustics with the help of screws, a screwdriver and of course glue, in order to avoid gaps and thereby seal the joints.
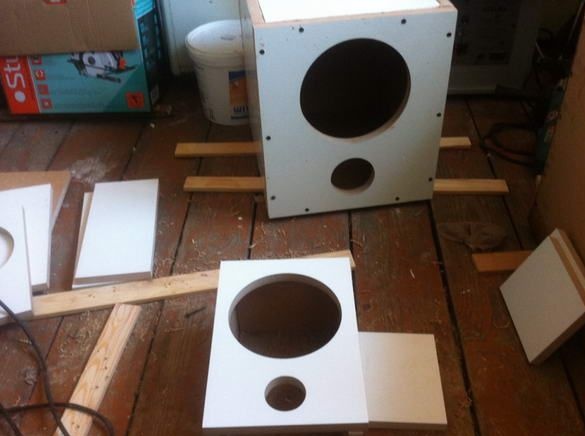
At the assembly stage, we try on our parts, pipe and speaker.
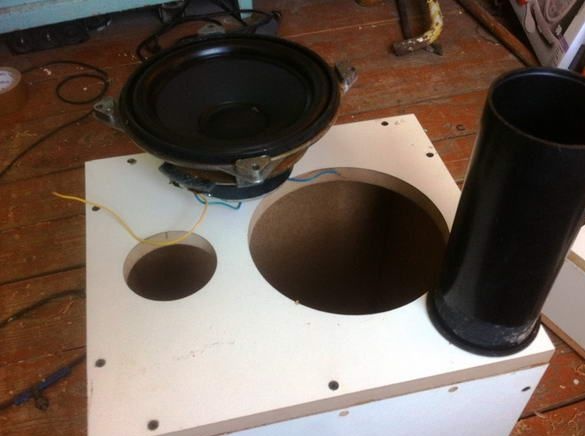
We also try on the midrange with a high-frequency tweeter.
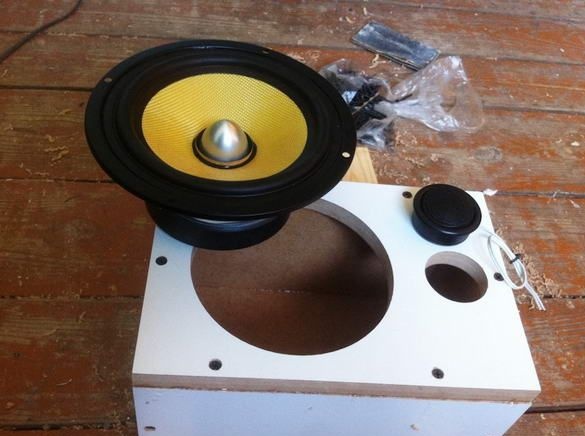
Step Four
When the boxes are twisted, it is necessary to putty their sides, and then sand them with sandpaper, thereby aligning the joints and edges.
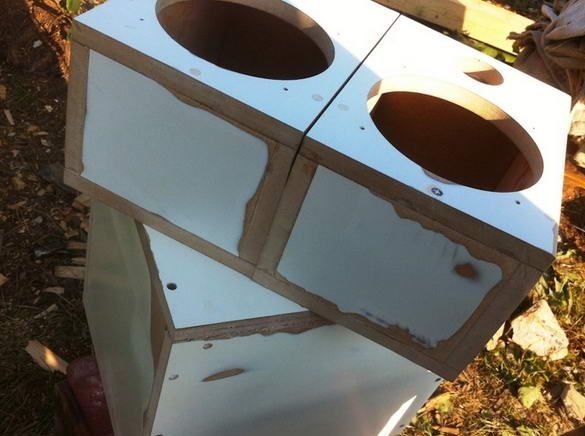
Next, we give our budget acoustics the stylization of a tree using self-adhesive wallpapers, smooth everything with a flat gizmo with a flat surface, for example a card. Armed with scissors, cut holes for the seats of speakers and pipes. Well, as for me, it turned out pretty evenly and presentably.
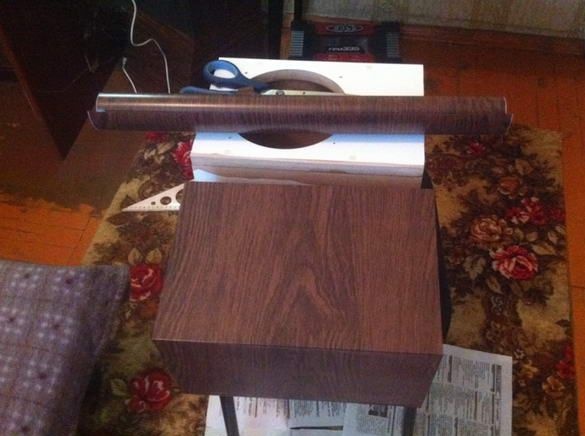
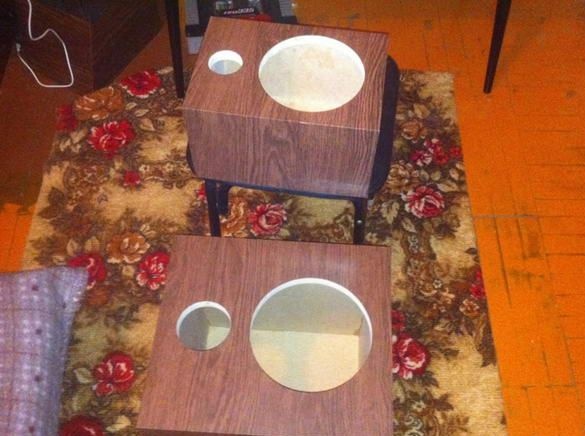
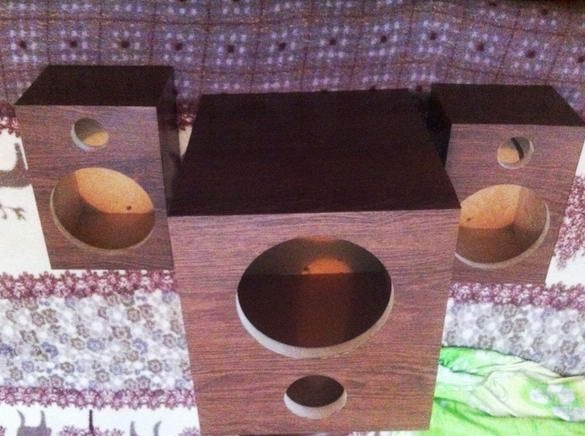
Step Five
Installing the speakers in the case with the help of screws is shorter, so as not to form a through hole from twisting, as this can be easy blowing from the junction of the speaker with fasteners.
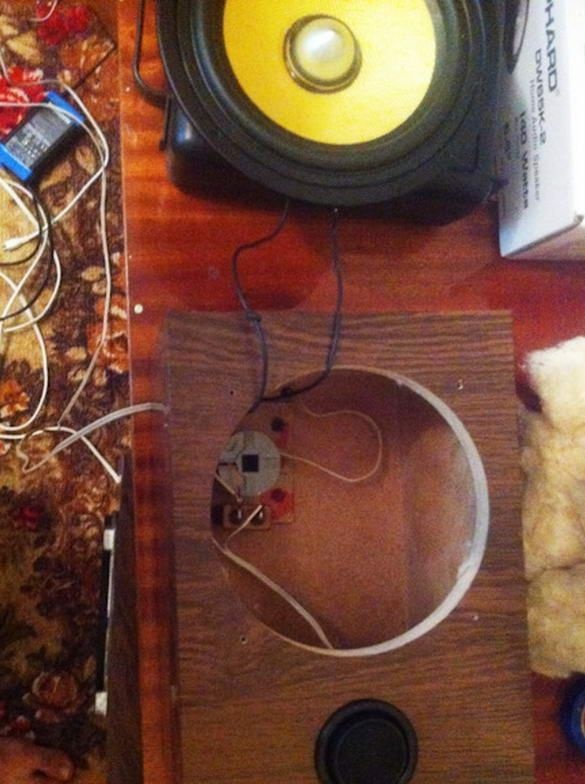
After that, the crossover is connected, borrowed from old Soviet speakers, which was directly modified to a better state, namely, more suitable for the given situation inside the equipment in boxes of homemade acoustics.
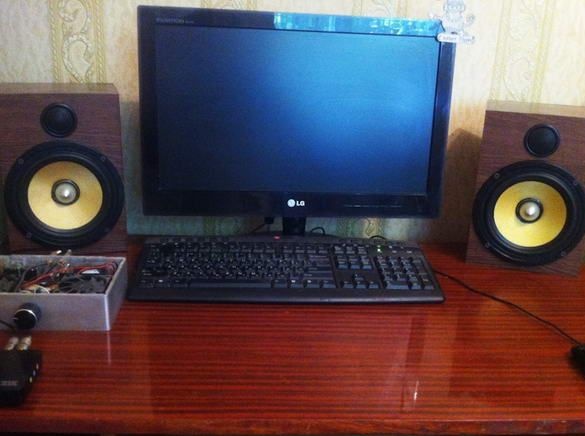
The homemade product is ready for this, the author placed the subwoofer under the computer table so as not to lay his ears
Thanks to all.
