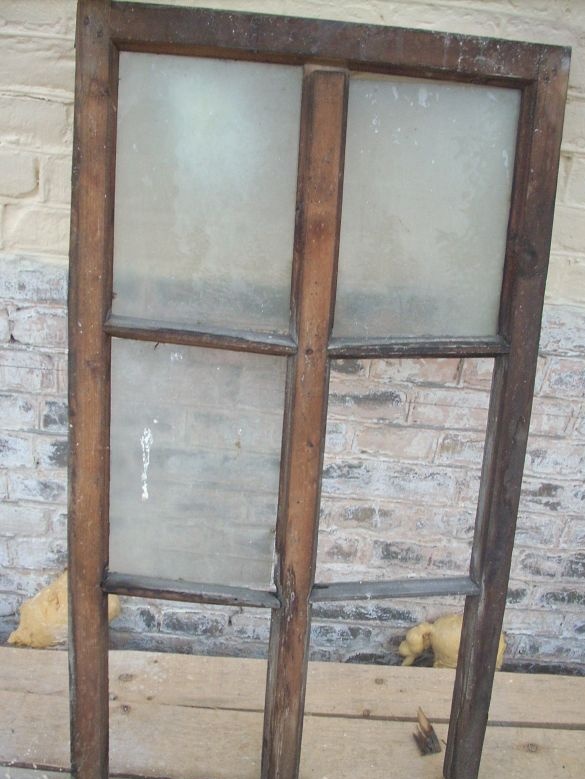
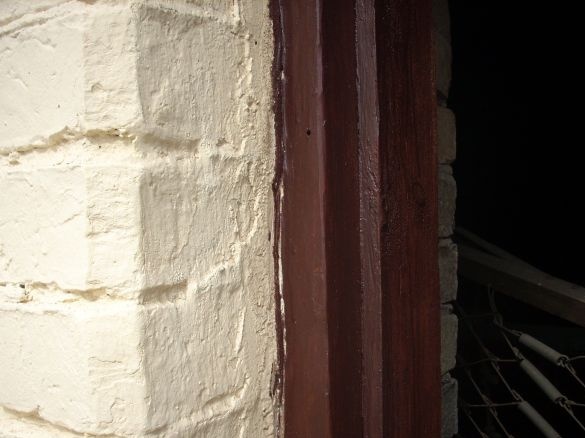
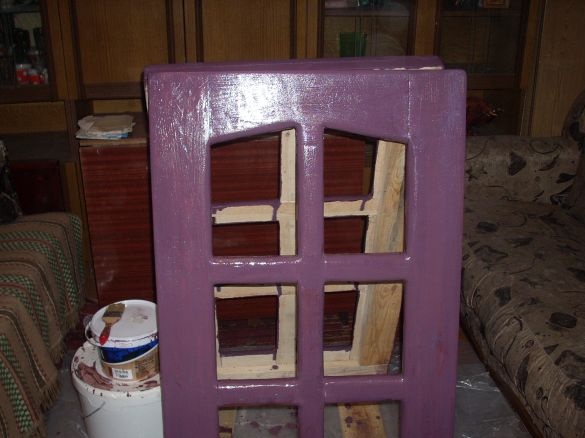
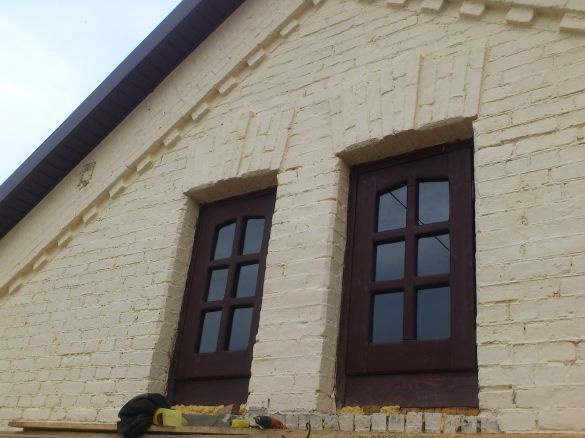
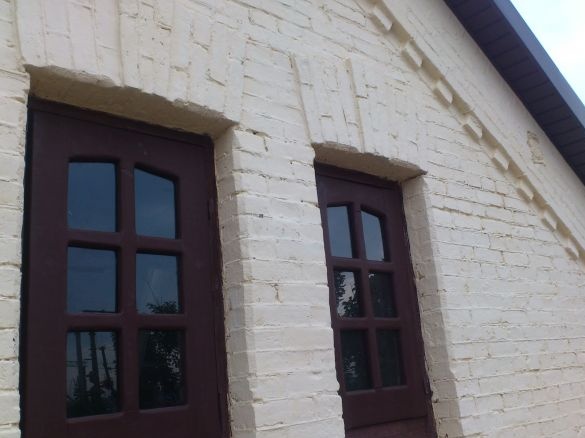
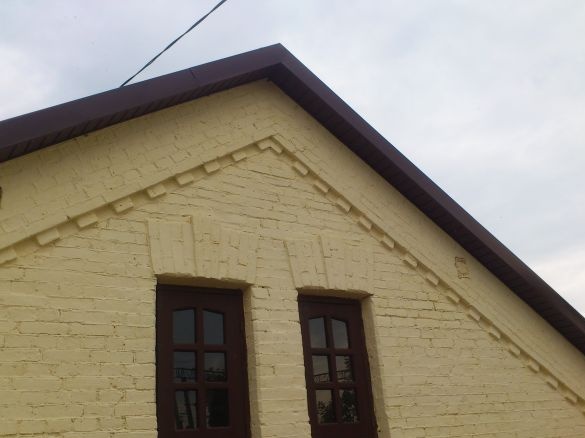
Judging by what I saw when I tried to open the windows, there was nothing to restore there:
So I decided to make new ones. Naturally, do it yourself.)))
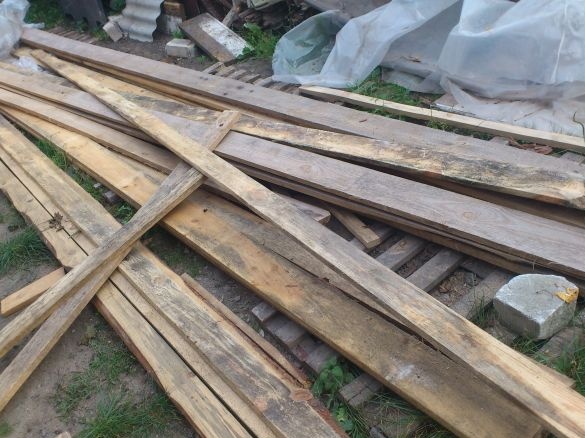
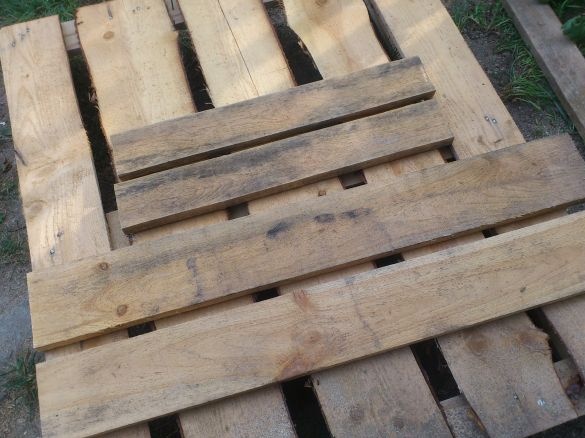
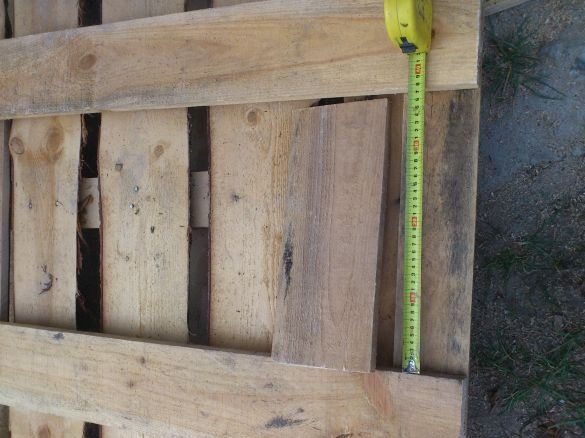
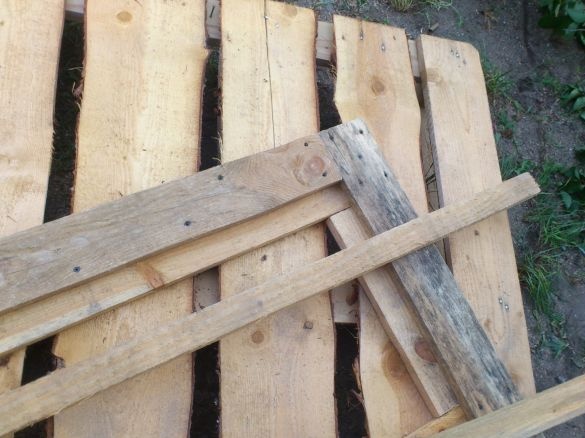
Due to the characteristics of the rafter system of the house, the attic space in it can not be used. Therefore, windows are needed purely for decorative purposes. I decided to make them from the material that is available. And in my possession I had only such unplanered boards, 25 mm thick of various widths:
So, for the manufacture of attic windows I needed:
1. Uncut boards.
2. "Liquid nails."
3. Screws 40mm
4. Glass.
5. Bead + nails.
Instruments:
1. "Bulgarian".
2. The screwdriver.
3. Square.
4. Roulette.
5. Orbital sander.
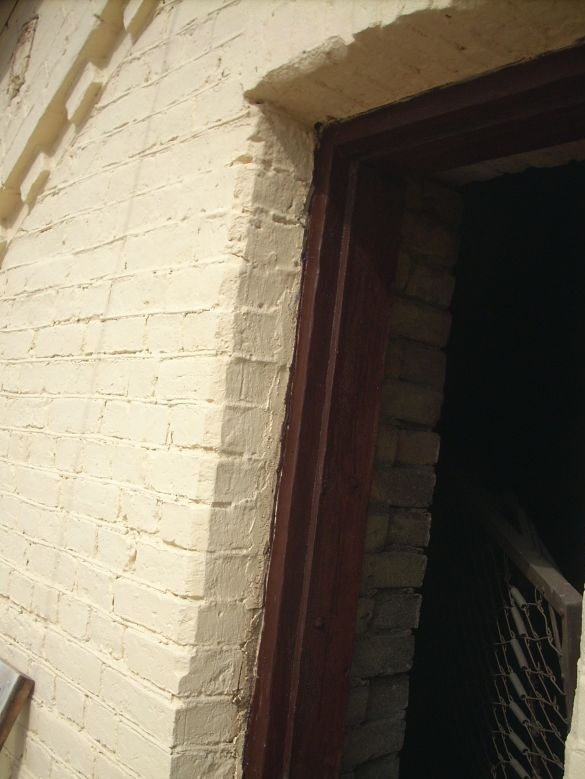
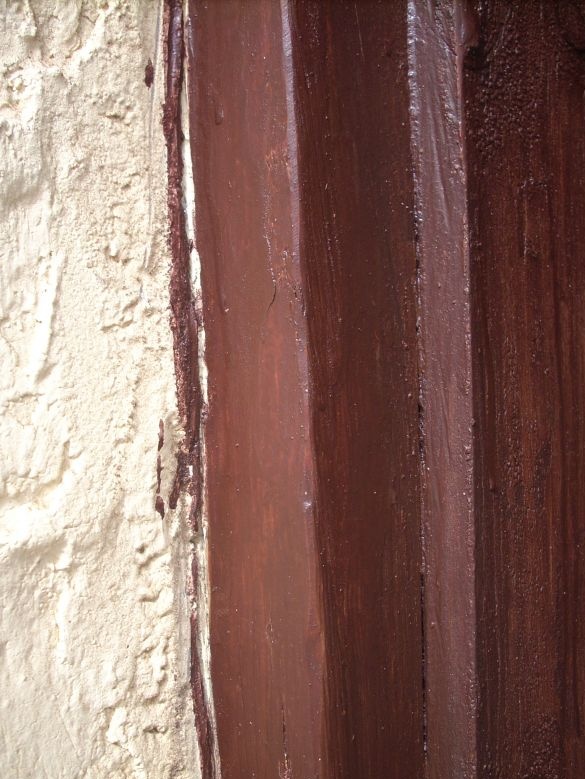
Having examined the old windows, I came to the conclusion that the boxes can be left. They were made of a large cross-section beam and did not rot. (In general, the entire rafter system, apparently, was processed with creosote. Window boxes, too). Therefore, I cleaned them with a “grinder” with an emery-petal circle, removing the top layer and treated with a deep-penetrating composition for wood:
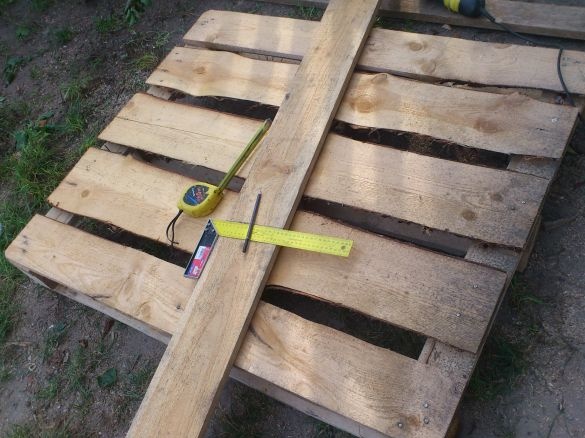
After that, I cut out two boards with a width of 150 mm and a length equal to the height of the opening and two boards with a width of 120 mm and a length equal to the width of the opening (minus 5 mm for the gaps).
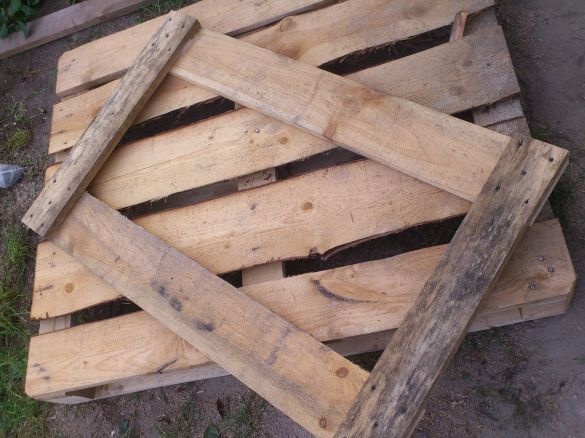
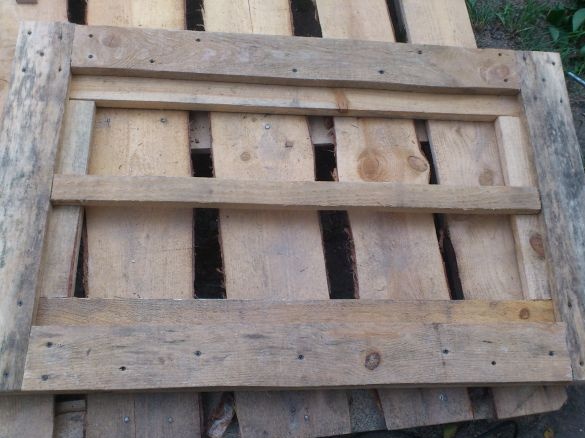
As an impromptu "workbench" I made a pallet.)))
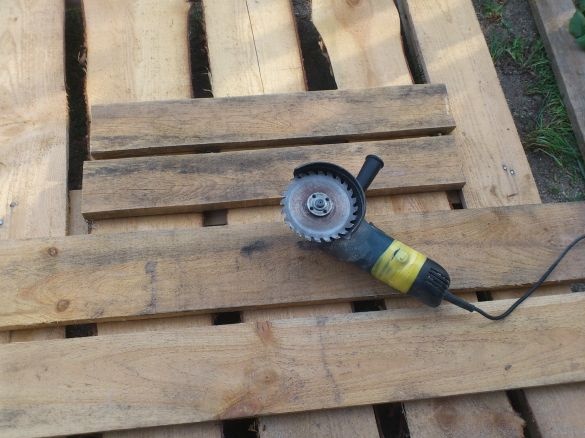
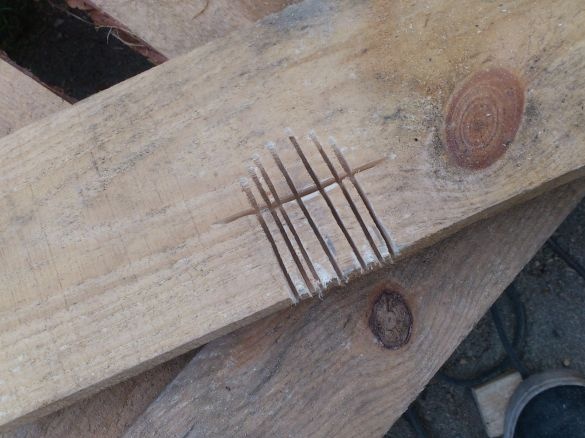
I worked again as a “grinder”, equipping it with a circle on a tree. You could take a jigsaw, but you had to go after it, and the “Bulgarian” was at hand! ))))
A small digression: if you do not have much experience with the “grinder”, DO NOT USE THIS CIRCLE !!! He is terribly dangerous !! Rotating at a speed of 11,000 revolutions per minute (!!!), the teeth with victorious soldering pass through the tree without encountering any tangible resistance !!! The slightest touch of the body will end in terrible wounds !! (I personally saw how the fingers flew off, but the person didn’t even understand why we were looking at him so scared !!!) And the “Bulgarian” can jerk in her hands, stumbling upon a nail,for example (as was the case). Therefore, only if you have a lot of experience, if you know all the "subtleties" of how the "Bulgarian" behaves, can you put such a circle! Otherwise - "God saves safe!" Use a jigsaw or circular tool. They are safer.
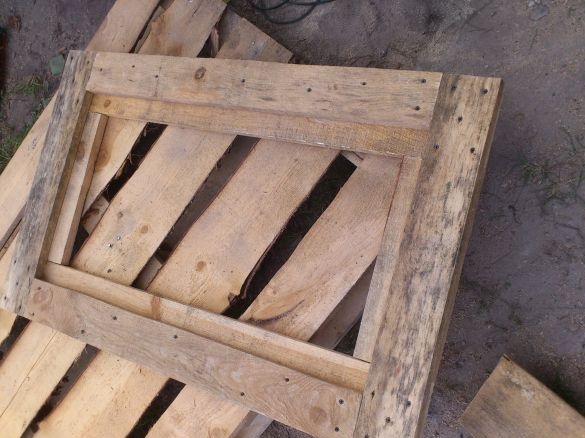
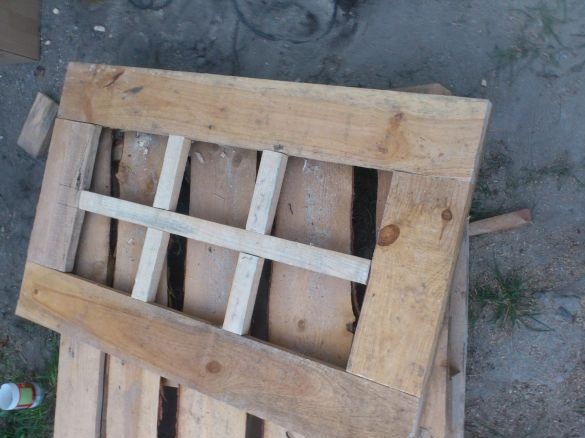
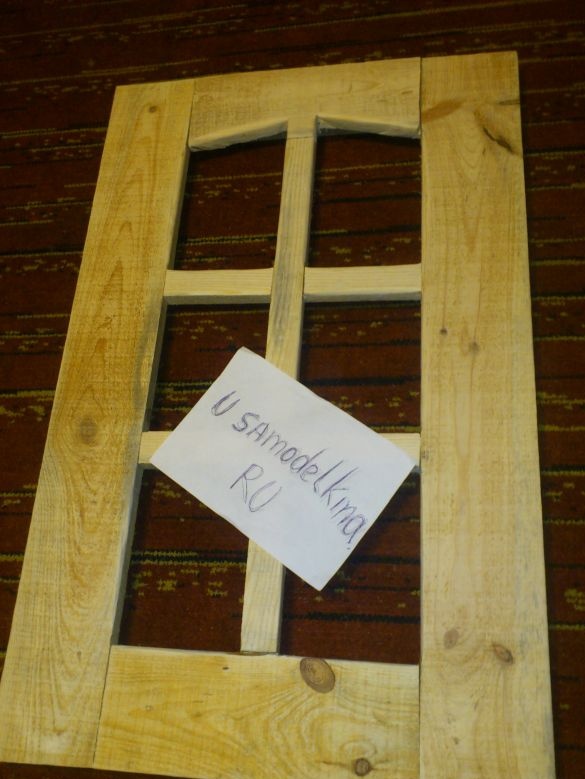
So, let's continue. From the boards I got here is a frame like this:
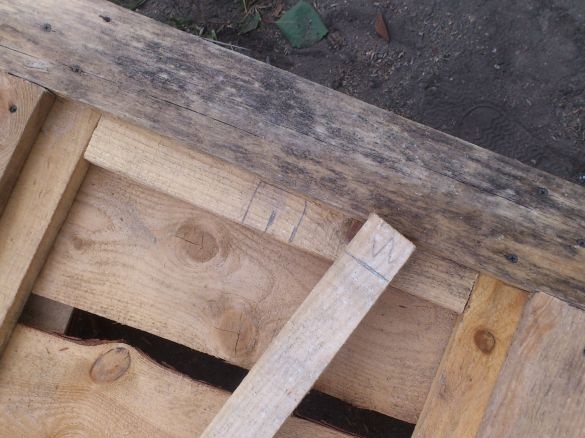
For convenience, I measured the diagonals of the pallet, made sure that it was rectangular and used its edges as a template.
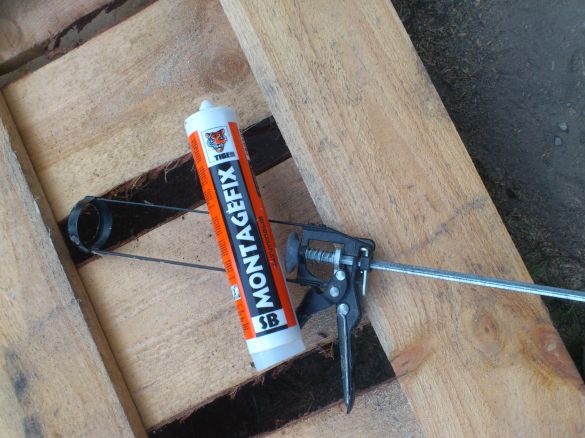
I also had two expired "liquid nails" cylinders.
Therefore, I decided to use them - before folding the boards and twisting them with screws, I applied glue. So I did in all connections.
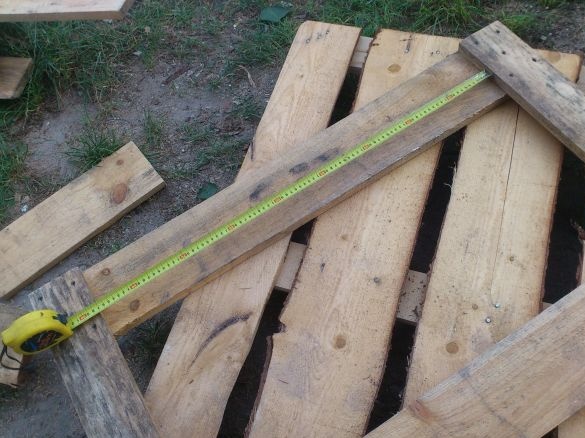
By measuring this distance: , I cut out boards of this length, 120 mm wide and pasted / screwed them into this place.
Turning the frame over, he measured the “emptiness” in the short sides and inserted the now wide (150mm) boards there:
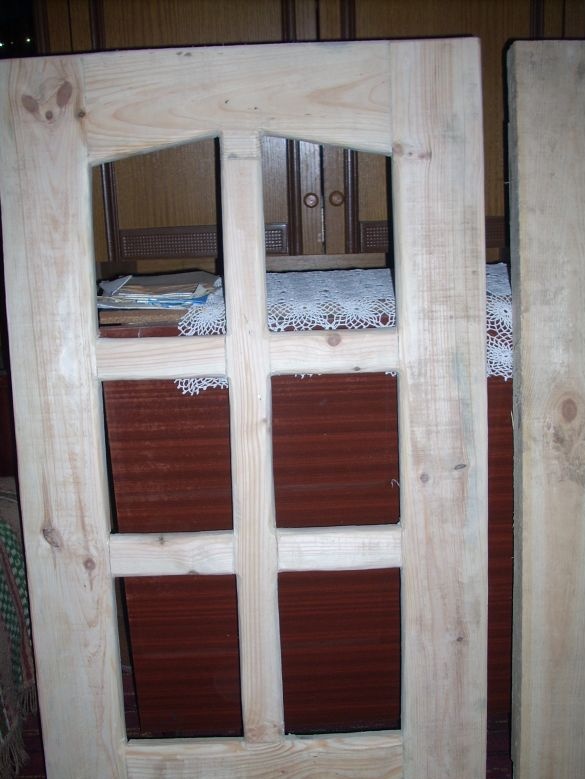
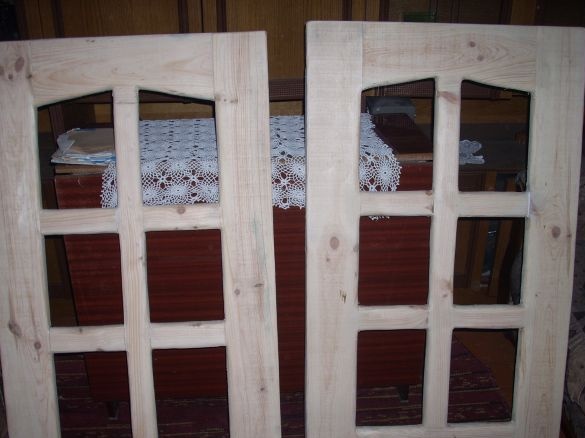
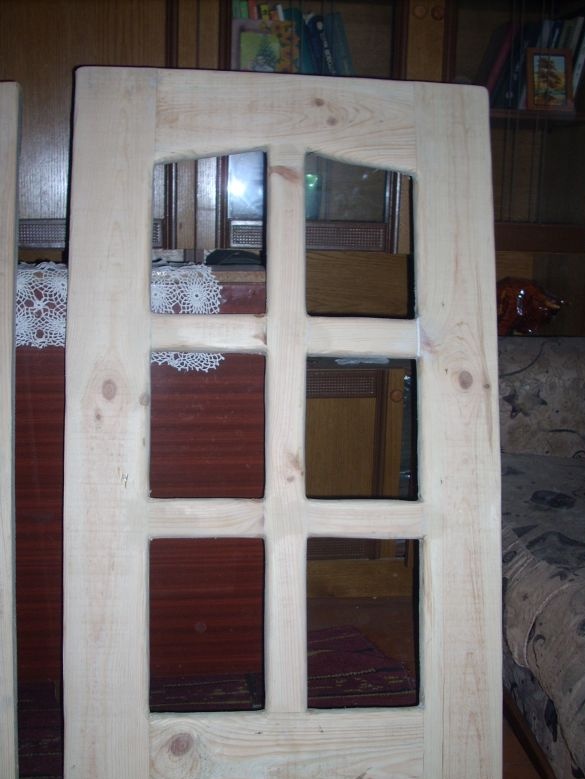
As a result, I got such a frame into which you can insert glass:
Next, I proceeded to make binding. I needed a rail with a width of 50 mm, this was not at hand, so I, using the same tool, laid out on a half board, 100 mm wide. I got two slats.
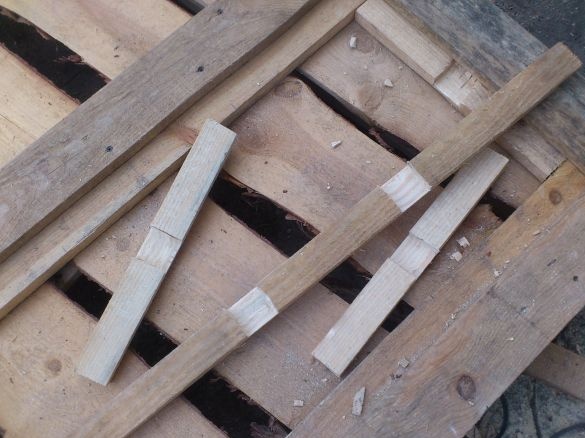
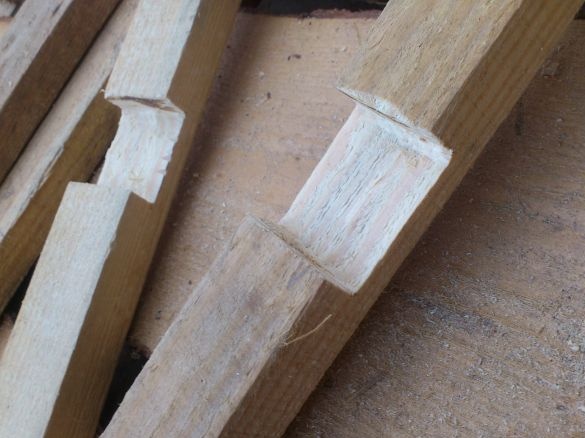
In order for the binding to be in one plane, I had to make cuts to a depth equal to half the thickness of the rail. I quickly did this with the help of the “grinder” again:
and chisels:
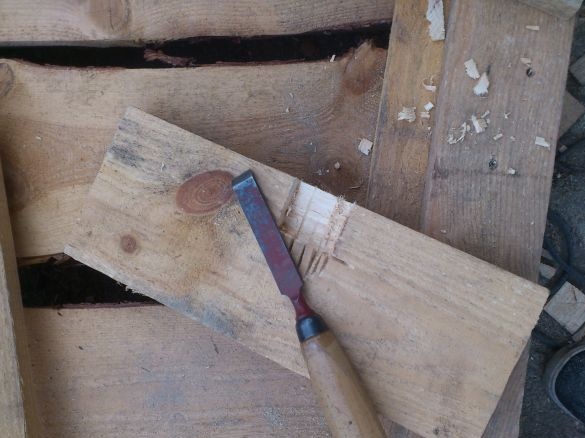
I will not describe in detail the production of binding. Everything, I think, will be clear in the photo. I connected the slats with the help of "liquid nails" and small nails:
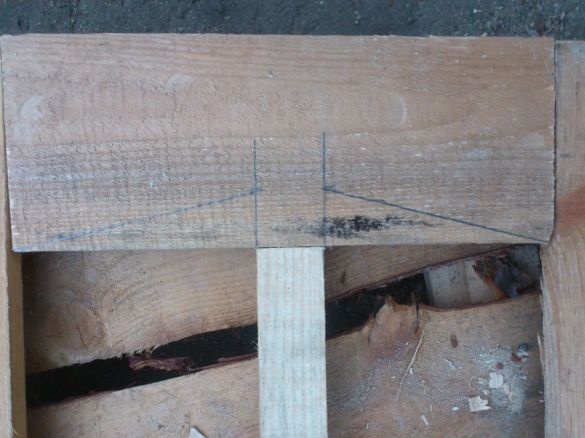
After the binding was ready, I marked it with a milestone like this:
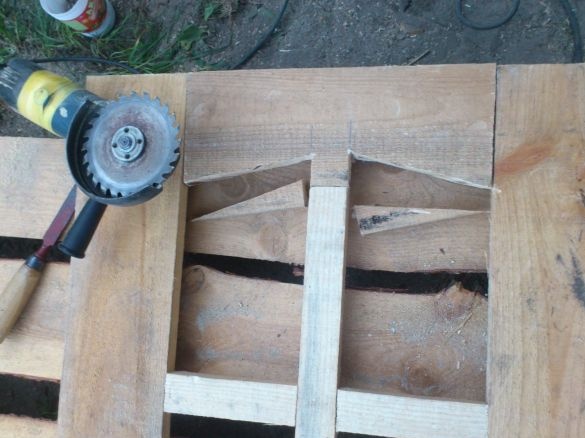
And cut the same "grinder":
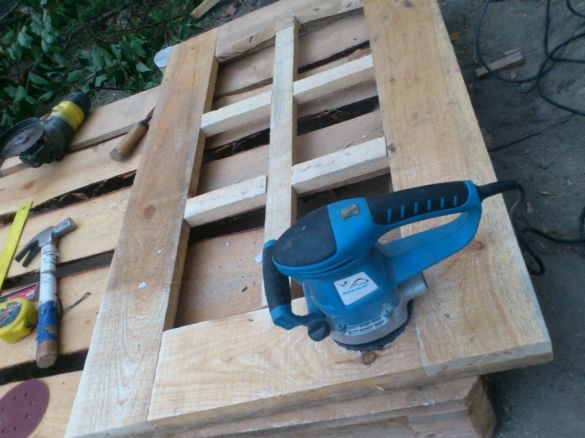
Next came the grinder:
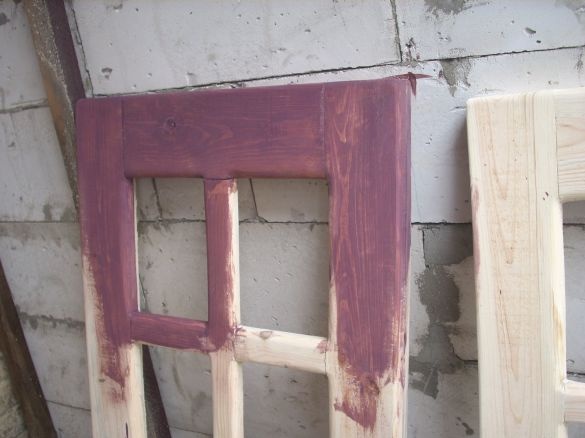
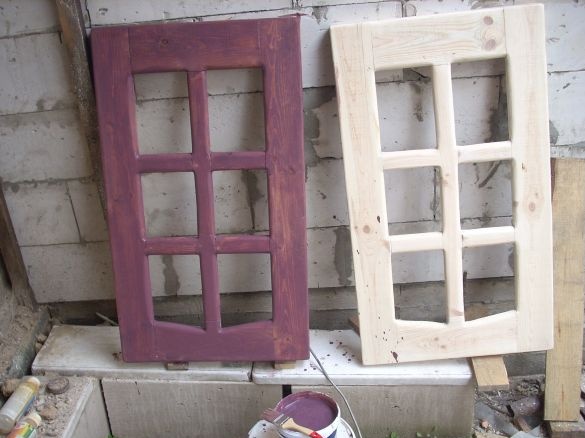
After the dusty work was completed, I processed the windows with several layers of deep-penetrating tinting impregnation for wooden structures. By the way, if you choose a color, then believe what is written on the label, because the impregnation itself, before it reacts with the tree, has a different color.
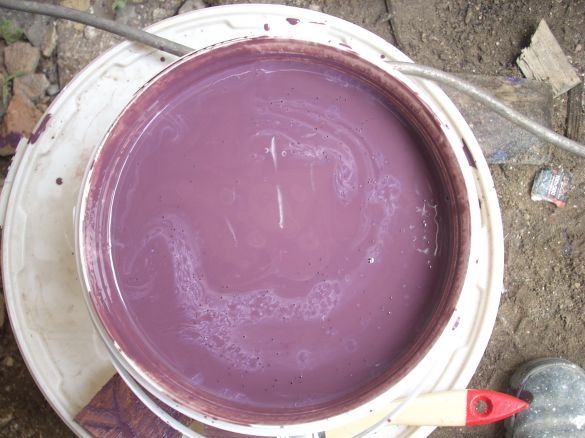
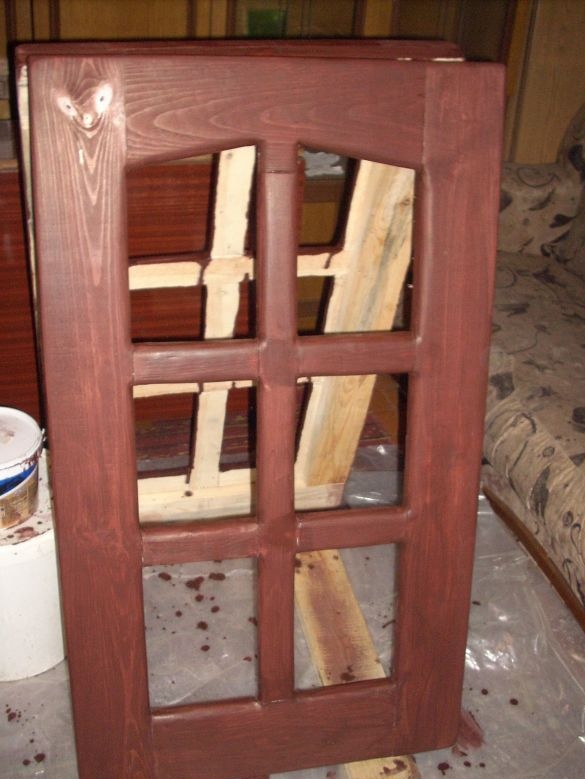
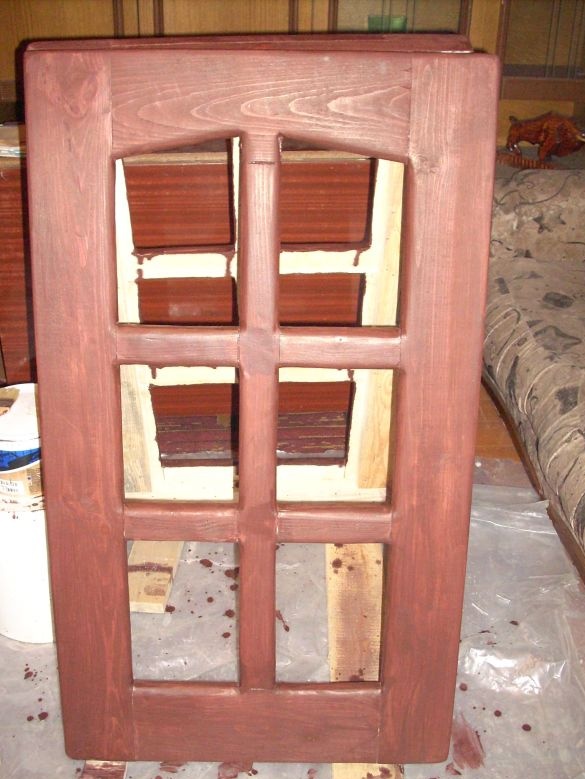
For example, I chose the color "polysander" (chocolate brown. Close to RAL 8017). But in the bucket I saw a not quite brown composition:
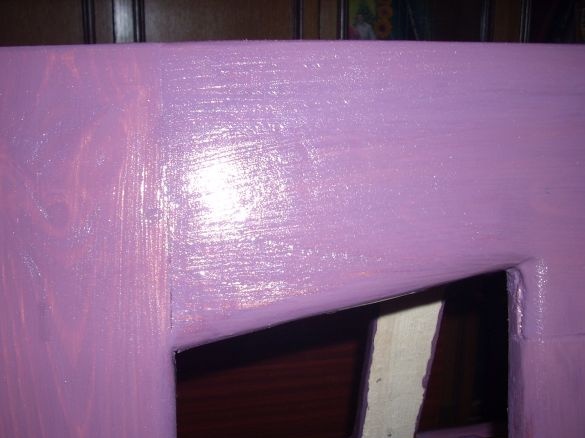
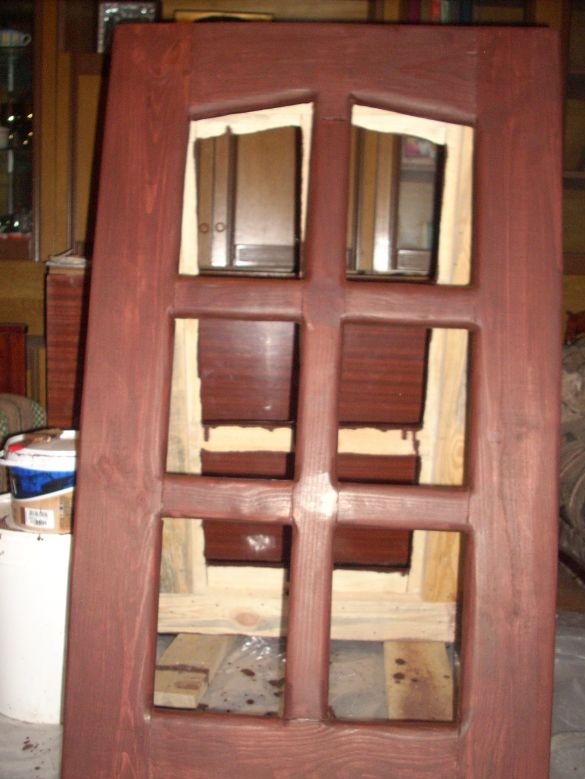
But after some time, the composition took the desired color:
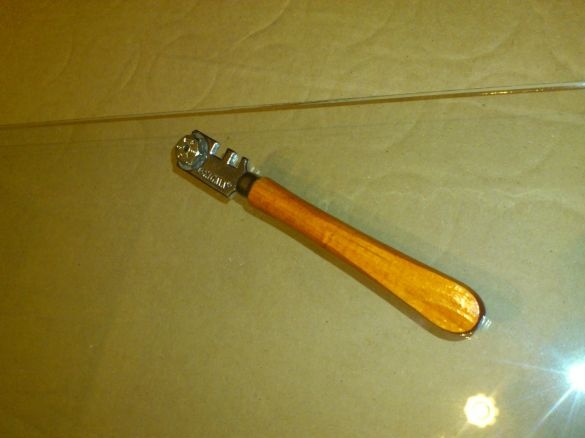
I did not buy glasses either. I took it from old frames, cutting out the right size with a glass cutter.
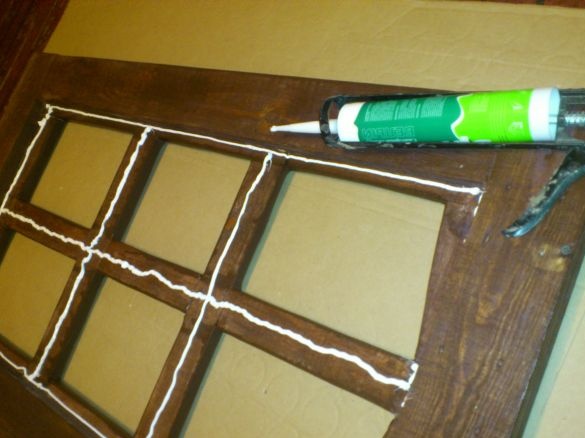
Before I insert the glass, I applied a strip of silicone. (I should have used transparent, but I had white, and I used it. Anyway, no one will ever look out of the attic!)))). I didn’t even polish the back of the windows for the same reason))))
I put in the glasses, applied another strip of silicone and nailed the glazing beads (which were also pre-treated with impregnation).
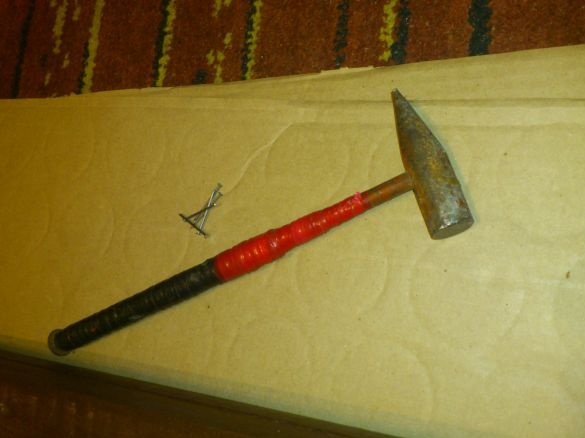
By the way, for this I use a small homemade hammer with a "head" of circular cross section:
For those who have no experience of fixing glasses, I will describe the main points:
Nails need to be blunted. A dumb nail does not crack a glazing bead. This can be done by touching the tip of the emery, and if it is not at hand (as I have in this case), you can simply hit the tip of the nail several times with a hammer. The nail clogs parallel to the plane of the glass. The hammer is placed on the glass (required) and the blows are applied so that the hammer at the same time glides on the glass, without breaking away from it. So do not break the glass.
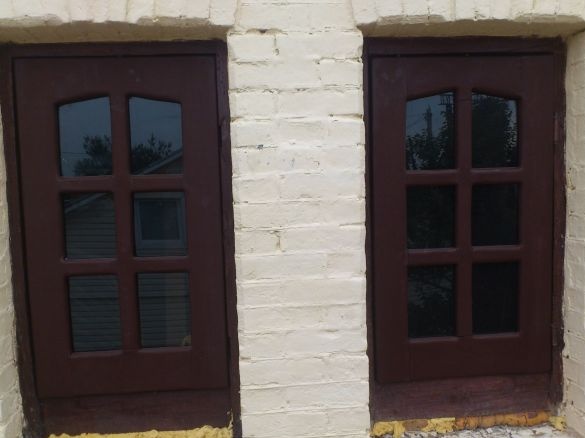
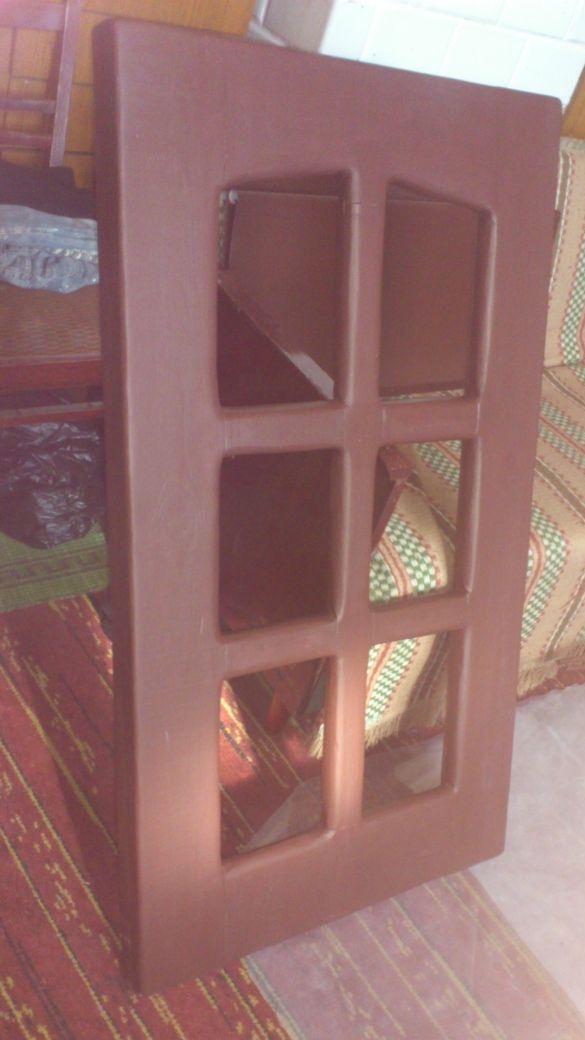
That's all! Glasses are inserted and windows are sent to their place:
Later ebbs will be installed and the design will take on a finished look.


