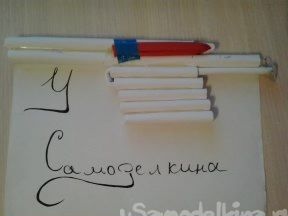
And so for him we need:
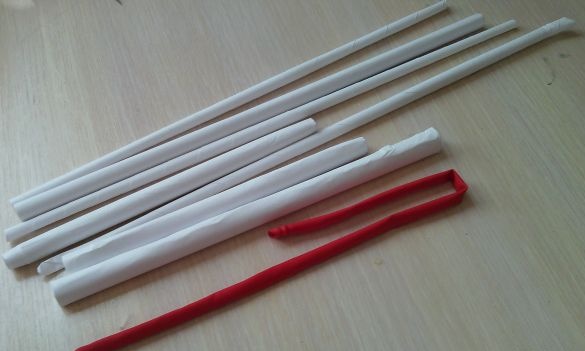
paper (I twisted them into tubes in advance)
ball or rubber bands
-insulating tape
From the tools we need:
hotmelt
-scissors
line
And so for starters you need to make tubes (for me this is the longest process)
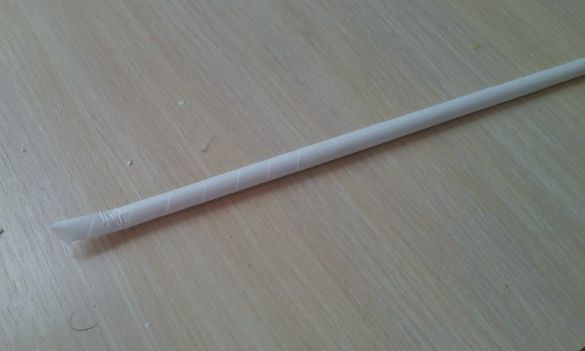
Starting from one of the corners of a sheet of paper, you need to twist such a tube, at first it may seem difficult but then it will be easier
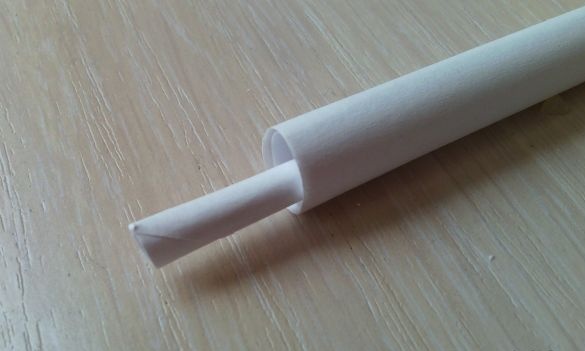
Now you need to make the tube bigger, for this we wind a sheet of paper on the first tube:
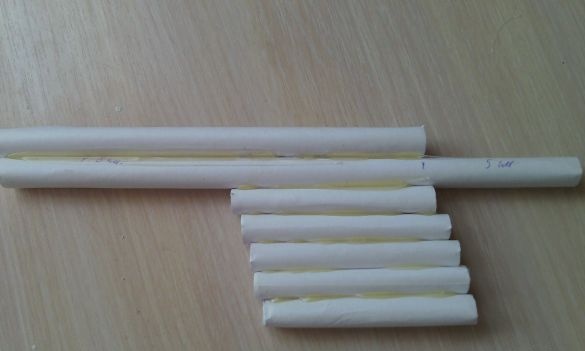
In total, we need 2 thin tubes and 3 thick, made of sheets of A 4.
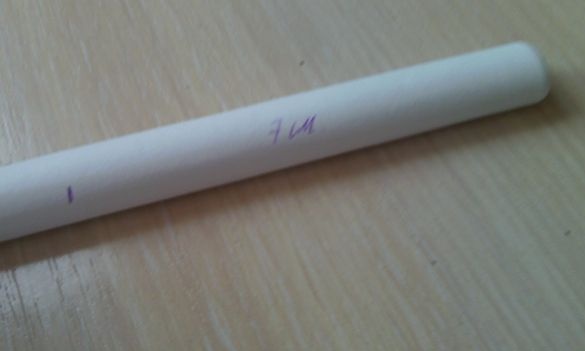
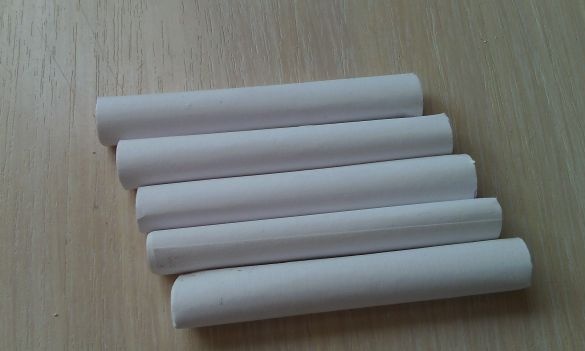
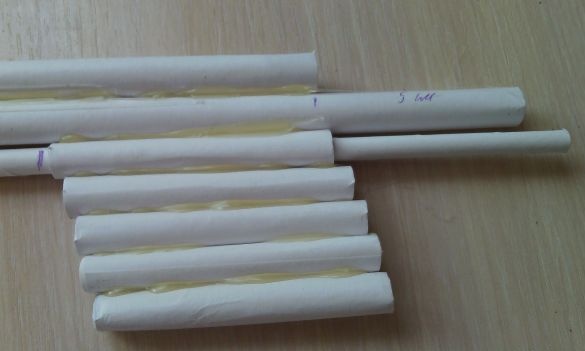
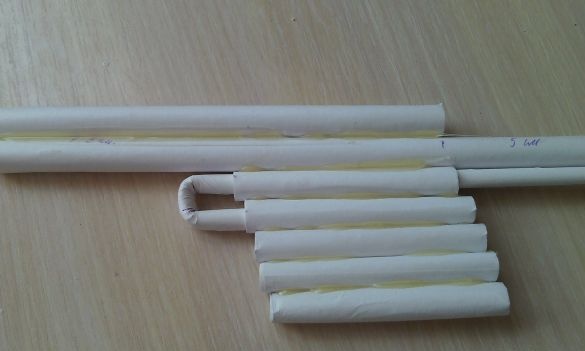
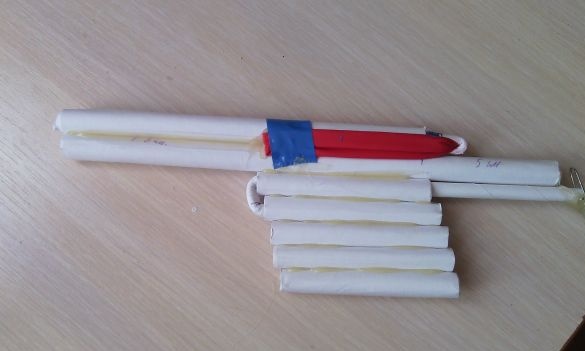
We measure 7 cm on a thick tube, and cut off 5 identical blanks
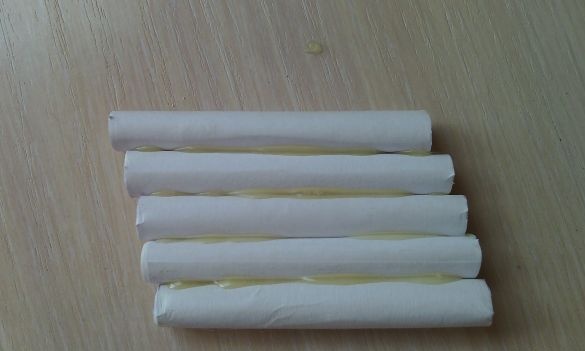
Then we glue it, this will be the handle of our gun:
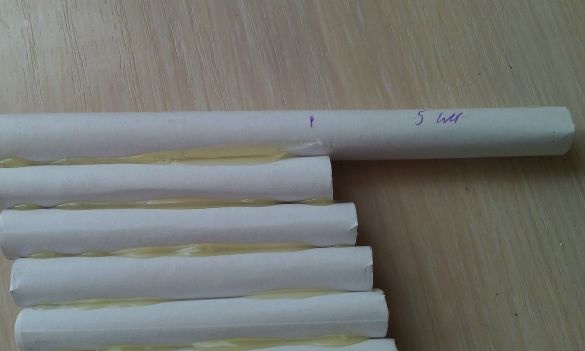
Take a thick tube and measure 5 cm from the edge and glue to the handle:
And then glue on top another one smaller by about 7 cm:
Now let's start the trigger, namely the trigger
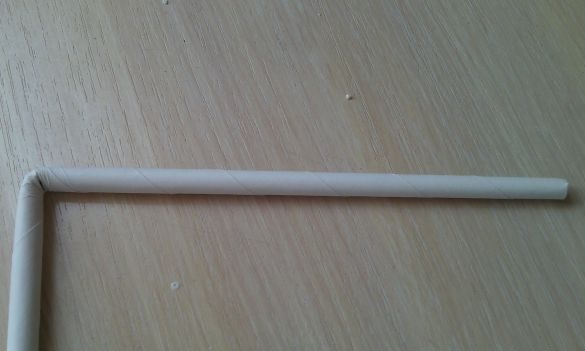
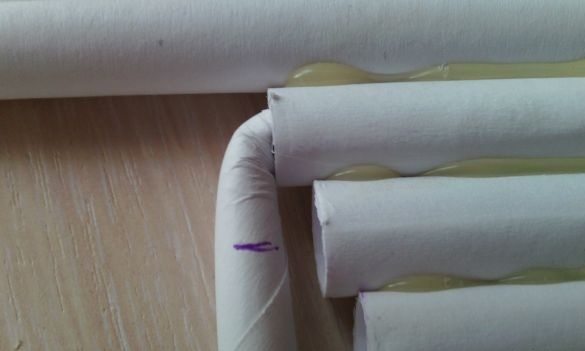
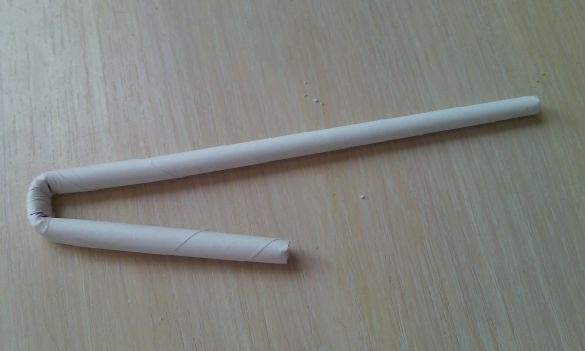
We take a thin tube, insert it into the upper tube of the handle, so that it crawls out 1-2 over the edge, mark the place of bending and bend the tube:
once again:
It should be something like this:
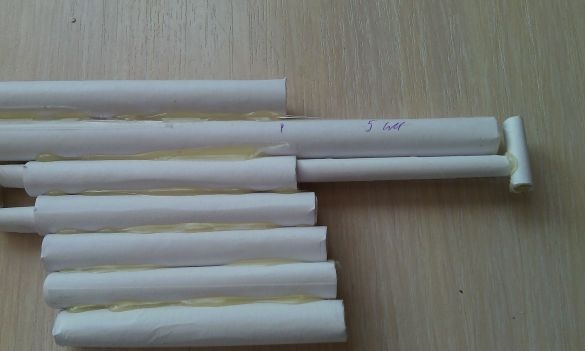
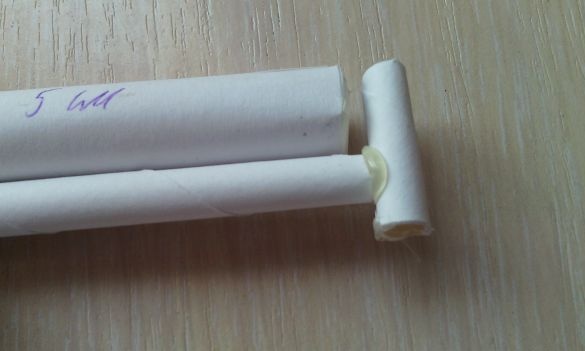
And glue one more not big detail:
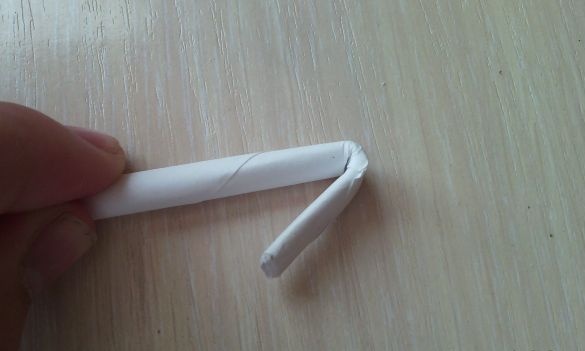
Take another thin tube and bend it at the edge:
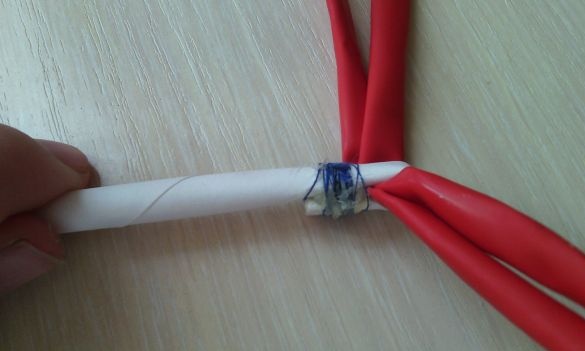
We fold the balloon twice (it is better to use money gum) and glue it as shown in the photo, you also need to tightly wind the whole thing with thread:
We insert a thin tube into the “barrel” of our paper gun and glue the ends of the balls 5-10 cm from the end of the “barrel” and fix with electrical tape:
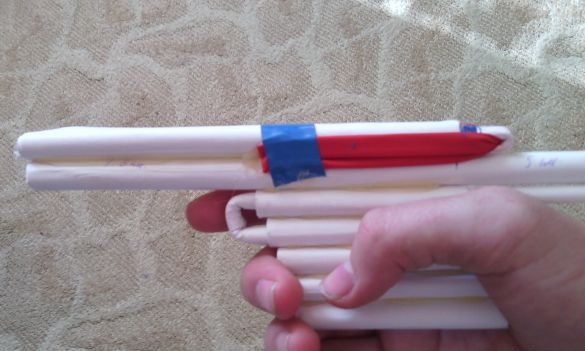
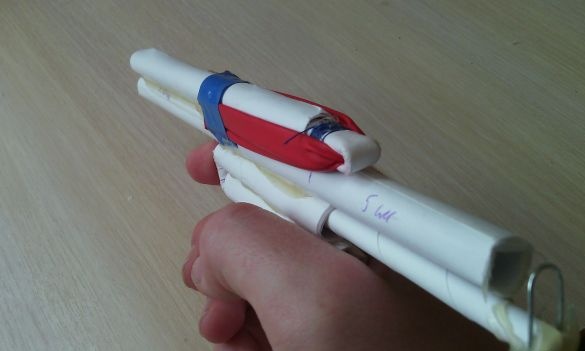
Well, that’s it, our paper toy gun is ready! in order to shoot, you need to pull back the driving mechanism, so that its end is fixed on the end of the “trigger”, then we put a crumpled piece of paper or ball into the “barrel” of our paper gun, aim and shoot.
As you may have noticed, I replaced one part with a paper clip, because it became more reliable with it, because the paper part was constantly peeling off.
Just be careful, follow safety precautions!


