

Connecting high-power LEDs in lighting devices is carried out through electronic drivers that stabilize the current at its output.
Nowadays, the so-called energy-saving fluorescent lamps (compact fluorescent lamps - CFLs) are widely used. But over time, they fail. One of the causes of the malfunction is the burnout of the lamp filament. Do not rush to dispose of such lamps because the electronic board contains many components that can be used later in other home-made devices. These are chokes, transistors, diodes, capacitors. Usually, these lamps have an electronic circuit board that is suitable for use as a power supply or driver for an LED. As a result, in this way we get a free driver for connecting LEDs, all the more interesting.
You can see the manufacturing process homemade in the video:
The list of tools and materials
-energy-saving fluorescent lamp;
-screwdriver;
soldering iron;
-tester;
- 10W white LED;
Enamel wire with a diameter of 0.4 mm;
thermal paste;
HER, FR, UF diodes on 1-2A
-table lamp.
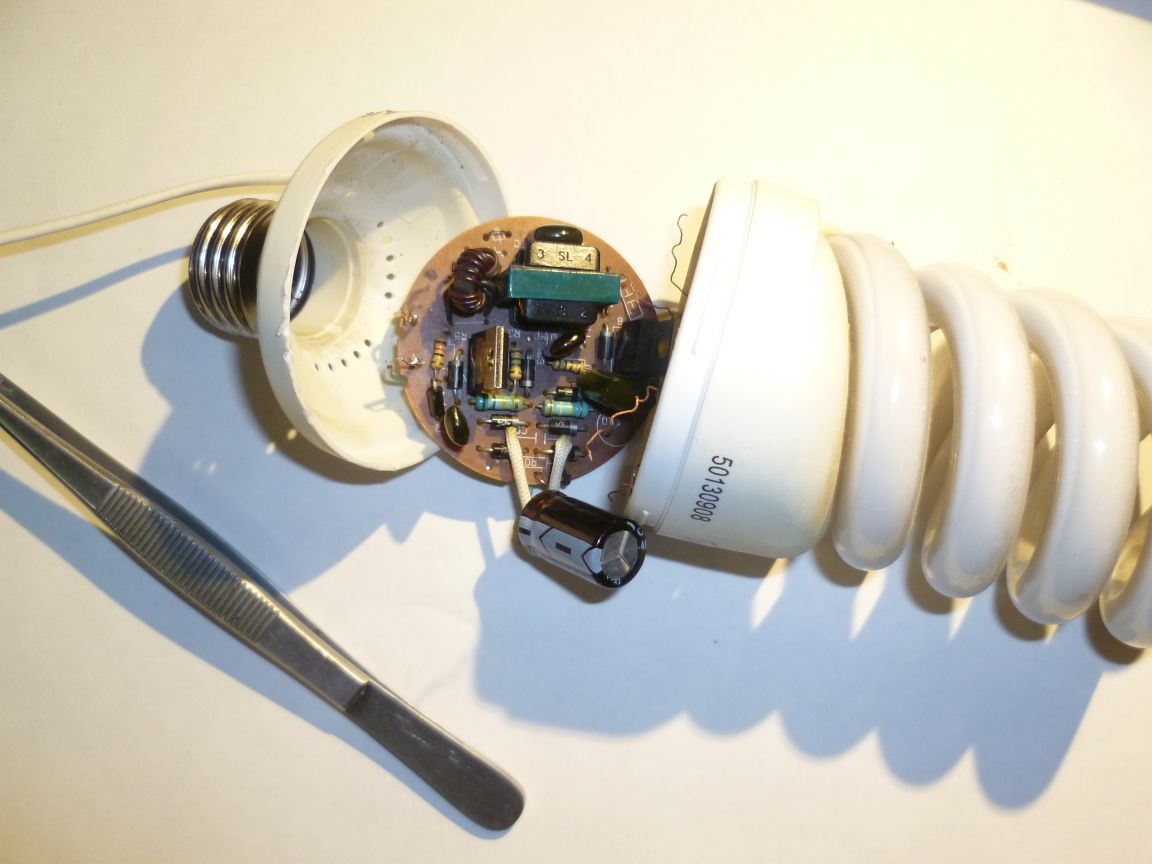
Step one. Disassembly of the lamp.
We disassemble the energy-saving fluorescent lamp by gently prying it with a screwdriver. The bulb should not be broken as mercury vapor is inside. We call the bulb filament with a tester. If at least one thread shows a break, then the bulb is faulty. If there is a serviceable similar lamp, then you can connect the flask from it to the redone electronic board to make sure that it is working.
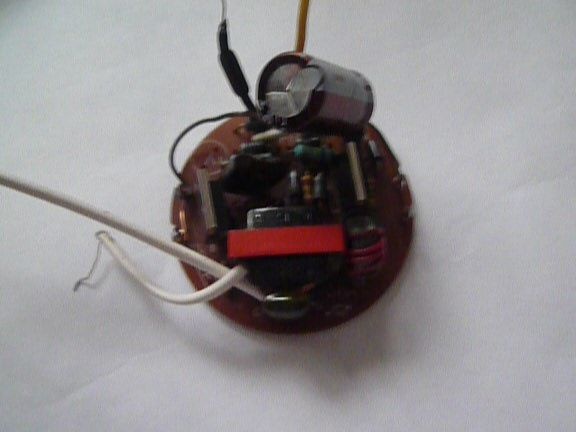
Step Two Alteration of the electronic converter.
For alteration, I used a 20W lamp whose inductor can withstand a load of up to 20 watts. For a 10W LED, this is enough.If you need to connect a more powerful load, you can use the electronic board of the lamp converter with the appropriate power, or change the choke with a larger core.
It is also possible to power the LEDs of lower power by selecting the required voltage by the number of turns on the inductor.
I mounted jumpers from the wire in the pins for connecting the filament of the lamp.
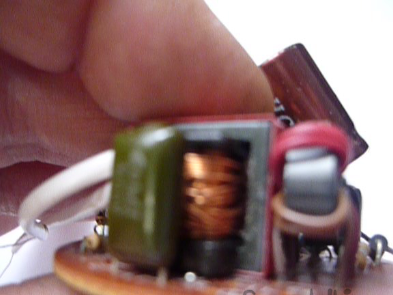
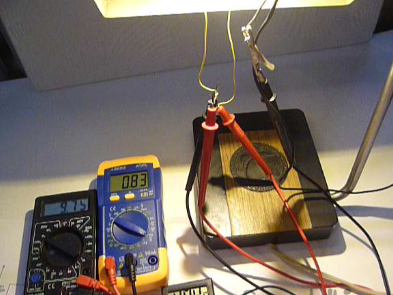
Over the primary winding of the inductor, you need to wind 20 turns of enamel wire. Then we solder the secondary wound winding to the rectifier diode bridge. We connect a voltage of 220V to the lamp and measure the voltage at the output of the rectifier. It amounted to 9.7V. The LED connected via an ammeter consumes a current of 0.83A. This LED has a nominal current of 900mA, but in order to increase its service life, the current consumption is specially underestimated. The diode bridge can be assembled on the board by hinged mounting.
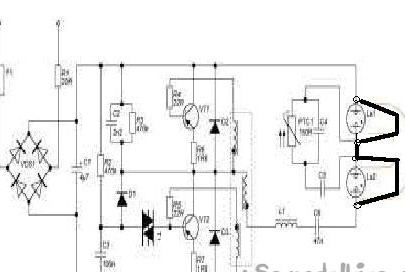
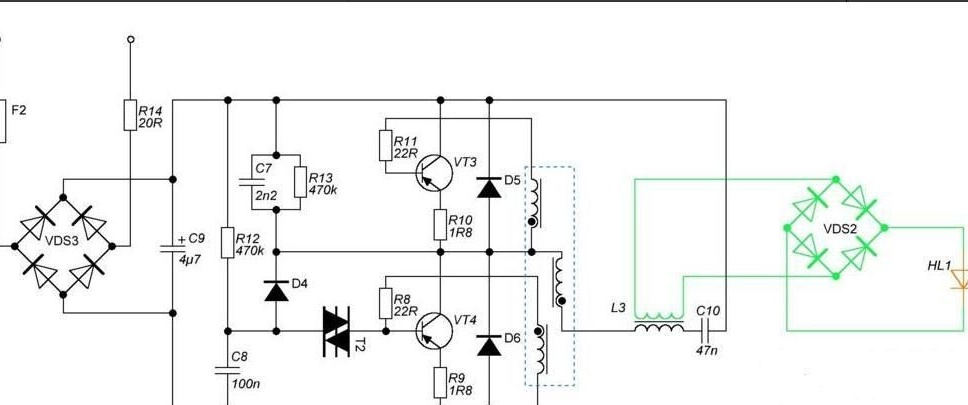
Scheme of a converted electronic converter board. As a result, from the inductor we get a transformer with a rectifier connected. The green color indicates the added components.
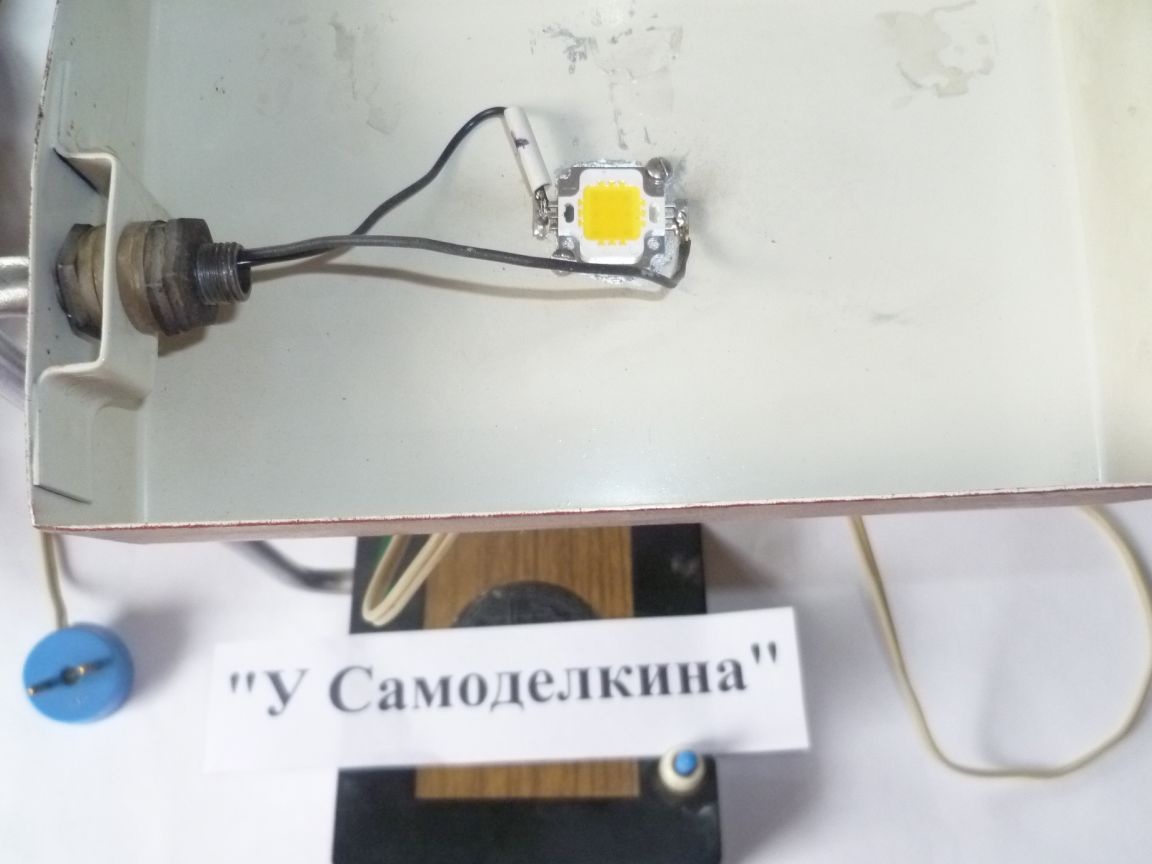
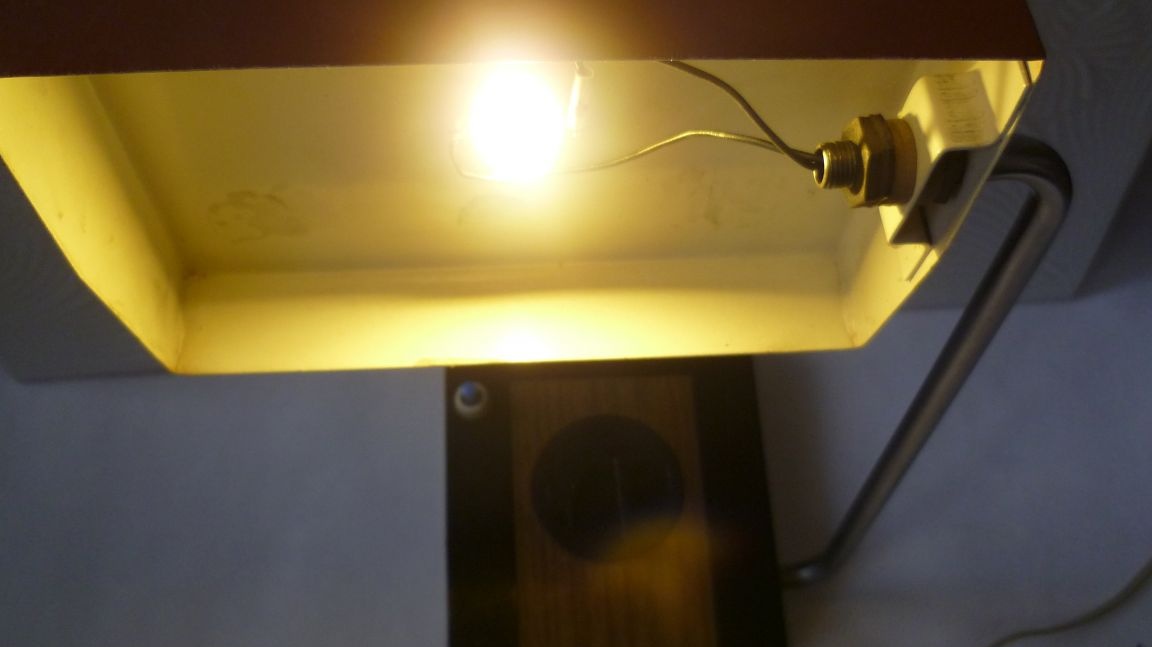
Step Three Assembly of LED desk lamp.
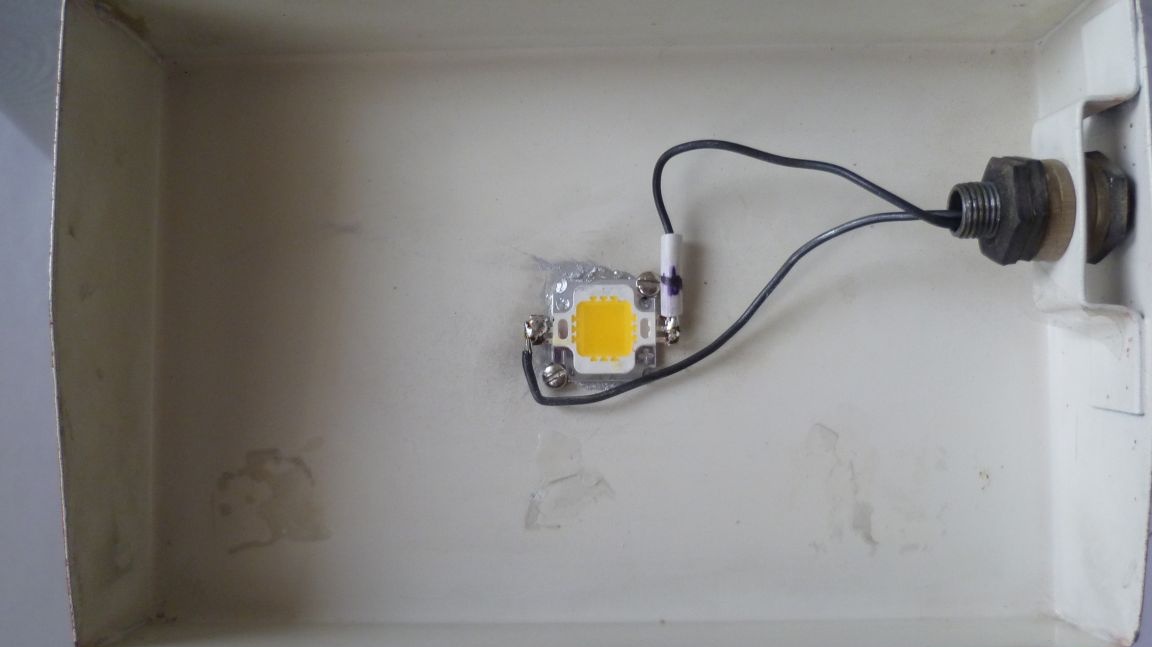
We remove the cartridge for the 220 volt lamp. A 10W LED installed on thermal grease on the metal lampshade of an old table lamp. The lampshade of the desk lamp serves as a heat sink for the LED.
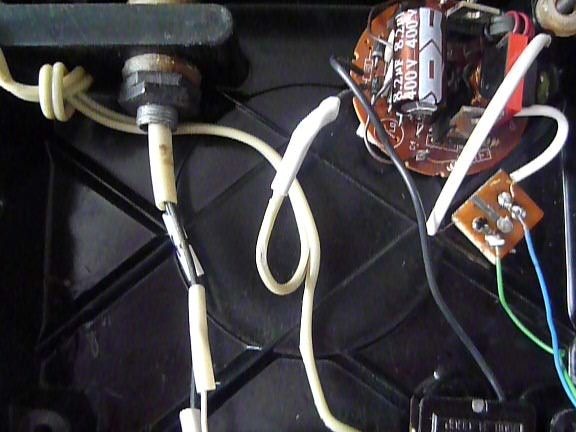
The electronic power board and the diode bridge are located in the casing of the desk lamp stand.
For an hour of work, he measured the temperature of the LED heating and it showed 40 degrees Celsius.
According to my feelings, the illumination from the LED roughly corresponds to a 100-watt incandescent lamp.
This redone LED desk lamp has been around for six months now. No complaints, it suits me. In general, the result was a driver for LEDs for free and from junk materials.