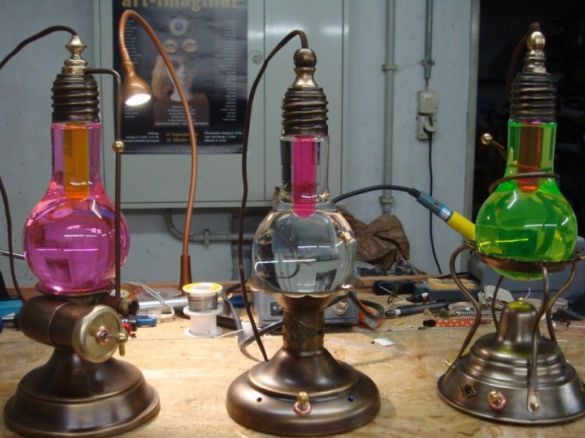
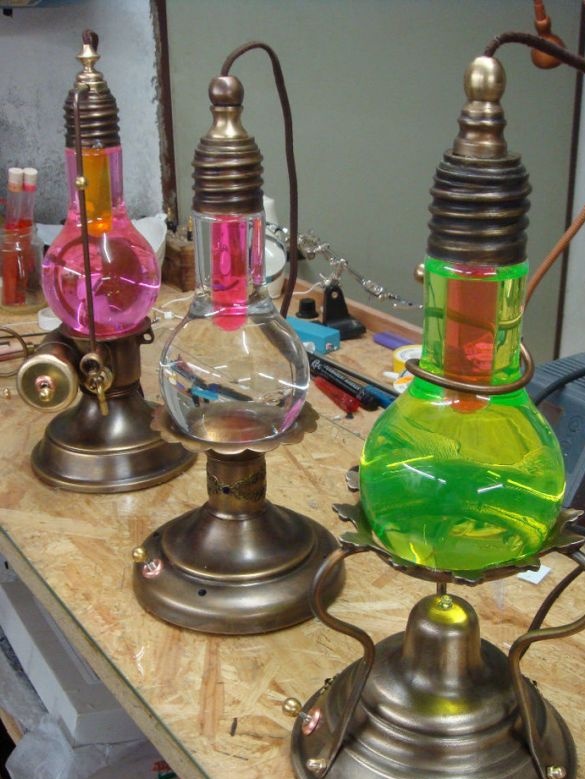
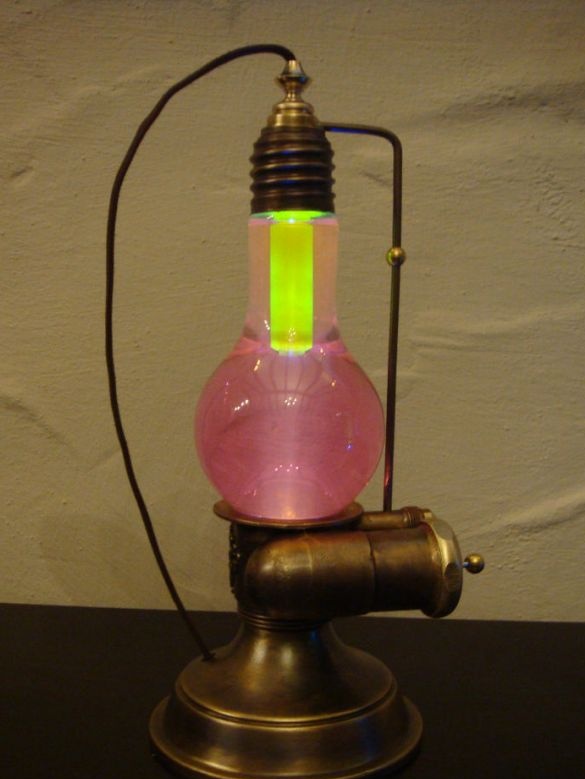
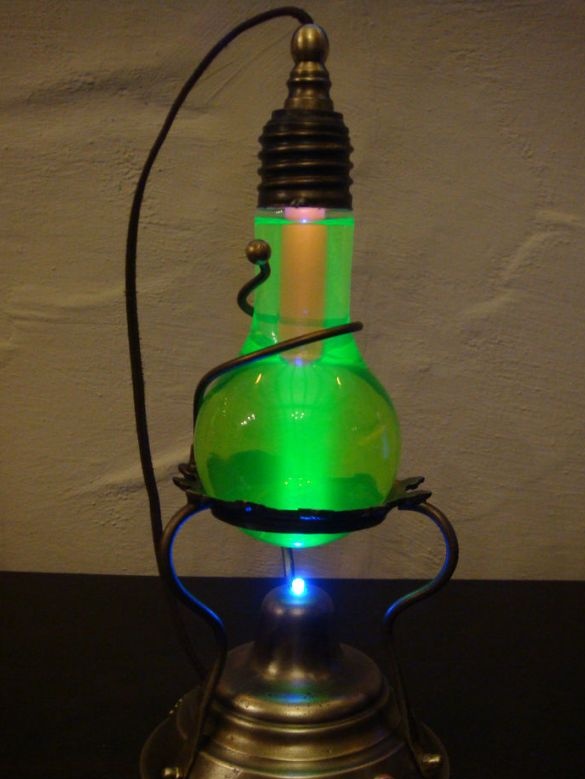
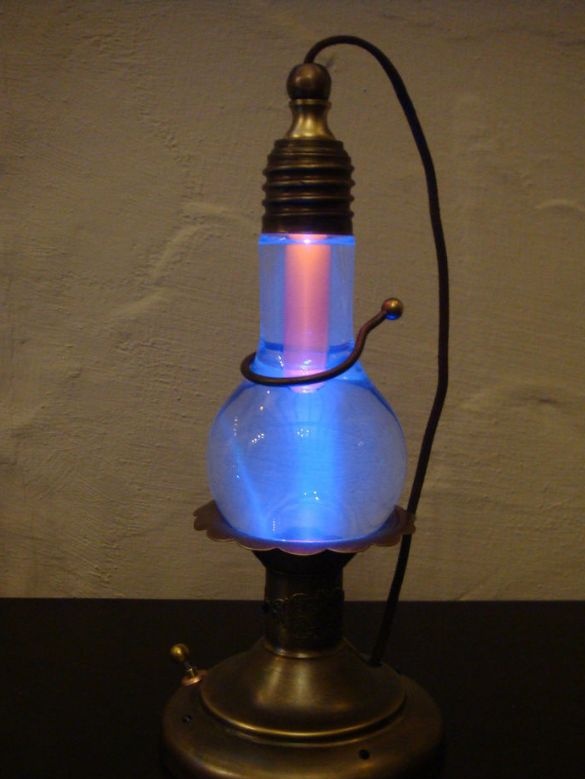
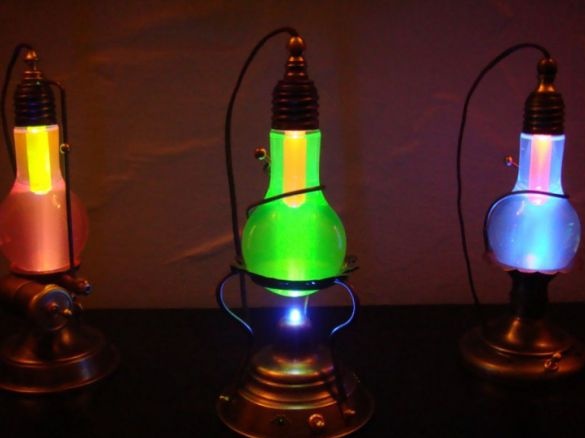
This article will talk about how to make beautiful and unusual lamps based on bulbs from the old 300 W-bulb. Using the technology indicated below, the author managed to assemble three decorative lamps, each of which glows with its own color.
Since the assembly of all three fixtures was carried out in parallel, the amount of materials indicated in the list below is designed for three decorative lamps at once:
some parts of the body of an old copper lamp
Three flasks from 300W light bulbs, although any other bulb or transparent bottle can also be used.
fluorescent powder
test tubes with cork in the amount of three pieces
UV LEDs 6 pieces
9 V resistors for LEDs
-9V battery in the amount of 3 pieces
-switches 1 for each lamp
textile braided cable
-acids and potassium sulfide, which will be used to color the lamp
thin wires
-distilled water
glue gun
Description of the step-by-step production of decorative lamps in the form of lamps:
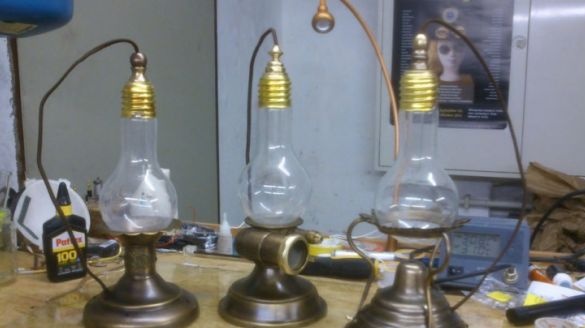
Step One: Create a lamp housing.
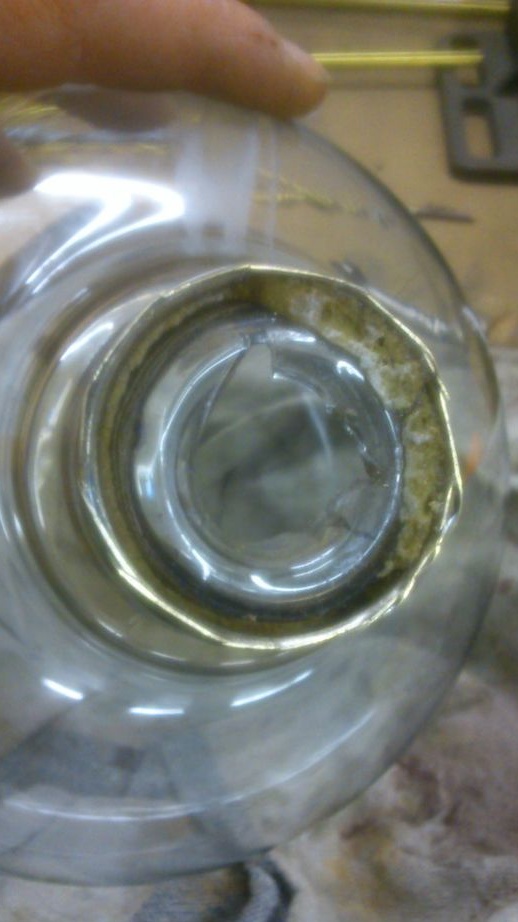
The 300 Wth bulbs, or rather their bulbs, will serve as the main body of the lamp. Therefore, the first thing to do was to separate the glass flasks from the rest of the lamp. There are several ways to do this carefully, you can find them on the Internet and choose the most convenient for you. The main thing is to be careful during this process and carry out work with gloves and goggles, since the glass of the flasks is quite fragile.
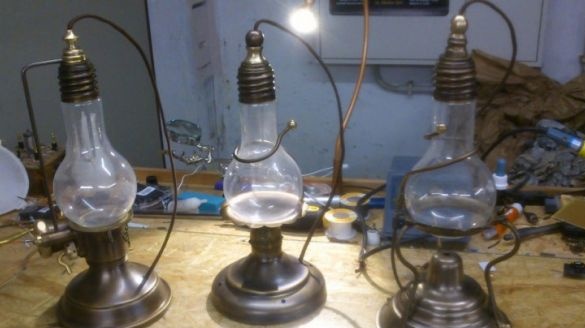
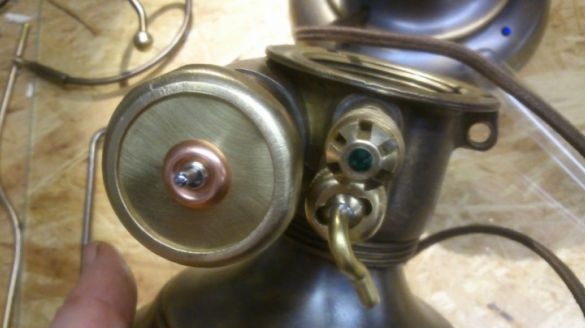
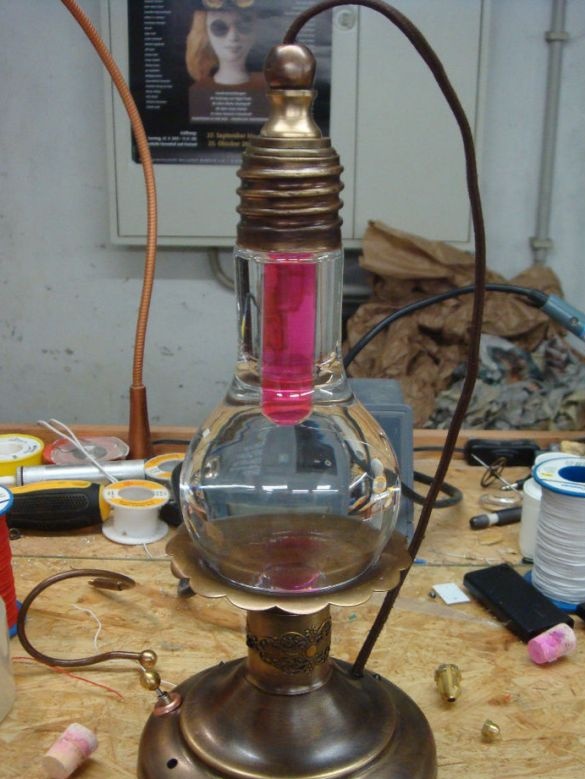
As a stand for flasks, the author used parts from an old copper lamp. A UV LED was installed in this stand, so that it was located directly under the bulb. The second UV LED was soldered in parallel through a braided cable. It is best to make this cable slightly longer than necessary so that it is more convenient to place the diodes and then trim them if necessary.
Step Two: Flask Holders.
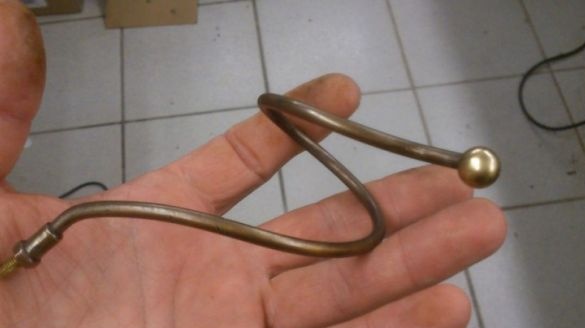
So that the bulb from the bulbs were securely fixed, the author decided to make special holders for them. They were made in the form of spirals and painted in the color of the coasters.
Step Three: Work on test tubes and install the power circuit.
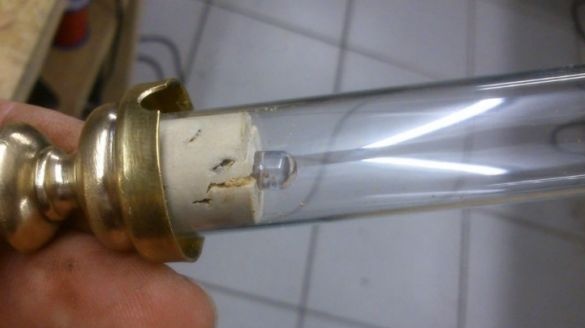
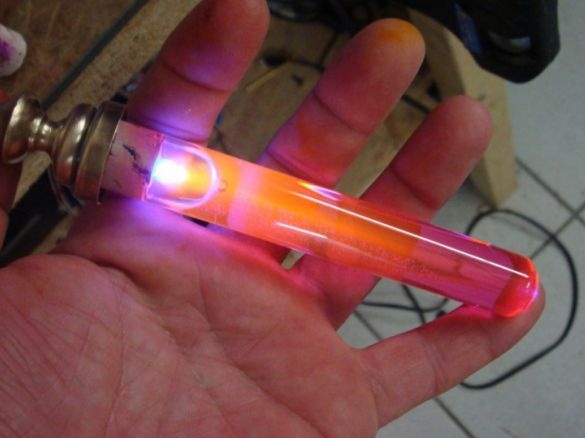
The existing tubes are too long to fit in the lamp, so they had to be cut to a length of about 10 cm. Then, a hole was drilled in the tube to securely plug the tube. In this hole, the author installed a second UV LED and secured it with a glue gun.
After that, caps for each of the tubes were made in the style of the future lamp. Next, the switches were installed and the connections with the LED circuits were wired.
Step Four: Fill flasks and test tubes with liquids.
Further, the author began experiments on mixing substances such as rhodamine 6G, fluorescein, bromofluorescein, acridine orange, green fluorescent dye, rhodamine B500 and optical brightener. The last two substances rhodamine B500 and optical brightener are dangerous, and require special care. All work on mixing substances and dyes should be done with special safety glasses and gloves.
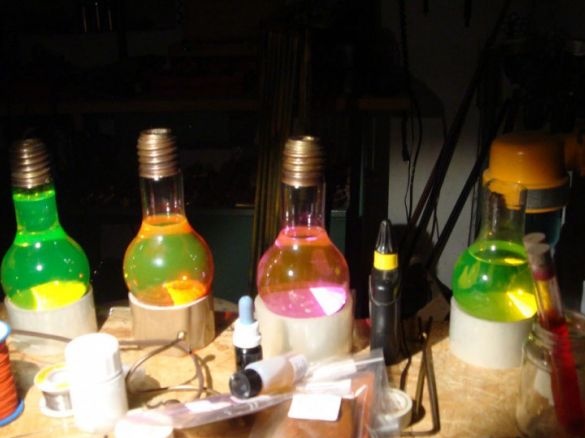
Wearing gloves and glasses, the author filled the flasks and test tubes with distilled water, and then proceeded to obtain the desired colors and shades by adding various dyes. Rhodamine is a strong dye, so adding it costs quite a bit, after which the water immediately acquires a reddish color.
Step Five: The final view of the lamp.
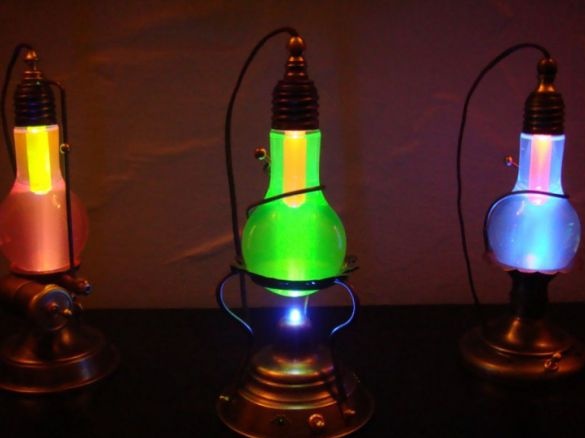
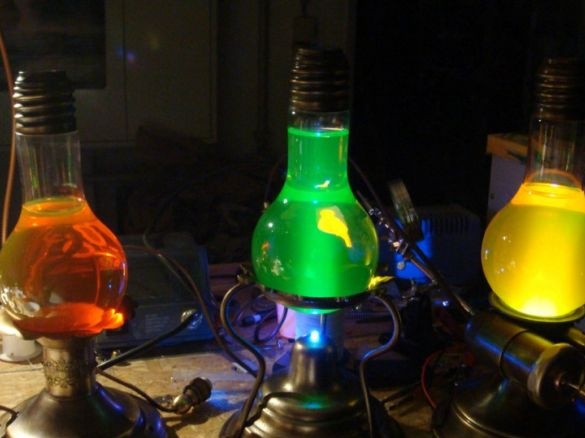
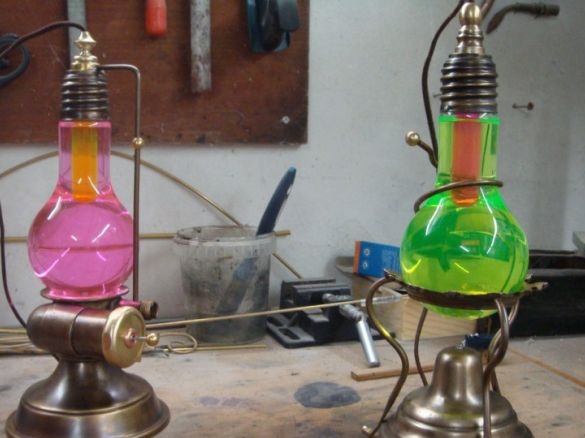
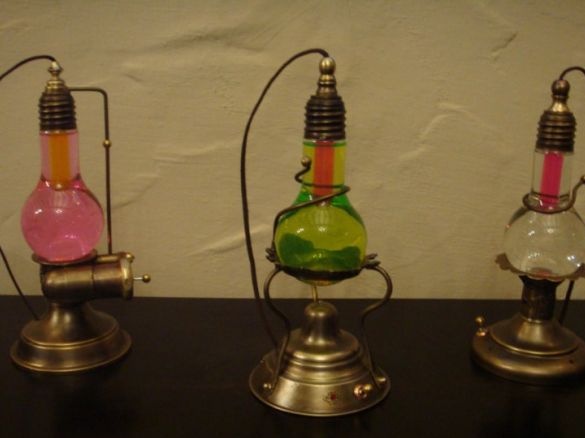
By mixing various substances in the flasks, the author got this kind.
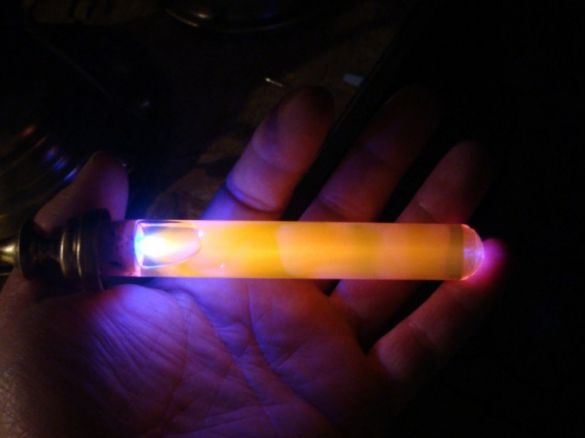
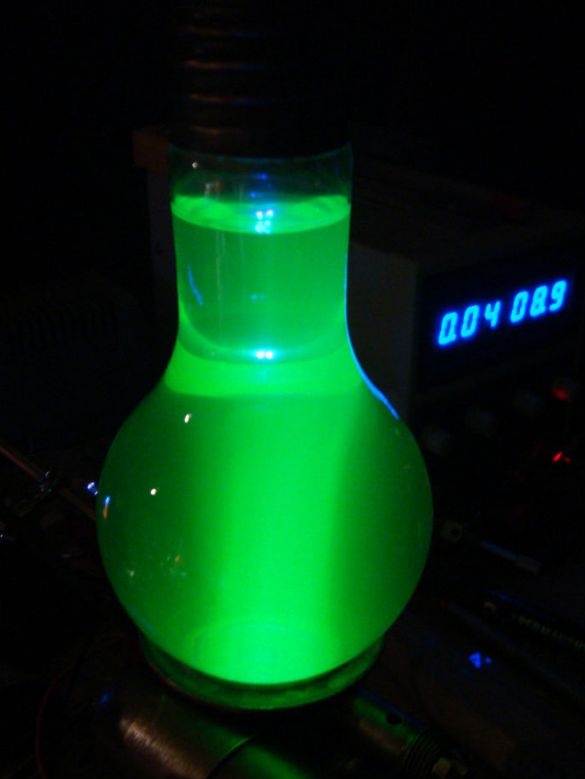
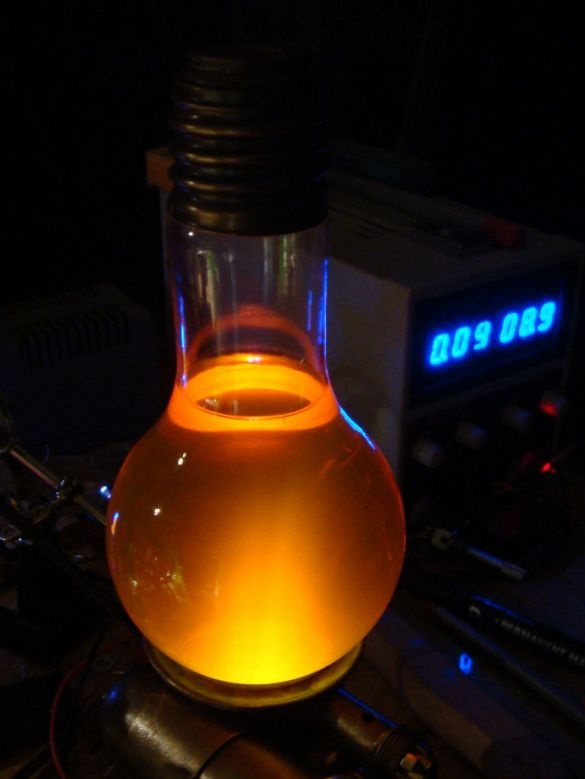
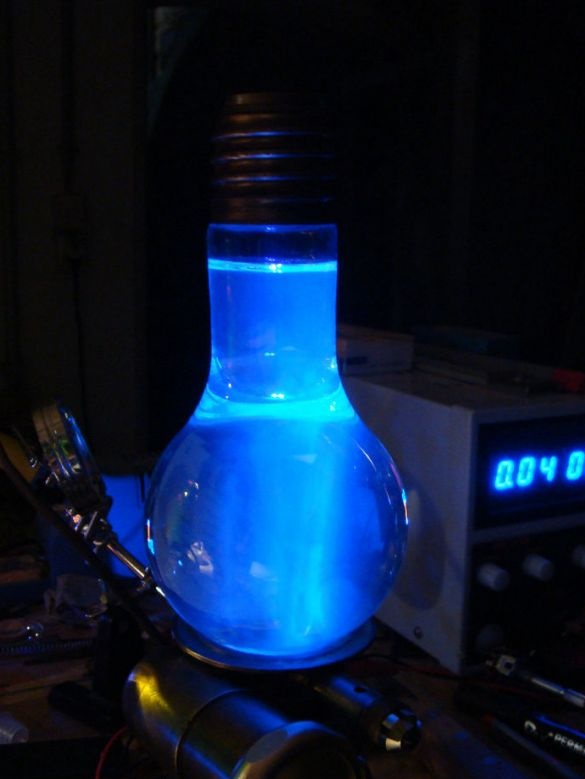
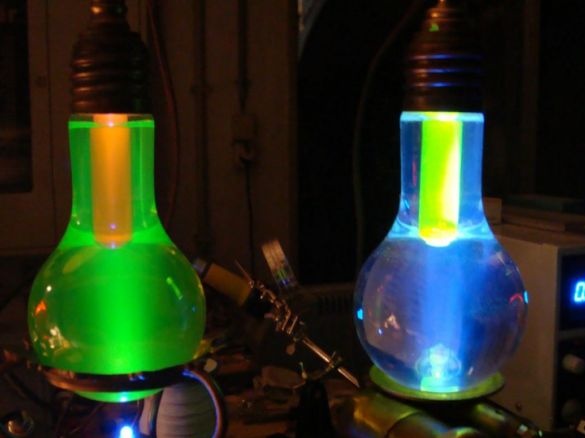
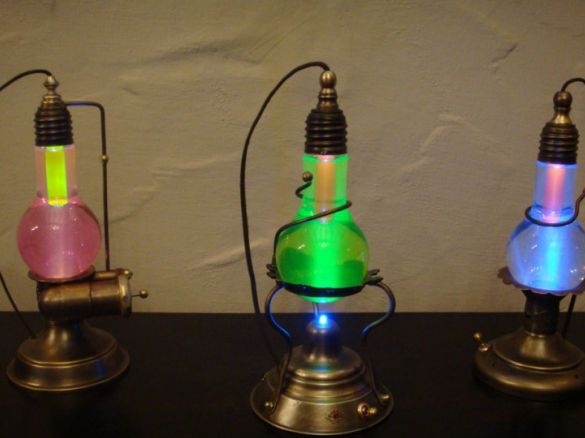
When you turn on the UV LEDs, the lamps take the following form:
As a result, we got very beautiful unusual lamps, which with their soft light can make the atmosphere of the house even warmer and more comfortable.

