
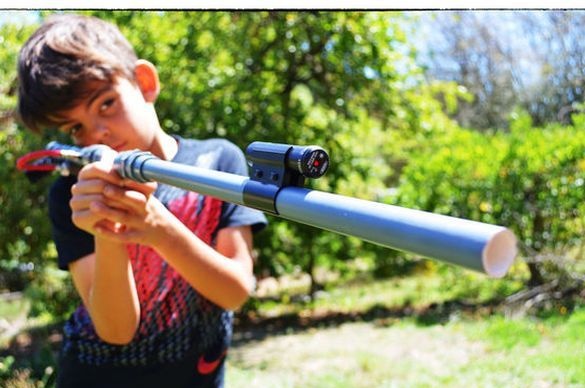
This article will discuss how to make, do it yourself, an air rifle shooting darts, the darts themselves, as well as a case for storing and carrying it.
Tools and materials:
- 20 mm PVC pipe;
- 15 mm PVC pipe;
-15 mm and 20 mm couplings, plugs, threaded connections;
-Insulating tape;
- The electromagnetic valve (solenoid);
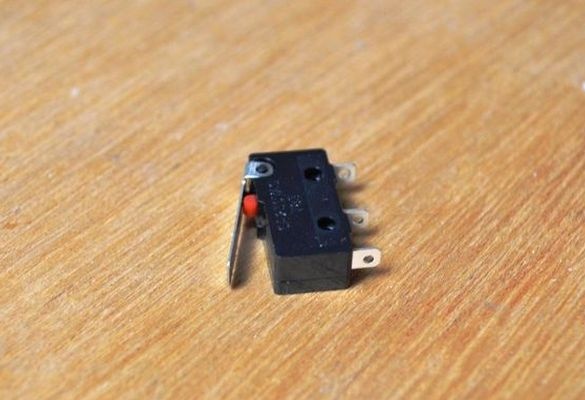
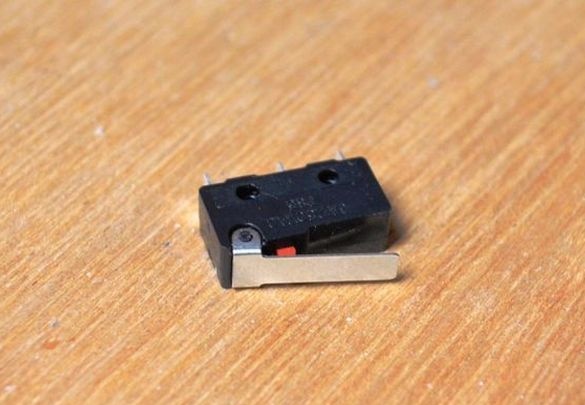
- switch;
-Bicycle Pump;
-9 V battery and compartment to it;
-Laser sight;
-Cable ties;
-Ventil for the camera;
-Heat-shrink tubing;
-The wire;
-Plywood;
-Board;
-Nails;
-A pen;
- Loops;
-Latching devices;
-Castle;
- Soldering iron;
-Super glue;
-Epoxy adhesive;
- PVC glue
-Double sided tape;
-Fum tape
- Thermo-glue;
- Circular Saw;

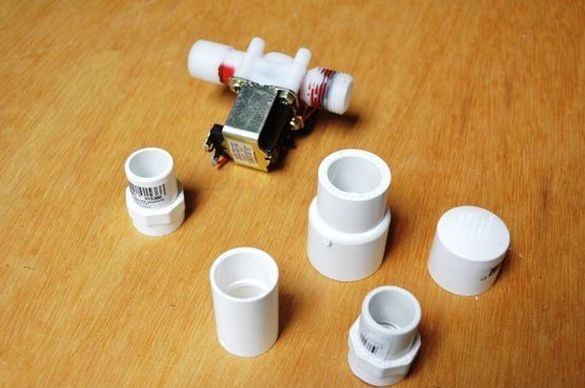
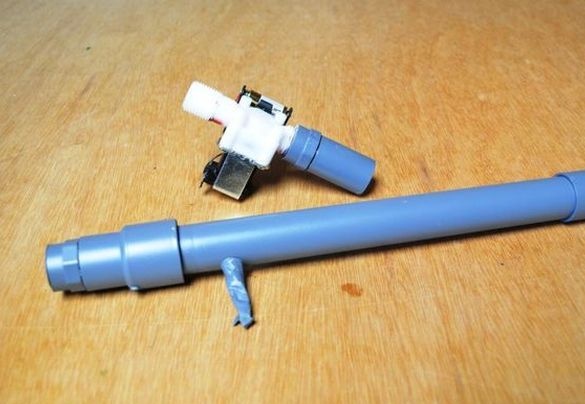
Step 1: Solenoid Valve
To power the valve, the author first used 2 batteries of 12 V. But in the future, due to the low current strength, the batteries had to be replaced with 9 V.
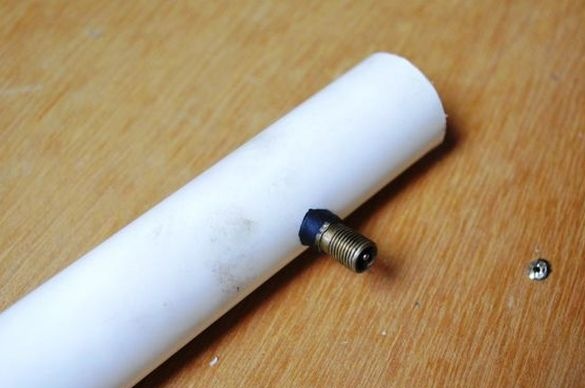
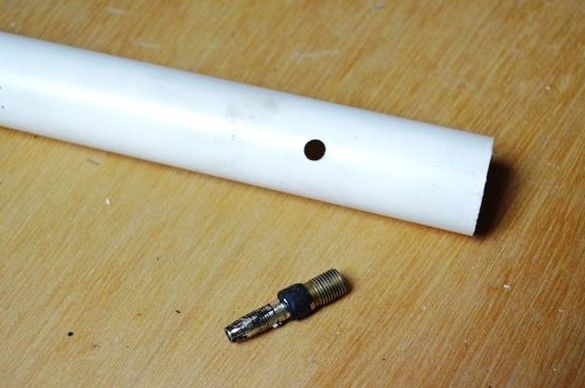
Step 2: Installing the Valve
In a PVC tube, 3 cm from the edge, drills a hole with a diameter as the valve seat. Installs the valve and seals it with hot glue from the inside.
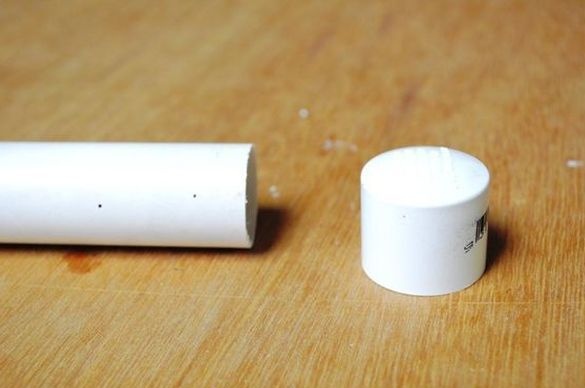
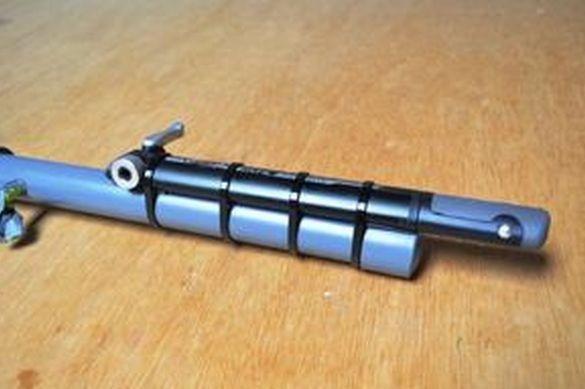
Step 3: Making an Air Chamber
On the opposite side, from the valve, installs a plug on the glue. The adapter from 20 to 15 mm is glued to the other side.
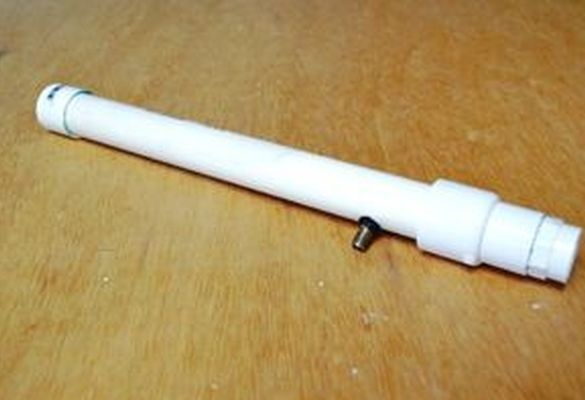
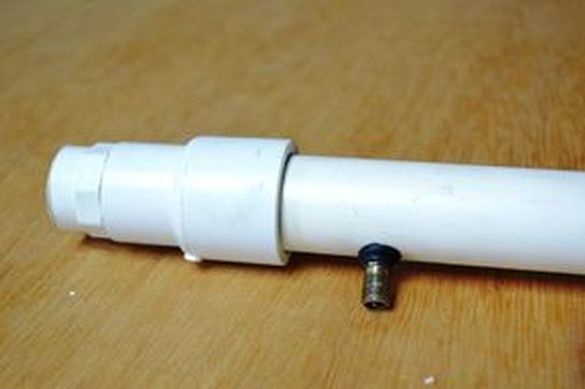

On the threaded connections of the solenoid valve, wrap the fum tape and wind the couplings.
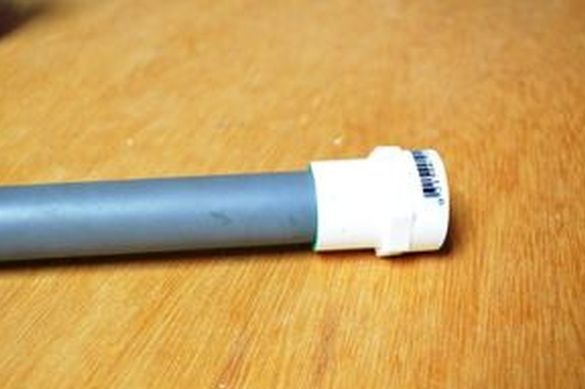
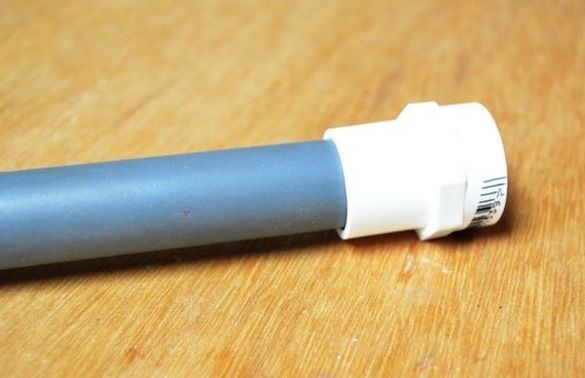
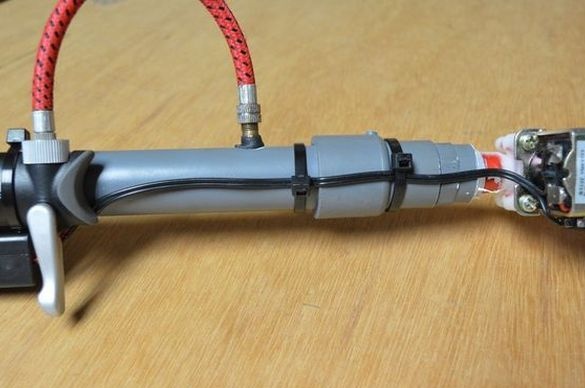
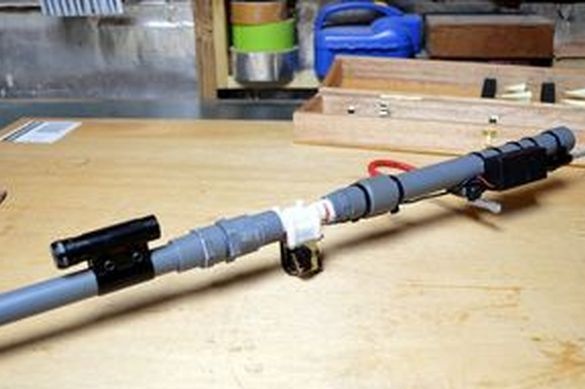
Step 4: making the barrel
The author made the trunk from 15 mm PVC pipe. At one end of the pipe, I glued a sleeve with a female thread. Now you can assemble the barrel and air chamber. A valve is installed between them.
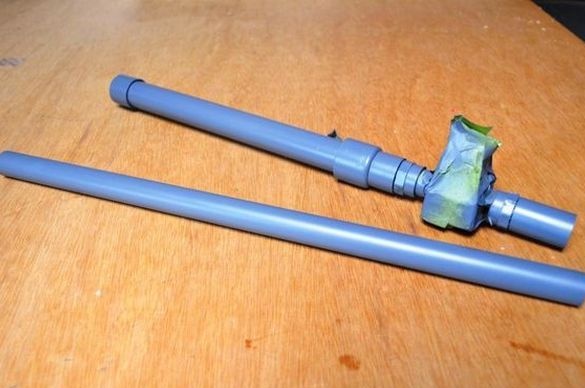
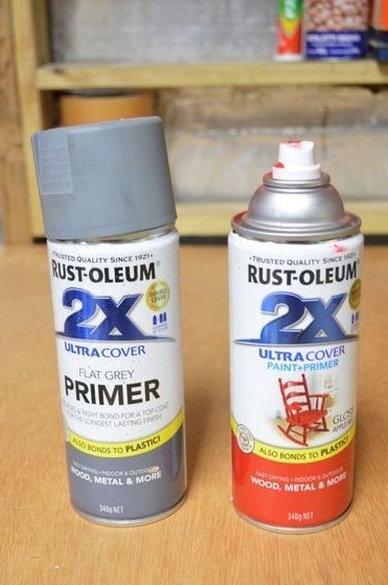
Step 5: Painting
Having sealed with tape, the electromagnetic valve and valve, painted parts of the dartostrel.
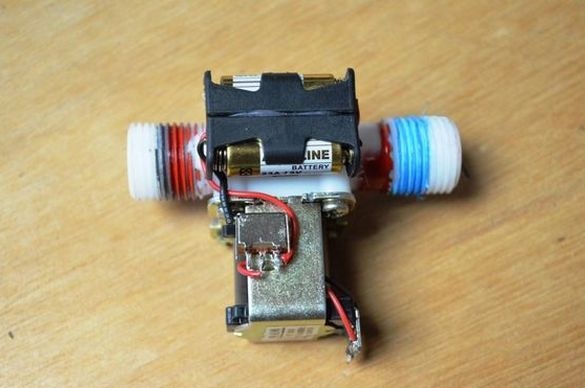
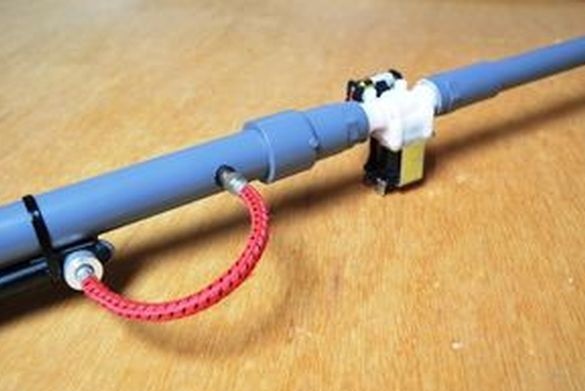
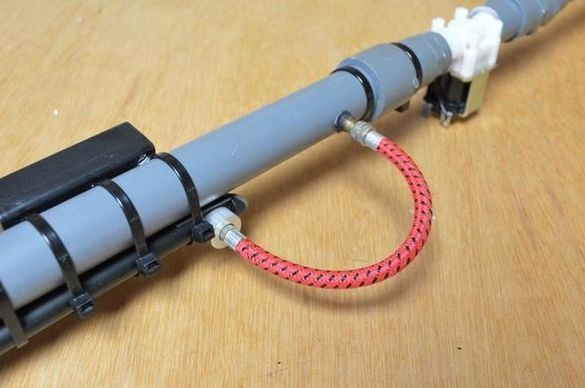
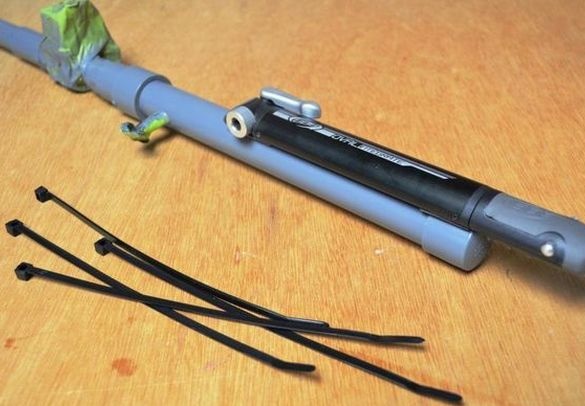
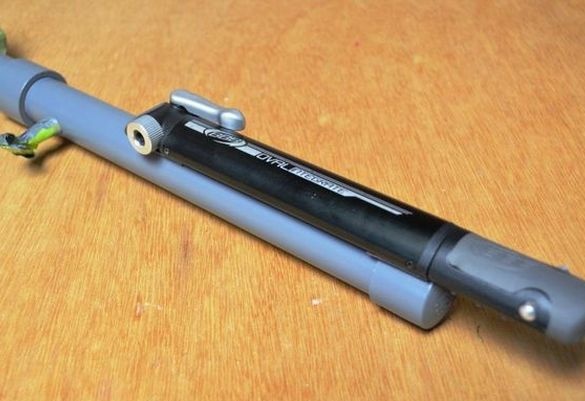
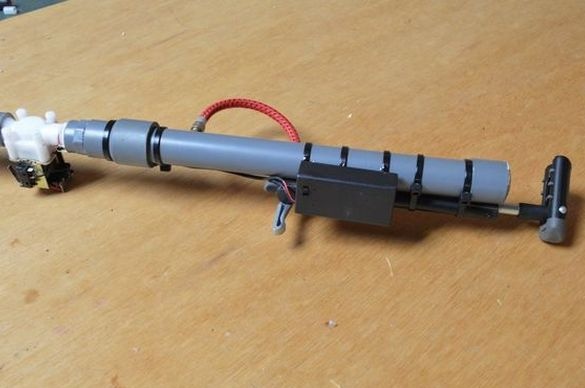
Step 6: Install the pump
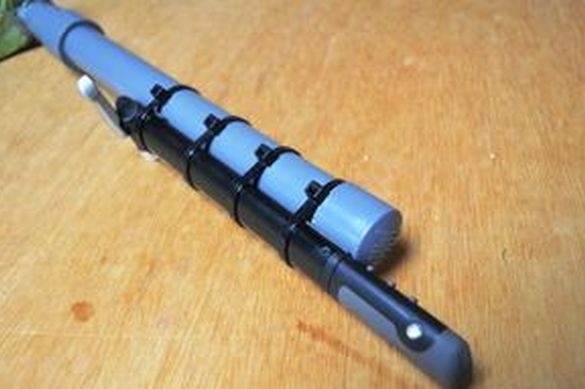
After drying the paint installed the pump. I glued the pump to a double-sided tape and fixed it with ties. Screwed the pump hose to the valve.

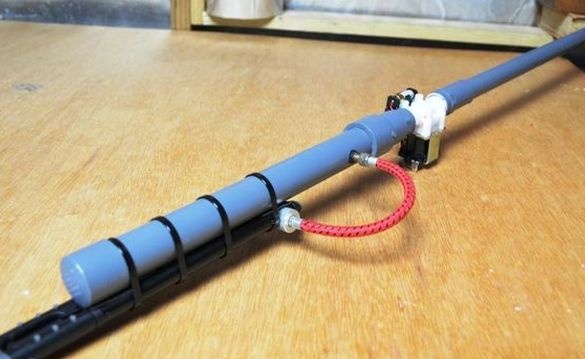
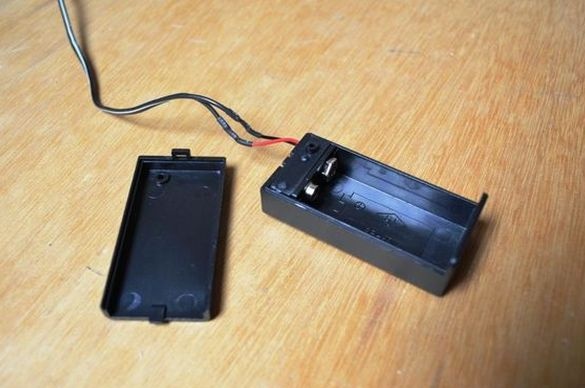
Step 7: Battery Installation
The author glued the battery compartment to the case with epoxy glue. After the glue dries, I installed a 9 V battery. The wires were fixed with clamps.

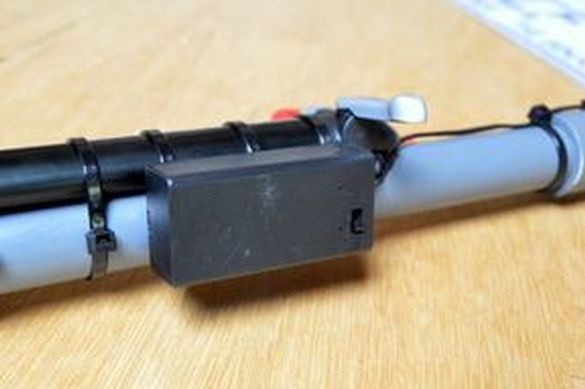
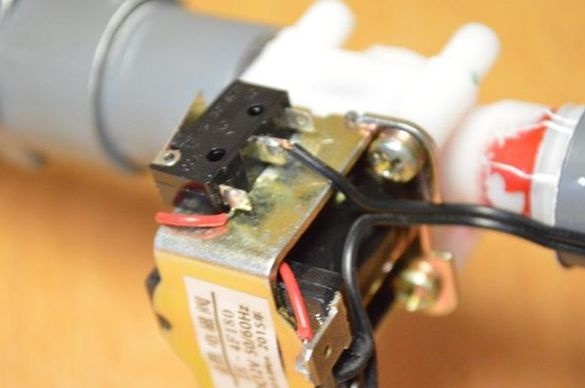
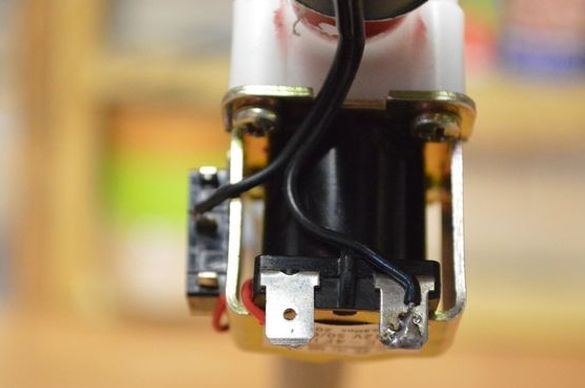
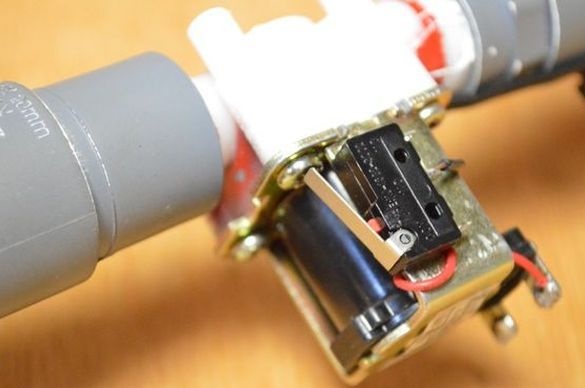
Step 8: Switch Installation
The switch will play the role of the trigger. The author determined the best place to install it on the solenoid. I glued the switch to super glue.I connected the wires from the battery to the solenoid valve, feeding one wire through the switch.
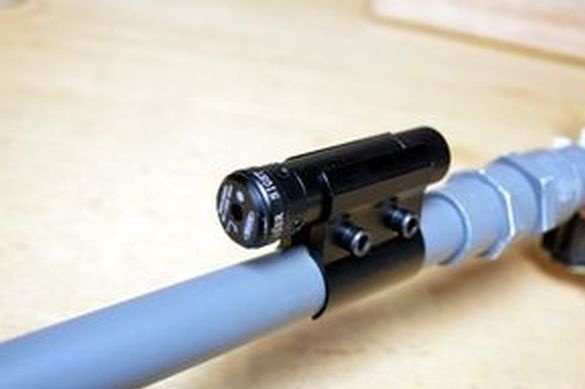
Step 9: Sight
I installed a laser sight and adjusted it.

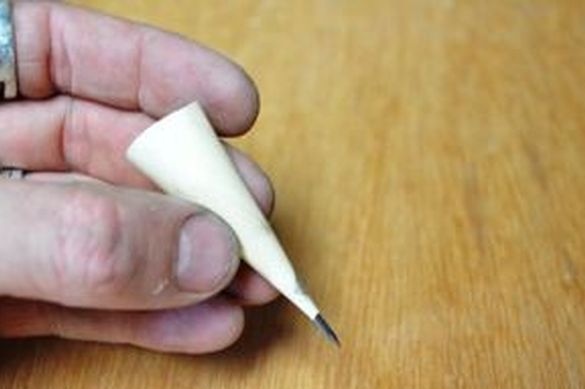
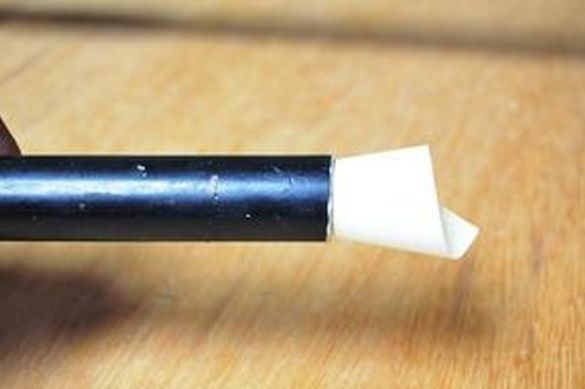
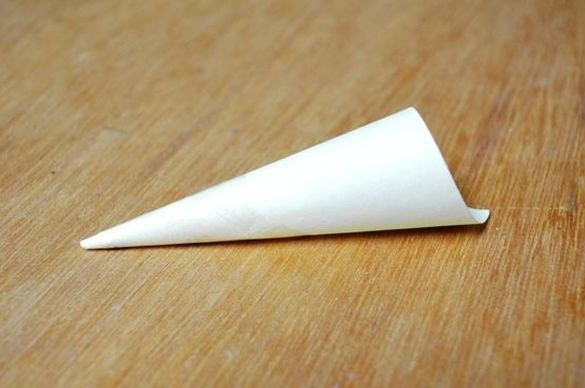
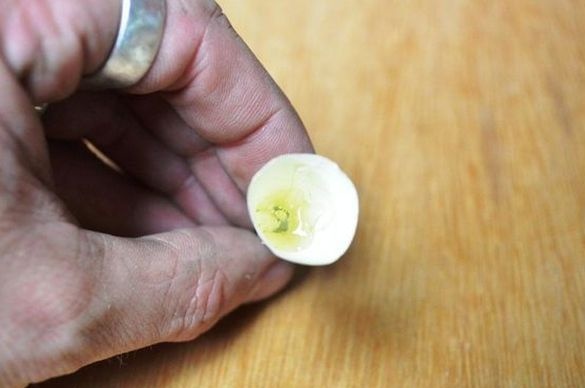
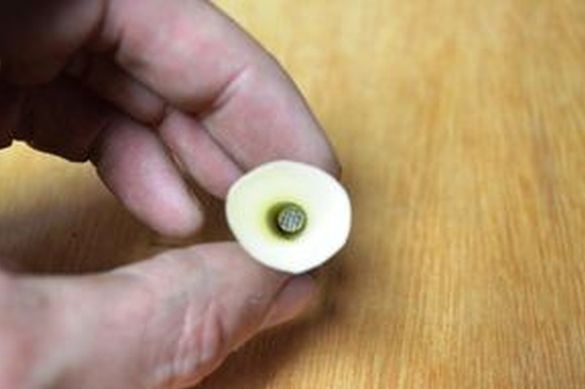
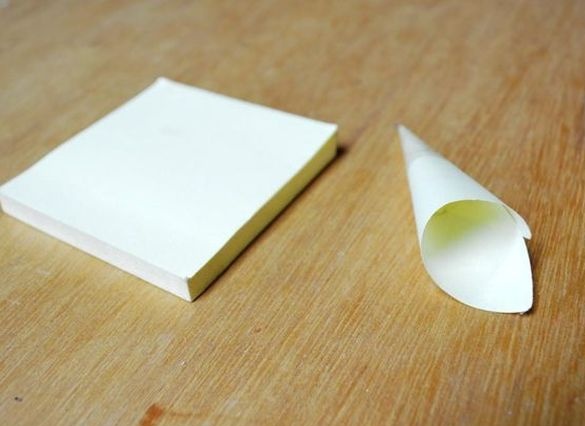
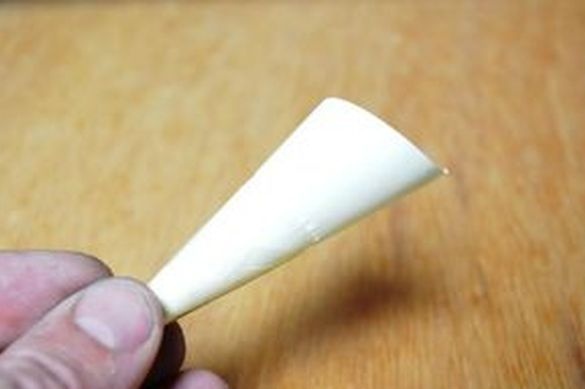
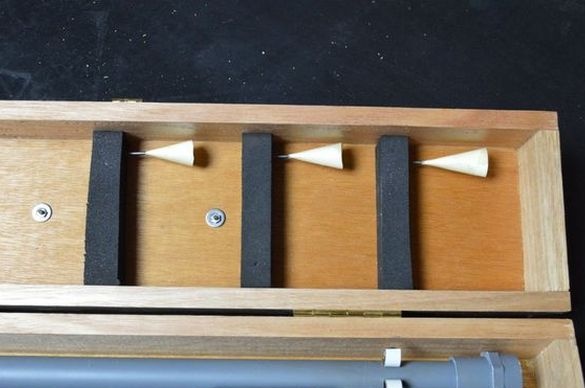
Step 10: Making Darts
He twisted the paper with a cone and fixed it with tape. He inserted the cone with the sharp part into the trunk and cut off the excess thick part. I inserted a nail into the narrow part of the cone and filled the cone with a third hot glue.

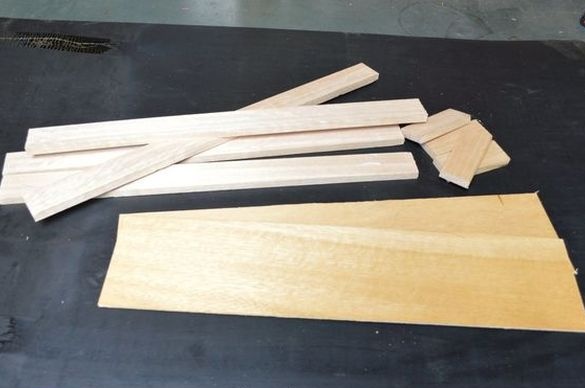
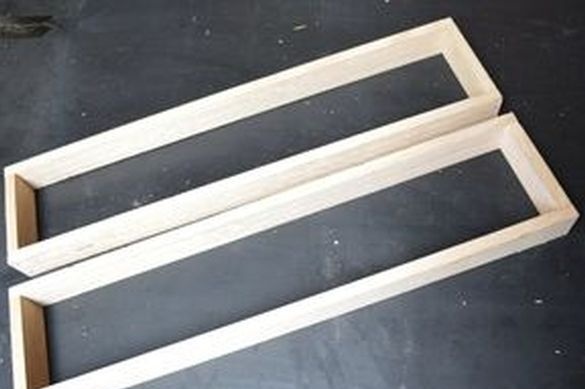
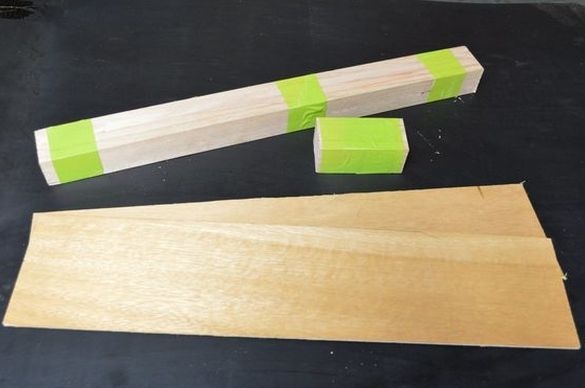
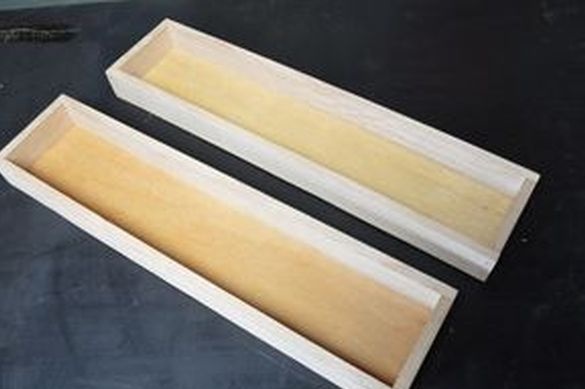
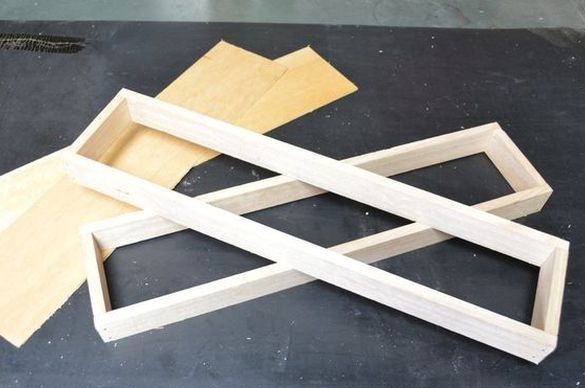
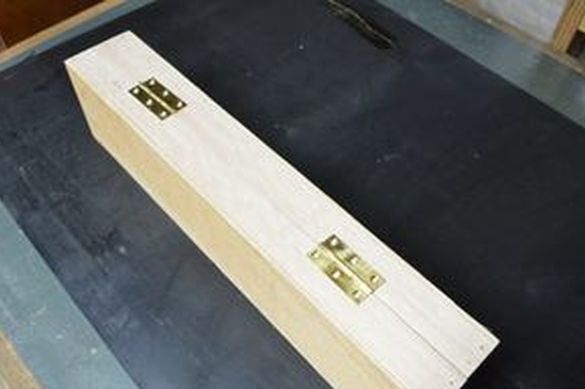
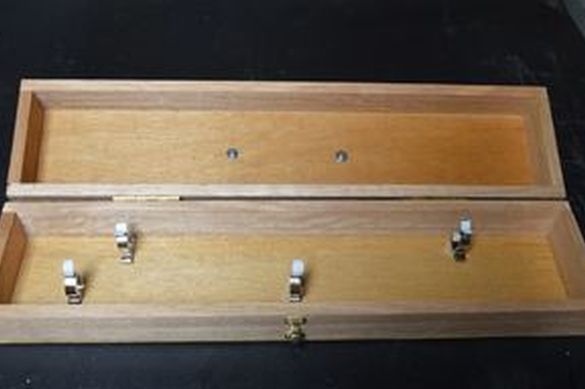
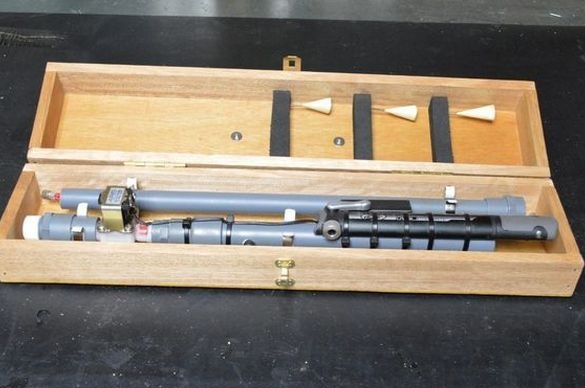
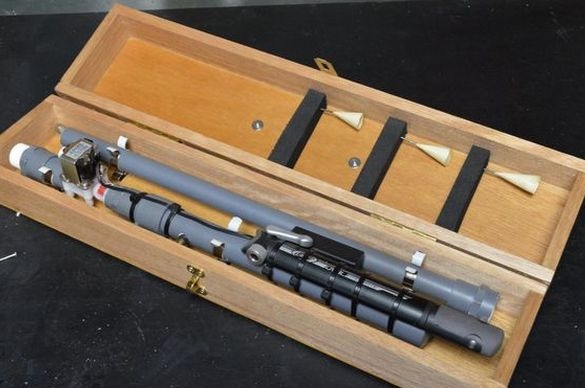
Step 11: making the case
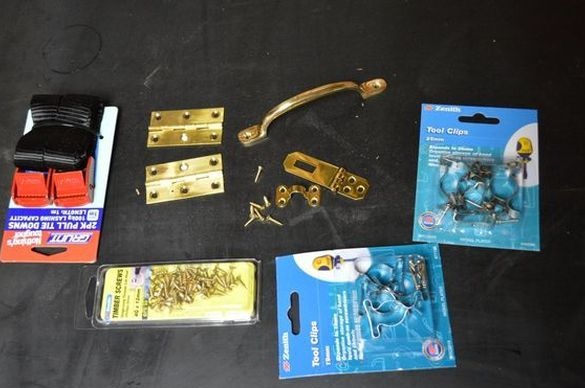
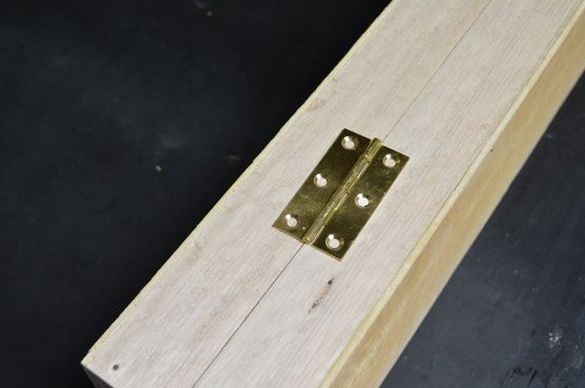
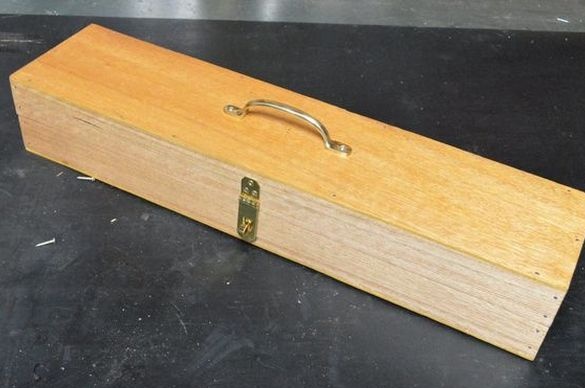
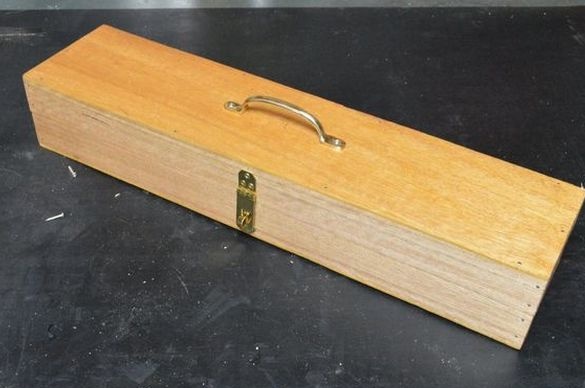
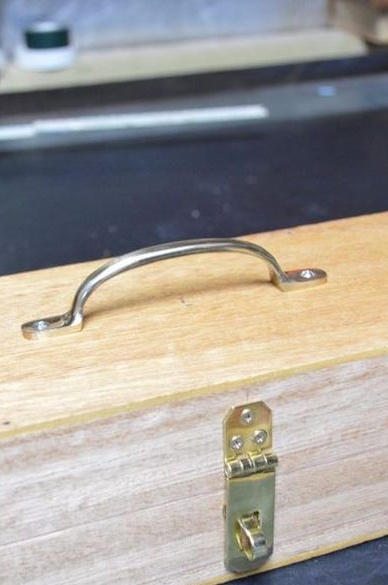
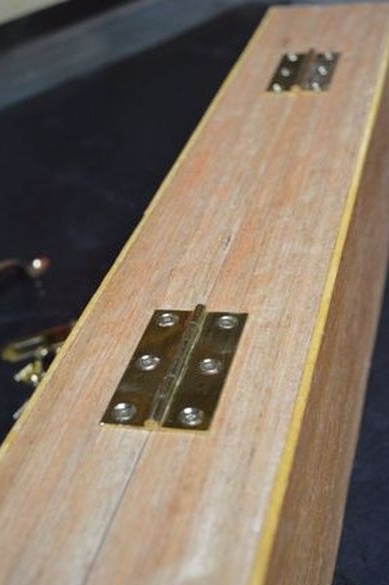
I glued two frames from the rail. Nailed to the framework of the cover of plywood. Screwed the hinges, handle and lock.
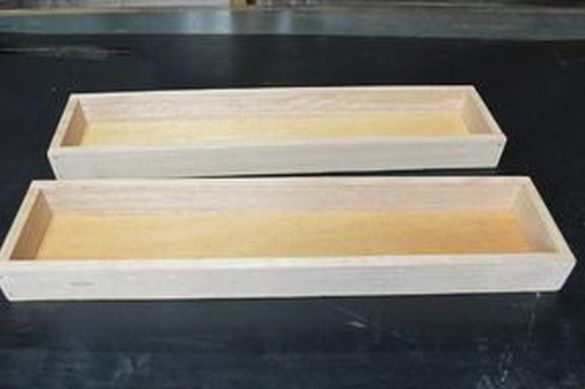
Processed the case with protective impregnation.
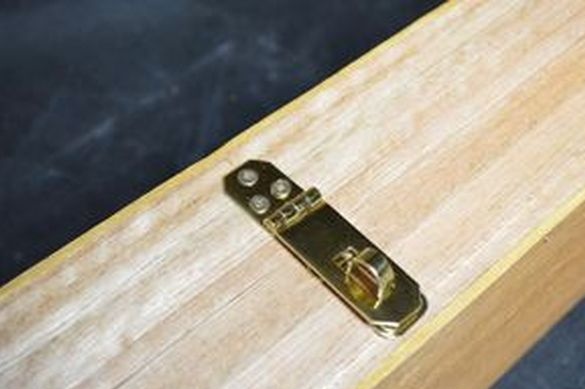
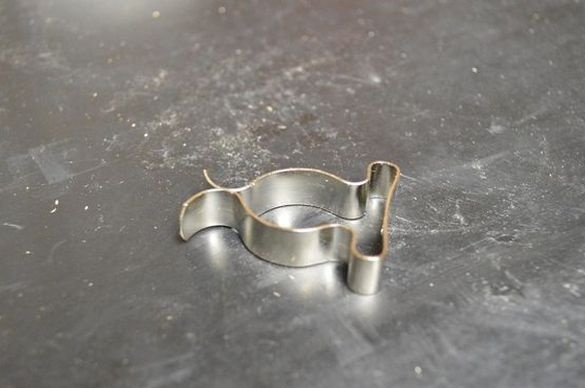
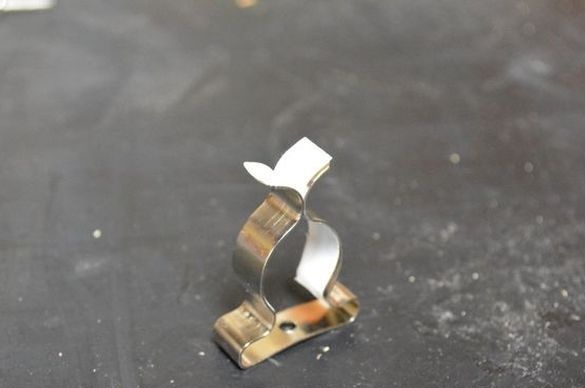
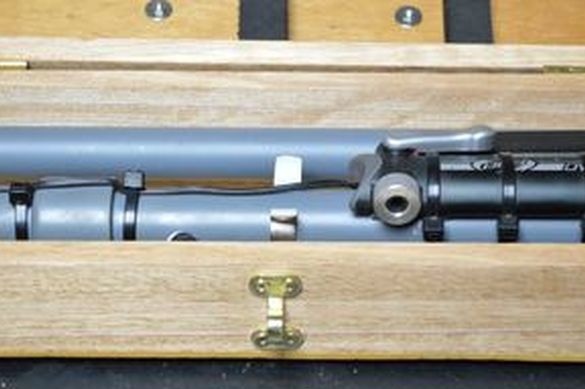
I glued the metal clips with electrical tape and secured them to the bottom of the case.
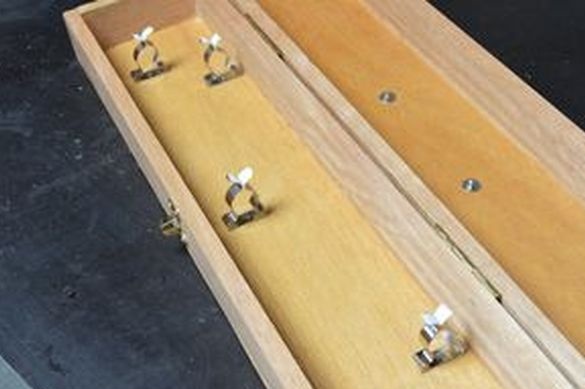
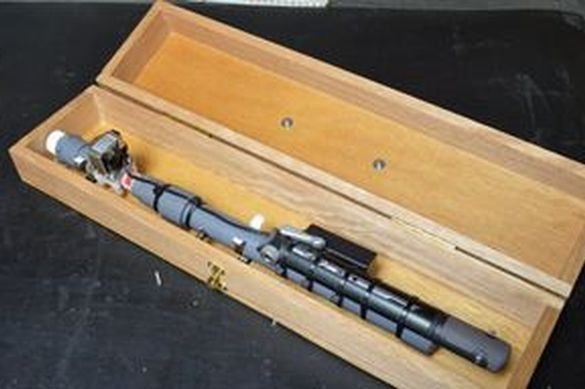
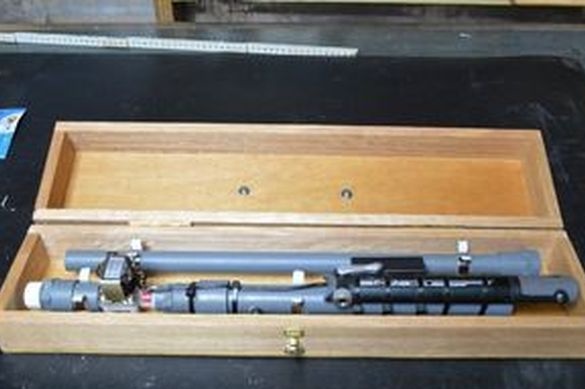
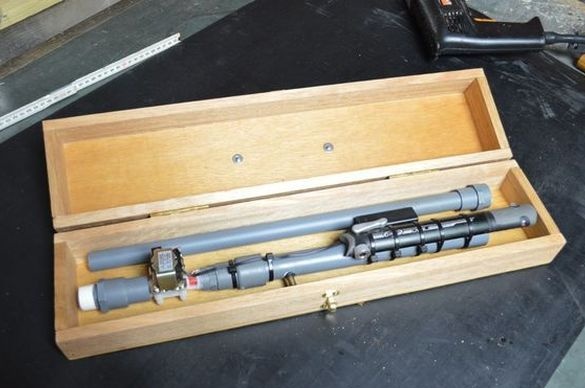
He put the rifle in the case.
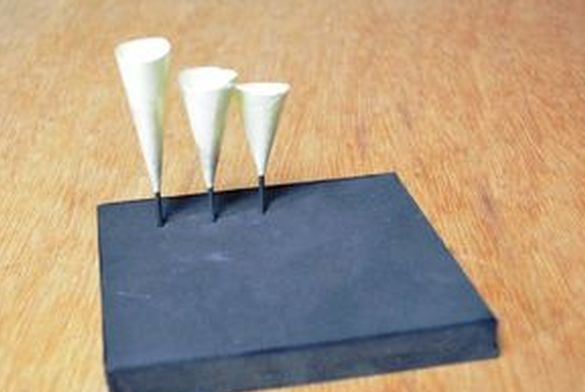
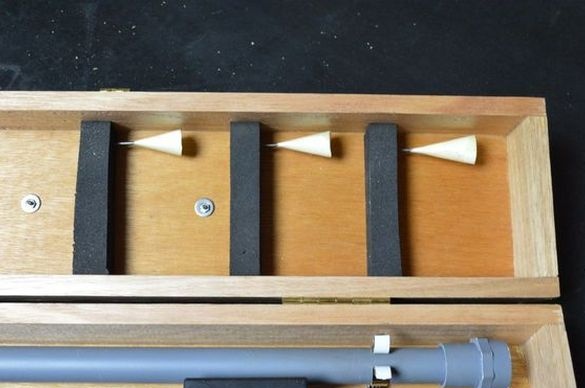
I cut out three bars from polystyrene and pasted them inside the lid. I stuck darts in the foam.
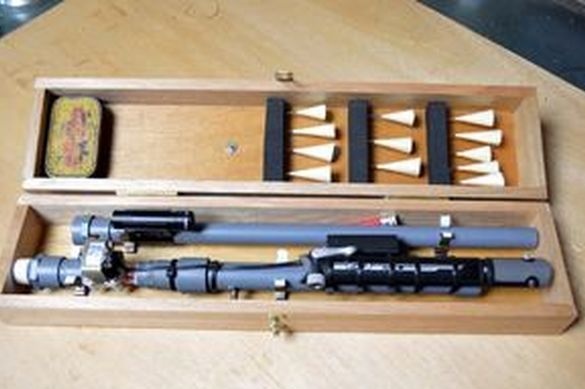
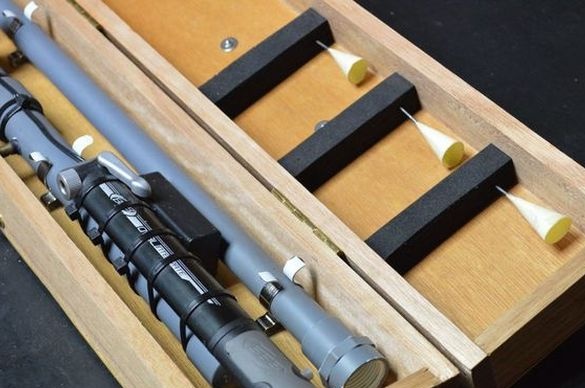
Now you can start the test.
How the air rifle works can be seen in the video.