
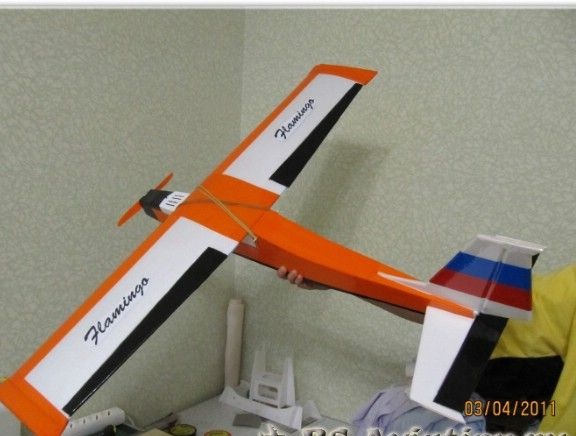
In this article, we’ll look at how you can assemble the upper hand from the ceiling, model has the name "Flamingo". During the assembly process, the author did not place much emphasis on the weight of the model, since, in his opinion, it is more difficult to manage light models, because they are picked up by the slightest gust of wind. The greatest attention was paid to durability, because during the first flights the beginner cannot avoid getting the model into bushes, trees or straight into the ground.
As for the size, it was decided to build a model with a wingspan of more than a meter because then the plane is better visible during flight. There is still such a fact that larger models fly better.
Even when assembling the model, it was taken into account that it will be launched from the hands, and will land on the grass, because there is no runway at the launch site.
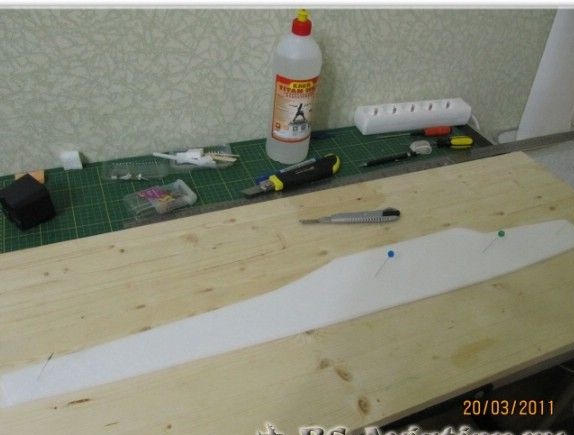
As the main material for the model, the author used an analogue of the ceiling - “Teplon”. The size of the sheet of material is 995x495 mm, and the thickness is 3 mm. In some places, segments of the ceiling were also used, it is slightly thicker and stronger.
Model Features
Wingspan is 1060 mm
Overall length 940 mm, while the length of the fuselage is 830 mm.
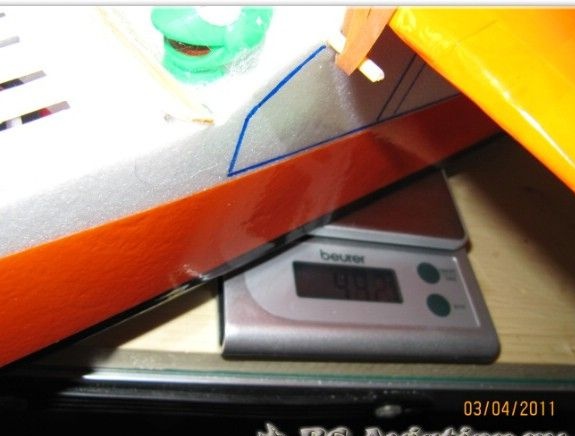
Model take-off weight 492 grams
The wing load is 25.6 g / sq. dm
The wing has an area of 19.2 square meters. dm
Materials and tools for homemade:
- analog of the ceiling "Teplon";
- ceiling (will be used in some places;
- glue;
- adhesive tape;
- scissors;
- stationery knife;
- paper and drawing accessories;
- soldering iron, solder and more.
Equipment:
- battery 3S, 1300 mAh;
- Six channel 2.4 GHz E-Fly receiver from Mustang (Art-Tech);
- electric motor TR-28-30-azj;
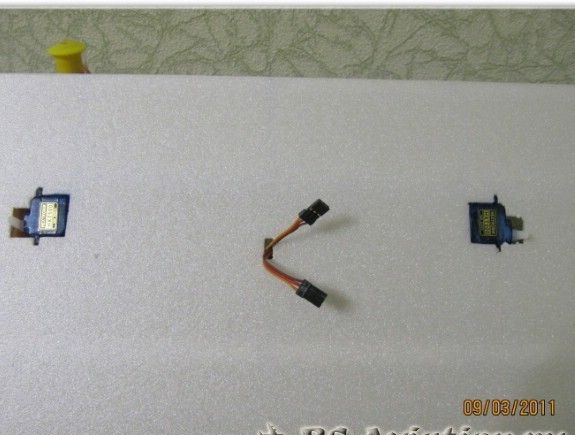
- two servos for controlling the ailerons of the HXT-500;
- two servos for elevator and direction HXT-900;
- H-KING 20A regulator.
The engine installed on the model can produce thrust from 400 to 900 grams, while 10x5 and 10x6 screws are used. As for the regulator, it is recommended to put on 30 amperes. For the first tests, the author installed a small 8x4 screw and a 20A regulator. Due to the fact that the wing load will not be large, the model will fly anyway. Then, when the pilot learns to fly, you can put a more powerful propeller and regulator for flying at higher speeds.
The process of manufacturing an aircraft model:
Step one. Tail
In this model, the author decided to install servomotors for tail control in the fuselage.To control the elevator and rudder, bowden pass inside. The thrust of the elevator runs directly along the axis of the fuselage and is not visible, it comes out from behind. To create rods, strings from the eaves were used, as some do, but here the author did not like this approach.
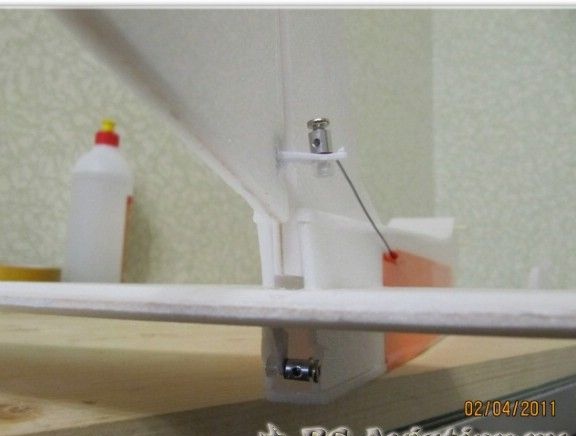
To control the tail, more powerful servomotors were used than those that control the ailerons. Due to the fact that they are at a great distance, more power is required to overcome the power of thorns in the Bowden. As for the tie rods, they are branded.
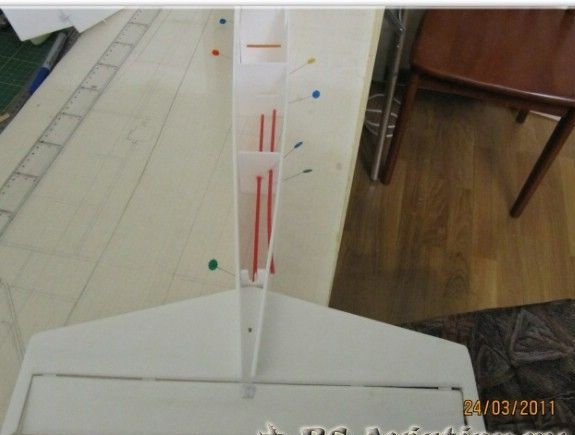
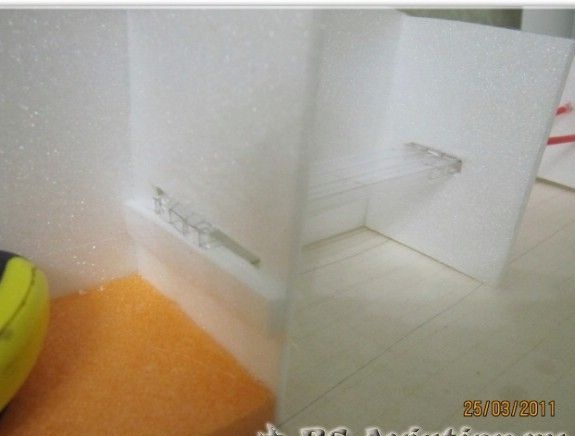
To make bowden, straws were needed through which drinks were drunk. Due to the fact that they are less than the desired length, the straws are inserted into the channels of a small plate made of coroplast. This plate also works as a power element, connecting two fuselage frames behind the wing. The same plate is used to create a power wing spar. It is glued between two ceiling pads and placed on a rib.
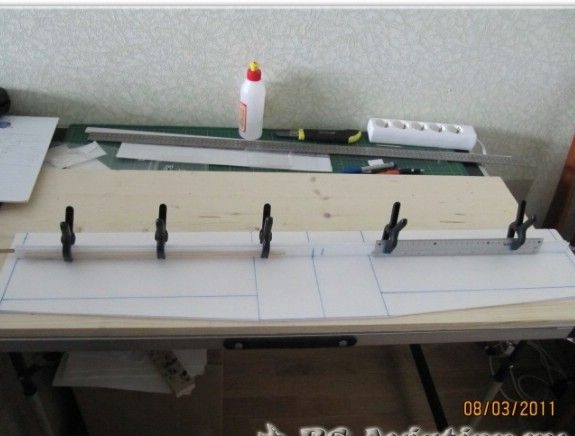
Step Two Wing
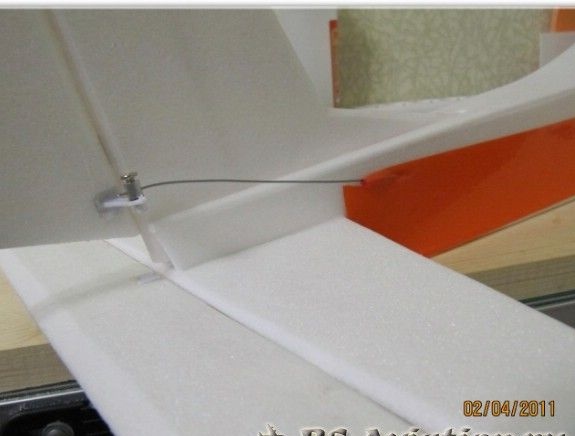
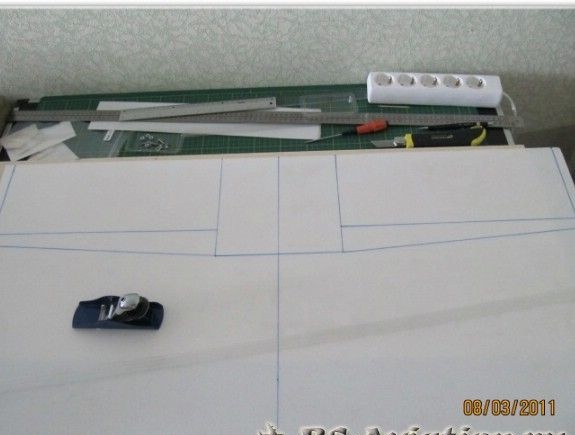
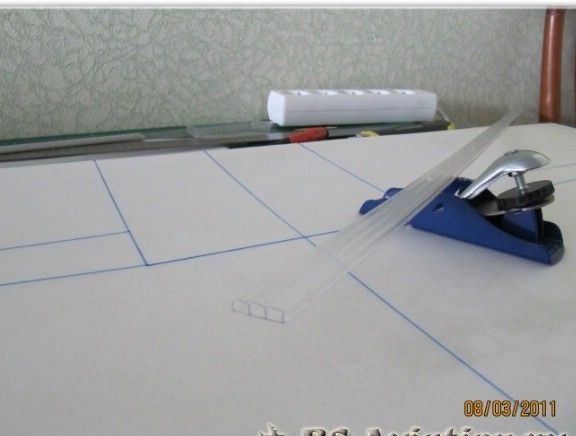
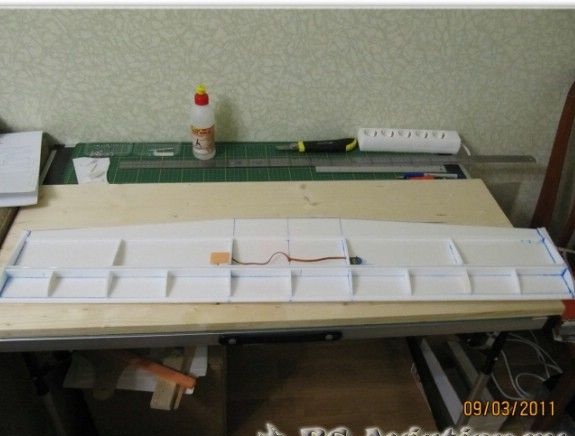
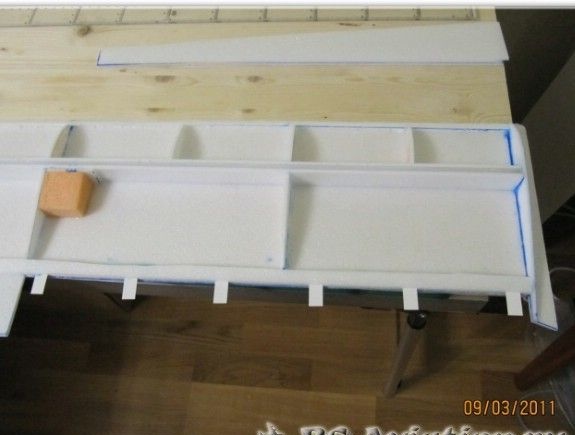
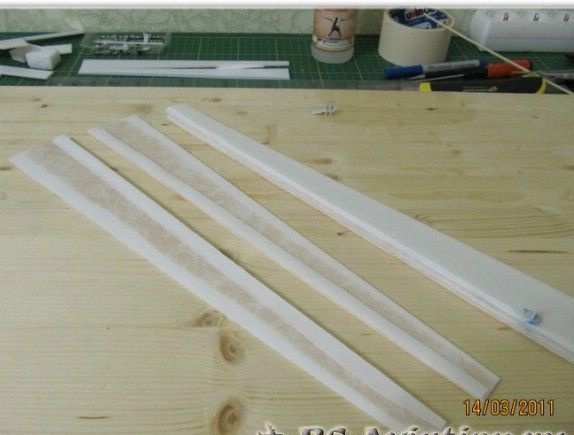
The model’s wing is type-setting and it does not have a transverse V; therefore, the plate is solid. The profile of the wing is flat-convex. It is collected according to all known technologies. It all starts with the markup, then you can start cutting out the elements of the wing. Subsequently, everything is assembled, power spars are installed and power structural elements are glued in the form of half-ribs.
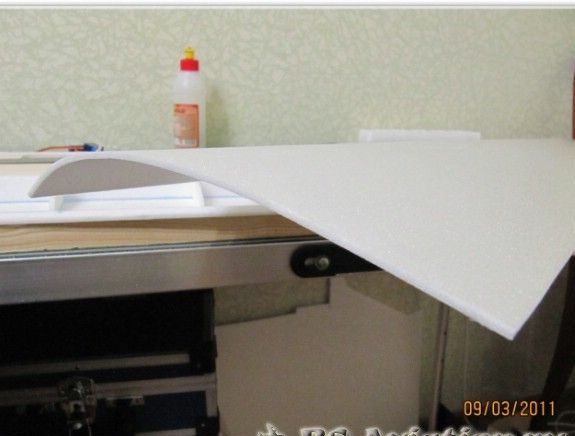
A strip of ceilings is glued on the front, which is seamed in front to a wedge-shaped shape.
As for the servos that control the ailerons, it is set to one side. To bring out the rocking, in the skin of the wing you need to make slots. To fix cars, houses are made of penoplex for them. To bend the upper skin into the desired shape, you need a hot pipe, the author used a heating pipe. There is no need to rush in the process.
The author set the hinges from, and the hogs are set from Focus.
Step Three Ailerons, tail and wingtips
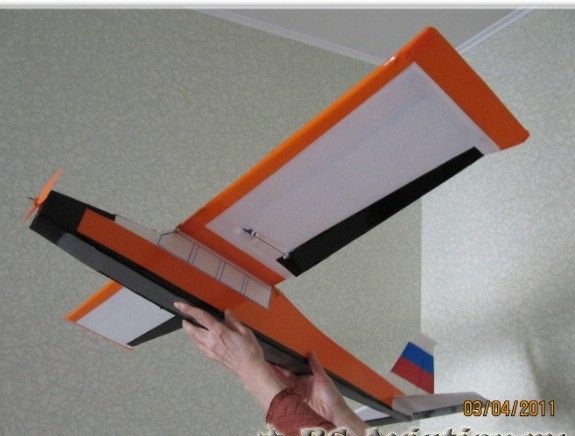
Penoplex was used to make the endings. They are tilted slightly upwards, thereby forming a kind of “ears” near the wing. Thanks to this, according to the author, the aircraft will have a better flow around it.
As for the ailerons, they were made from the ceiling, since it is more rigid than Teplon. The ceiling here needs a two-layer, as spars here, strips of ceilings are glued along the front edge, while the trailing edge is sharpened to a minimum. Of course, for such a model the ailerons turned out to be too big, but here it all depends on the taste.
When gluing two parts of ailerons between two layers, loops are immediately glued.
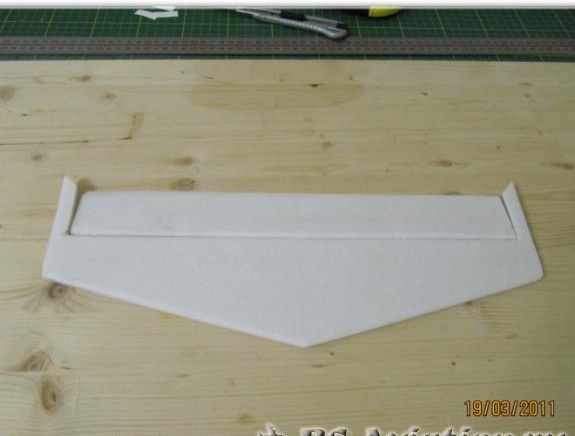
The tail of the model is also made of a two-layer ceiling. To give the necessary stiffness, a bamboo skewer is glued between the layers. To calculate the rigidity here, the author was guided more by the transport load than by the flight load.
The stabilizer is installed in the classical way, that is, through the slots in the side parts. Next, a keel is installed with the elevator installed. Here it was decided to make the skewer a little longer so that it pierced the stabilizer on the center line and thereby reliably centered the keel.
Step Four Fuselage and final assembly phase
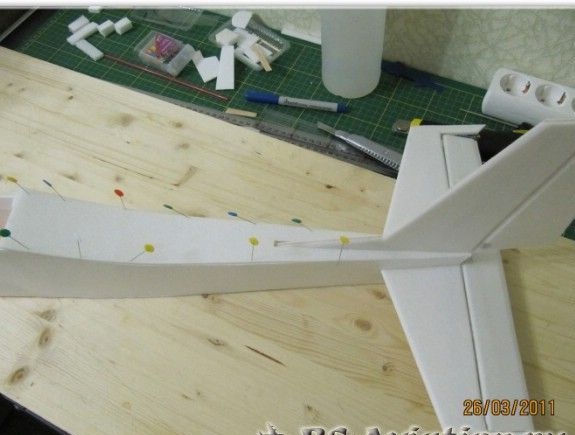
The fuselage skin is first fixed with pins. The shape of the fuselage is classic, box-type, the longitudinal power set was not used in it. In some places there are small amplifications from several layers of ceilings.
First you need to cut the sides of the fuselage, and also frames are glued to one side. The bottom of the fuselage was cut out of foam about 10 mm thick, it reaches right to the trailing edge of the wing. For cutting foam, hot nichrome was used.This part is made so thick so that the model can confidently withstand the load when landing on the belly.
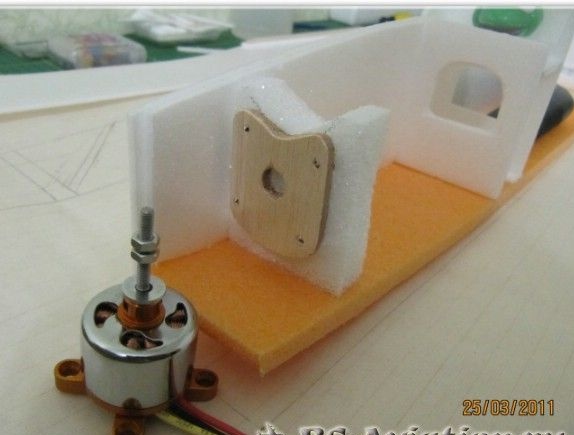
The motor frame is made from a piece of dense and durable foam. So that the engine can be fixed, a 3 mm thick plywood pad is glued to it, a wooden ruler is suitable. So that when centering the model there are fewer problems, the fuselage platform for attaching the wing was made slightly longer than the chord of the center section. Now the wing can be moved to the desired distance and fixed.
The nose of the model turned out quite long when compared, for example, with Cessna. As a result, the wing had to be moved a little forward.
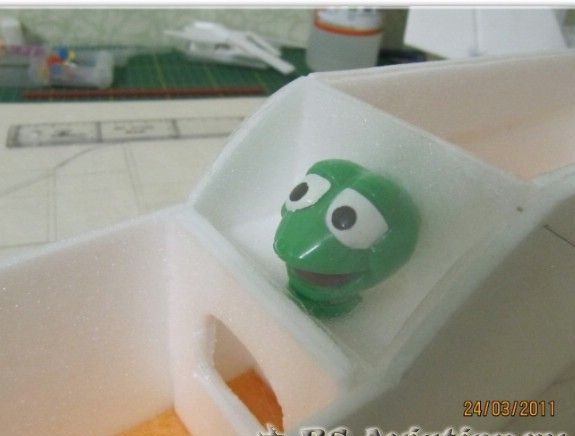
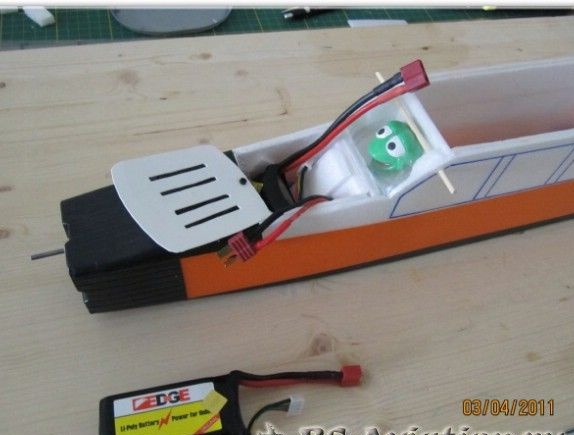
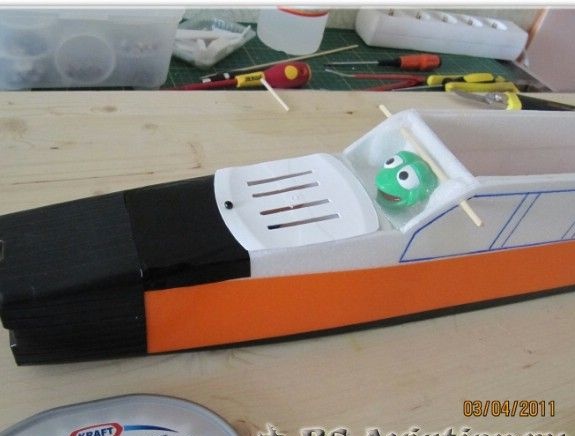
The model’s cabin is glazed, a piece from a PET bottle came up for making glass. It did not even have to be bent, since the cylindrical part came up here. As a pilot, a frog was put in the cockpit. Under it is the engine regulator.
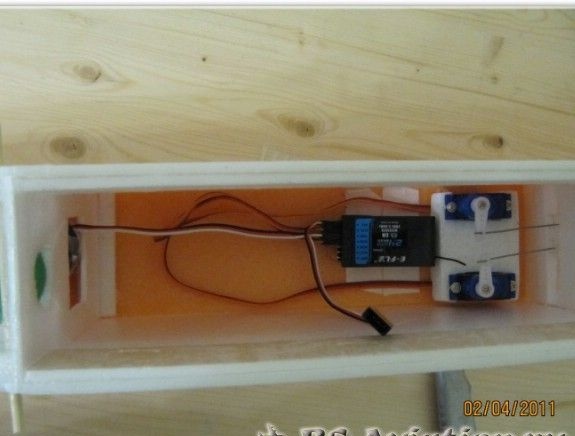
To the bottom of the fuselage to install the elevator and directional servo machines, you need to glue the plates of durable foam. Near them, a double-sided tape is used to glue the receiver. The hood was made from a seedling cup. It fits perfectly in shape, and its weight is only 2 grams.
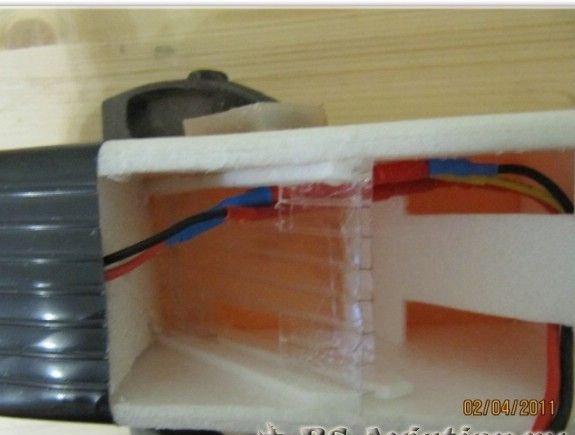
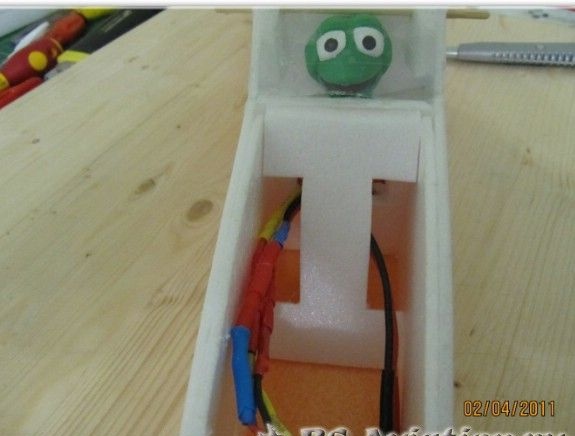
As for the battery, there is a special compartment for it, which is located behind the engine frame. The battery is installed so that with a sharp fall of the aircraft nose down, it jumps out of the plane, and does not blow everything in its path. In this regard, the compartment is made at an angle. The front wall is made of coroplast in the form of the letter "H", and the back of the ceiling, because it is not power.
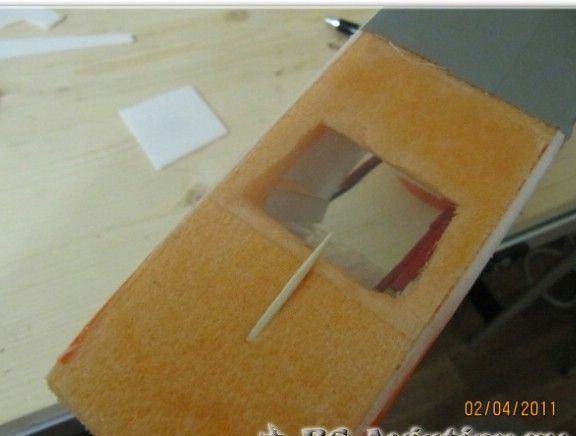
The bottom extends a hole of such a size that a battery can pass through it. The hole is closed with a piece of packaging plastic that adheres to the trailing edge. As a result, the front plate can be folded down, thereby releasing the battery out. To prevent the battery from jumping during flight, the lid is fixed with a toothpick. On impact, it will break or vomit.
The upper part of the compartment is closed by a sliding cover, in which openings for cooling are provided.
The author pasted the lower part of the fuselage with reinforced tape, but it was cut along the contour of the retaining plate so that it could be bent when hit. The battery compartment is covered with a lid, which is made of a plastic can of cheese or similar material. In conclusion, the model is pasted over with adhesive tape. Mandatory is the finishing tape with the front edge of the wing and the bottom of the fuselage, everything else to your taste.
The drawing is attached to the article.It was created in Microsoft Visio.