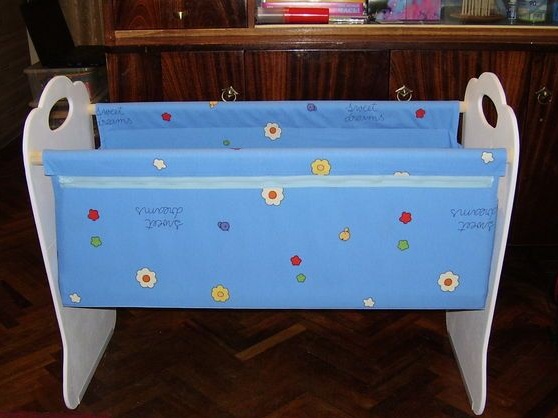
Preparing for the birth of a child is full of pleasant troubles, but at the same time a very important event that will require future parents not only all their free time, attention and enterprise, but also a lot of money from the family budget. After all, it does not fit in the head - how many things you need to buy and cook before mom and baby return from the hospital!
The market, of course, offers a huge selection of children's products for every taste. All of them are presented within the framework of various pricing policies, including a very attractive one. But, as usual, one is superimposed on the other, and you look at the birth of a child - and will result in a frightening amount of money.
Part of the costs is easy to reduce if you are ready to do a little work yourself and temporarily plunge headlong into the world of handmade products.
The most expensive baby products today are strollers and cribs for newborns. In practice, they turn out to be indispensable assistants in caring for the baby and greatly facilitate the life of a young mother. Therefore, be prepared for the fact that you can’t do without a crib and stroller.
Today we will tell how do it yourself make a budget crib for a newbornwithout resorting to any complicated techniques. To do this, you will need an easily accessible power tool that you can borrow from friends, as well as the ability to work on a sewing machine.
Before you get started, prepare in advance:
1. Materials:
- sheet material for the lateral parts of the crib - any, sufficiently safe for the child;
- screws with caps for a wrench or screwdriver - several pieces;
- wooden rod-rod 30 - 40 mm. in diameter - three segments;
- sheet material for the base under the mattress - also quite safe for the newborn;
- fabric and threads for a cover;
- zipper fastener - 2 pcs. 90 cm.;
- polyethylene film;
- cardboard for patterns;
- children's mattress in size (can be made independently);
- natural linseed oil;
- also any additional decorative materials that you like - lace, paint or oil for side panels, toy pendants, tulle and more.
2. Tools:
- jigsaw;
- electric drill;
- a wrench for the size of screws;
- sewing machine;
- scissors;
- sewing pattern;
- ruler and construction tape;
- pencil or marker;
- fine sandpaper;
- paint brush.
Let's get to work.
Step 1: manufacturing side parts
The design of the crib is extremely simple and should not cause difficulties, so feel free to take up the preliminary preparation of all the details of the frame.
To get started, make sidewalls. In order not to make mistakes and not spoil the materials, use the pattern. Take a piece of paper, try to create a sketch, an idea from which you will build on. At this stage, you need to determine the shape of the side parts of the crib, which are its key elements, along with the cover. Consider that 50% of the product’s appearance is precisely its sidewalls, and treat the sketch responsibly.
Their shape can be any, including figured and intricate. The main thing is that you can cut it with a jigsaw.
After the sketch is ready, you need to decide on the dimensions of the parts and designate them for yourself, so that in the process of creating the patterns you will not miss anything.
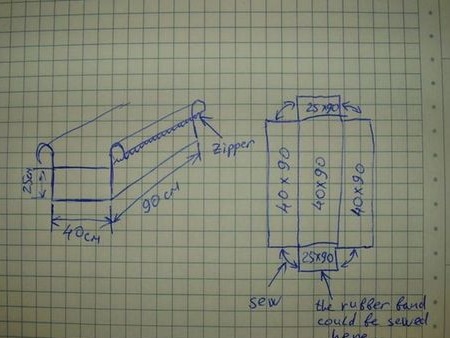
Transfer your sketch to a piece of cardboard using a marker or a regular pencil. For convenience, use a ruler and an indispensable sewing pattern in such matters, which allows you to draw smooth curly lines.
Cut your pattern and, fixing it on the material for the sidewalls, circle with a marker. Use an electric jigsaw and cut the part.
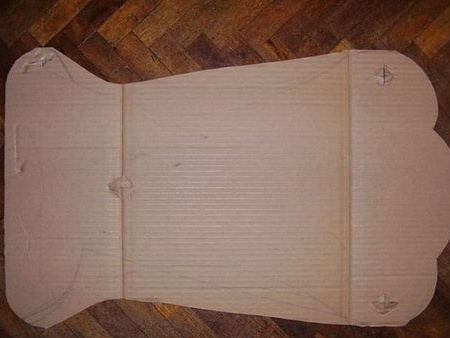
If you want the two sidewalls to end up being identical with respect to each other, fix the two sheets together with clamps and cut two parts at once.
In fact, the best material for the crib is undoubtedly a natural tree. In our master class we use artificial sheet material, and you can use wooden boards. Connect them together in any way convenient for yourself to make a shield, and cut out the side parts using a piece. Sand them thoroughly with fine sandpaper to prepare the surface for further processing.
Step 2: preliminary preparation of the remaining frame parts
1. connecting rods-rods.
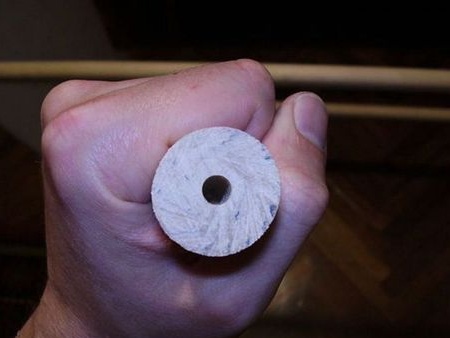
Measure and cut three pieces of a wooden rod 92 cm each. At the same time, we do not recommend using a pine or linden rod. It is better if it is more durable and durable species of wood, such as beech, maple, oak or birch.
Take a drill and make 6 mm holes in each rod on both sides. Sand the workpieces thoroughly with fine sandpaper.
2. the basis for the mattress
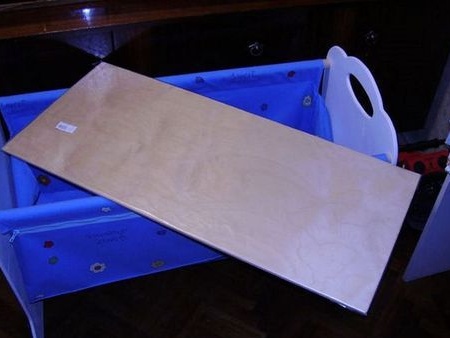
Also prepare the base of the crib on which the mattress will fit. To do this, cut a rectangle of 50 x 90 cm from sheet material or a pre-made wooden board. If the base is made of wood, sand it and treat it with natural linseed oil. You can find it in any large grocery supermarket. The oil is absolutely safe for the baby's health.
Step 3: part processing and frame assembly
Before you start assembling the crib, first process all the details of the frame.
If the crib is completely made of wood, you can simply cover it with a couple of layers of natural linseed oil. To facilitate the process, heat it a little on the stove. But be careful and remember that hot oil can easily ignite, so constantly monitor its temperature, and even better - use a water bath.
In all other cases, use acrylic paint. It is the safest for the health of the unborn child and has a wide selection of shades. Paint all the details of the frame with two layers of paint and leave to dry for 24 hours. In the meantime, proceed to sewing the liner.
Step 4: sewing the liner
Together with the frame, the liner forms the base of our future crib.That is why it should be made of sufficiently strong fabric. If the material is not too strong, use it in two additions.
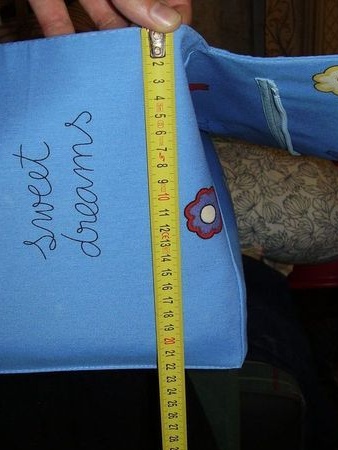
In addition, to give the liner volume, you can lay a synthetic winterizer, thin foam rubber or batting between two layers of fabric.
The insert itself consists of three parts: a large main part and two side panels, due to which the part keeps its shape when grinding.
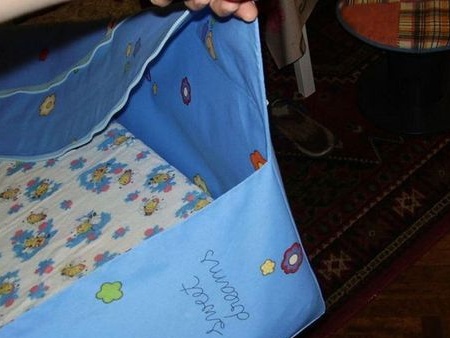
To better fit the liner inside the crib, on the upper edge of the side parts you can stitch the elastic.
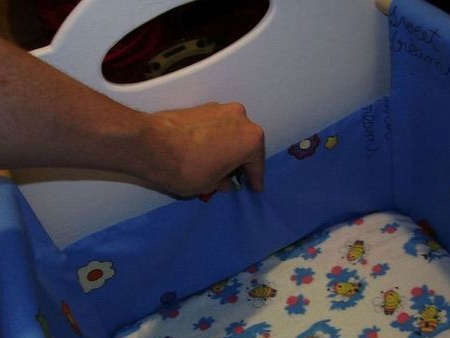
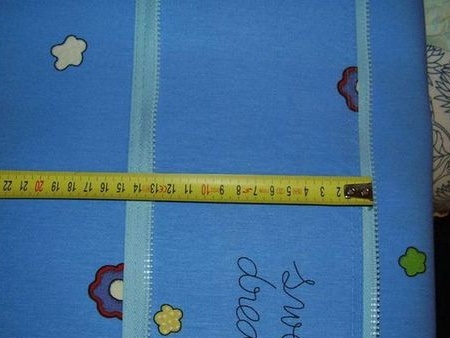
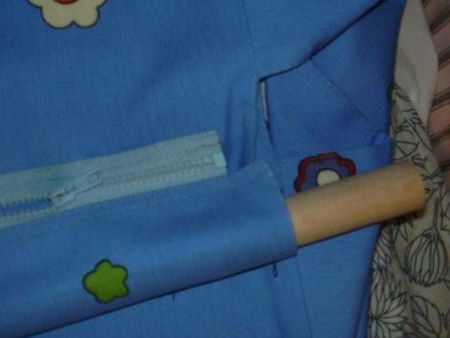
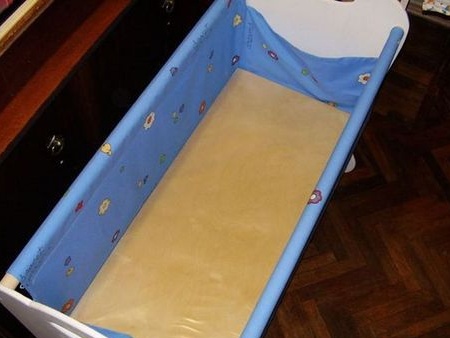
The insert is attached to the two upper rods of the crib using zippers sewn at a certain distance from each other on each side.
Step 5: frame assembly
All the parts are dry, and you can finally start assembling the frame. Use screws with a wrench for this. Before screwing in the screws, drill out the recesses of the required diameter so that the caps go flush. You can hide them under decorative overlays.
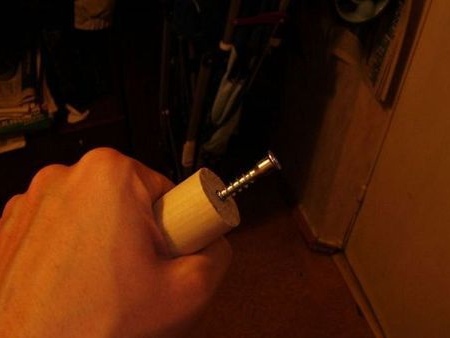
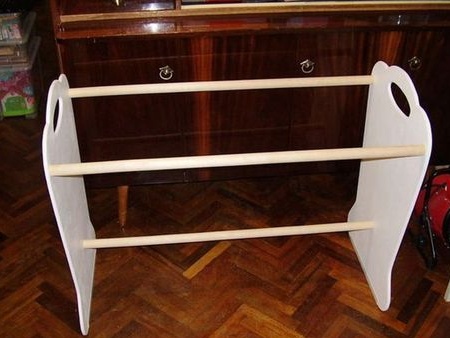
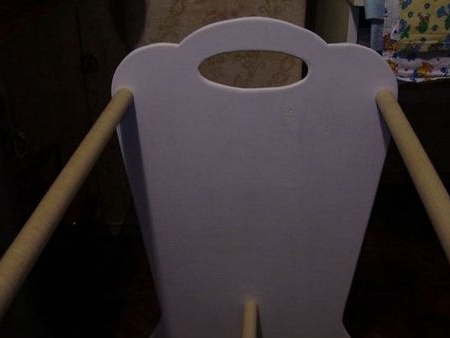
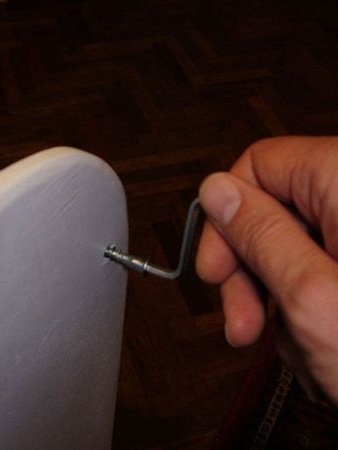
As fasteners, you can use ordinary screws with caps for a screwdriver.
Step 6: the mattress
It is easy to find and purchase a mattress in a children's goods store or sew it yourself.
In the second case, make a mattress with silicone roll filler or use furniture foam of standard stiffness instead of silicone. That it is most often used in the manufacture of sofas in production. The thickness of the foam varies from 30 to 50 cm.
To make the baby more comfortable, wrap the foam rubber with a layer of thinner and softer foam rubber (synthetic winterizer, batting). Additionally, sew a pair of removable shift covers that you can wash at any time convenient for you.
Step 7: final assembly of the crib
Lay and fasten the liner on the frame with zippers. At the bottom, place the base wrapped in plastic wrap, and lay the mattress on top.
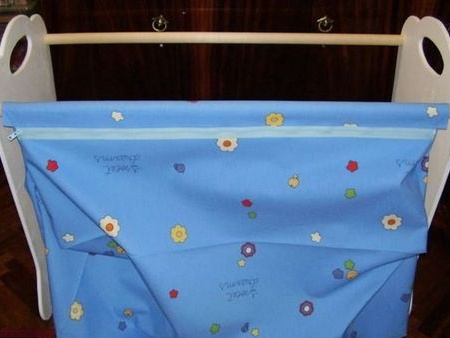
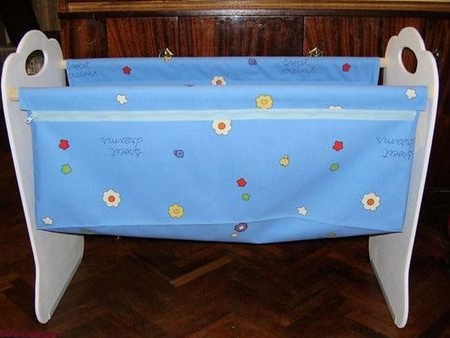
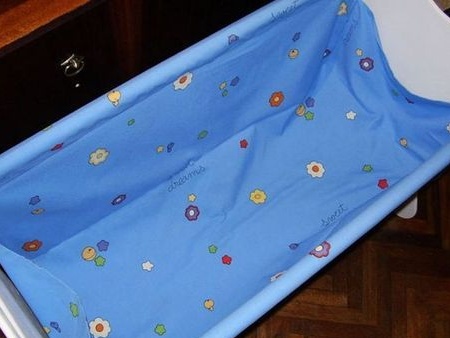
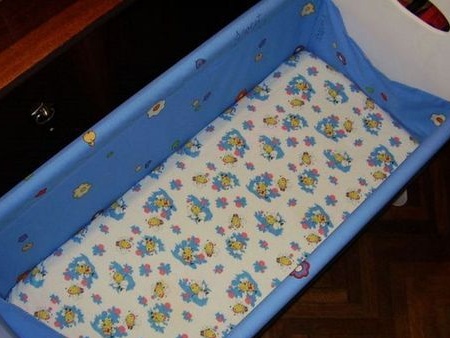
Congratulations! The crib is ready and you can complement it with accessories from tulle or prepare a toy pendant for the baby. But read about it in our next articles.
