My husband and I very much love indoor flowers. In my opinion, they create an atmosphere of warmth and comfort in the house.
Often pots stand directly on the floor or on the carpet. So that the plants fit better into the interior, we decided to make stands for them ourselves. It’s not at all as difficult as it might seem at first glance, and collaboration brings it together :). Moreover, we still have fragments of a wooden fence, which it is a pity to throw out, and they occupy a place in the yard.
We will definitely need:
- compass;
- a mechanical jigsaw, a hacksaw or a snake-saw;
- sandpaper;
- clamps or vice;
- drill;
- a drill.
It is desirable:
- circular machine;
- drilling machine;
- band-saw;
- grinding machine or grinder;
- trimming lateral longitudinal overhangs;
- countersink;
- a planer.
Materials:
- tree;
- carpentry glue;
- dowels (we used 5/8 ");
- drying oil;
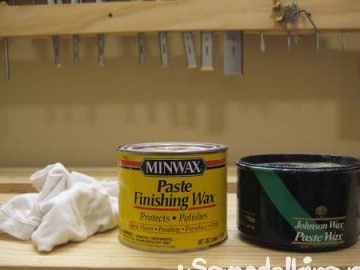
- wax;
- scraps of fabric.
Step 1. Making a blank
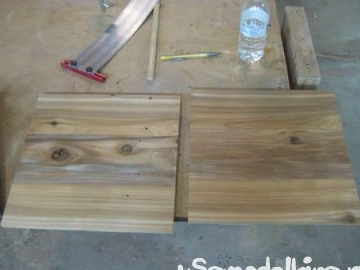
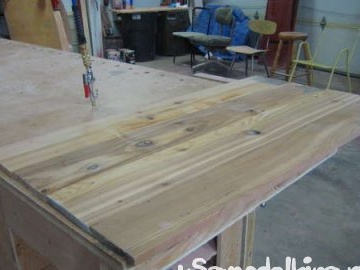
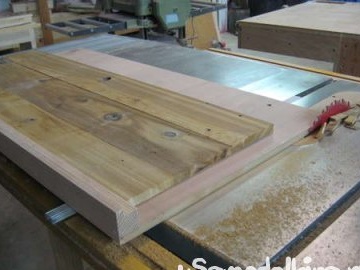
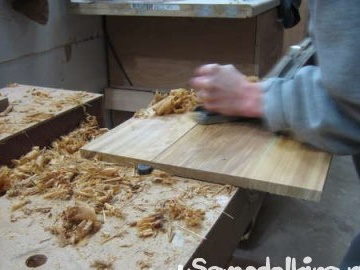
We cut the board into several squares, depending on how many stands you want to make. We used a circular saw, but another similar tool would do.
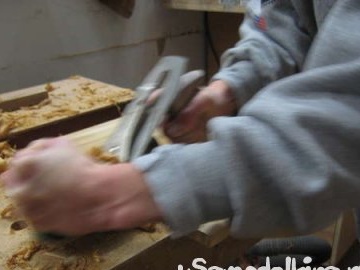
Align the edges with a planer. In my opinion, it is more suitable than an electric grinding washer.
Step 2. Draw
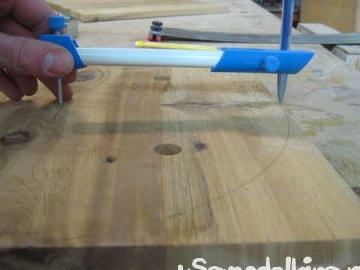
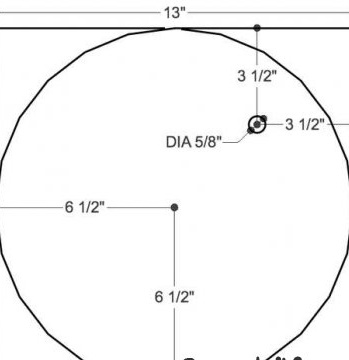
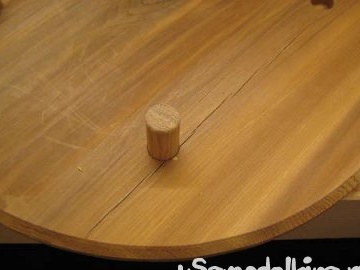
First, note the center. My squares are 13 "x 13" squares. We measure 6.5 "from adjacent edges and put a point in the center. Then we determine the radius. For measurement, we used a standard caliper-compass. Using it, draw a circle of the desired radius. This will be the size of our stand.
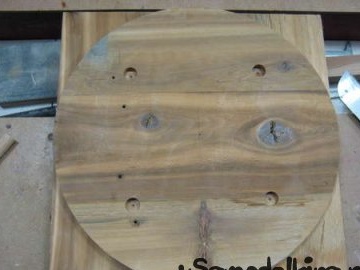
Step 3. Drill holes for the legs.
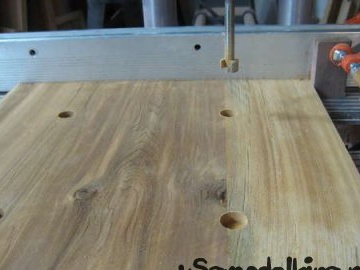
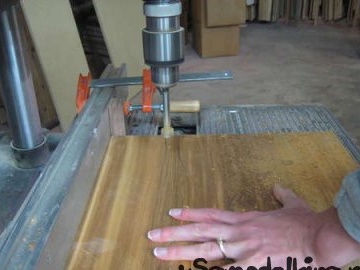
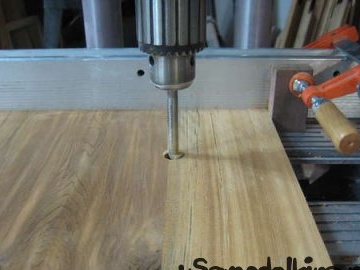
The legs of my stand will be at a distance of 3.5 "from the edges. The diameter of the holes is equal to the diameter of the drill. We have 5/8". We make 4 identical holes using a drilling machine. If not, use a drill.
Step 4. Cut out.
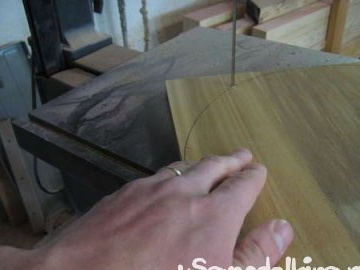
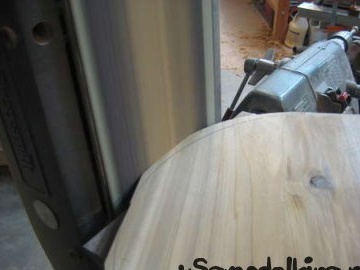
In order to cut a round stand from our square bar, we used a band saw, but a jigsaw and a snake saw would do. Using a grinder, I leveled and polished the edges. Then she erased all the minor irregularities with sandpaper.
If there is more than one stand, you can use the first as a template.
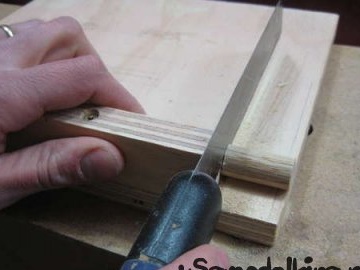
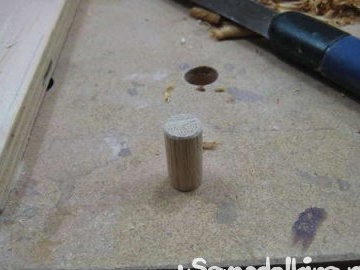
Step 5. The legs.
To cut the legs, we used a clamp. But an ordinary hacksaw will do. We polish the edges with sandpaper.
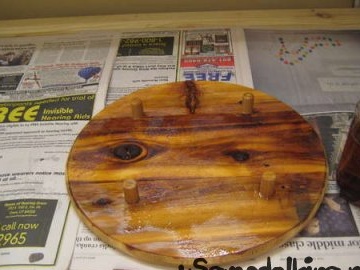
Step 6. Glue the legs.
Put a little glue and insert the legs into the holes. Let it dry.
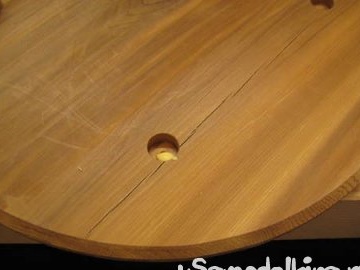
Step 7. We process the surface with oil and wax.
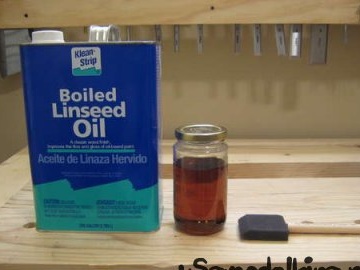
For surface treatment we used linseed oil and wax.
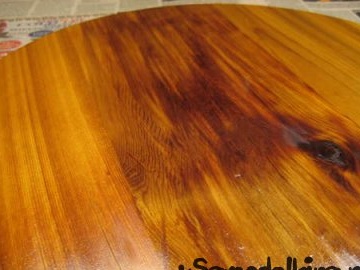
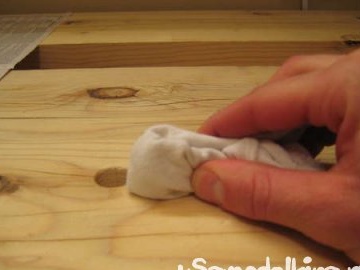
Apply oil to the surface, after 10 minutes, start rubbing thoroughly. Let dry for 1-2 days in a warm room.
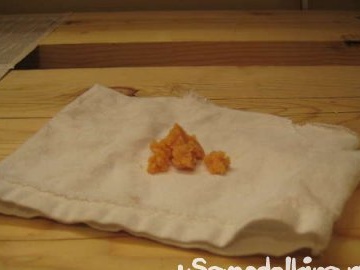
After the product has dried, wax the surface. After 10-15 minutes, rub thoroughly with a dry cotton cloth or napkin. Let’s dry.
Wax will provide protection against moisture and emphasize the texture of wood. We applied 3 layers of wax.
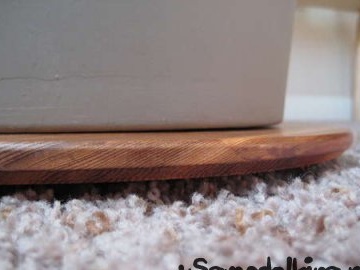
Here we have such a stand


