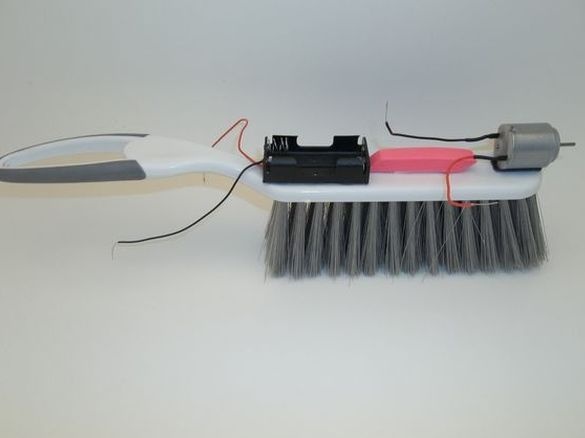
The author of this homemade, Allen Pan, conducts workshops on robotics, which gives initial knowledge to children. Of course it's not really robots, but the simplicity in the manufacture of such devices like children. An important factor is the inexpensive materials from which it makes them.
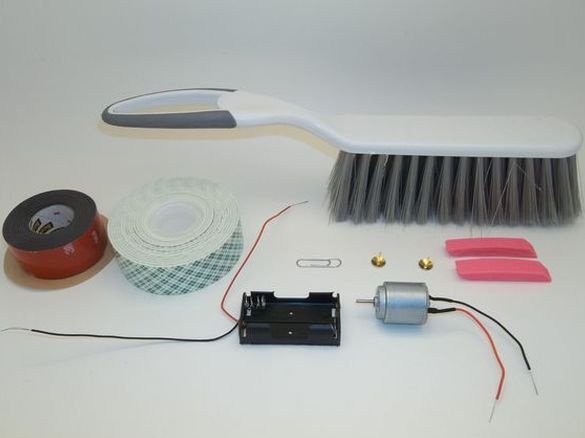
Materials and tools:
-Brush;
-Double-sided tape;
-3 V engine;
-Battery compartment;
-Batteries;
-Clip;
-Two buttons;
-Eraser;
Step One: Installing the Engine
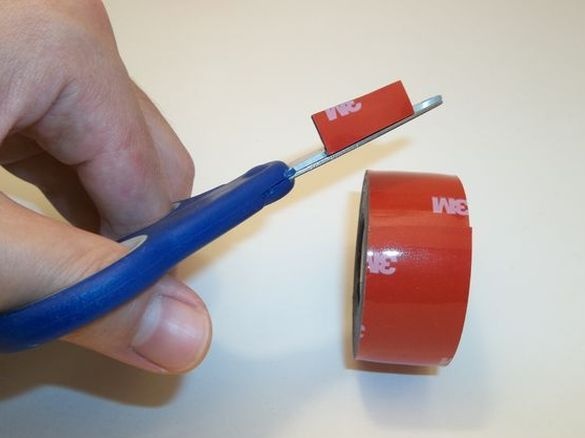
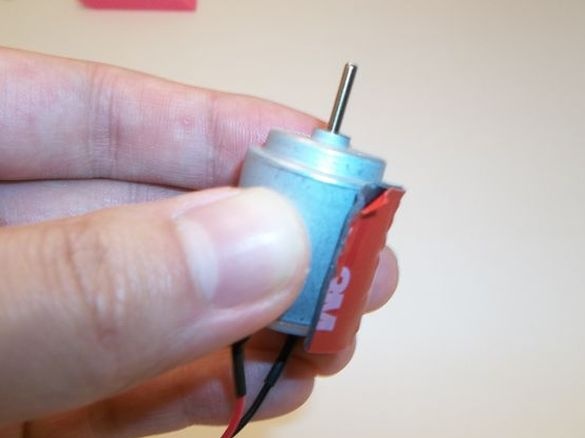
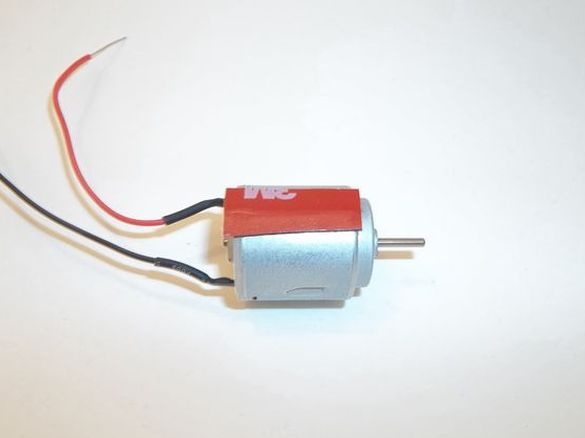
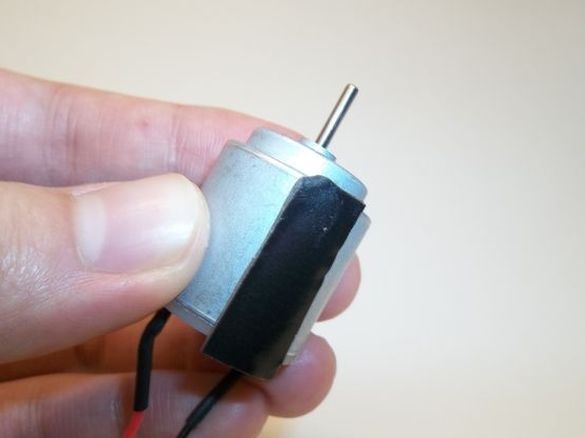
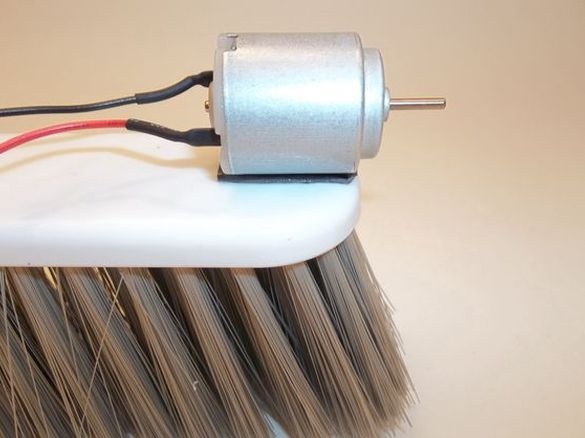
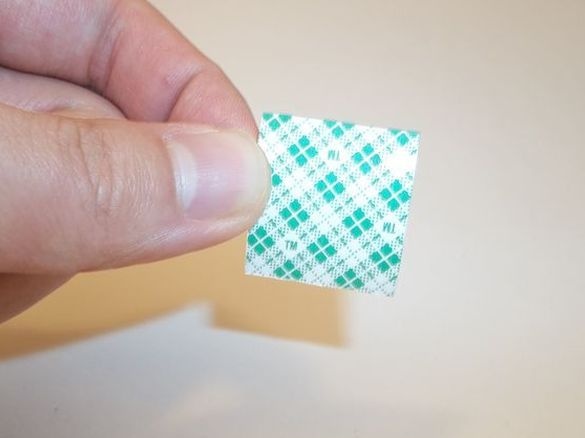
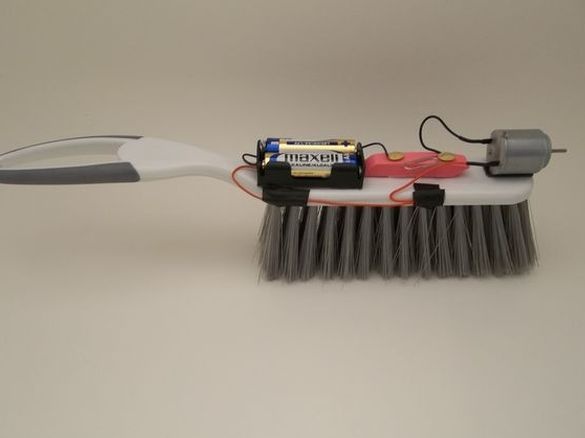
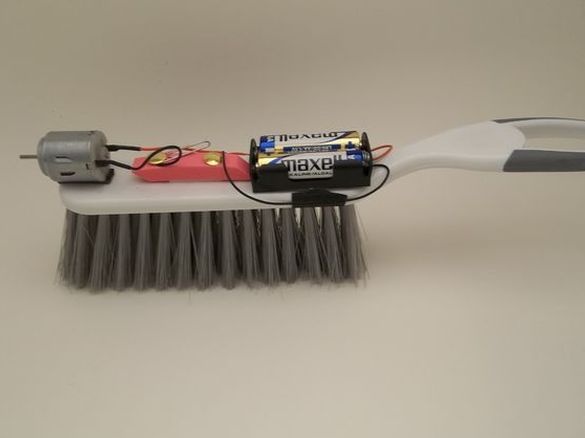
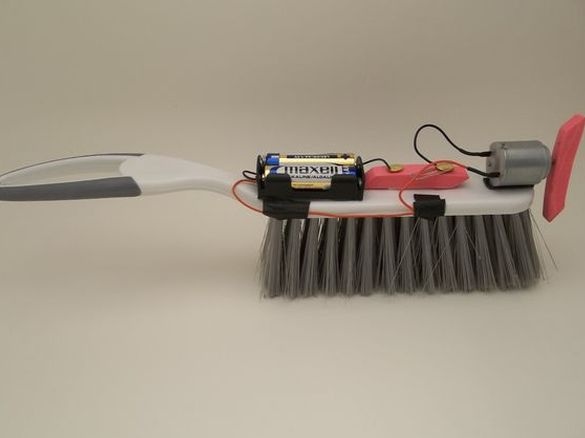
Using double-sided tape, glues the engine on the opposite side of the handle. The motor shaft should extend beyond the edge of the brush as far as possible.
Step Two: Install the Battery Compartment
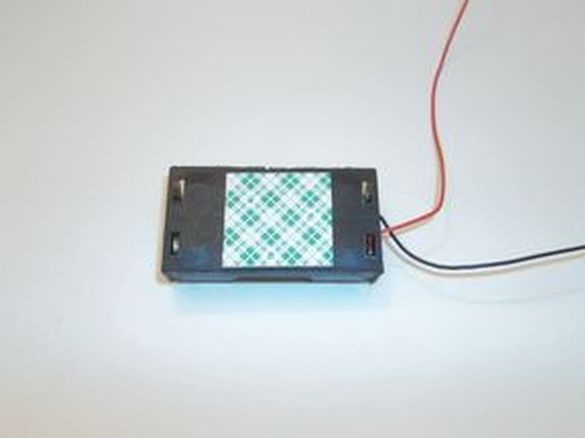
Glues, on the other side of the brush, a battery compartment. The distance between the compartment and the engine must be such that the eraser can fit there.

Step Three: Switch
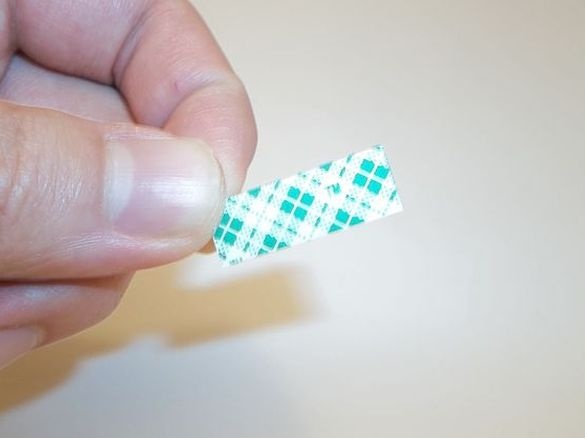
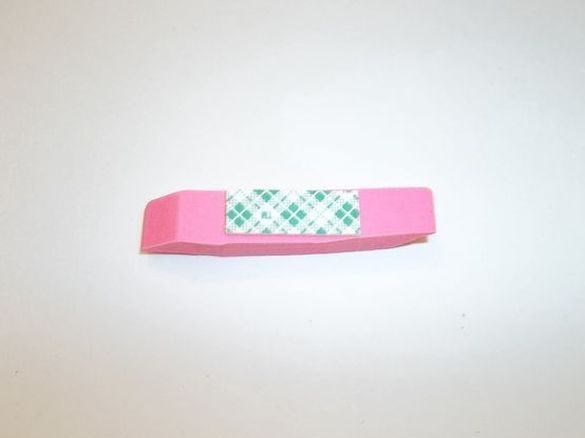
Cut the eraser, lengthwise, into two halves. Glue one half of the eraser to the brush.
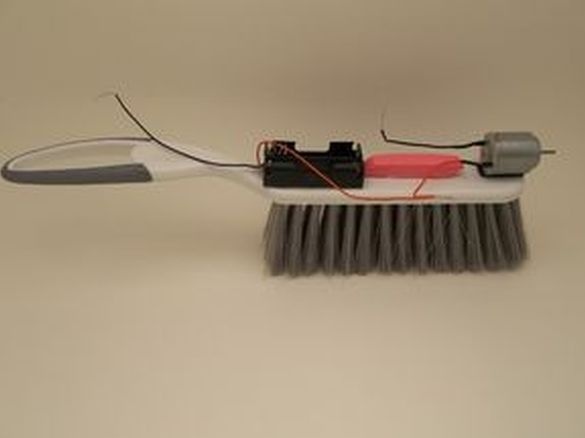
Connects the red wire of the engine to the red wire of the battery compartment.
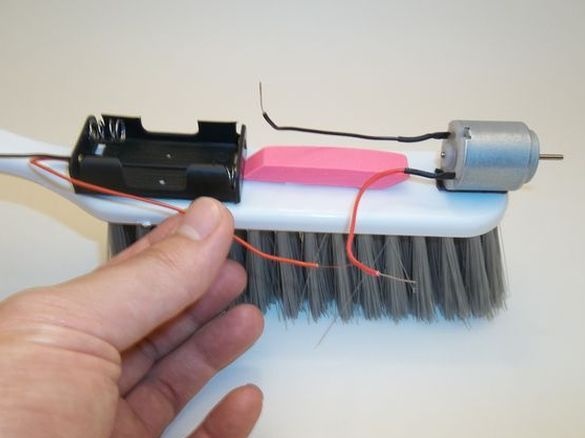
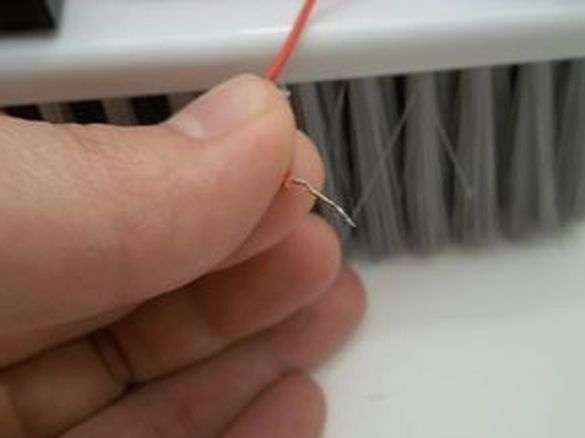
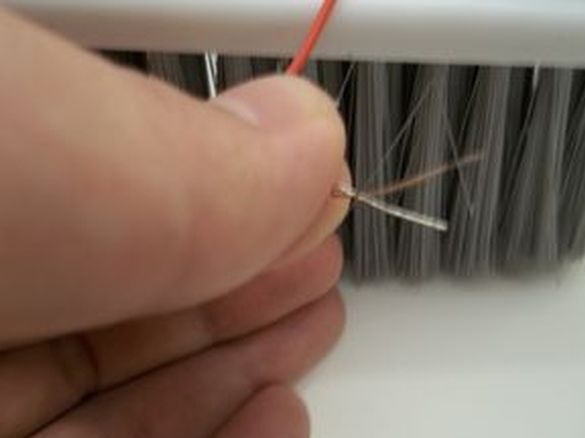
Connects buttons to black wires.
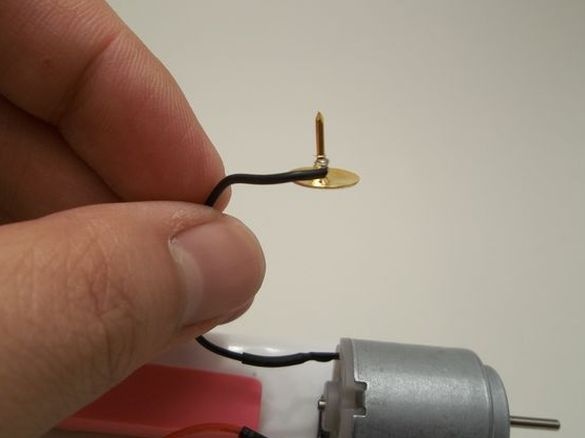
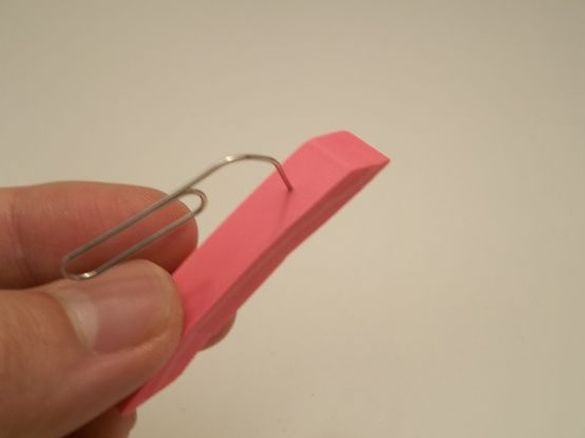
Pins a clip with one button to the eraser.
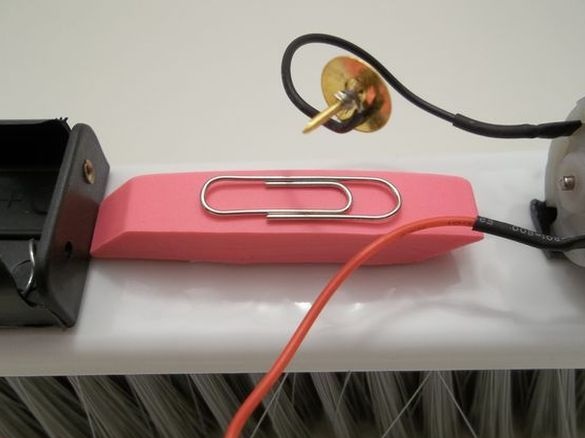
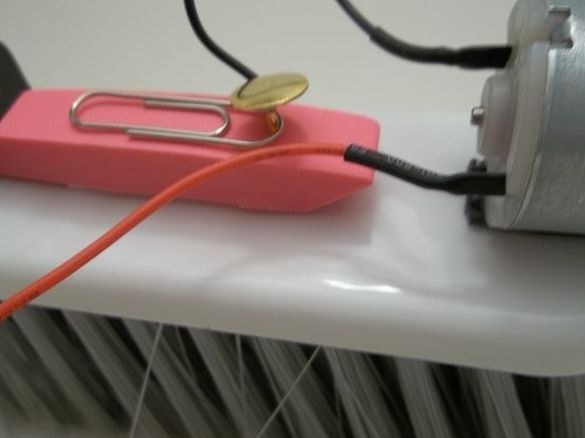
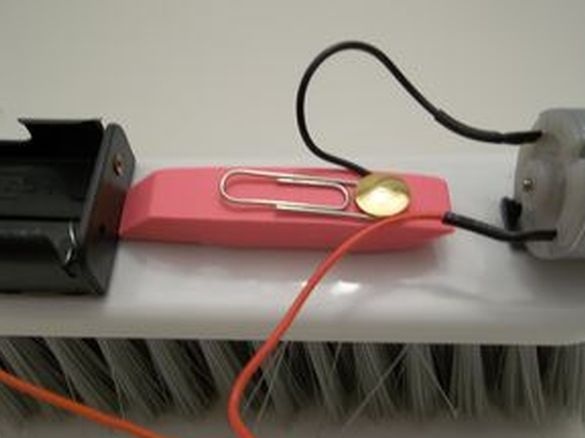
The second button is stuck into the eraser outside the paper clip so that if the button was completely drowned, its hat would touch the paper clip.
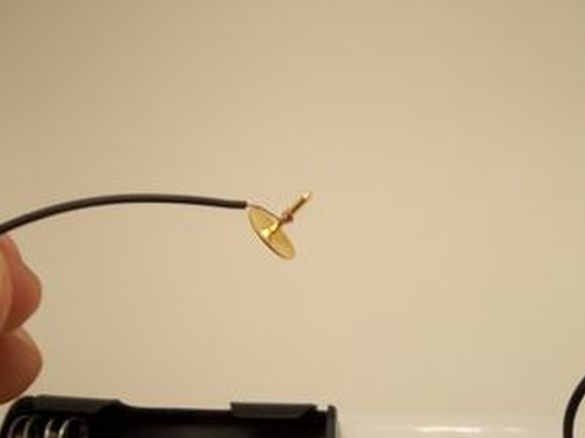
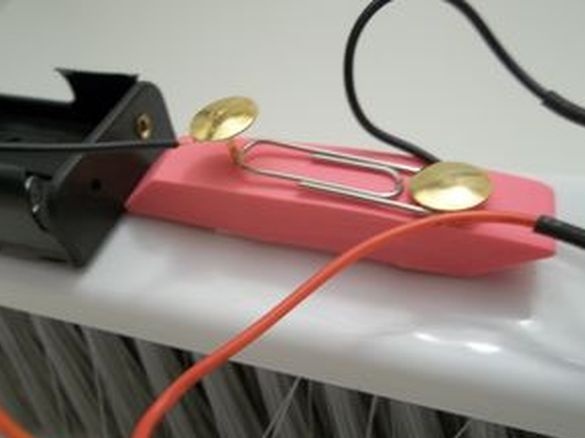
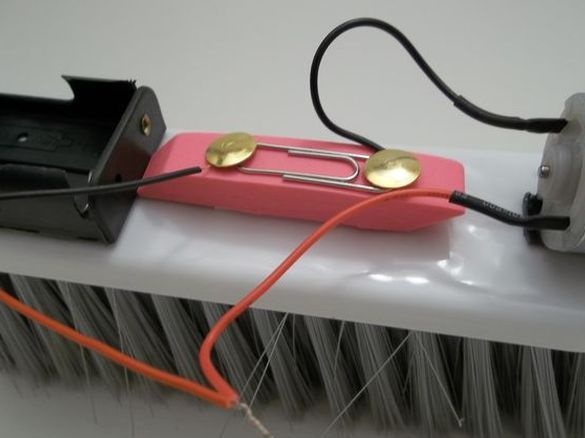
The switch is ready.
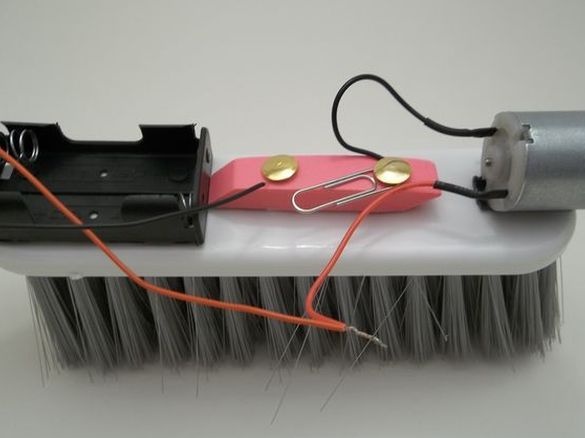
Step Four: Verification
Installs batteries and closes the circuit with a paper clip. If the engine is running, then everything is assembled correctly.
Step Five: Imbalance
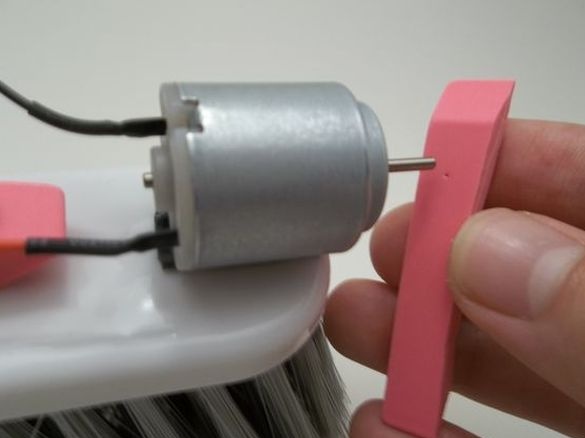
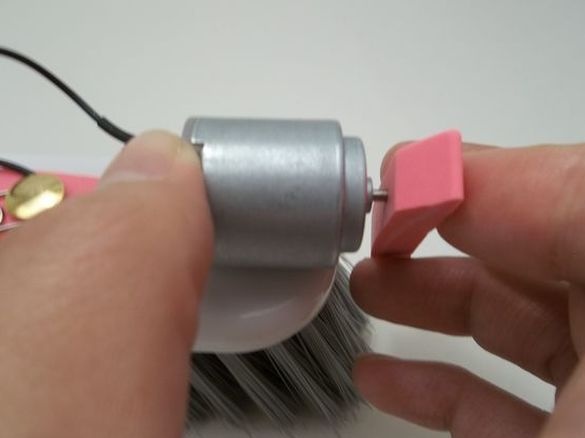
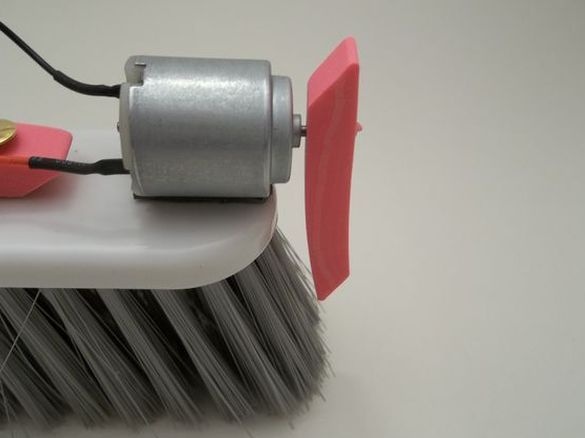
In the eraser half, closer to the edge, makes a hole with a paper clip. Wears an eraser on the motor shaft. Now, when the circuit is closed, the motor shaft will spin the eraser, and since the eraser is fixed off-center, vibration will occur. And the brush will move. Moreover, according to the author, when changing the position of the eraser on the shaft, the trajectory of the brush will change.
Step Six: Decor
Decorates a brush, glues eyes.
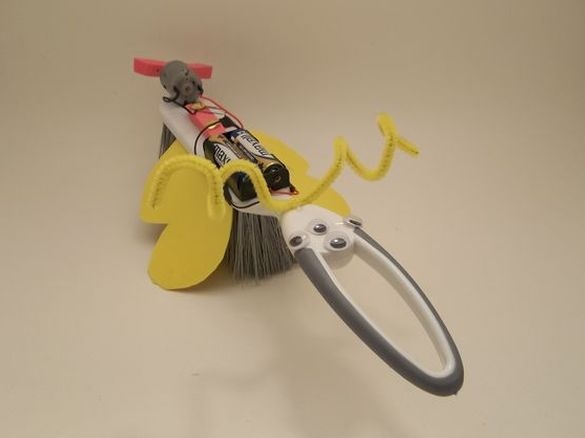
The brush is ready. How it works, you can watch the video.
