
Hello to all lovers homemade, sometimes there are times when your favorite drink in a glass bottle simply has nothing to open, it usually happens at the wrong time, and opening it with other objects is not very convenient, it was for this reason that the author decided to create his own homemade opener, which will be easy to performance, as well as not require any special materials. All that is needed for this homemade product can be found in anyone who has ever held a hammer in their hands.
In order to make this opener, you will need:
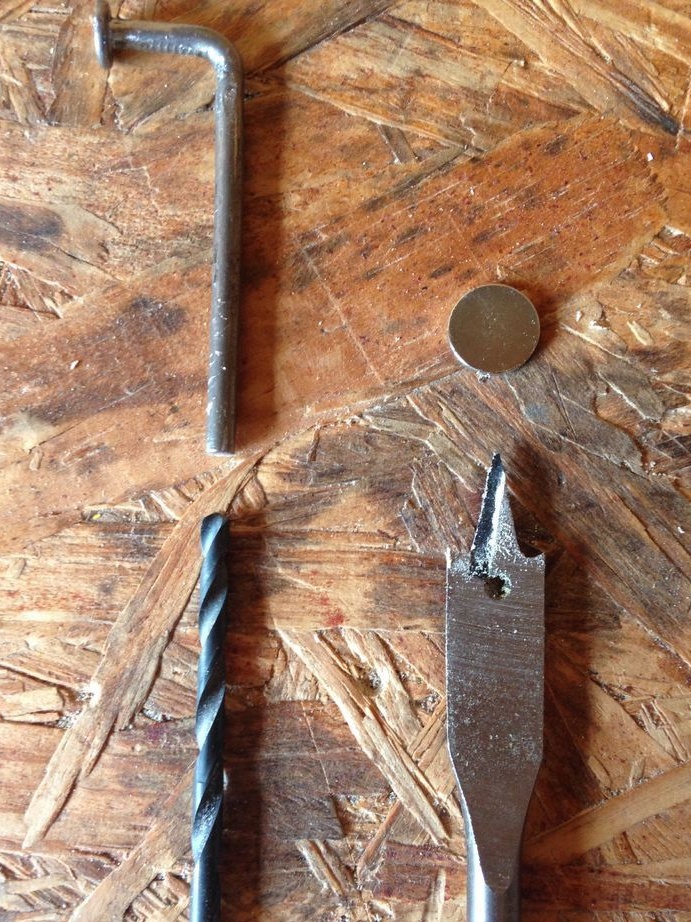
* A sufficiently large nail, suitable from 100 mm or more.
* Neodymium magnet.
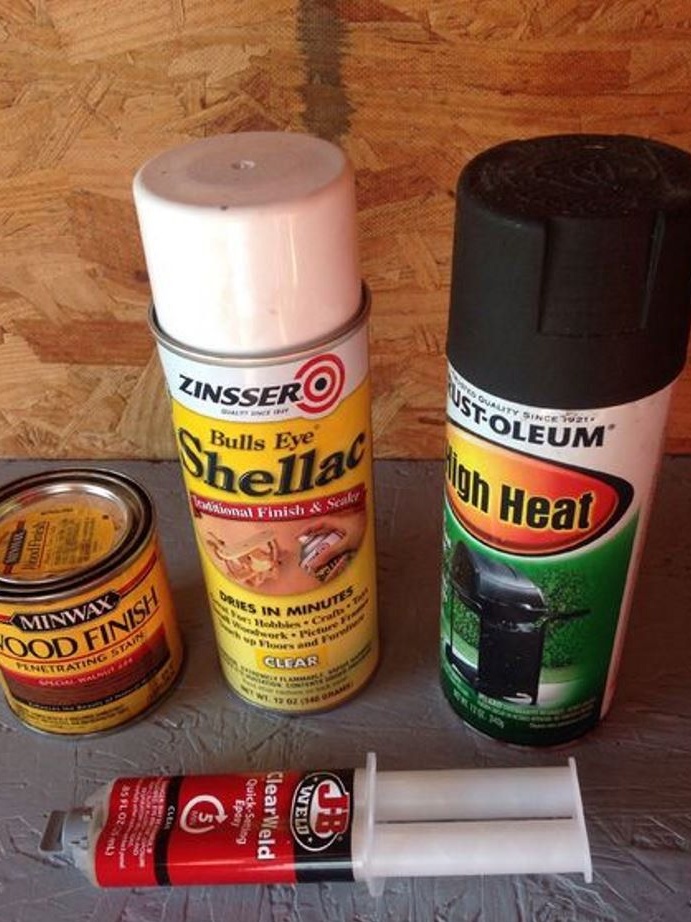
* Epoxy resin.
* Paint hazelnut color.
* Template for future pens.
* A wooden block with a thickness equal to half a metal cork.
* A sheet of thick cardboard.
* Simple drawing pencil.
* Electric fretsaw.
* Coarse and fine sandpaper.
* Latex gloves.
* Soft rags.
After making sure that all the parts are in stock, we proceed to the main process - assembly.
Step one.
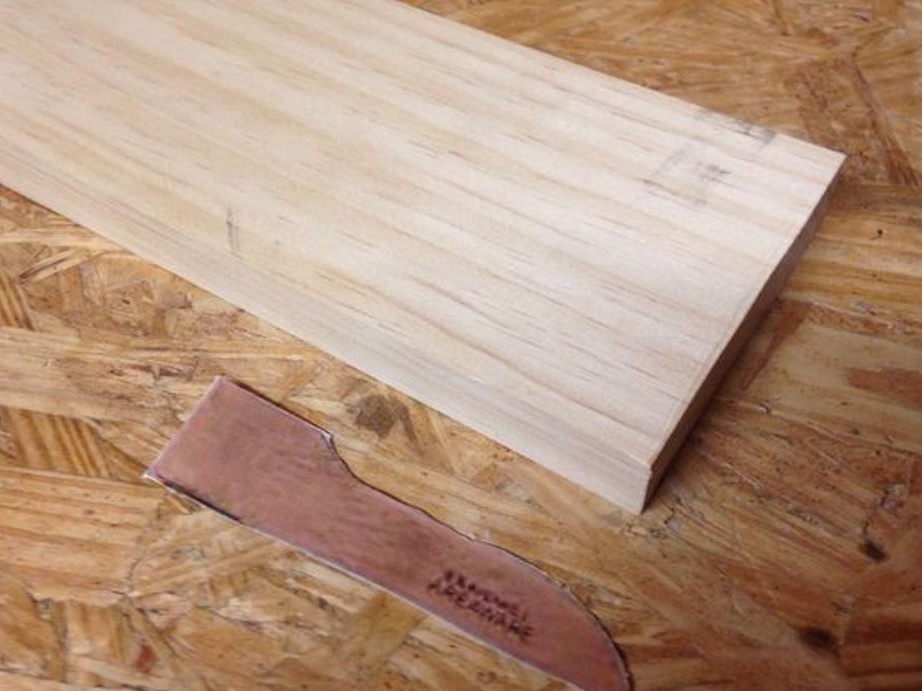
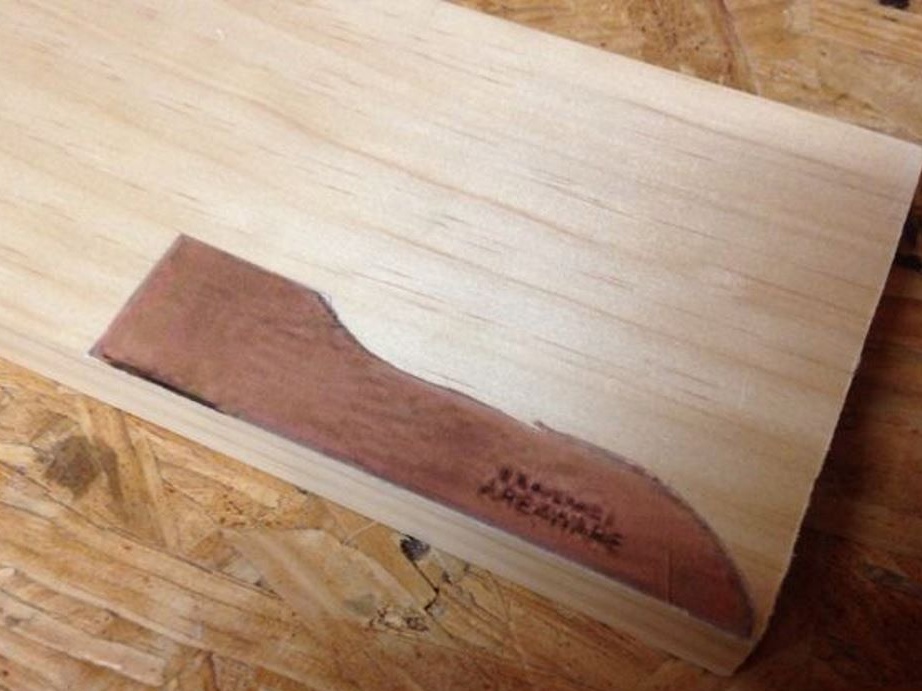
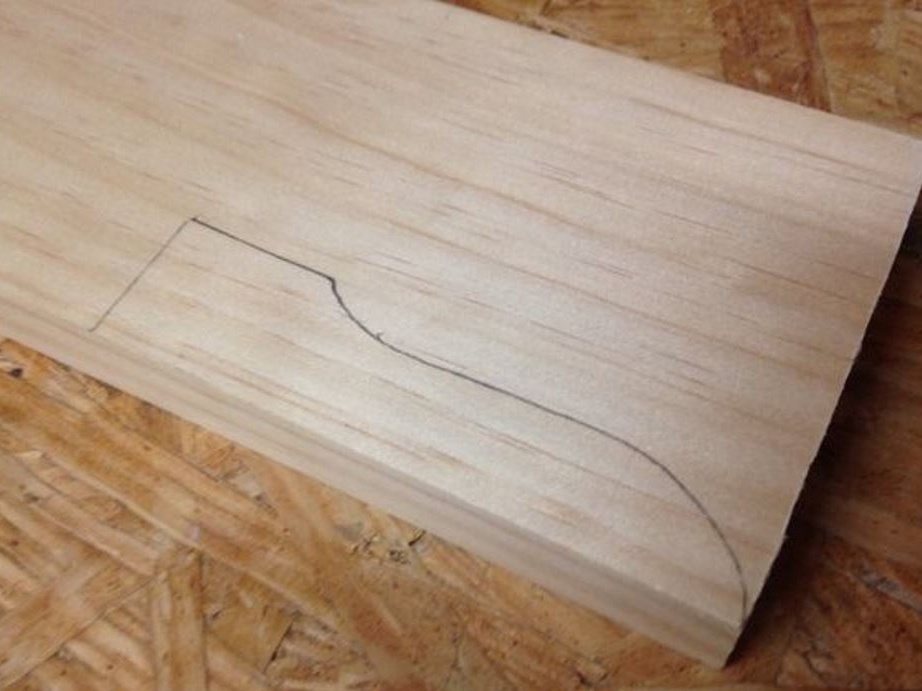
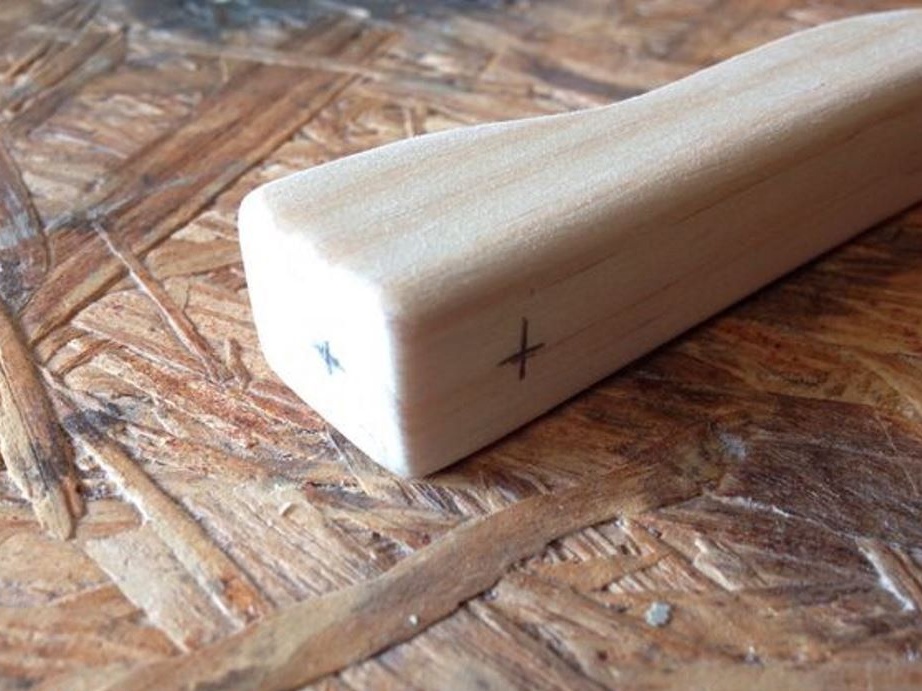
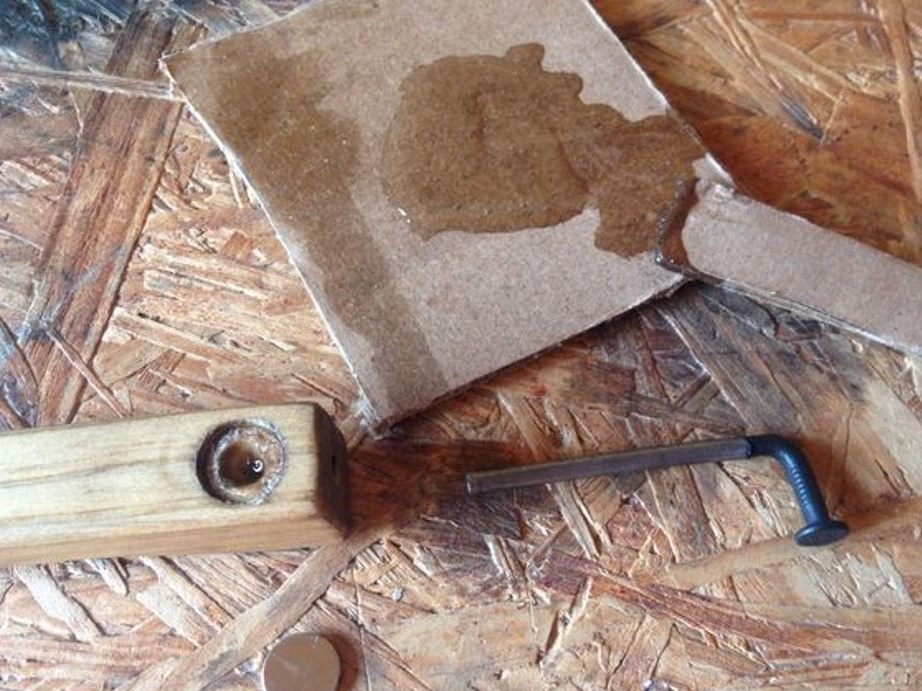
Before you start using the tools, you need to make a drawing, in this case, the exact dimensions are not required, so we will use the template. To do this, take a wooden block and sand it well with sandpaper. After that, we take a thick piece of cardboard and draw on it the shape of the future opener using a pencil, the same can be done in any graphics editor or drawing program on a computer, and then print the finished template on an A4 sheet. Regardless of which method you choose, you need to cut the finished template along the contour, after which you need to attach it to the polished wooden block, as shown in the photo, and then circle it with a simple soft pencil around the perimeter.
Step Two
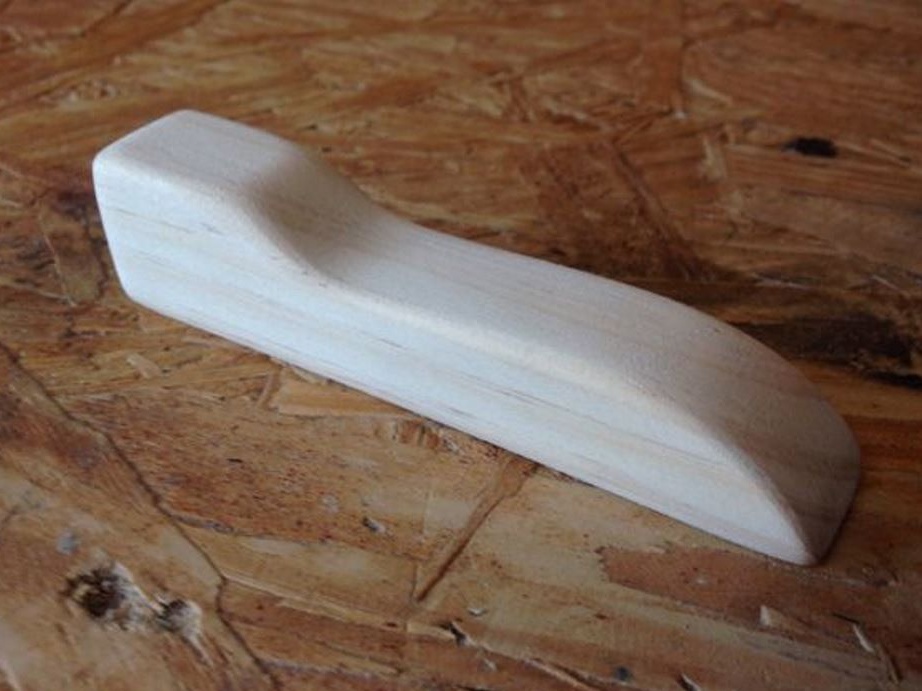
This handle must be cut and ground, for this you need to take a jigsaw, plug it into the mains and set the frequency control to the maximum value, as well as setting the low feed to cut the desired shape, given the fact that working with a jigsaw is necessary in safety glasses. The high frequency of the reciprocating stroke of the file provides a higher cleanliness of the cut, which reduces seizures during the finished cut, thereby simplifying further processing.
But you still can’t do without sanding, so you need to take a large sandpaper and use it to clean the sharp edges of the workpiece, thereby giving them a roundness. After grinding with coarse grain, we move on to sandpaper with smaller grains, which will give the surface a more accurate shape and remove roughness to a minimum, as well as the round edges of the workpiece will become smoother.
Step Three
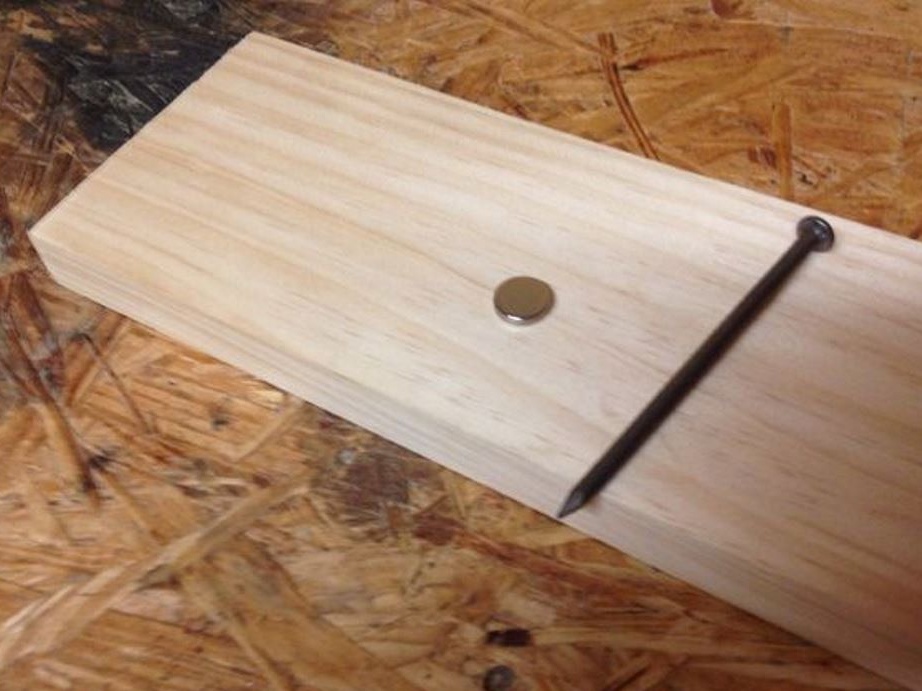
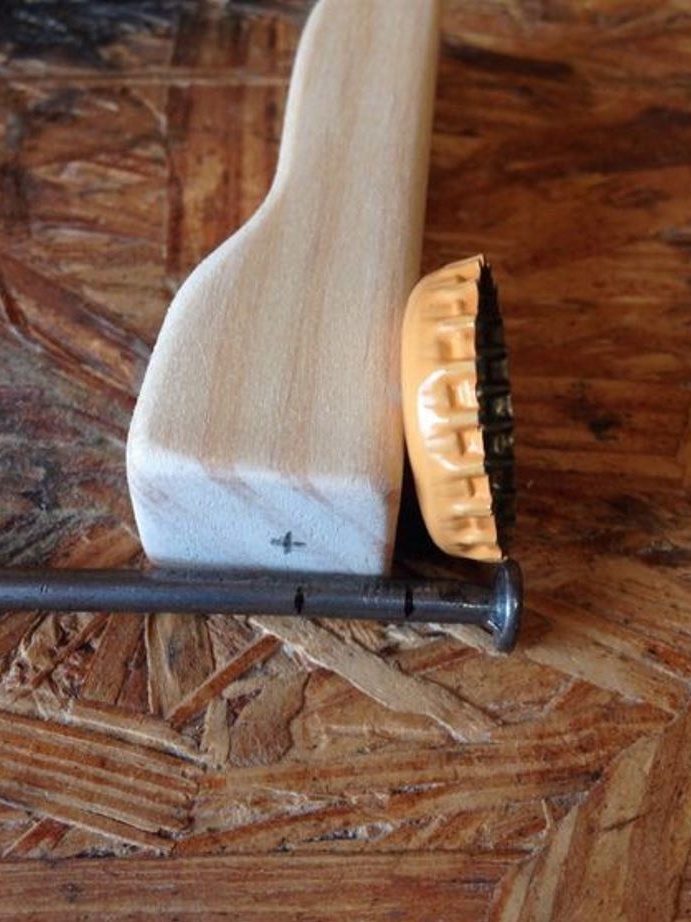
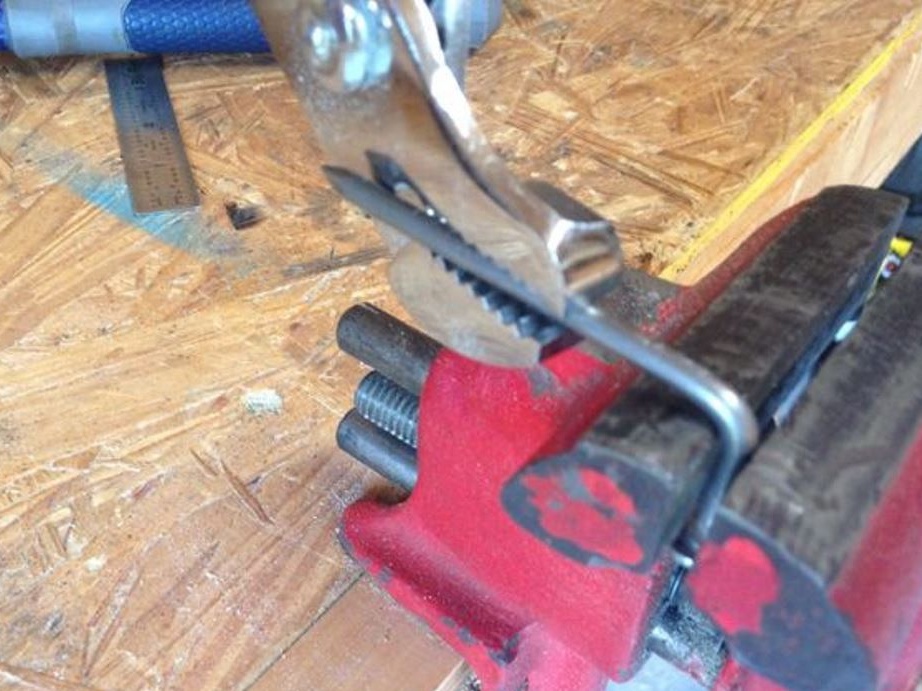
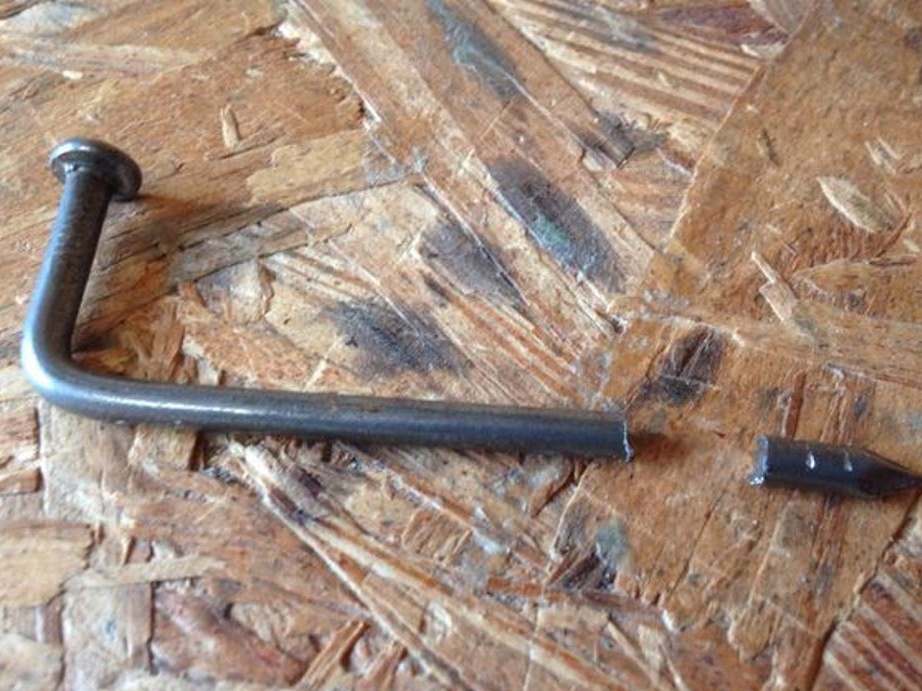
As stated at the beginning, our opener will be made of bar and nail, where the nail will be the main working link that will open the lids. On the mating surfaces of the workpiece, mark the places where the nail will be installed and the magnet will be placed, then a metal bottle cap must be attached to the obtained workpiece, for example, as well as a nail where it is necessary to mark the places where it will be bent using a vise at an angle of 90 degrees , it will be most convenient to do this with a wrench. If the length of the nail is longer than that of the handle itself, then remove the excess with a hacksaw in metal.
Step Four
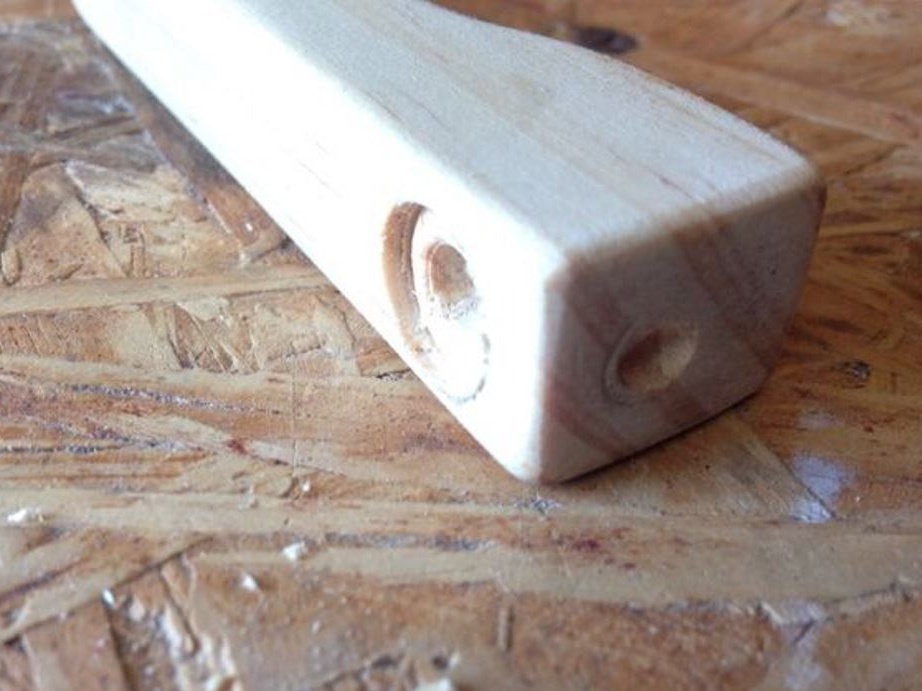
At this stage, armed with drills corresponding to the diameters of the nail and magnet, we drill a hole for the nail seat (drill length to bend), as well as a recess for the magnet, the depth of which is equal to its thickness, with a pen drill on the corresponding side, this is done so that the surface of the magnet was in the same plane with the workpiece, in other words, to be flush.
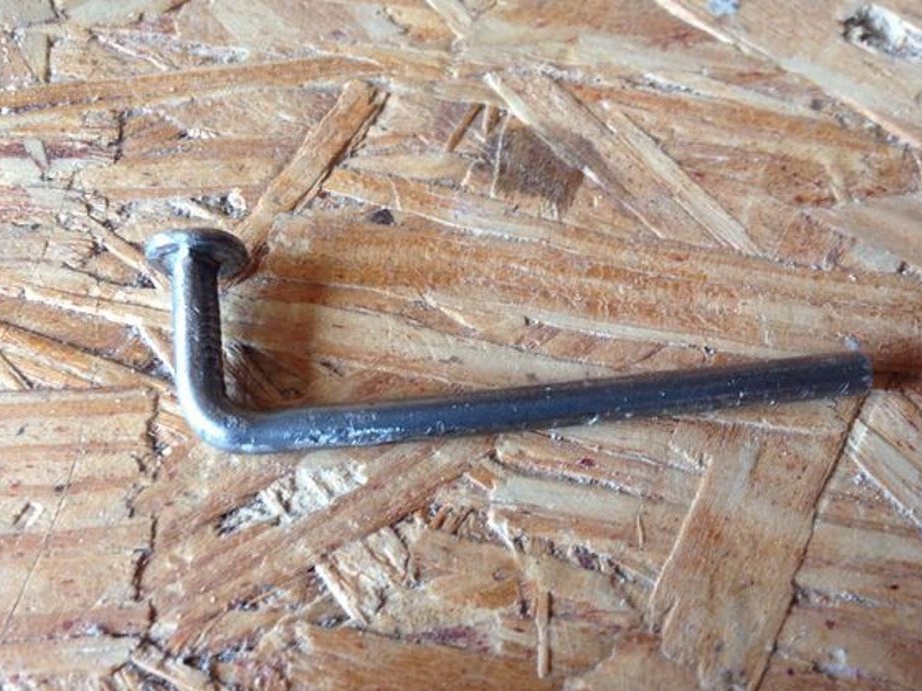
Then you need to take a small piece of wire, thread it into the holes formed, using this fixtures you can paint the workpiece without any difficulties. Before painting, we wear rubber gloves, thereby protecting our hands from accidentally getting paint on our skin, then apply a small amount of paint to the rag and blend it over the surface of the workpiece. To achieve the best effect, you must wait until the paint layer dries, we finish the painting by repeating the procedure one more time. In the meantime, the last coat of paint will slowly dry, take a nail and paint its protruding part with the same paint.
Step Five
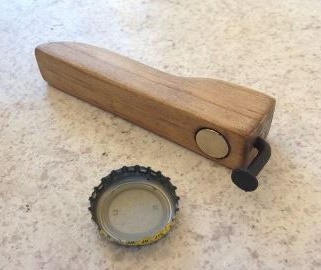
For this homemade product to work, we need to use an epoxy resin to glue a neodymium magnet into its seat, leaving it to dry completely, and meanwhile we press the nail into a pre-prepared hole, for greater reliability, you can previously slightly remember it with epoxy.
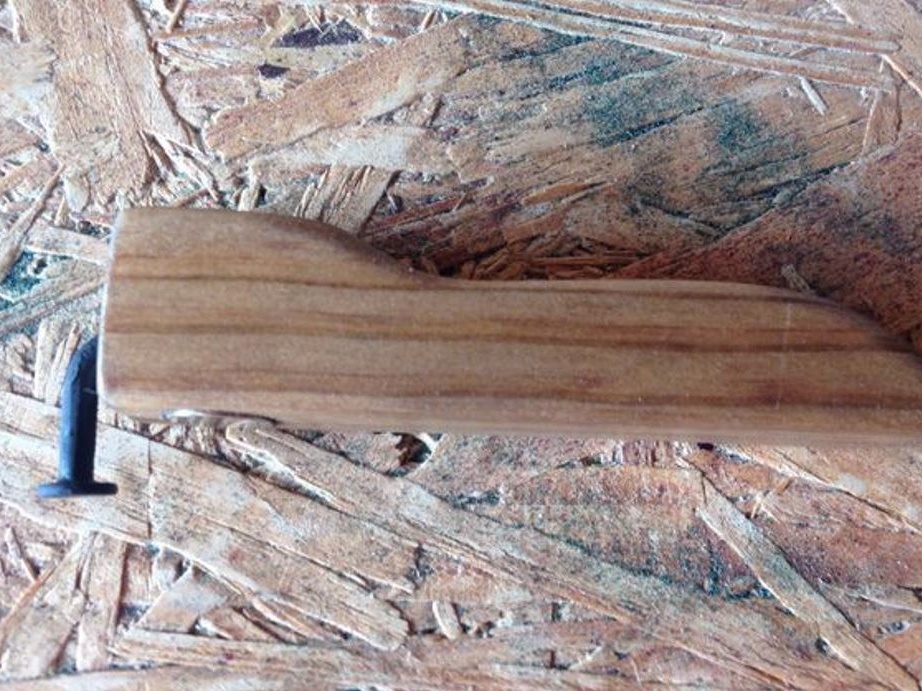
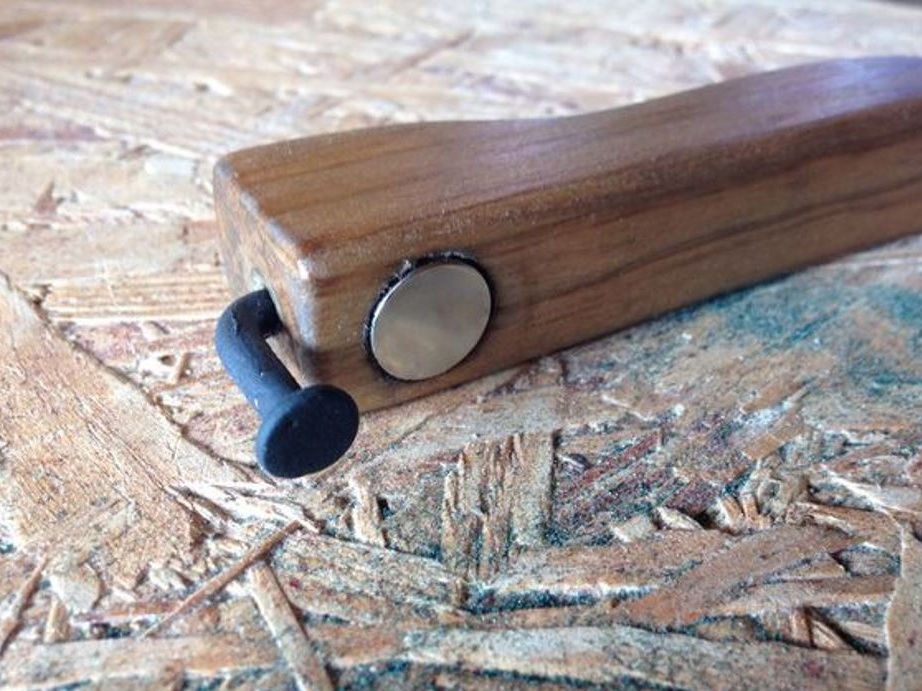
After complete drying, the opener is ready, you can easily open the lids of your favorite drinks, and its compactness is allowed to carry it with you.
Thank you all, as well as good ideas.