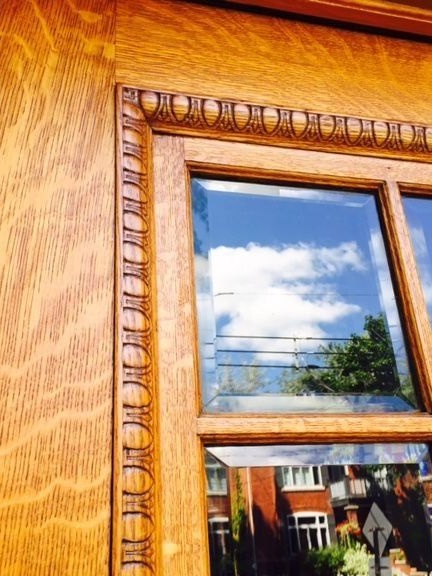
Entrance doors are a business card that gives others an idea of the room that is hidden behind them. It doesn’t matter if they see a residential building or an office building, but they will evaluate it, based primarily on the basis of the visual impression made on them.
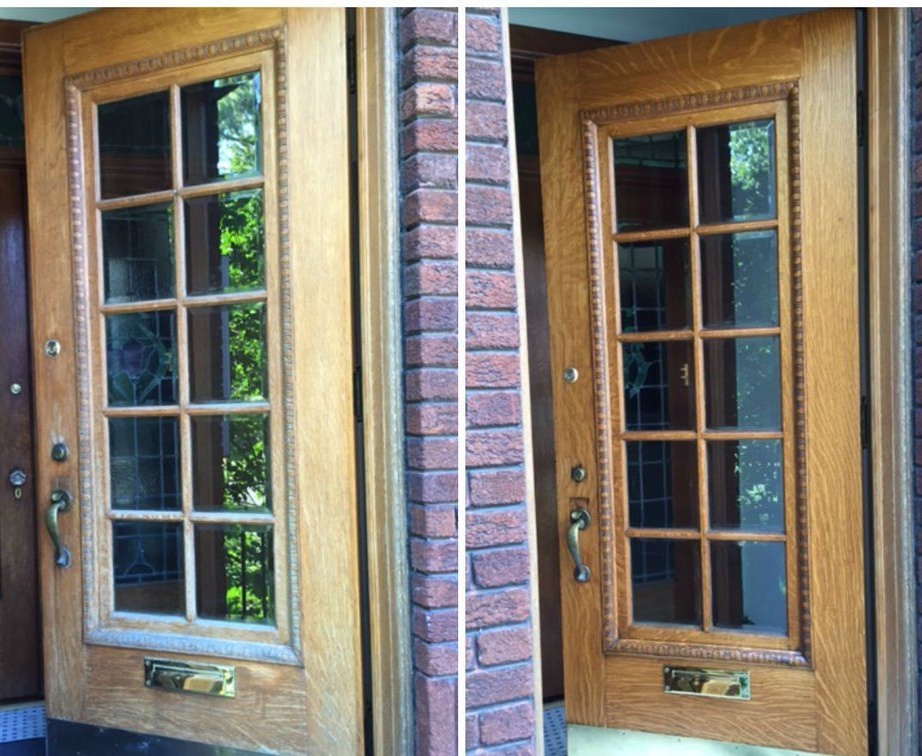
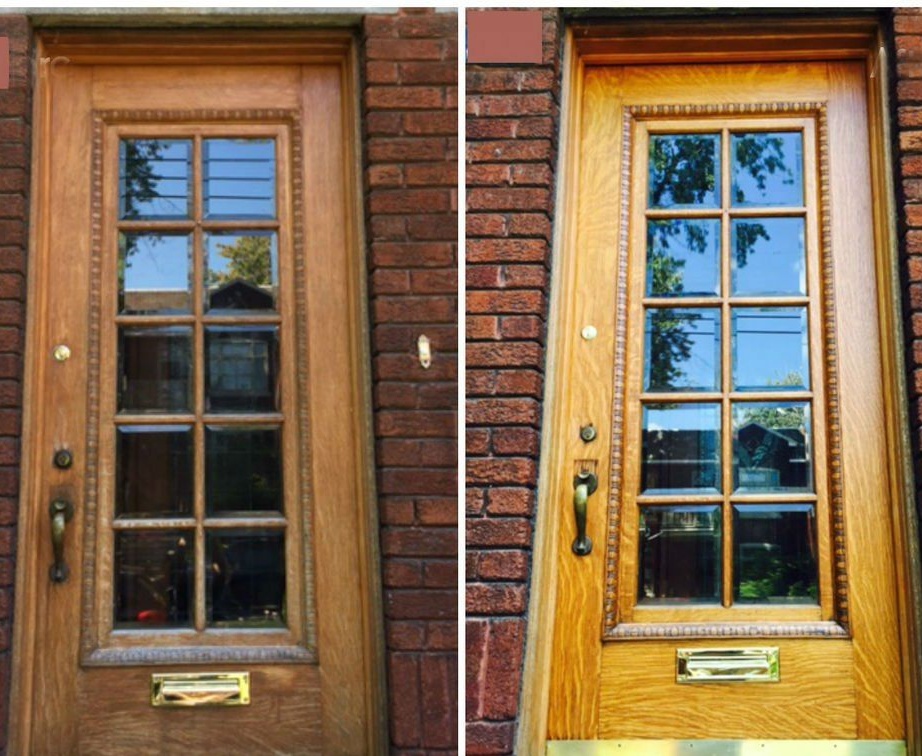
Therefore, if you often receive guests at home or are the head of the company and want to make a good impression on partners and customers, get rid of old doors of a dubious appearance. Just do not rush to throw them away, but instead restore it - breathe new life into the tree - and you will certainly be satisfied with the result, as evidenced by the photos of our master class. This is especially true of products, if not antique, then those that have some artistic value.
The restoration process will not take too much time, but it will require your attention and scrupulousness in detail. However, be prepared that wooden doors of this type are incredibly heavy, especially if there are no glazed areas and the whole product is made of wood. Therefore, you should take care of outside assistance in the process of dismantling them in advance.
If the effect of our work inspired you, read on how to restore wooden doors do it yourself.
In the process, you will need:
1. Materials:
- stain;
- varnish on wood.
2. Tools:
- Sander;
- sandpaper of various grain sizes;
- hammer;
- screwdriver;
- pliers;
- paint brushes.
Step 1: preparatory work
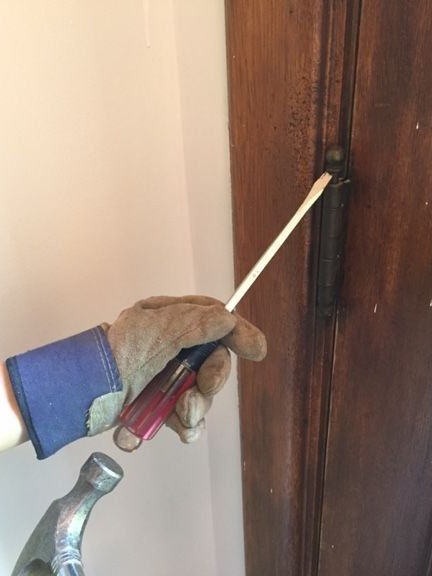
First of all, take care to remove the doors from the hinges. In our case, the product turned out to be of such impressive size and weight that I had to use outside help, since one person could not cope with this task.
To dismantle the doors, open them and make sure that the door frame does not bother you. Lift the doors slightly and place a wooden block under them to support the product.
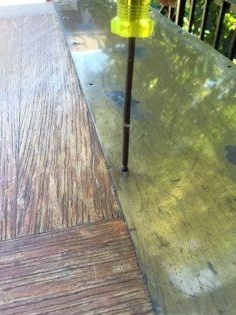
In the process, you can use a screwdriver with a flat tip and a hammer. Usually these tools are enough, but the cases are different and it is possible that you have to tinker a bit.
This is a lesson for working in pairs, because while one person is busy with the hinges, the second must insure the doors so that they do not fall when the work is done. If the weight of the product is not so impressive, you can use wooden spacers to lock the doors in an upright position.
Move the door to the workplace. It can be any non-residential premises or a zone under a canopy. The main thing is that it should be protected from precipitation and strong winds, which can bring with it particles of dust and debris, because you will have a responsible painting.
It is also not advisable that in the process of drying the varnish, direct sunlight fall on the product.
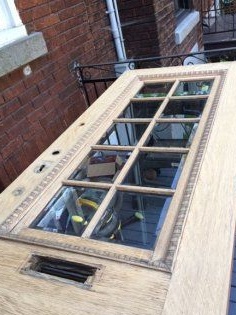
Before you begin to process a wooden surface, remove from the door all the elements that are not subject to such processing. This can be all kinds of handles, door peephole, hinges, metal plates (as in our case), locks and other decorative details made of metal.
The fittings are still useful to us, so be careful about the details and do not damage them.
In order not to stain the glass during painting, cover them with paper, using masking tape for these purposes.
Your task at this stage is to free the product from fittings, since then you will begin grinding work.
Step 2: grinding work
Today we will use sandpaper along with an electric sander. The latter will make our task a little easier. Especially if earlier when processing the surface of the doors several layers of varnish were made.
Inspect the surface of the product. If it was painted with paint and the coating is now peeling off the tree due to atmospheric effects, it should be removed with a metal spatula if possible. If only varnish was used and over time it has faded and lost its former luxury, immediately proceed to polishing.
Start with sandpaper. With it, you have to process all the curly elements, since the grinder can easily damage them. First use coarse sandpaper to remove the paintwork. Then proceed to fine sandpaper and prepare the surface for further processing.
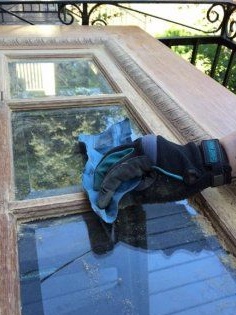
But before proceeding to the next step, thoroughly clean the doors of sawdust, dust and related debris. If you feel the need, wipe the surface with a damp, clean cloth.
In a similar way, prepare the working area, freeing it from debris, and only then proceed with painting.
Step 3: surface treatment with stain
First of all, pay attention to the fact that the stain and varnish must be fully compatible, otherwise the results will be disastrous. The fact is that water-based varnish, as well as nitro-lacquer absolutely does not work together with an oil-based stain. But if you chose it in the store, they will prompt you and help you decide on the purchase of oil varnish, which is just right for these purposes.
An alcohol-based stain is compatible with any type of varnish, but gives a less luxurious result. However, this is an opinion based on personal preferences.
Instead of stain, you can use paint on wood. But, taking into account the specifics, in order to achieve a stable coating, immediately apply 3-4 layers of paint, allowing each of them to dry properly and sanded with fine sandpaper. Thus, each new coat of paint will penetrate deeper into the previous one, and you will get a coating that is very resistant to mechanical damage and weather conditions. The ensemble will complete the fixing layer of varnish.
A very good choice is decorative protective coatings that tone the wood, protect it, but at the same time they are a translucent coating and allow you to emphasize the natural texture of the wood.
We opted for Varathane stain - US tinting oil for wood. This, of course, is an expensive material, but it will allow us to abandon the use of a protective varnish coating and even save a little. Moreover, tinting oil gives a simply amazing effect and it is unlikely to be able to repeat it with the usual alcohol stain.
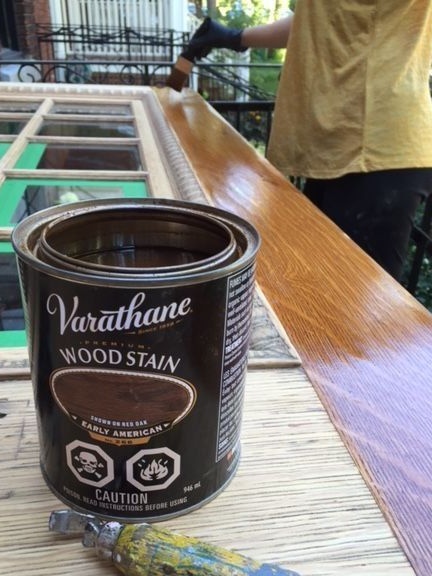
Apply a stain with a brush, or better yet, use a piece of rag, which can be found in any supermarket, and rub the oil until completely absorbed. Pay special attention to small curly details.
If you are not sure about the quality of the stain or if you think that it is not enough alone, cover the doors with oil varnish. You can apply it up to 3 layers by doing here by analogy with the paint - that is, lightly sanding each new layer, except for the last finish.
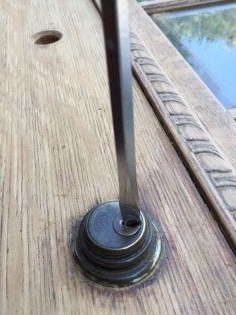
Step 4: hardware processing
Hardware parts that you dismantled the day before should also be processed. You can do this while the paintwork dries.
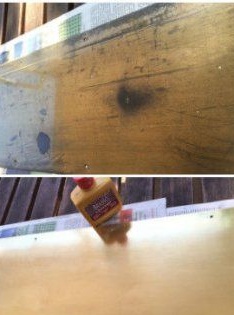
Thoroughly clean and polish all metal elements. For cleaning, you can use special fluids that are easy to purchase at a construction supermarket or make yourself, or even do without them.
For polishing, Goy paste is often used as the cheapest, but nonetheless effective material. You can see the effect of polishing on the example of a metal plate on our doors, which now shines like a new one.

Parts processed in this way must be fixed in the same place.
Door restoration is over! We hope that you received the same tangible effect from the work done that we were satisfied with the result. We are sure that the updated doors will fully emphasize the comfort of your home and will attract the admiring gaze of the guests.