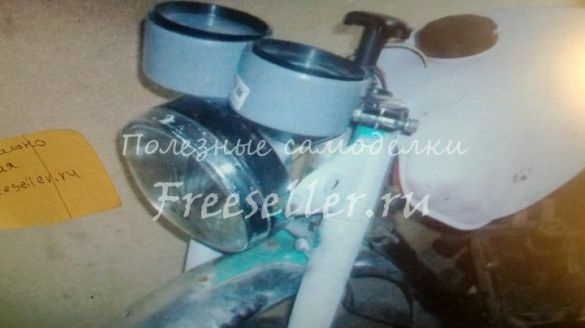
Hello to all lovers homemade, it’s not a secret for anyone that the technique on wheels has the possibility of any improvement on the part of the owner, there are a lot of varieties in this regard, there are even special channels and forums for discussing and sharing their ideas, for one of them I I will tell in this article, namely, how the author made a home-made dashboard for his motorcycle from simple materials. This homemade product does not require any cash costs, but assumes that everything you need can be found in the garage motorist. The main elements of the panel will be plumbing transitions.
To make a dashboard do it yourself, you will need:
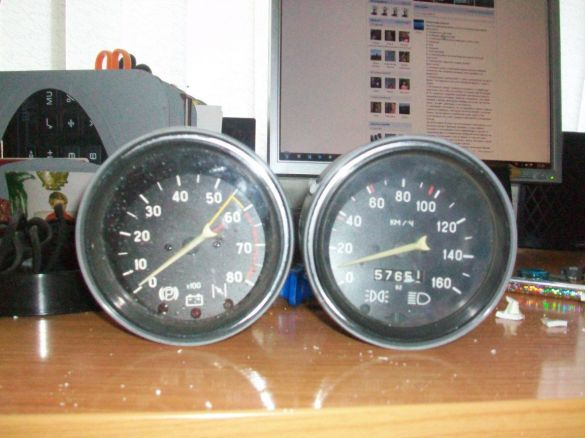
* A tachometer from vaz 2106, if you don’t have one, then a similar one will work, the main thing is that it fits in shape.
* A speedometer, also from a VAZ-2106, accuracy is not so hot, but there was no other choice.
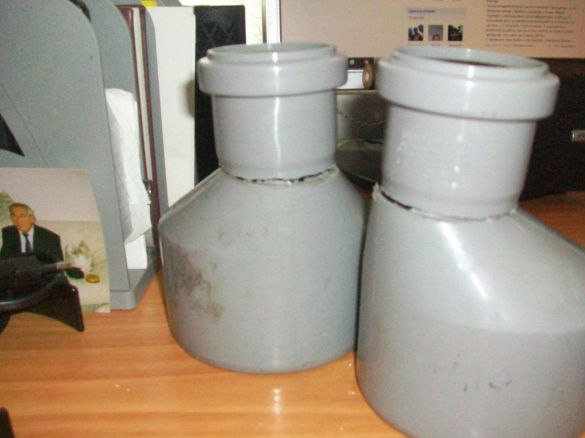
* Two plumbing transitions.
* Screws, a quantity of about 10 will be enough.
* A sharp knife.
* A hacksaw in metal, if you have a grinder and experience in using it, you can also use it.
* Pliers.
* A pair of plastic or iron plates (tin).
That's all the parts in the assembly, which means that now you can proceed to the main thing, this is the manufacturing process.
Step one.
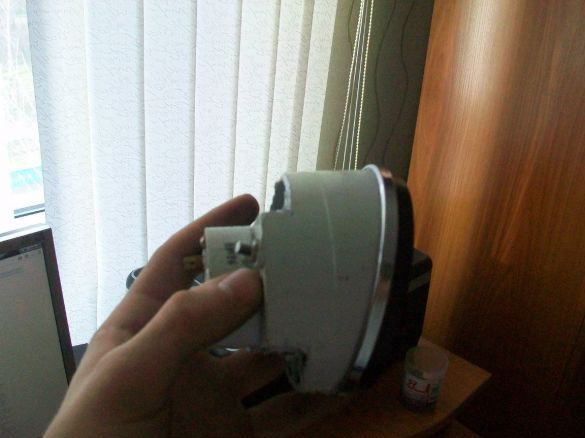
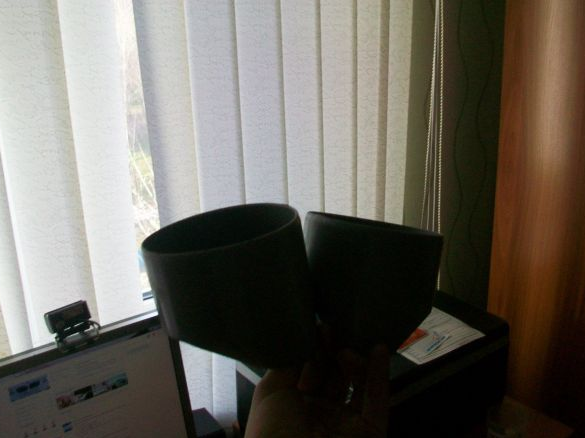
First of all, it is necessary to reduce the size of the transitions, if they do not coincide in length with the devices, then use a hacksaw in metal, accurately measuring in advance where the saw will be.
As can be seen from the photo, I had to slightly adjust the length from above and below.
Step Two
We repeat this procedure with the second pipe and proceed to the installation of the devices themselves, which will display the necessary information. When both transitions are shortened to the required size, we insert the tachometer and speedometer into the glasses, after which two plates of plastic or iron need to be bent, but so that they go around these glasses, forming something similar to the letter M.
Step Three
Armed with a screwdriver, it is necessary to screw the screws into the plates so that the cases of the future dashboard are securely fastened, but do not forget to install the tachometer and speedometer before this, as a result it turns out that the screws fix both the devices themselves and the cases in which they are sitting.
Step Four
The last in this homemade product is the element for installing finished devices to a motorcycle, you can come up with a lot of options, but the author decided to fix the dashboard on the traverse, using corners that were previously bent by the letter G, for this, if your top traverse on the motorcycle does not have tightening bolts, then you can use the fixture through the plates to steering wheel.
On this, a home-made dashboard is ready, you can start an iron horse and try out instruments in operation.
As a result of the 30 minutes of time spent, as well as a very minimal budget investment, we get a very interesting, unusual and in its own way beautiful dashboard, which is original and exclusive, in the future you can embellish the panel with additional vinyl stickers or just painting it, here a matter of taste.
Thank you all for your attention and good luck to everyone in their creative endeavors.


