

For those who like to craft something do it yourselfIt will be useful to have a marker board. It is convenient to draw all sorts of diagrams on it, to reflect and so on. Today we will look at an example of how, with 300 rubles in your pocket and a mountain of inspiration, you can build a whiteboard with your own hands.
Materials and tools for homemade:
- window glass (can be removed from the old window);
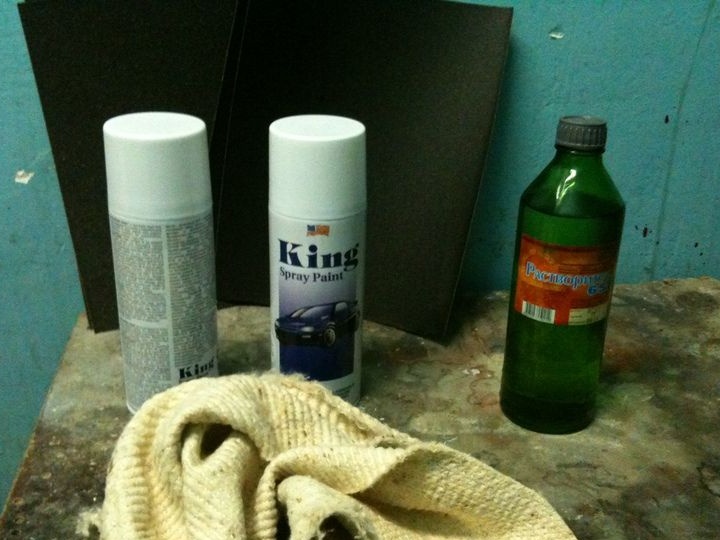
- two white aerosol cans (one cylinder 110 rubles);
- sandpaper with large and small grains;
- detergent and a bucket of water;
- solvent or acetone (cost about 60 rubles);
- iron furniture corners (10 rubles each);
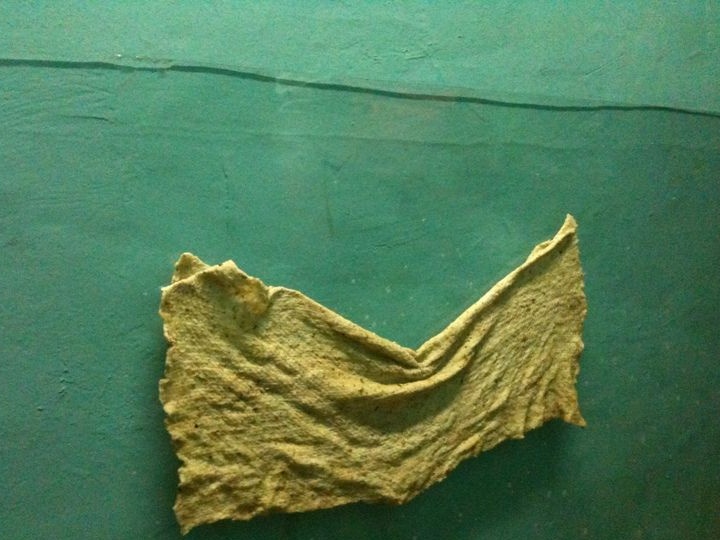
- rags;
- wooden beam;
- several large screws with dowels for attaching the board to the wall and several small screws;
- from 2 to 4 hours of time.
Whiteboard manufacturing process:
Step one. Glass preparation
First you need to find glass of suitable sizes. Suitable from the old windows, which today are actively changing to new ones. Glass can be found in landfills. As a last resort, glass of the necessary sizes can be ordered in a glass workshop. But in this case, the homemade product will cost about 700 rubles more.
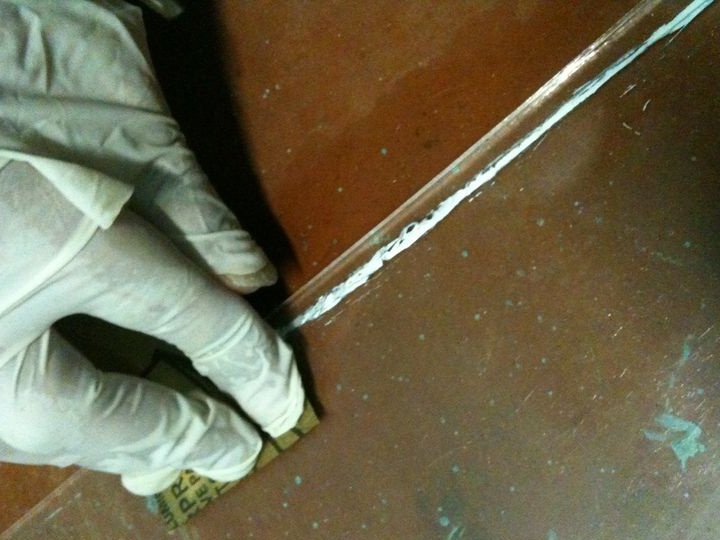
Now the glass must be completely cleaned of all types of contamination. To get rid of dust and other such contaminants, you will need water and a detergent. If there is an old oil paint on the glass, then it can be removed with a piece of cloth and a solvent. The author's paint was too old, so I had to remove it with fine sandpaper. You need to work carefully, without pressing hard on the glass. The residues are then cleaned with the same solvent and a rag. Sandpaper will leave small scratches on the glass, but this is not scary, because they will not be visible at all under a layer of paint.
In the process, sandpaper can also be moistened in a solvent, this increases the cleaning efficiency.
Then you will need a skin with large grain, she needs to process the ends of the glass. All sharp edges must be made smooth in order to avoid future cuts when working with glass.
Well, in conclusion, the glass needs to be washed again well so that there is no debris left on it, such as dust, hair and so on.
Step Two Paint glass
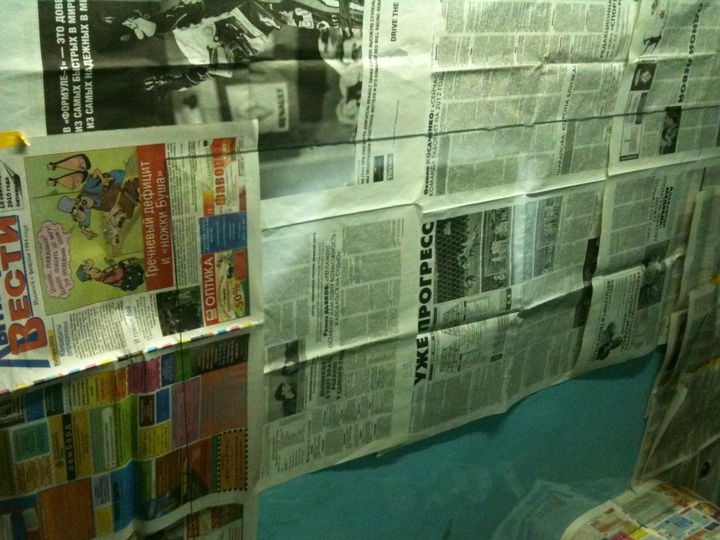
Glass is painted with a balloon; a respirator and gloves are needed as a safety measure. Painting should be done at a distance of 10-15 cm from the glass. At the same time, the paint may not lie evenly on the glass, but this is not scary, because in all 4 layers will be applied.The most important thing in this process is not to rush or bring the container too close to the glass, otherwise a smudge will form. It is important that smudges do not form when applying the first two layers. Between each layer you need to wait about 7-10 minutes, so that the paint has time to dry.
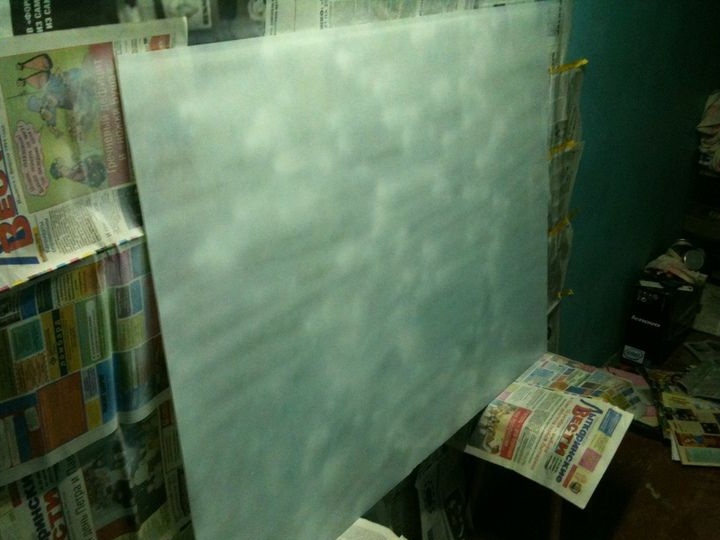
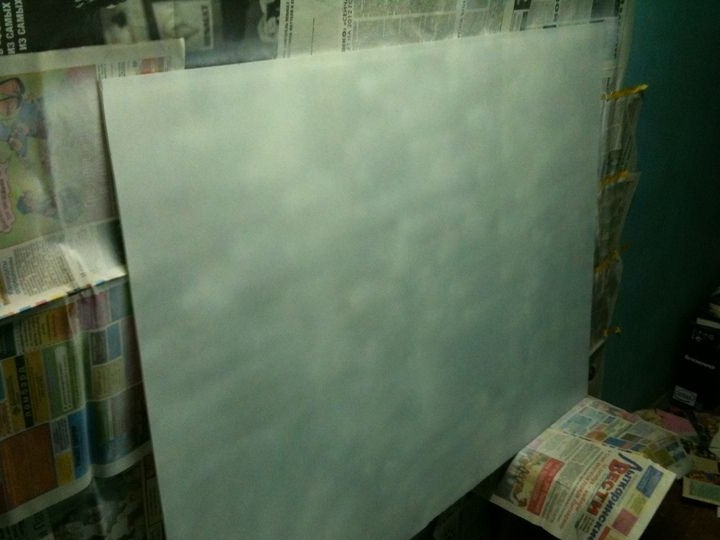
As a result, it will be necessary to paint the glass well so that there are no unpainted areas. Here you can no longer be afraid of smudges, in such places the paint can be applied in 5, 6, or even 7 layers. In the photo you can see how the glass looks after applying the first and third layers.
Then, when the paint dries, the glass can be checked. To do this, it unfolds with the unpainted side through which you need to look at the subject of poorly shaded areas. It is this side that will be the front. The marker slides perfectly on the glass, and it is also easy to wipe. And painting is necessary so that the marker is clearly visible. If there are poorly shaded areas, they need to be tinted.
Step Three Making fasteners
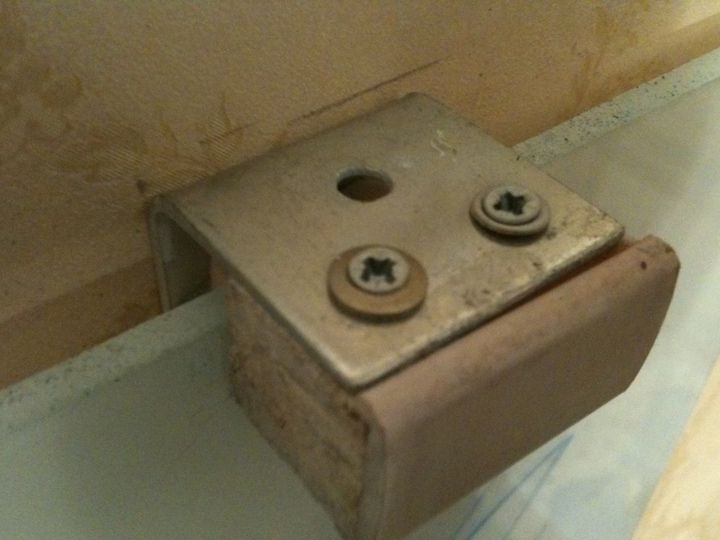
There are a lot of ways to install a board. Glass can be fixed using special holders that are in stores. And in it you can drill holes and screw them to the wall. The author also used furniture corners in combination with wooden blocks.
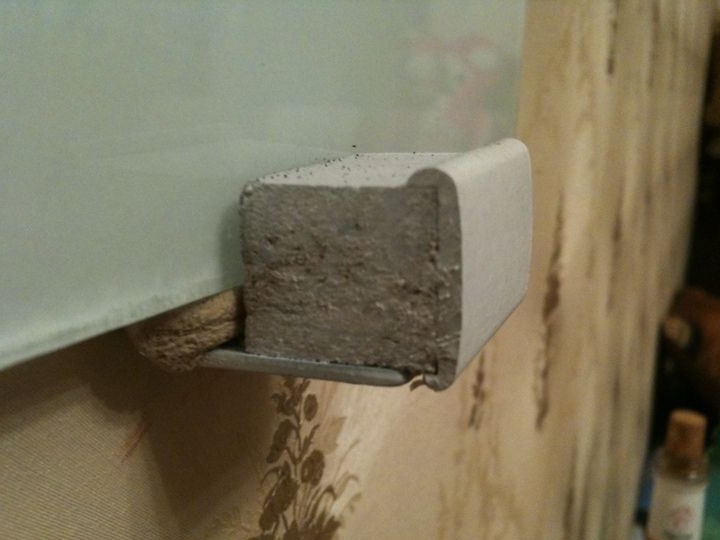
In order to make such a latch, you need to saw off such a piece from the bar so that when you install it on the corner, about half a centimeter of the gap remains. Then a soft rubber gasket is installed in this gap, which will protect the glass from the rough pressure of the tree. After assembly, the fasteners are painted in the color of the board, that is, in white.
That's all, now the board can be installed, for this, holes are drilled in the wall, and a corner is screwed. First of all, you need to screw the lower corners, so it will be easier to understand at what height then attach the upper ones. That is, after installing the lower corners, then glass is placed on them and the place for mounting the upper corners is marked on top.
Mounting the glass from the side is inconvenient; it can be easily broken or broken. To carefully install the board, the upper bars need to be unscrewed, the glass inserted, and then the upper fasteners replaced.
During the installation, the author also encountered such a problem as the gap between the glass and the wall. The fact is that if you press on the board, it will bend. To avoid this, on the other side of the glass, you can glue rubber pads of the desired width, well, or come up with your own design.
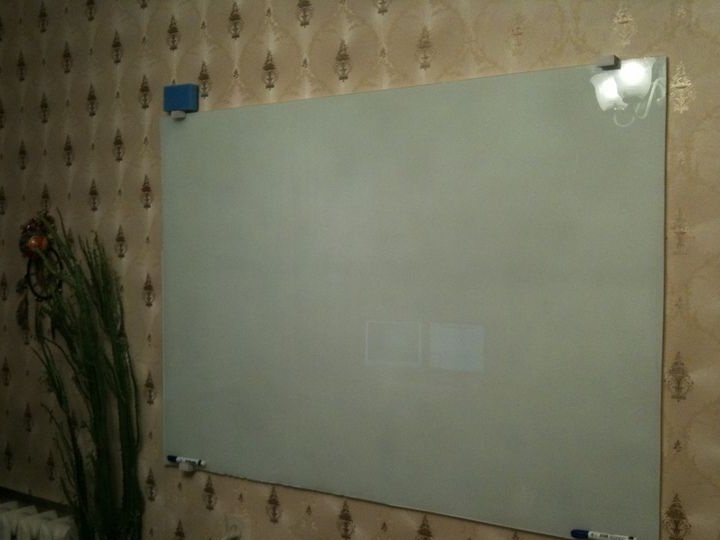
Summary
According to the author, in spite of all its simplicity, the board turned out to be quite high quality, and it’s nice to work near it. In addition to any schemes and scientific interest, such a board is useful at parties. The author even came up with two games:

1. A person is blindfolded, put in front of a blackboard and whisper what is required to be drawn. After he draws this blindfolded, others will have to guess.
2. The second game is that a person is drawn on the board, as well as the face of a pig and a donkey (well, or other animals). The player is blindfolded and asked to finish piglet piglet, donkey ears, and man .... say, nose;)
As a result, the board was tested for a month and showed excellent performance for the money invested. The author uses it in almost every project. As a refinement, you can redo the fasteners, since these are bulging out too fast.
According to some like-minded people of this project, it is easiest to clean the paint with a blade or window scraper. And to protect yourself from shattered glass, if it suddenly breaks, you can use ORACAL film.