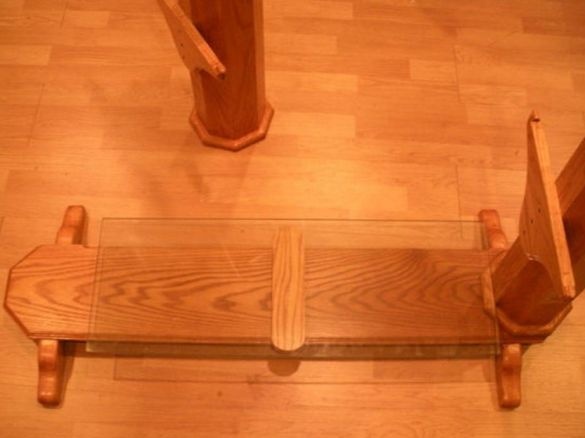
Hello to all lovers homemadeas it happens more often that in the market of furniture the manufacturer offers not entirely original options, whether it be a table or something else, in this case you want to resort to your imagination and design thinking and create your own table just the way you want it to. So, if you are the person who did not skip classes at the school and have an idea how to use woodworking tools, then making such a homemade product will not cause any difficulties for you. It is in this article that I will tell how the author embodied the idea of creating his own book table.
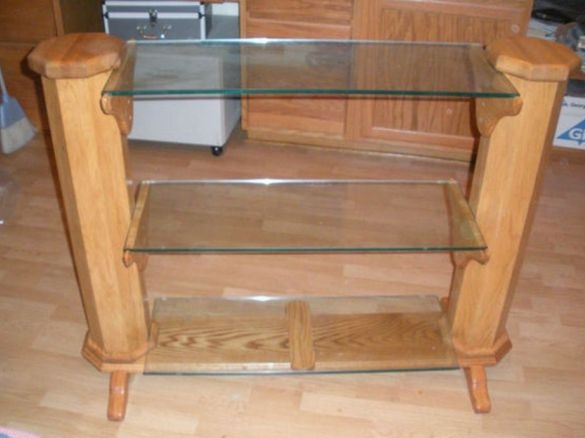
In order to make an exclusive oak table for books with three shelves of glass, you must:
* Octagonal pillars.
* Thick glass with a thickness of 6 mm and dimensions 300x920 mm in the amount of 3 pieces, may vary from desire.
* The base is made of thick oak with dimensions of 22x115x2 cm.
* Hard boards for templates.
* Screws.
* Polyurethane.
You will also need tools:
* Joiner machine.
* Band-saw.
* Drills for wood.
* Joiner's glue.
* Urethane material, brushes, rags, comfortable fixtures for mixing.
* Sandpaper of different grain sizes, from small to large.
Well, that's all the details are in place, which means you can begin to gradually assemble our book table.
Step one.
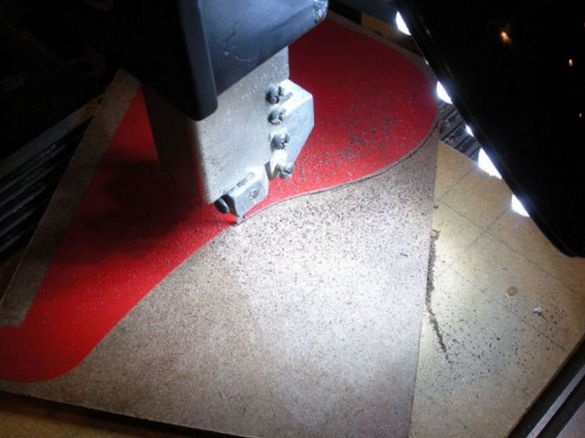
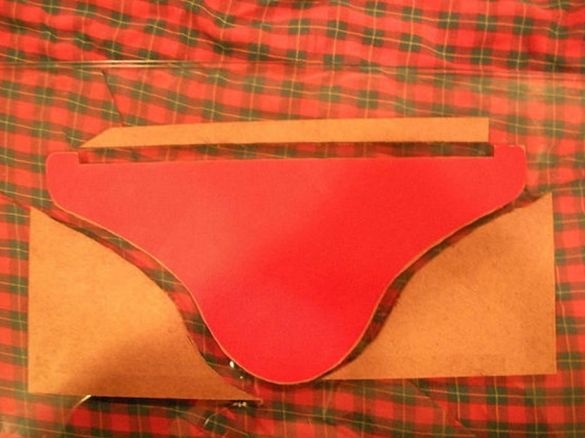
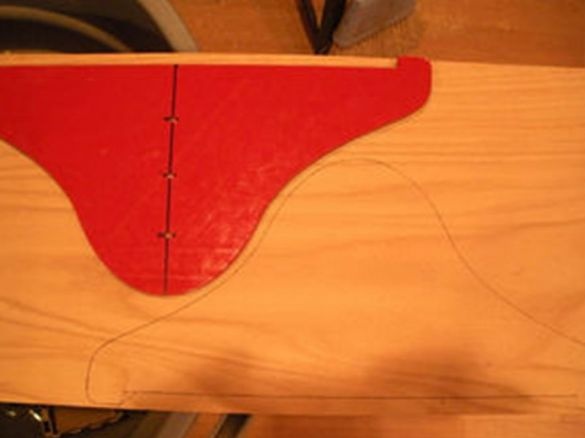
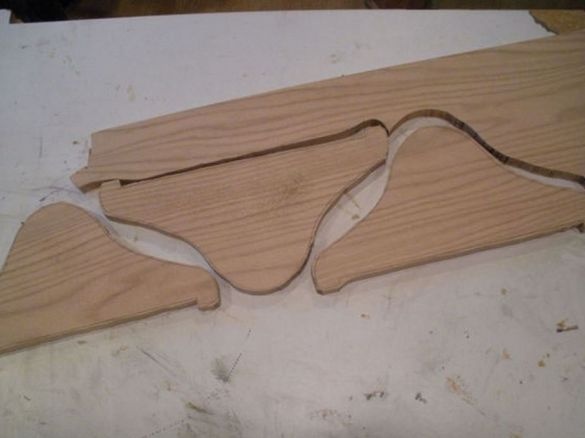
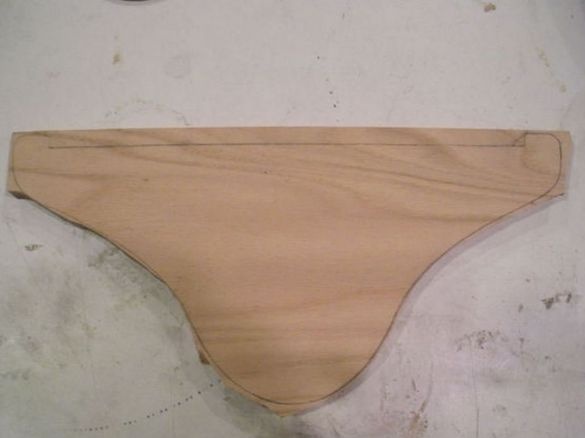
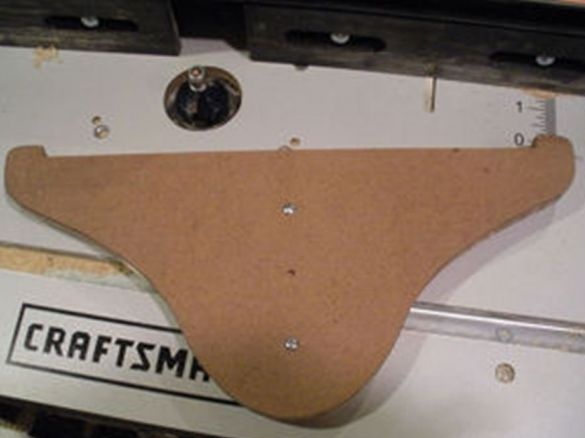
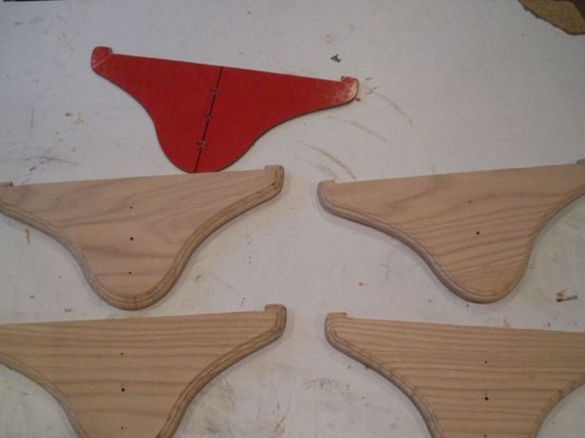
First of all, it will be necessary to make brackets, but it’s better not to start this process immediately without any preparation, for accuracy you need to make a template for the bracket, and then cut 4 parts according to the finished template using a band saw, when working on a band saw, be careful and observe safety measures, and also do not forget about goggles, because they were thought up not in vain.
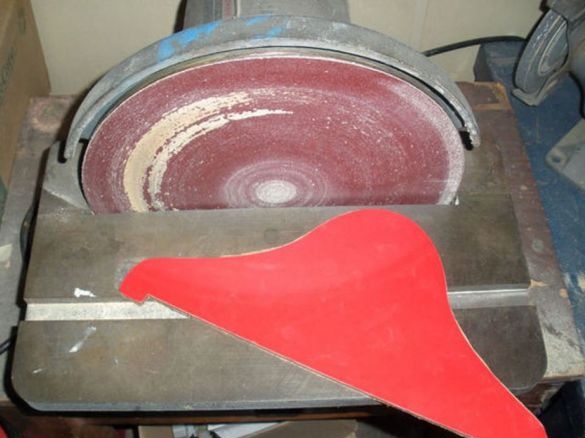
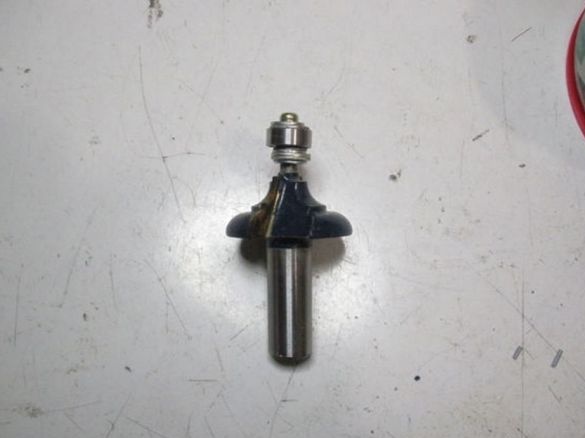
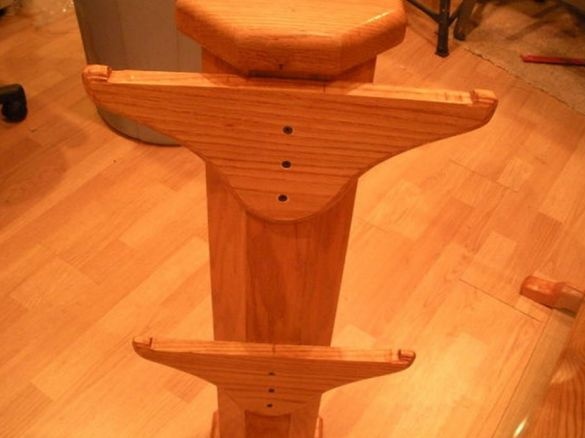
Then, for further processing, we will need a carpentry machine in order to make the edges of all parts more smooth, removing sharp corners. Then drill 3 holes in the brackets, as shown in the photo. As you know from experience, this will be most convenient to do on a drilling machine.
Step Two
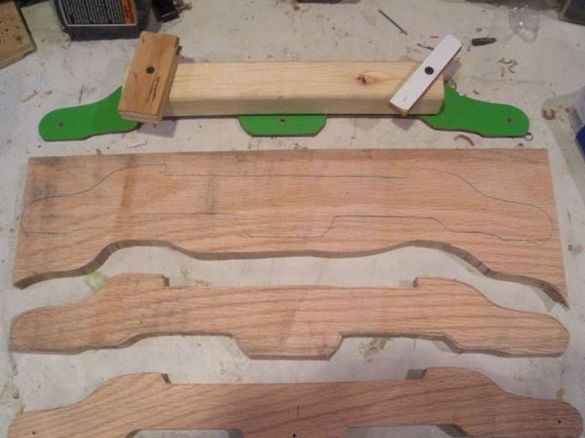
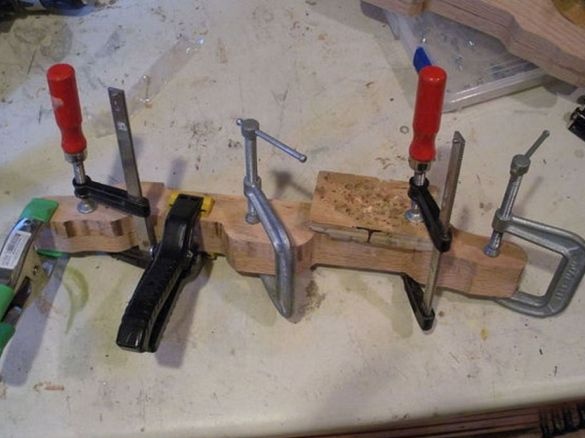
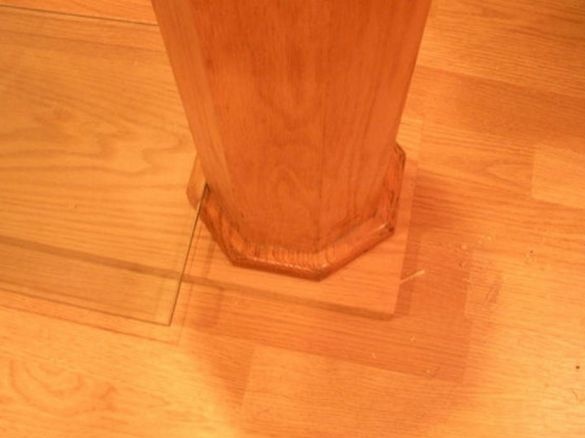
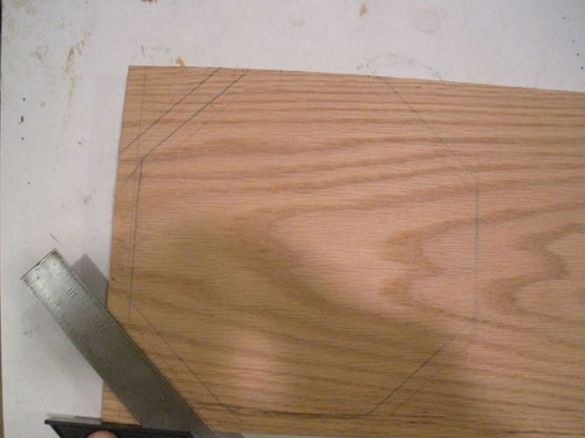
What a table without legs, you say, so you also need to take care of this and approach this from a practical point of view, since the better the material, the longer it will last for you, so don’t save on the main points.So actually we came to a process called making legs, so using a band saw and a ready-made template that repeats the table support, you need to cut 4 parts, then glue them one to the other, getting two parts, but thicker, while the glue dries clamp the parts with clamps, these workpieces will be the table legs, sharp corners, as well as smooth irregularities on the grinding machine. It is logical to assume that octagonal racks look much more original than round ones, this form is most conveniently done using a square and a pencil, making a cut at 45 degrees, where there was a right angle before that. Given that the racks are narrow, they must be fixed to the base, thereby adding a little more stability to the table.
Step Three
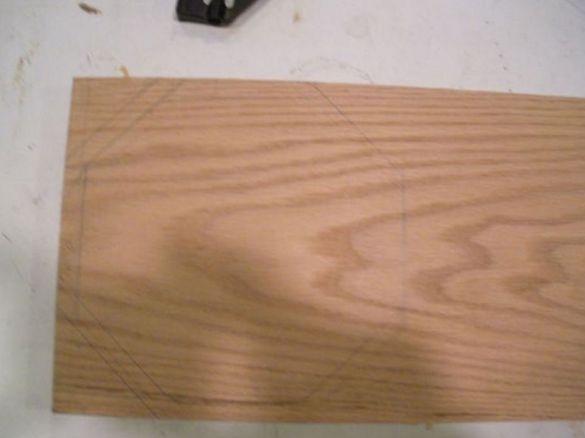
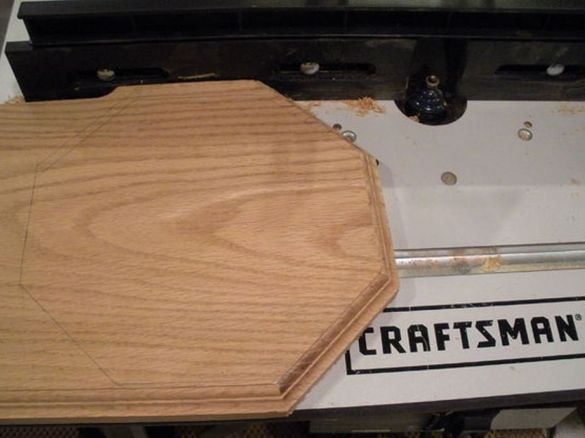
Gradually, we got to making the base for the legs, for it we take a board of red oak, measuring 22 * 115 * 2cm. In order to conveniently position the glass shelf, you need to put your feet at the level that is convenient for you, after which you can finally fix the shelf. The length of the base is noted.
Corners are cut and the chamfer is removed.
Step Four
All prepared parts need to be covered with a protective layer, first with a stain, and then with varnish, thereby you will protect the tree from destruction, as well as the effects of any pests, which will positively affect the life of your table. As for the grinding of all parts, it is better to use grinding with a machine than manual, since the details are not so small and grinding in a manual is very tiring work. After the coating has dried, the parts can be assembled in one piece.
Step Five
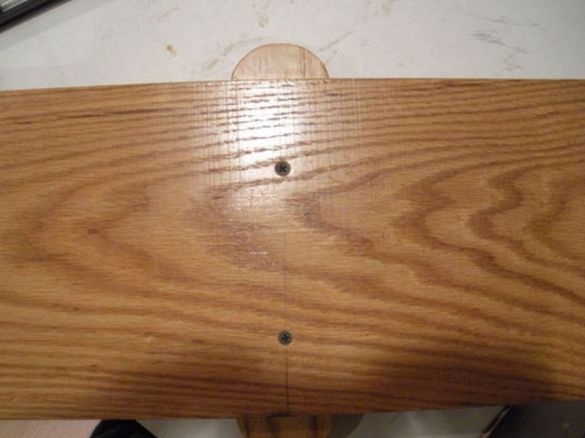
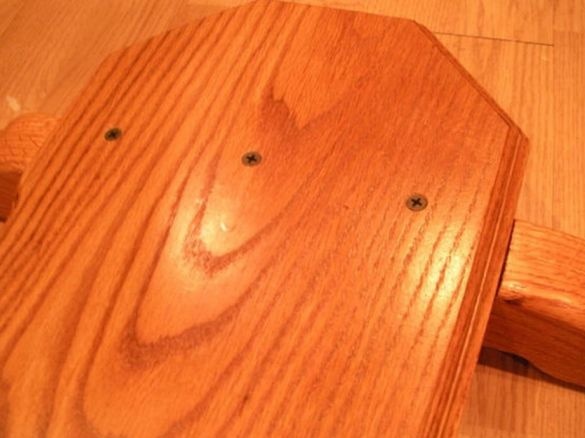
The final stage is the most interesting process in this homemade product, as in the end it will be seen for what the efforts and time were spent, now closer to the stage, this is the assembly of all the details, which should result in a table for books with three glass shelves, which will be both convenient support for books, and the connecting link of the table, giving it strength. First, the brackets are screwed to the legs of the shelf. For each part you need to spend 3 screws. Now you need to attach support for the lower shelf in the middle of the base, it is fixed with two bolts from the bottom of the base.
At the end of the assembly is the attachment of the legs, then octagonal pillars and glass shelves, the latter will be fixed with glue. After the glue has completely dried in full daylight, you can use the new original table.
The homemade product is ready for this, now you can put magazines, books or other things on the shelf, but do not forget that the glass is not as strong as metal or wood, so be careful with it and do not allow heavy objects on the countertop and shelves.
Thank you all, good homemade goods to you.

