
One master decided do it yourself make a liquid cooling system for your computer. In this article, you can find out what nuances such homemade and how effective it can be. The need for liquid cooling appeared due to the fact that it was decided to overclock the processor, and the faster it runs, the more it warms up. That is, the standard cooler was not enough, and store cooling systems are quite expensive.
Materials and tools for homemade:
- heat exchanger or water block;
- cooling radiator (from the car);
- pump (centrifugal type water pump with a capacity of 600 liters per hour);
- expansion tank (in our case, under water);
- four 120 mm fans;
- power supply for the fan;
- various other consumables and tools.
Homemade manufacturing process:
Step one. Water block manufacturing
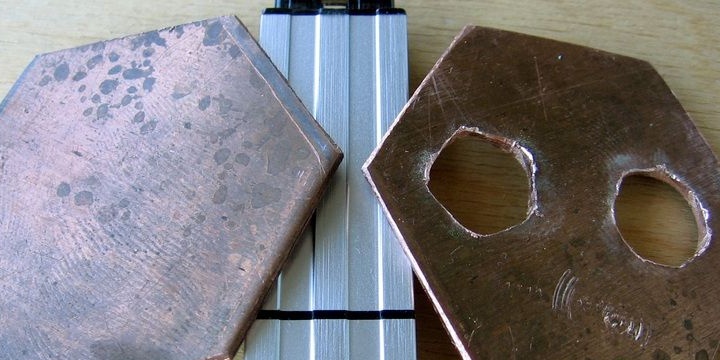
The water block is necessary in order to remove heat from the processor as efficiently as possible. For such purposes, materials with good thermal conductivity will be needed, the author chose copper. As an alternative, aluminum can be used, but its thermal conductivity is half that of copper, that is, aluminum is 230W / (m * K), and copper is 395.4 W / (m * K).

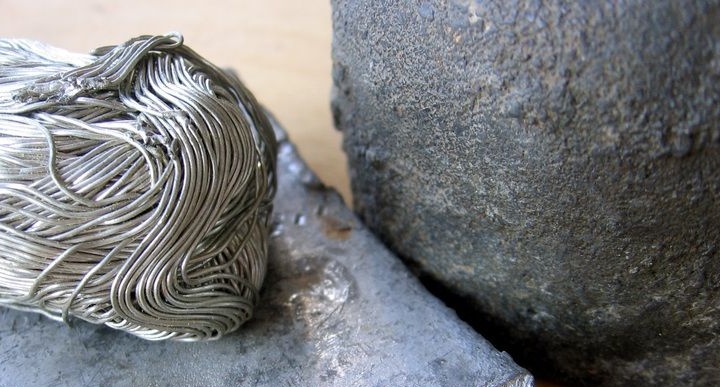
It is still important to develop a water block structure for efficient heat dissipation. The water block should have several channels through which water will circulate. The coolant must not stagnate and water must circulate through the entire water block. It is also important to make the area of contact with water as large as possible. To increase the area of contact with the coolant, frequent cuts can be made on the walls of the water block, and you can also install a small needle radiator.
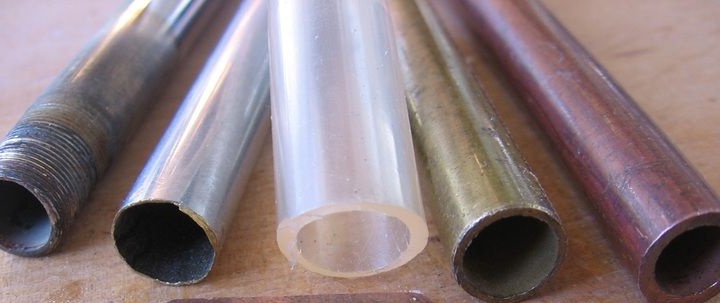
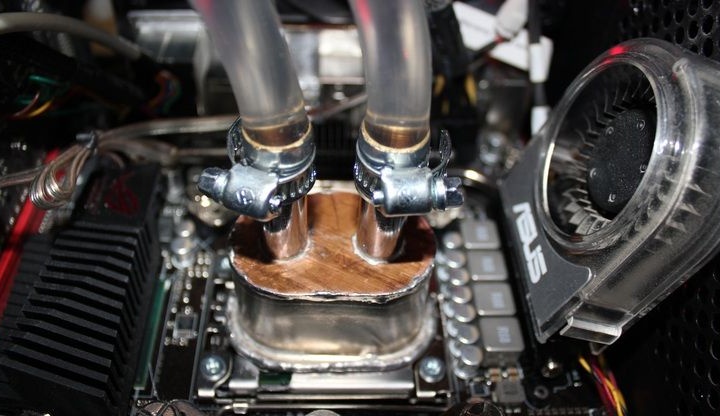
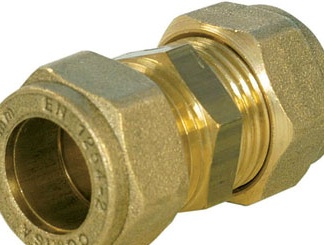
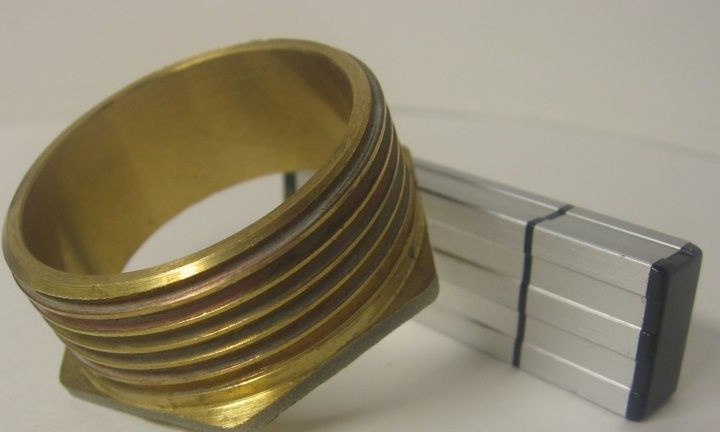
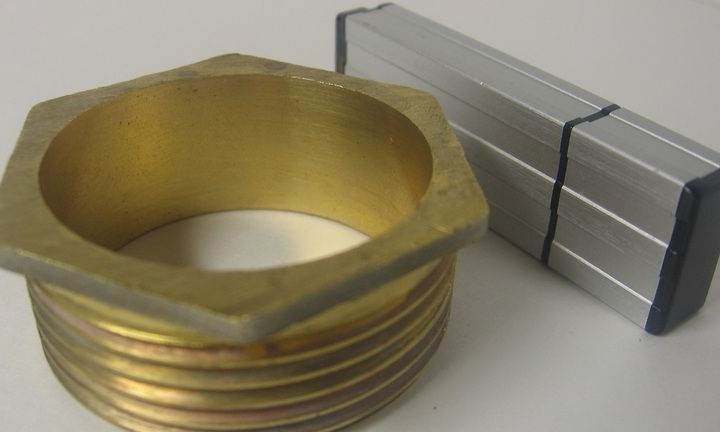
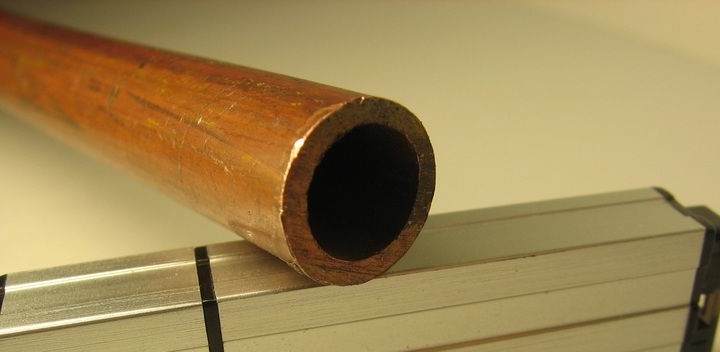
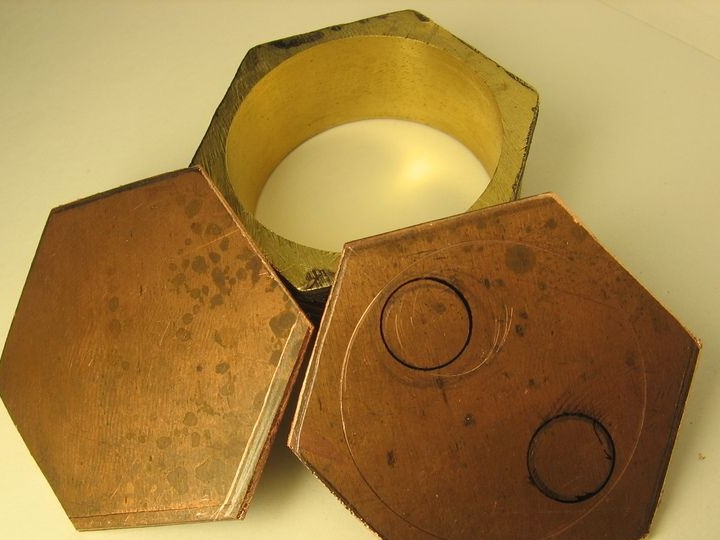
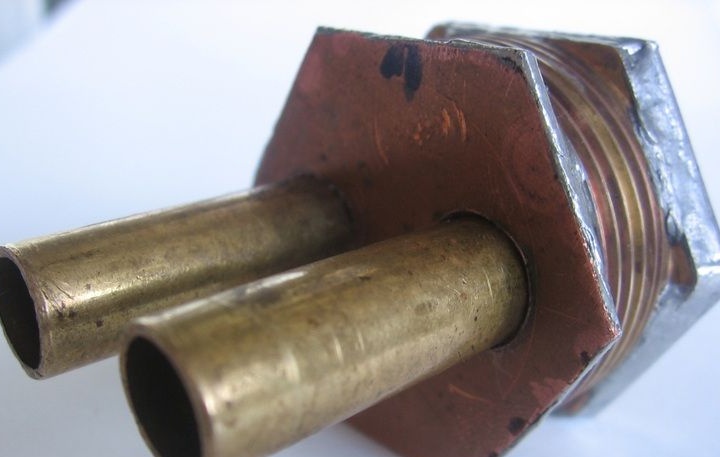
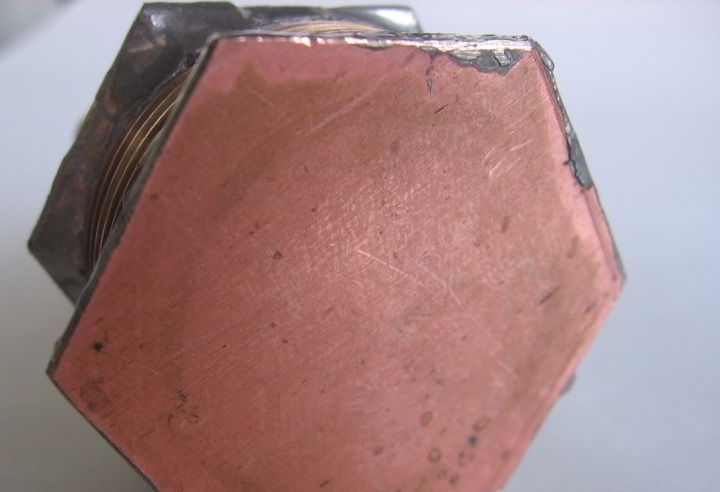
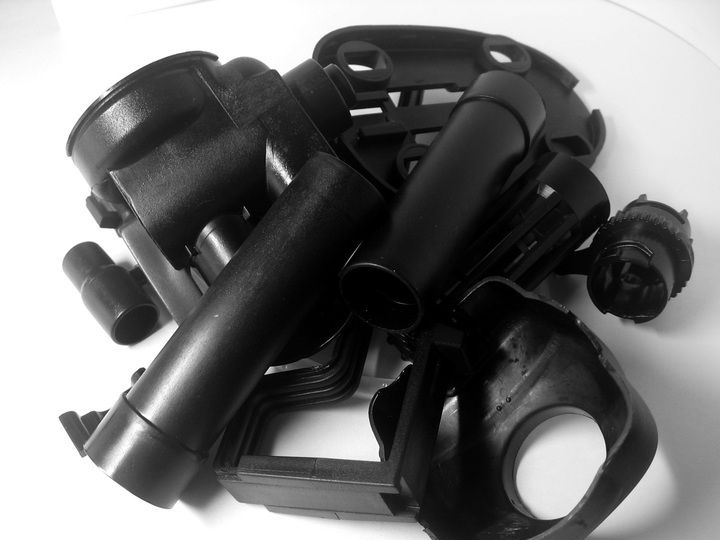
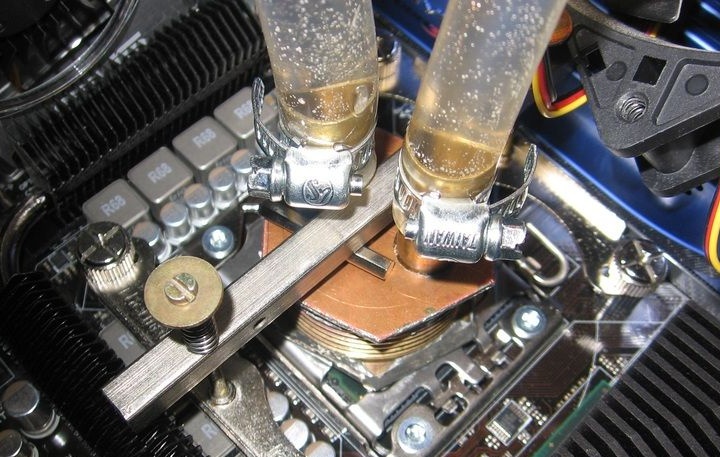
The author decided to follow the path of least resistance, therefore, as a water block, a water tank with two tubes for its supply and selection was made. As a basis, a connector for brass pipes was used. The base was a 2 mm thick copper plate. From above, the water block is also closed with such a copper plate, in which tubes are installed for the diameter of the hoses. The whole structure is soldered with tin-lead solder.
As a result, the water block turned out to be quite large, which was reflected in its weight; in the assembled state, the load was 300 grams on the motherboard. And this led to additional costs. To facilitate the design, it was necessary to come up with an additional system of fasteners for hoses.
Water exchanger material: copper and brass
The diameter of the fittings is 10 mm
Tin-Lead Soldering Assembly
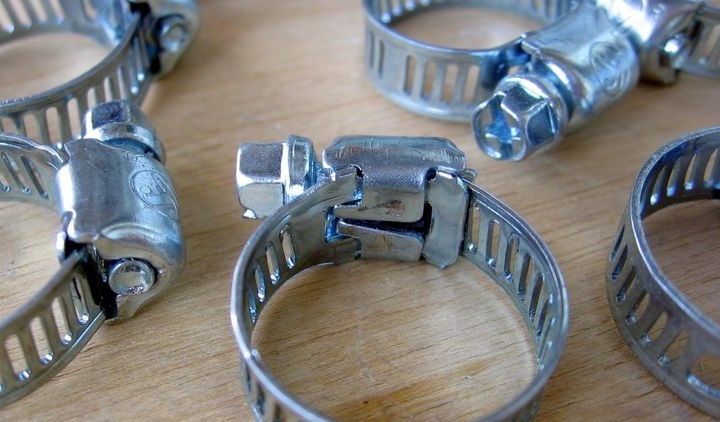
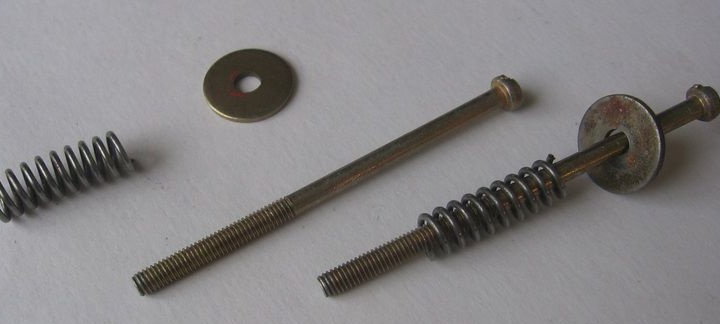
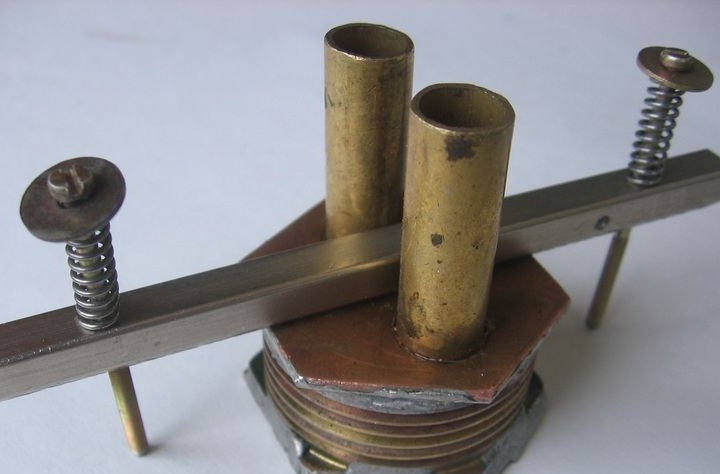
The design is fastened with screws to the magazine cooler, hoses are additionally fixed with clamps
The cost of homework at this step is around 100 rubles.
Read more about water block assembly
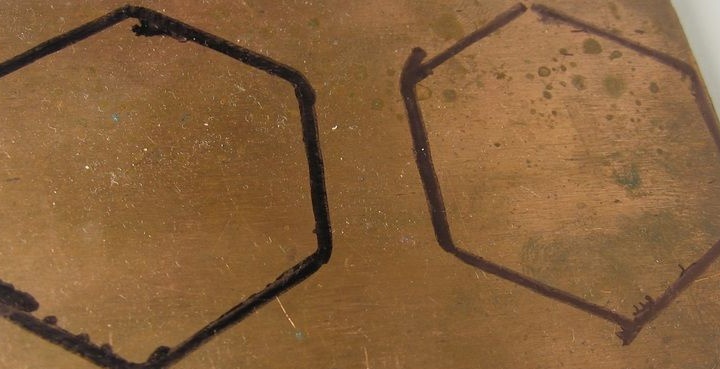
How the assembly process took place can be seen in the photo. That is, the necessary blanks were cut out of a sheet of copper, the tubes were soldered, well, and then with the help of a soldering iron everything was combined into a ready-made organ of the system.


Step Two We deal with the pump
Pumps can be divided into two types, these are submersible and external. An external pump passes water through itself, and the submersible pump pushes. The author used the submersible type of pump for his homemade work, since the outside was not found anywhere. The capacity of such a purchased pump ranges from 200 to 1400 liters per hour, and they cost around 500-2000 rubles. As a power source, there is a regular outlet, it consumes a device from 4 to 20 watts.
To reduce noise, the pump must be installed on foam rubber or other similar material. The tank in which the pump was placed served as the reservoir. To connect the silicone hoses, we needed metal clamps on the screws. To easily put on and take off hoses in the future, odorless lubrication can be used.
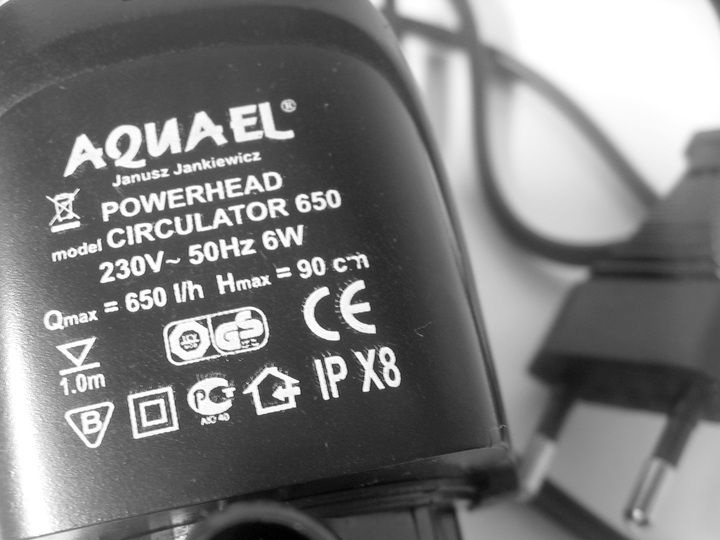
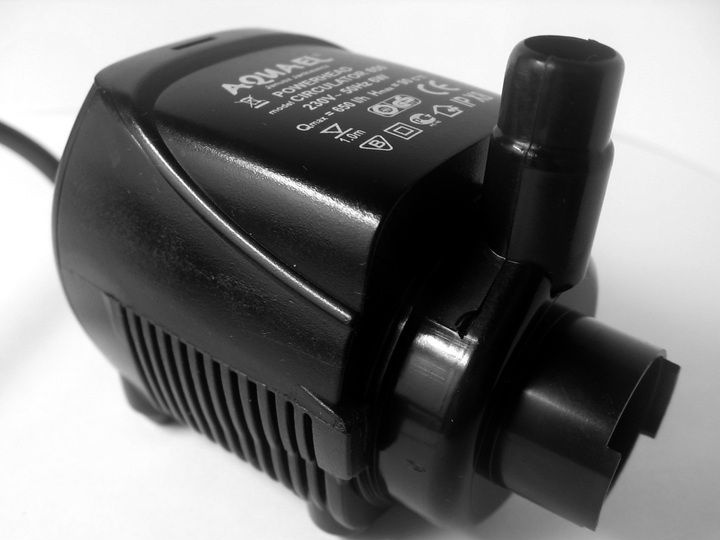
As a result, the maximum pump capacity was 650 liters per hour. The height to which the pump can lift water is 80 cm. The required voltage is 220V, the device consumes 6W. The cost is 580 rubles.
Step Three A few words about the radiator
The success of the whole venture will depend on how well the radiator works. For homemade work, the author applied a car radiator from the Zhiguli stove of the ninth model; he was bought at a flea market for only 100 rubles. Due to the fact that the distance between the radiator plates was too small for the coolers to be able to drive air through it, they had to be forced to push apart.
Radiator Specifications:
- tubes are made of copper;
- radiator fins aluminum;
- dimensions 35x20x5 cm;
- the diameter of the fittings is 14 mm.
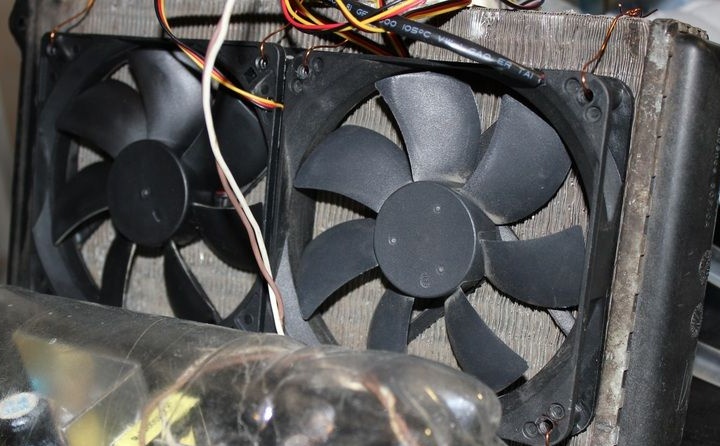
Step Four Radiator blowing
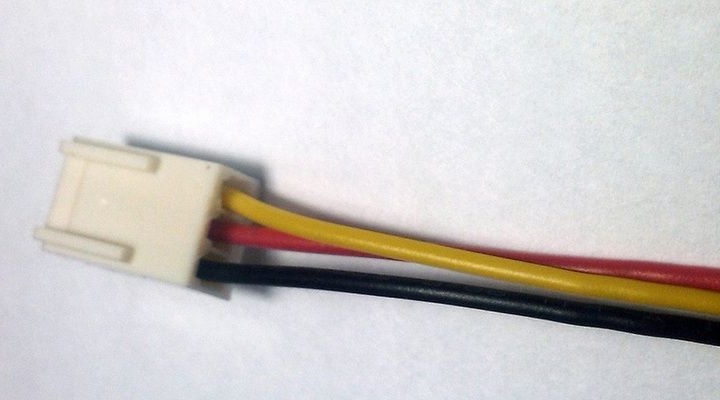
To cool the radiator, two pairs of 12 cm coolers are used, two are installed on one side and two on the other. For fans, a separate 12V power supply was used. They are connected in parallel taking into account the polarity. If the polarity is reversed, the fan can be damaged. Black color indicates minus, red plus, and yellow values of speed are transmitted.
The fan current is 0.15A, one costs 80 rubles.
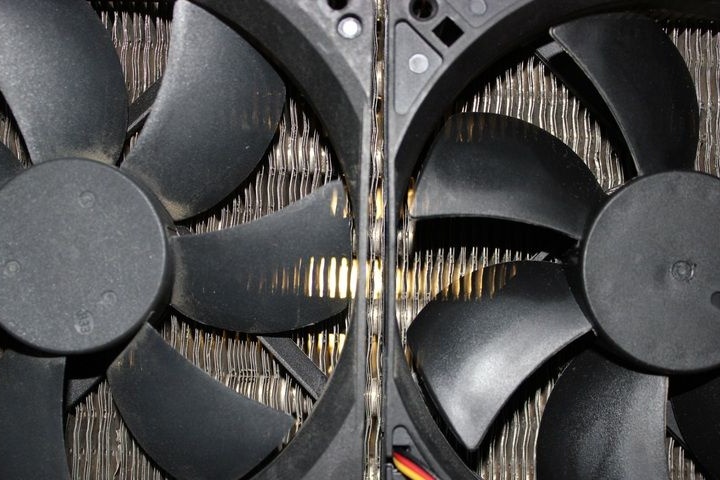
Here, the author considered the main task the efficiency and cheapness of the device, so no effort was made to reduce noise. Cheap Chinese fans themselves are quite noisy, but they can be installed on silicone gaskets or made other mounts to reduce vibration. If you buy more expensive coolers worth 200-300 rubles, then they work more quietly, but at maximum speed they still make noise. But they have high power and consume 300-600 mA of current.
Step Five Power Supply
If the right power supply is not at hand, then you can assemble it with your own hands. You will need an inexpensive chip for 100 rubles and several other available items. For four fans, you need a current of 0.6 A, and of course you need to have a little in stock. The assembled microcircuit produces about 1A at a voltage in the region of 9-15V, depending on the specific model. In general, any model, you can change the voltage using a variable resistor.
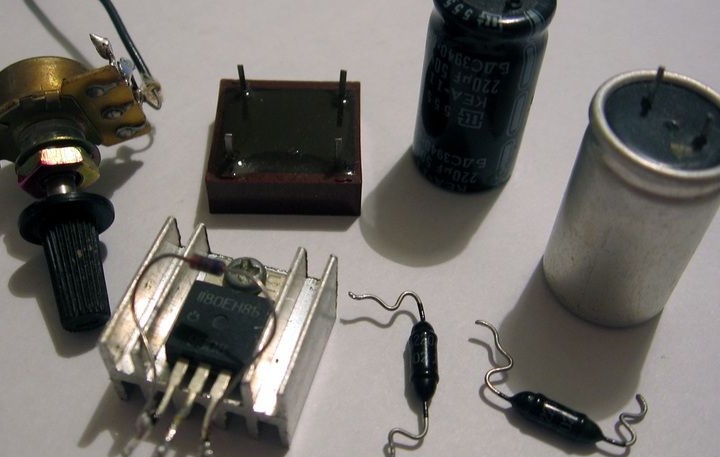
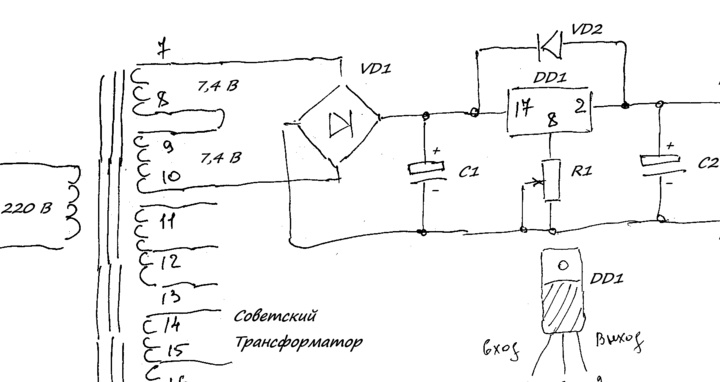

Tools and materials for the power supply:
- soldering iron with solder;
- microcircuit;
- radio components;
- insulation and wires.
The issue price is 100 rubles.
Step Six The final stage. Installation and Verification
Experimental computer:
- Intel Core i7 960 3.2 GHz / 4.3 GHz processor;
- thermal paste AL-SIL 3;
- power supply OCZ ZX1250W;
- motherboard ASUS Rampage 3 formula.
Used software: Windows 7 x64 SP1, RealTemp 3.69, Prime 95, Cpu-z 1.58.
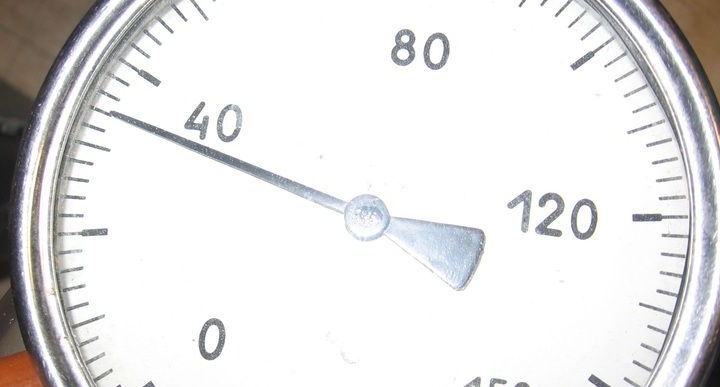
Immediately the first tests showed that the cooling system does not do its job well and needs to be improved. At first, only two fans were connected and the plates in the radiator were not spread for better blowing. With a standard cooler with zero load, the processor temperature is 42 degrees, and with a home-made cooling system 57 degrees.
With the prime95 test, the processor was loaded up to 50%, the temperature with air cooling is 65 degrees, and with homemade water 100 C in just 30 seconds. Of course, overclocking results are even worse.
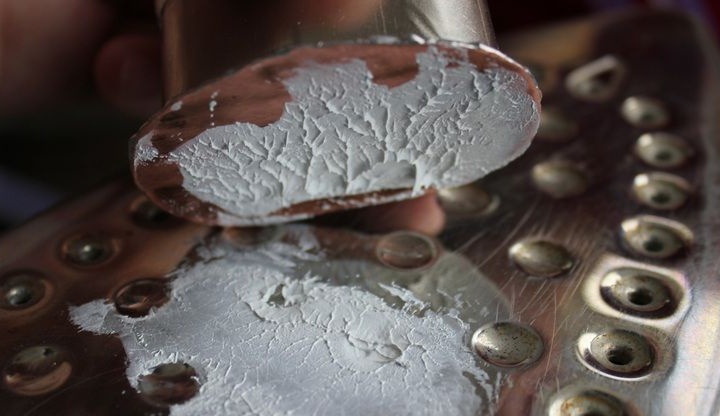
As a result, the author decided to make a water block using a thinner 0.5 mm plate. The plates in the radiator were also spread and 4 coolers connected. As a result, the temperature without load was 55 degrees, and with the native cooler 42. When you run the test at 50% load, the processor warms up to 83 degrees instead of 65 on the native cooling system. Further, after 5-7 minutes, the water begins to overheat and the processor temperature reaches 96 degrees. And all this without overclocking.
According to the author, the system was not effective so that it would be possible to cool a modern processor. In older computers, an ordinary cooler does an excellent job of this. Perhaps there is something else to be done in the system, or the author made the water block incorrectly. In any case, assembling the cooling system itself for less than 1000 rubles is extremely difficult.
Homemade video: