

This homemade will be useful to those who regularly get up in the morning. After all, winter is ahead, and this means that you will have to wake up in the dark, and this is rather sad, and unsafe if the light switch is located quite far. Moreover, in the dark it is much harder to wake up and get out of bed. This homemade product will solve this problem. When the alarm goes off, a lamp lights up in the room, which will provide a comfortable wake up.
Everything works on the microcontroller Arduino.
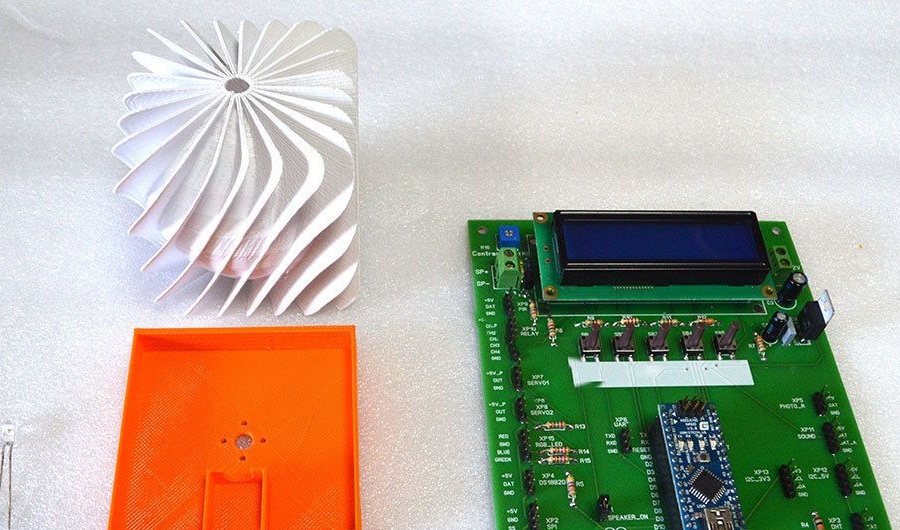
Materials and tools for homemade:
- different LEDs;
- real time clock type MP1095;
- Piezo buzzer (with built-in generator);
- A prototype of the debug board of the Arduino programming study kit (included in the NR05 kit), which is designed to connect the Arduino Nano;
- material for creating a diffuser (if you have a 3D printer, you can print something of your own).
The manufacturing process of the lamp:
Step one. Build start
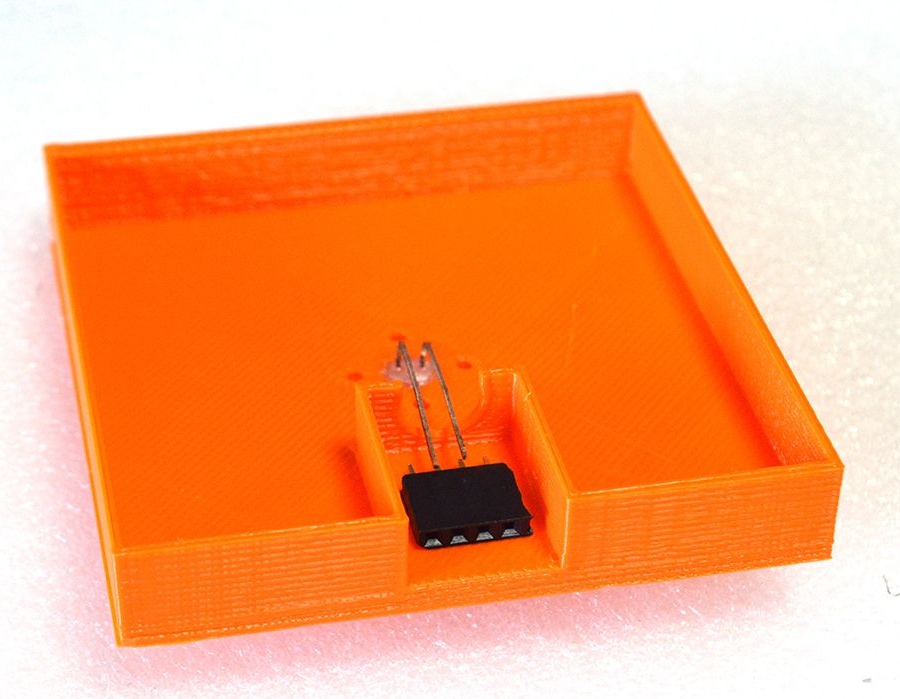
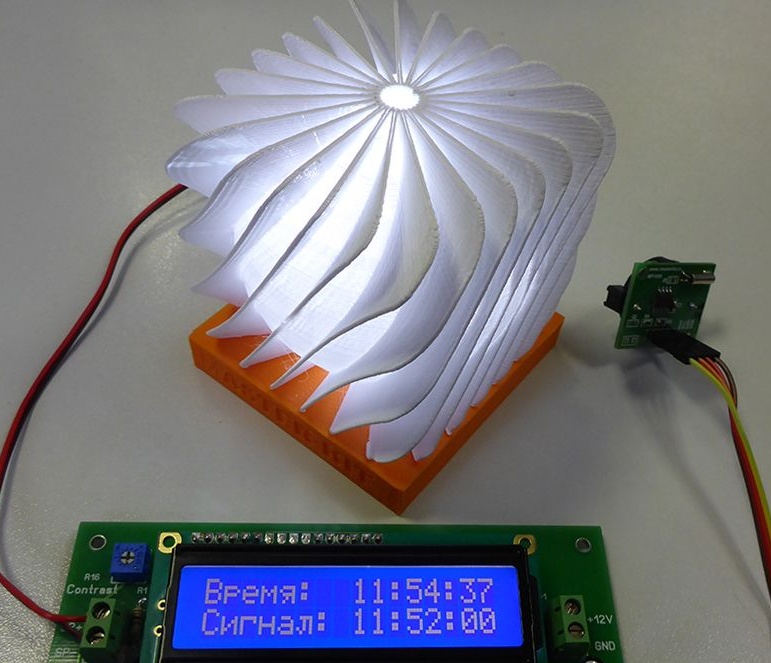
First, the author began by creating a lamp pedestal. It will have a diffuser, and the necessary equipment is installed inside. The pad was quickly drawn in SketchUp. If you wish, you can also print the case for the prototype board, but the prototype itself is already quite beautiful. Among other things, it can be used for development of other projects, and as for the alarm clock, in the future it can be designed in a more compact form, using the same Arduino Nano board.
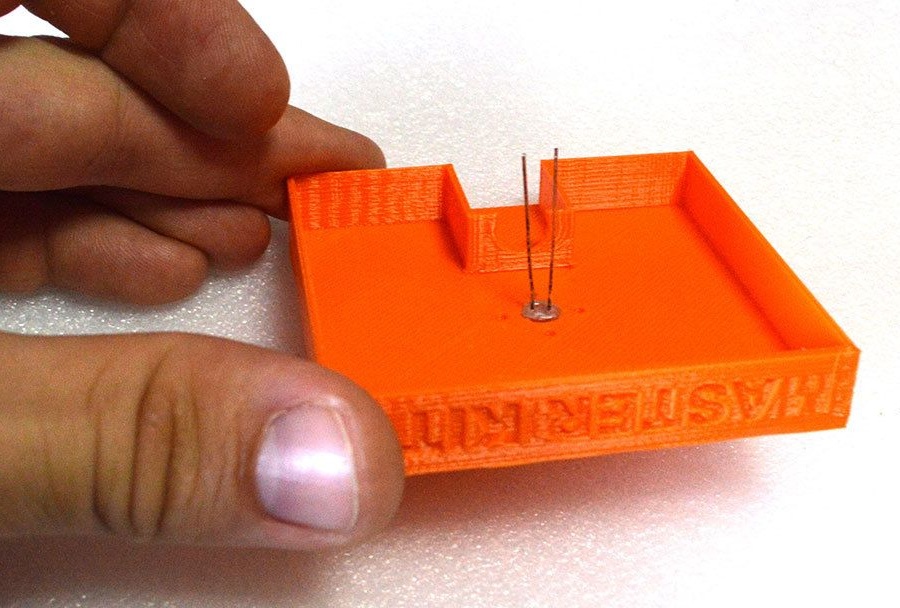
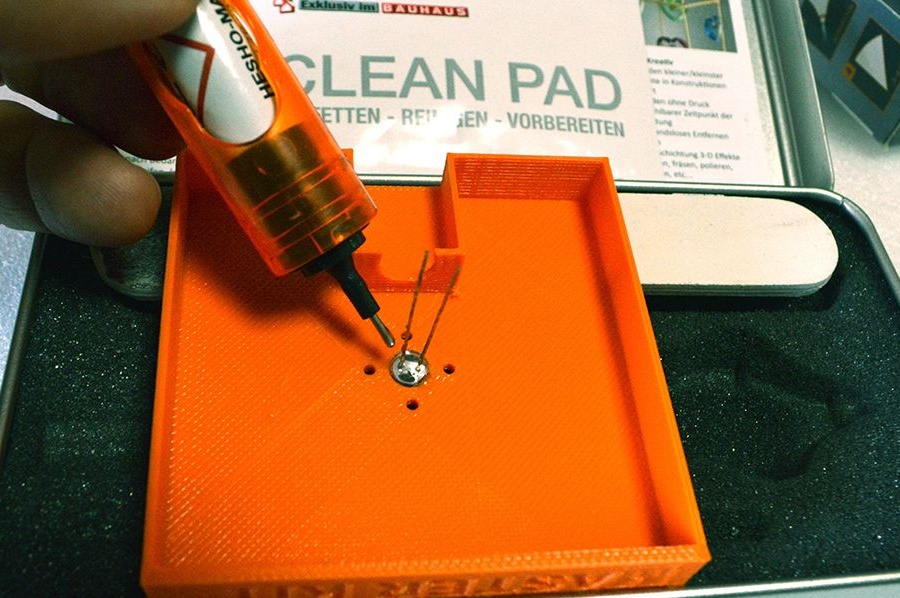
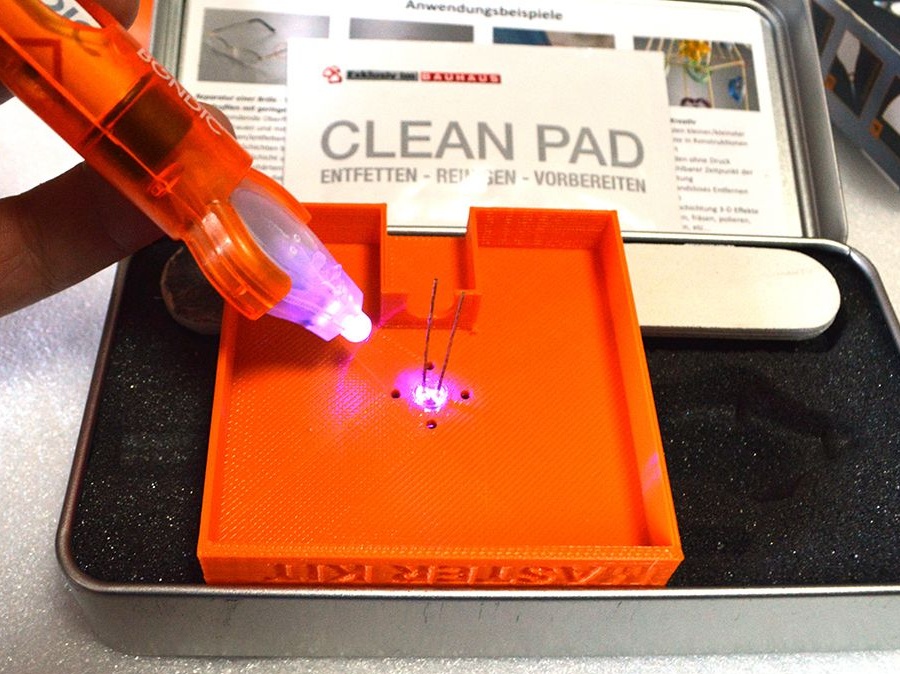
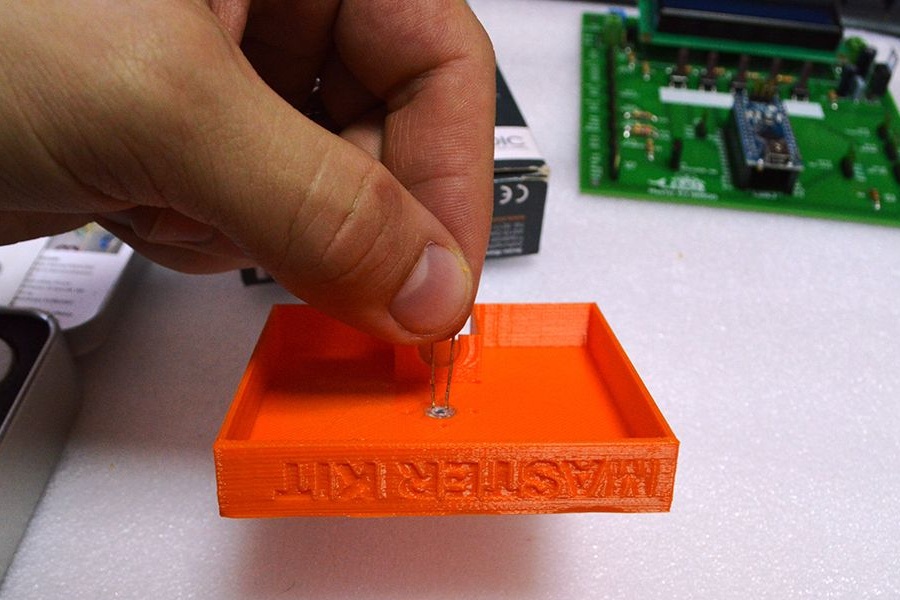
Then a single LED was installed. The author glued it with an ultra-modern glue that freezes when exposed to ultraviolet light. It is called Bondic glue. It keeps the glue well, and having such a thing for the household will not be superfluous.
At the same stage, the connector is also glued.
Step Two Testing and revision
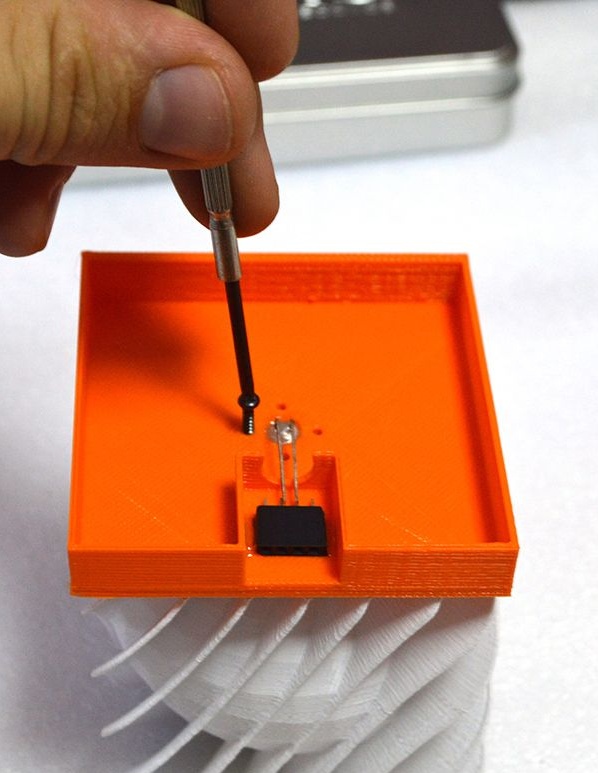
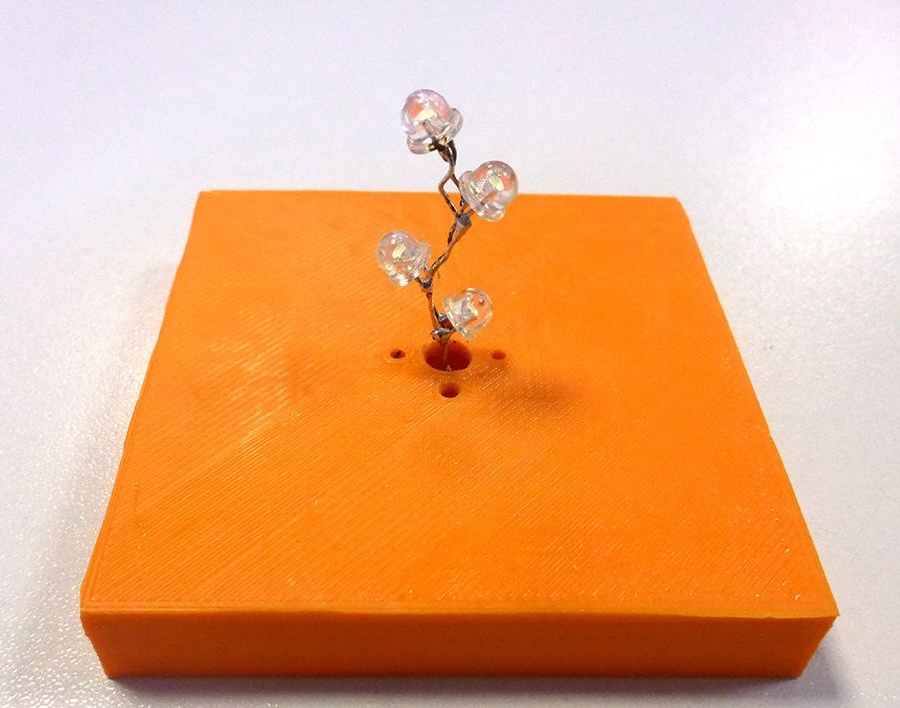
When tested, it turned out that the homemade light was rather dim. The lamp is visible in the dark, but this light is not enough to wake a person. To solve the problem, several white LEDs were found, they were connected in parallel in the form of a tree. As a result, the lamp began to shine quite brightly, this will allow to wake up from such a light with a certain sensitivity of a person, well, of course this is not all, there will be other levers of influence on the psyche.
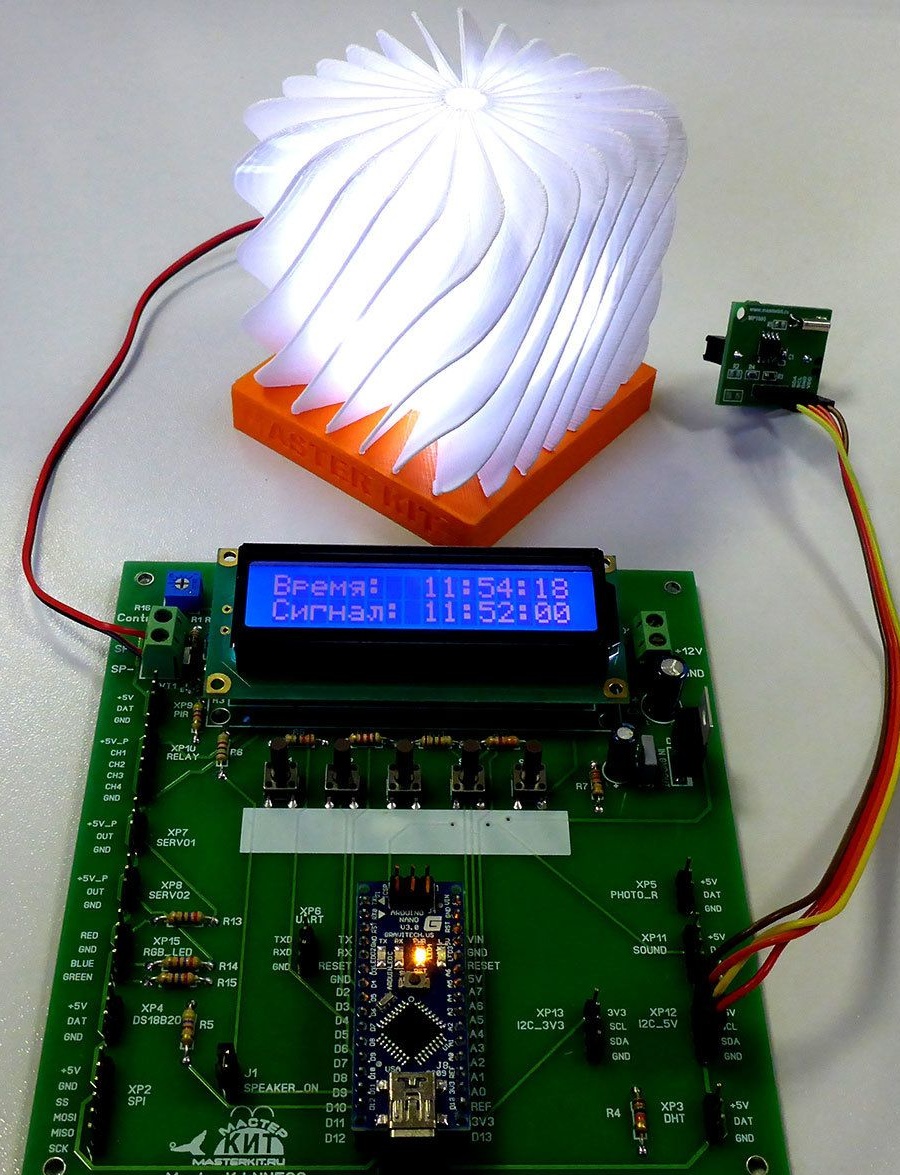
The lamp at maximum brightness consumes about 100 mA, in this regard, it can not be connected directly to the Arduino. But on the debug board there is a current amplifier working on a transistor, it gives out 200 mA.
Among other things, the board has a bunch of buttons; in the future, they can be used for experiments and setting the alarm.
In general terms, the debug board is good in that it has a bunch of different connectors to which you can connect a variety of sensors, servos, relays, devices that work with the I2C interface and more. To connect, you just need to have wires with sockets.
Step Three Final stage
The author decided to adjust the brightness of the lamp through PWM, using the ninth pin on the Arduino microcontroller, which is wired on the board to the amplifier. The tweeter is connected to the SOUND connector, plus and minus to GND are connected to DAT.
A real-time clock will need to be connected to the I2C_5V connector, because it needs 5V for power.
For adjustment, there is a two-line LCD indicator on the board itself. It is quite contrasting and has white signs on a blue background that are clearly visible. After all the necessary equipment is connected, you can proceed to configure the software.
Algorithm for homemade work:
- when the time on the clock coincides with the alarm time, the lamp starts to turn on gradually, glowing brighter;
- in the process of turning on the lamp, sound signals are also given that will not allow the sleeping object to ignore the alarm;
- You also need the ability to install additional annoying sound for more efficient awakening, if necessary. It would also be nice to make a function that allows you to turn on the light at full brightness or turn it off after full awakening;
- And finally, the clock and the alarm should be able to set the time.
Ready-made sketch for homemade can be downloaded at the end of the article. The code has detailed comments that will allow you to edit it to fit any needs.
That's all, the homemade product is ready, you can start the tests.