Step 1. Draw a sketch
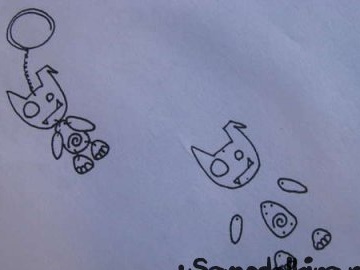
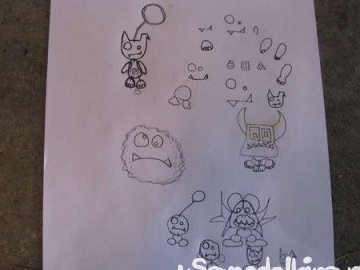
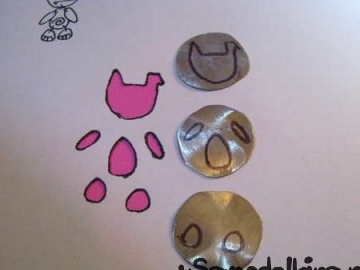
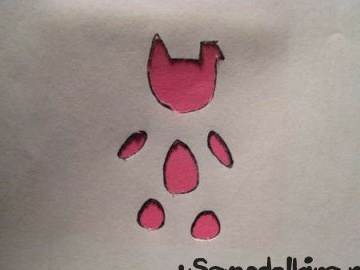
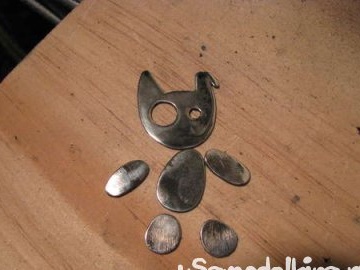
Before you start working with a hammer, draw the elements of the desired product. Elements of my keychain will look something like this.
Step 2. Level the surface
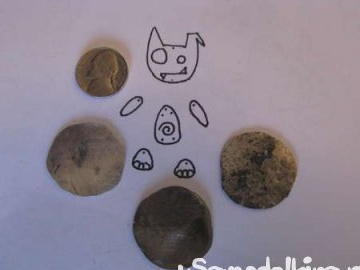
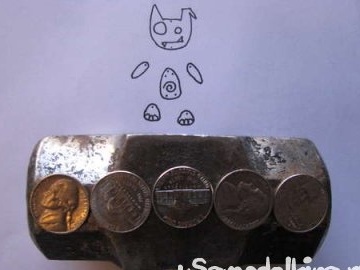
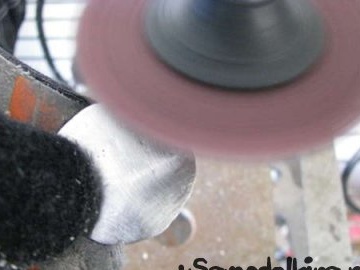
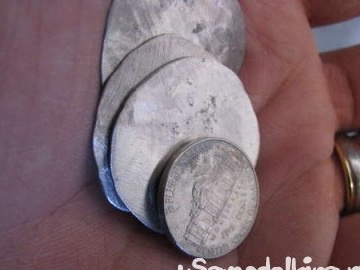
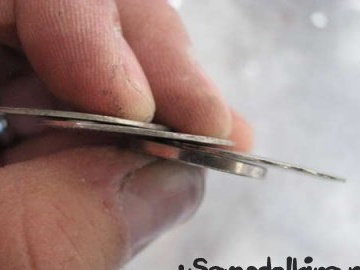
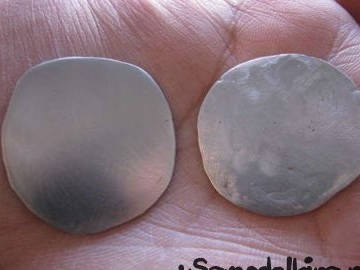
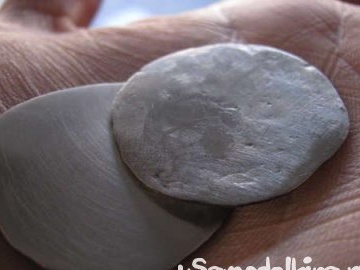
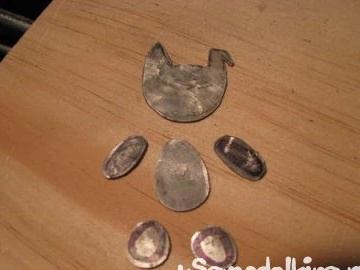
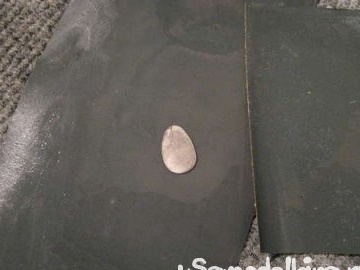
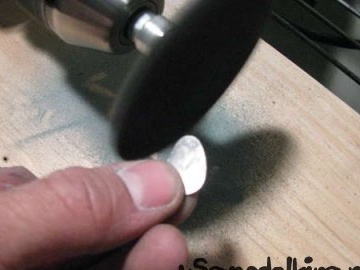
Copper coins are most suitable for us, as it is a rather soft metal and can be leveled. Use a hammer to flatten coins. Once you get the right size, polish them with an emery wheel.
Step 3. Draw a template
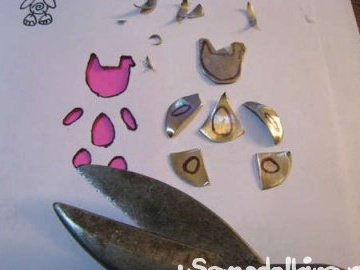
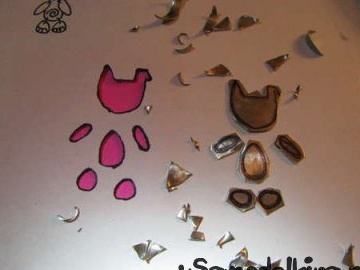
We take a sheet of paper and draw on it the elements of the body of a monster. Then we put coins under each element and slightly pressing we draw a contour. Thus, you can transfer the picture to coins
Step 4. Give the form
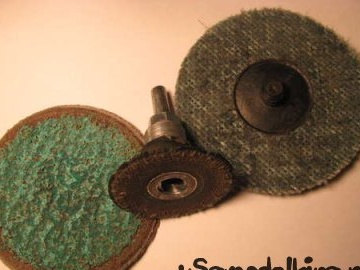
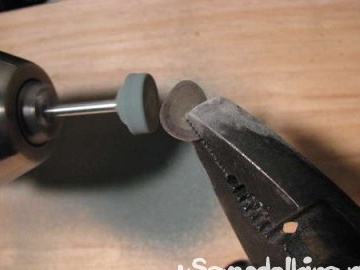
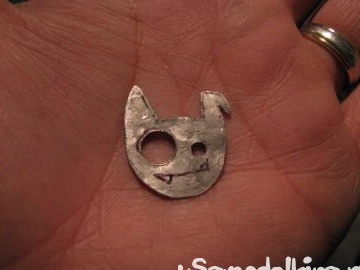
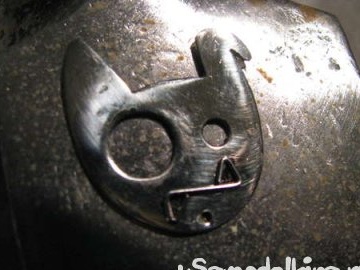
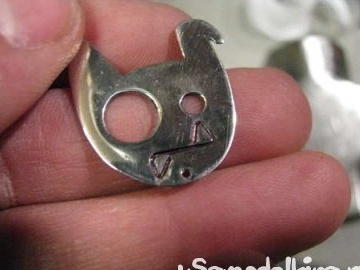
Trim the excess with sharp scissors. Leave just a little so that we can correct the form in case of irrelevance. Take a fine-grained emery nozzle and attach it to the punch. Sand the parts to the desired shape.
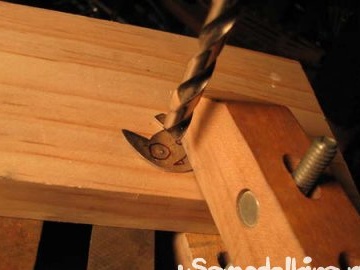
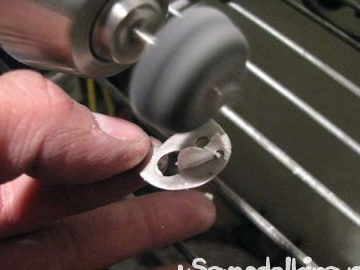
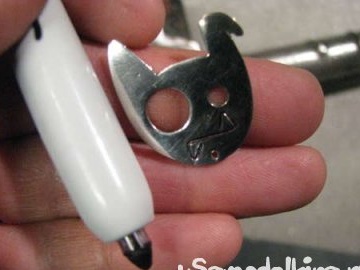
Hold the monster head element with pliers and drill eye holes in it.
Step 5. Polish
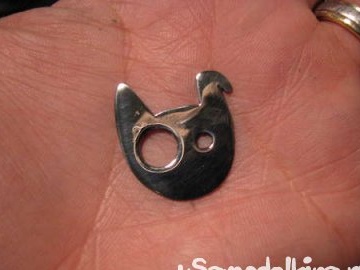
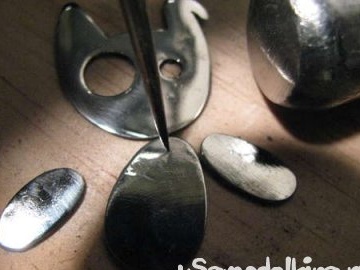
For polishing, take sandpaper with a grain size of about 1000 grit. The elements are very thin, so the smaller the grain, the better. I placed each element between two pieces of sandpaper and carefully polished it. To make the parts shiny, rub them with a grinding paste. Then with the help of an awl we make holes in the elements so that it can be connected from each other. Grind all the bumps again.
Step 6. Mint
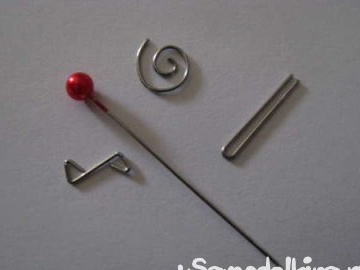
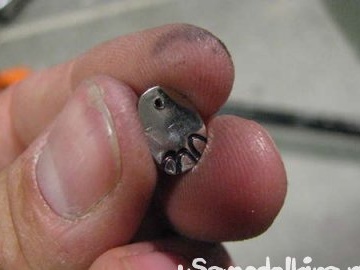
We take several needles and form such elements from them.
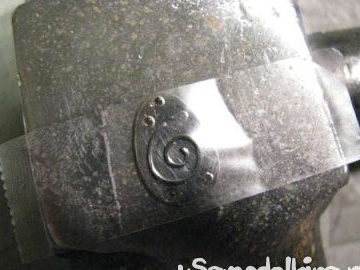
The needles are made of dense metal, so when minting they will not bend along with coins. Using these forms, we make the monster's mouth, paws and stomach.
Step 7. Connect
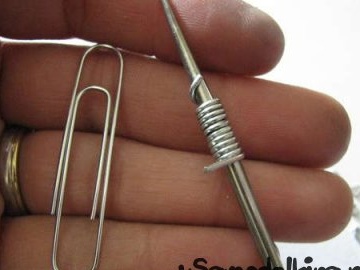
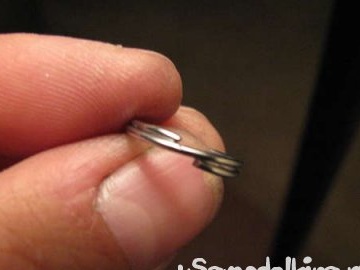
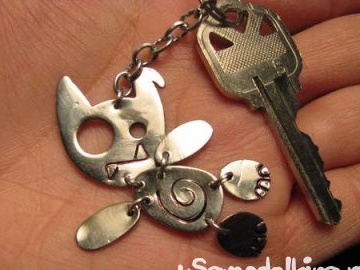
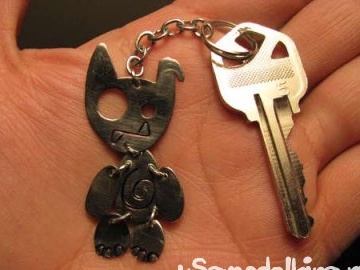
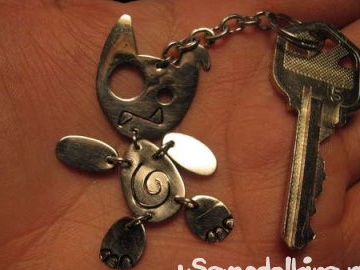
Take a paper clip, unfold it and cut it into several segments. Roll these segments into rings and thread them into the corresponding holes on the monster parts. We connect the elements as shown in the figure.
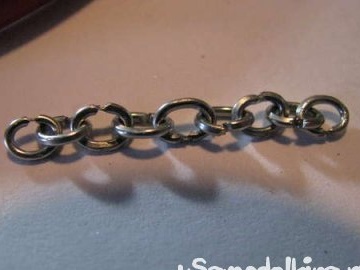
To make a chain we connect several rings together.
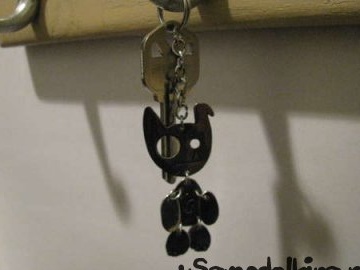
The monster is ready! Can be worn with keys.

