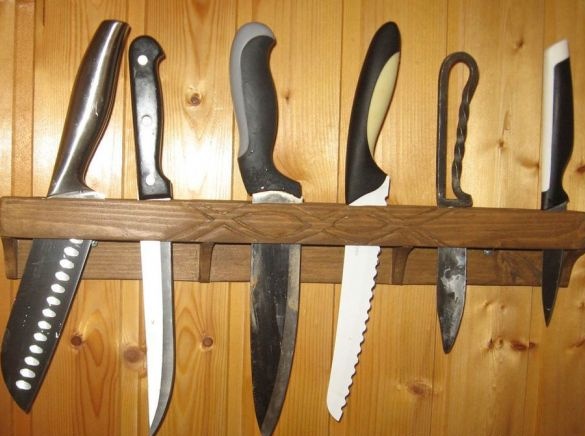
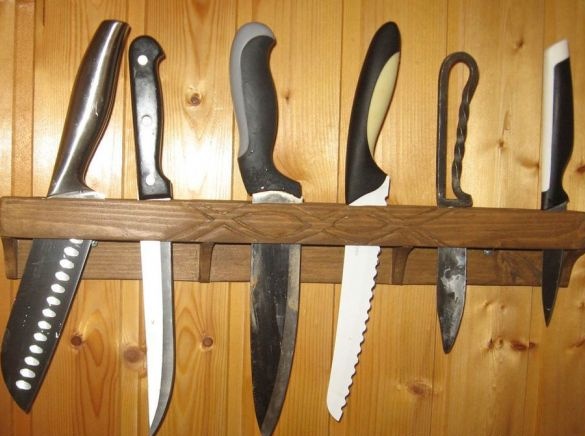
Hello to all lovers homemade, in every kitchen the main tool is a knife or a whole set of knives, but in each house these knives are stored in different ways, there are a lot of ways, such as a magnetic strip, a separate cabinet or a bedside table for knives, and so on. But why come up with something complicated, so the author decided to make a knife stand out of the old lining, or rather leftovers, that will look good in the kitchen, and will also be able to accommodate many different knives from small to large, as well as varieties for their intended purpose. For our homemade product, a lot of materials will not be needed, all the details can be found in such stores where there are building materials.
To make a knife stand do it yourself, we will need:
* A piece of lining about a meter long, in this case, the remains of the alteration of the veranda.
* Electric fretsaw.
* Fraser.
* Joiner's glue.
* Varnish transparent for wood.
* Sandpaper of various grain sizes.
All materials and tools are ready to work, so we begin to assemble our stand.
Step one.
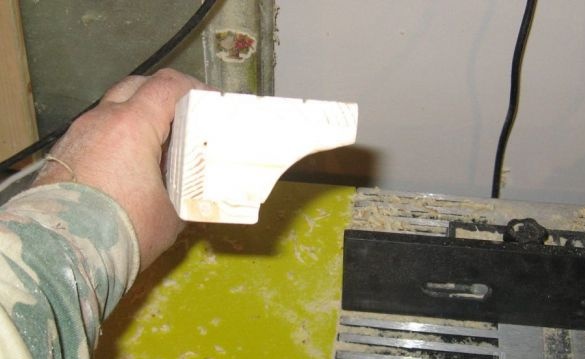
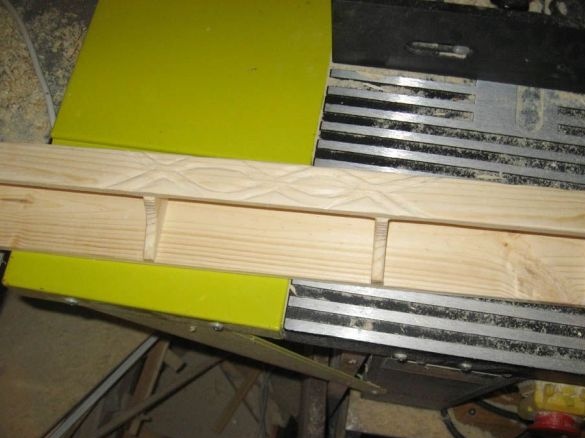
After examining the dimensions of the future stand, using a jigsaw or a band saw, we saw out two boards, the dimensions of which are 45 cm, we also need to cut a small piece, and divide one more into 4 small boards measuring 3 by 5 cm. To make a more presentable appearance, and also not leave sharp corners, it is necessary to saw out the edge with a jigsaw so that a smooth transition is obtained, as in the photo.
Step Two
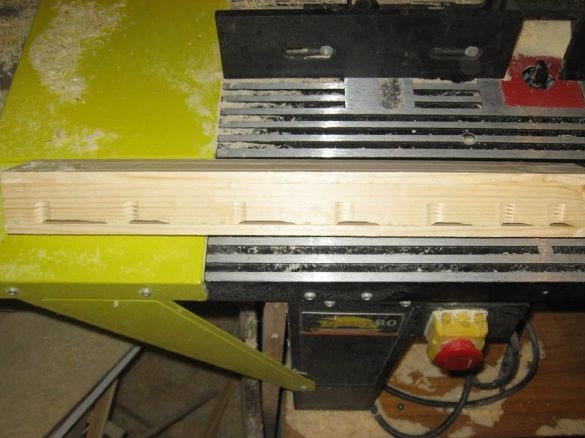
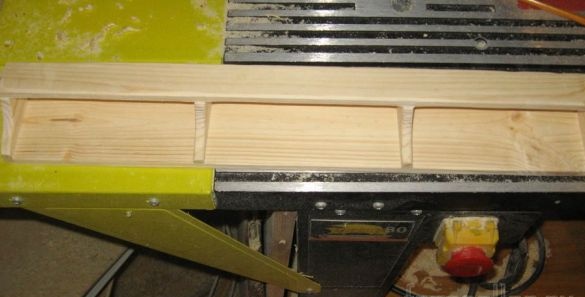
Now you need to dissolve one of them from the other two planks along into two parts, using the band saw. Be careful when working with the saw, as its blade is very sharp, and the slightest touch can be an injury later, therefore it is better to protect yourself with protective gloves, as well as protect your eyes with glasses from chips. On the milling machine, you need to make grooves for the knives, the size of the blades should be slightly smaller than the finished grooves, and the thickness of all should be increased for easier installation of the knives in the stand.
The second plank will be the front side.
Step Three
Using carpentry glue, you need to fix all the details, it is better to press them with clamps or wrapped with nylon thread, if you do not have clamps, you should not add a lot of glue, it is better to cover the joints with a small layer.
Step Four
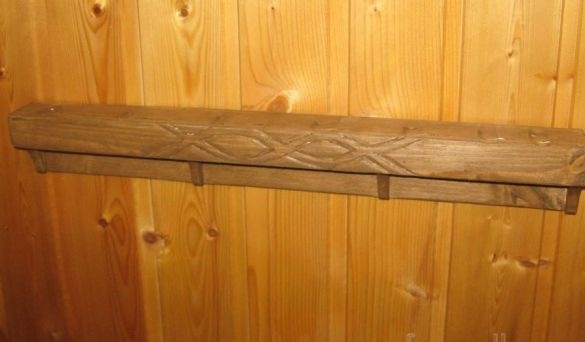
The appearance of the stand can be made diverse, it all depends on your engineering idea, as well as design thinking, and if closer to the point, then a simple way will be to cut out a pattern on the front side of the board, again, made at your discretion, or you can write some wish lettering. Cutting a carved pattern is a rather interesting task, it is done carefully with the help of incisors, their varieties are responsible for the fact that with one cutter you get a kind of pattern, with another - another. And so, selecting various types of incisors, we achieve the desired result and proceed to the next stage.
Step Five
Every person who knows a lot about woodwork knows that the final processing is grinding the finished part, and therefore our stand cannot do without it. Armed with coarse-grained sandpaper, we begin to grind it with reciprocating movements, if there is a grinding machine, then this is much better than manually pulled. Sanding the stand is necessary starting from a large and ending with a small emery cloth to achieve a smooth surface. After finishing grinding with a nolevka, we cover with a layer of transparent varnish, we make two layers.
As a result, an original and comfortable stand came out that every housewife in the kitchen will appreciate, both externally and in functionality.
Thank you all and good luck with your new ideas.

