
Hello to all lovers homemade, as this usually happens with those who have a child, then the teacher takes it from the kindergarten and instructs them to make a bird feeder, as the time of year is just right and as they say, the time has come. Usually fathers or older brothers are taken for such work, in general, the decision is made, the feeder should be distinguished from the others, and also keep originality, and all so that your child can proudly say this was done by my dad. And if you think so, what else can you do on winter evenings, so it's time to keep yourself entertaining and useful, and the birds will be happy.
There were no difficulties in getting the necessary materials. In this article I will describe in detail how the author built a feeder do it yourself.
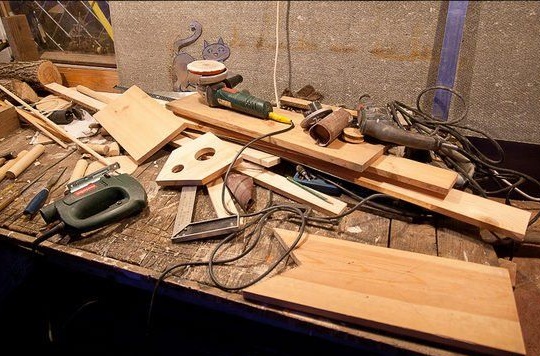
In order to make an original feeder with your own hands, we need:
* Plates, about 15 mm thick.
* Screws of medium length, fit a length of 35-45mm.
* Measuring instruments: tape measure, pencil.
* A couple of metal corners at 90 degrees.
* Wooden beam.
* Clamps.
* Waterproofing sealing gum.
* Electric fretsaw, special protection equipment for working with it.
* Ring drills, one larger diameter, the other smaller.
* Paint any color you like.
* Drill.
That's all the details with the tools collected for further work, now you can proceed.
Step one.
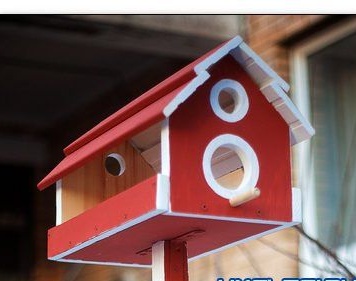
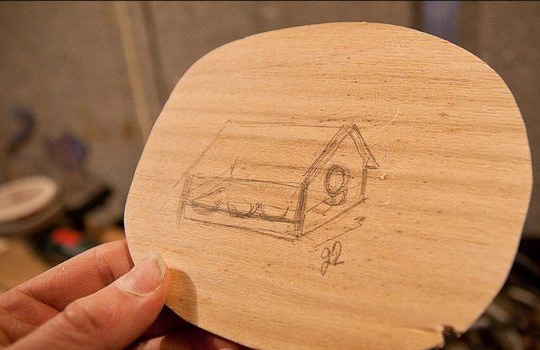
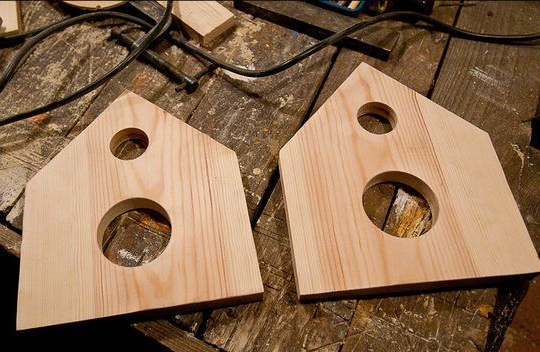
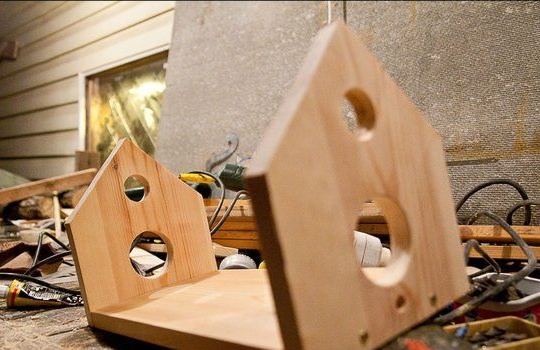
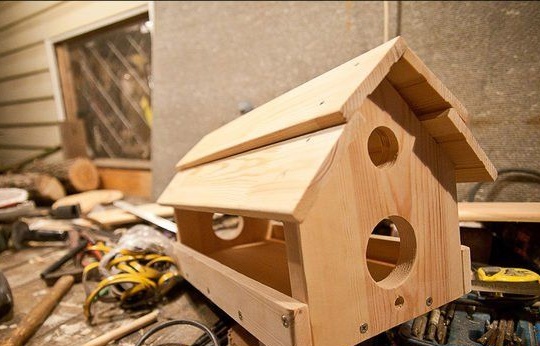
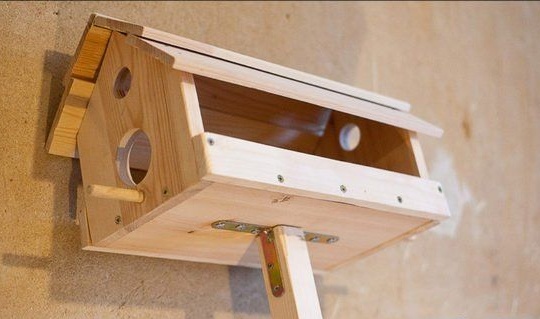
The first thing you need to decide of course with the appearance of the feeder itself, after thinking a lot of options, it was decided that it will look like in the photo.
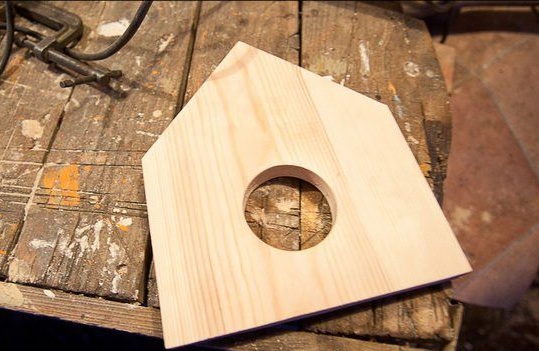
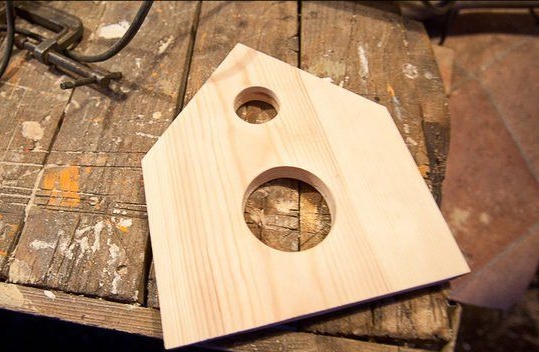
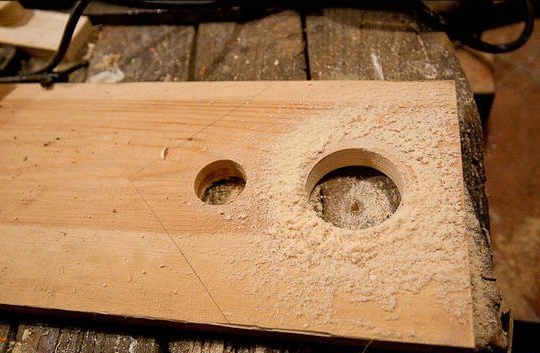
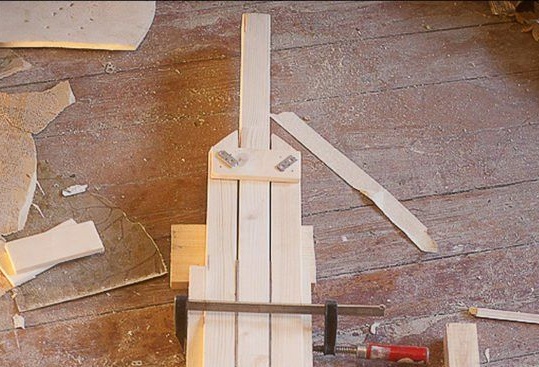
And it should not be deprived of convenience for birds, so all parts must be arranged so that birds have open access to feed. The idea of previously thought-out birdhouses was also taken, namely, to cut the same hole on the front and back. In order to make such holes, you need a drill, we first clamp a larger core drill and drill it, then drill a little higher, just made a smaller hole with a drill. The same actions need to be done with the rear wall of the feeder, the dimensions can be moved simply by circling the contour with a pencil.
Step Two
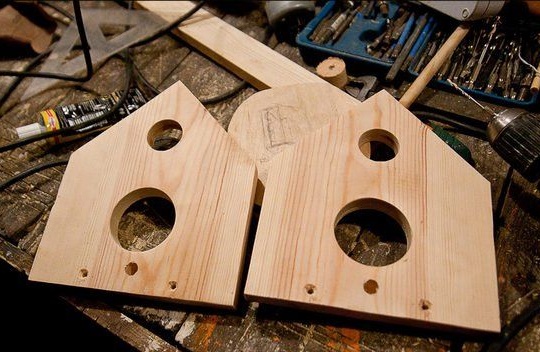
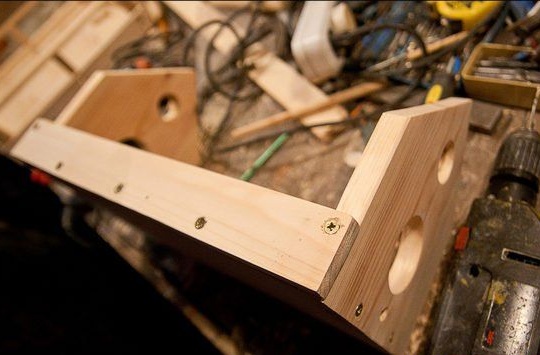
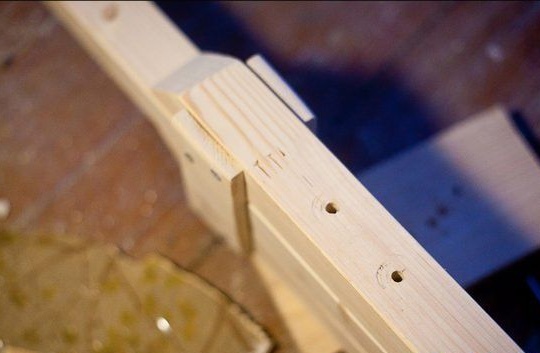
We release the drill chuck from the ring drill and clamp a drill into it, the diameter of which is equal to the diameter of the screws, make two of them on each side, and also drill a bit more to drill one hole for installing the pole.
Step Three
Using screws, these sides with already prepared holes must be fixed on the base of the feeder, which we cut with a jigsaw in advance according to the drawing, remember that when working with him, you must be careful and wear safety glasses and gloves.
Step Four
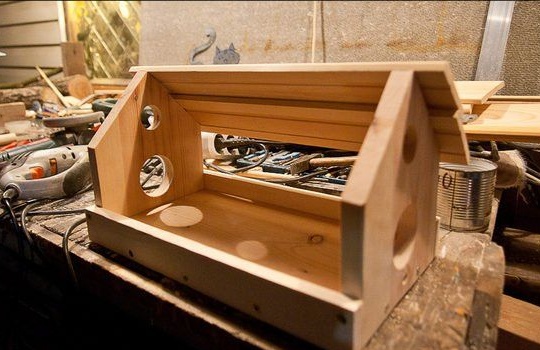
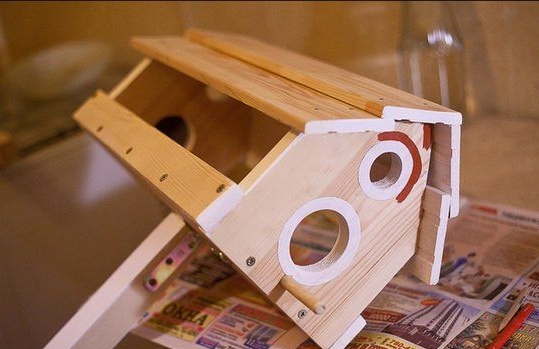
We cut out the sides with an electric jigsaw, which will give the structure a greater strength, and also will not allow the feed to spill out in any convenient situation. We make their height not so large, it is enough that it is 6-8 centimeters, so that the food does not get enough sleep, this is quite enough, and the convenience for birds does not decrease.
Step Five
Now we need to take care of the roof, namely its creation, we make it of two planks, fixing so that the second is lapped with the first, it will look more beautiful than ordinary masonry. And so that the food does not get wet and it is as dry as possible inside the feeder, we make the joints of the upper boards airtight with a sealing gum, which we glue to the upper end, as shown in the photo.
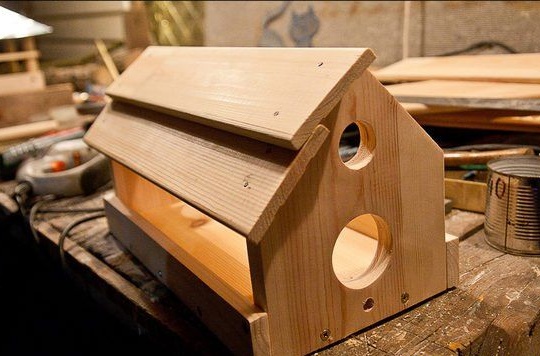
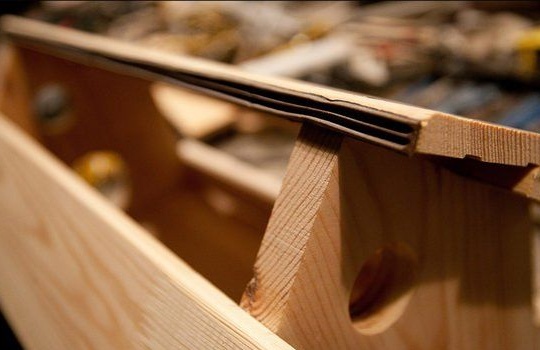
We collect the second half of the roof similarly to the first.
Very few steps separate the feeder from full readiness. The perch is installed in the seat, for greater reliability, you can coat with wood glue.
Step Six
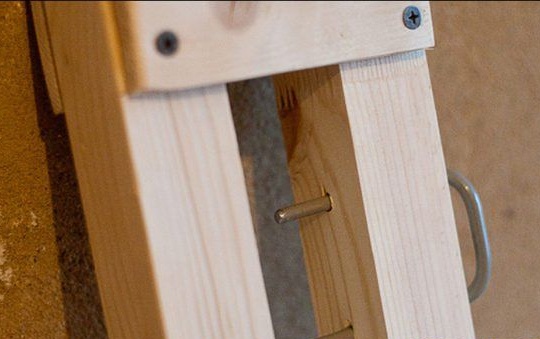
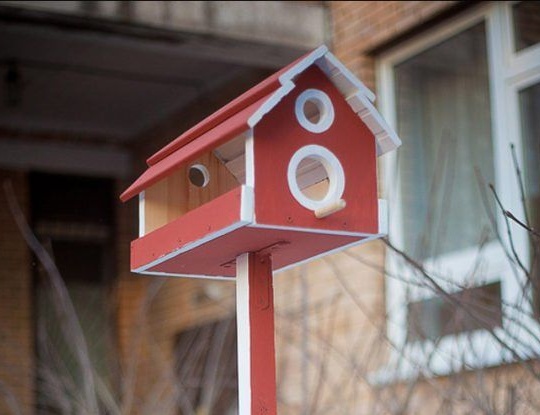
If you have a tree where you can easily hang a feeder, then you can skip this moment, but since the author did not find a suitable tree, he came up with a quite adequate mount of the feeder on a support made of bars, the middle of which will be connected on the sides by stepsons .
We cut down the top of the stepsons in the form of triangles, which will give the snow the opportunity to fall down, and not linger. We saw out the bar with an electric jigsaw, and from the bottom we fasten two washers that will connect the stepsons while the beam inside can move freely. Between the beam and stepsons, we leave openings-cracks.
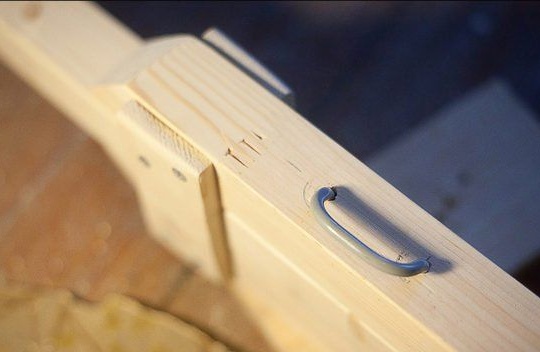
We make a couple of holes with a drill that will allow you to change the height of the installed feeder.
We make a pen that fits into these holes, set its rightful place.
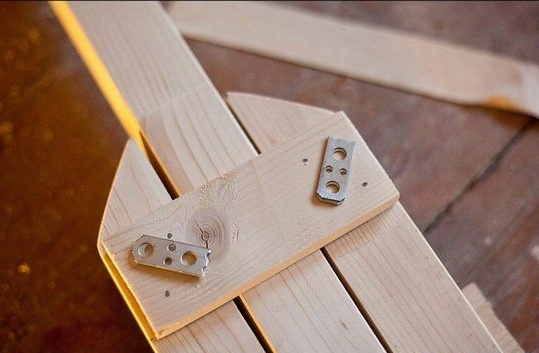
We attach the feeder to the finished support, for this two corners of metal are best suited.

Seventh step.
The beauty of the feeder should also not lag behind other parameters, therefore, using your imagination you can give a peculiar look with the help of paints, the author painted the ends of the boards in white, painted the same color on the ceiling, and painted the roof and other flat surfaces of the feeder in brown.
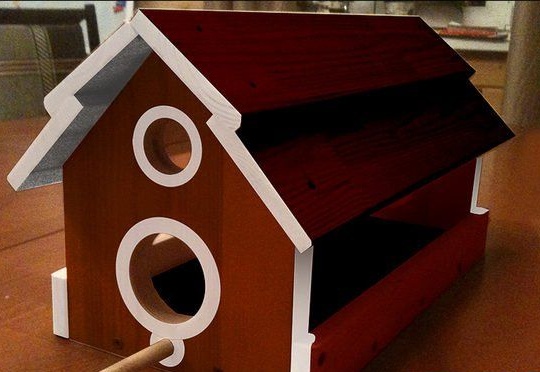
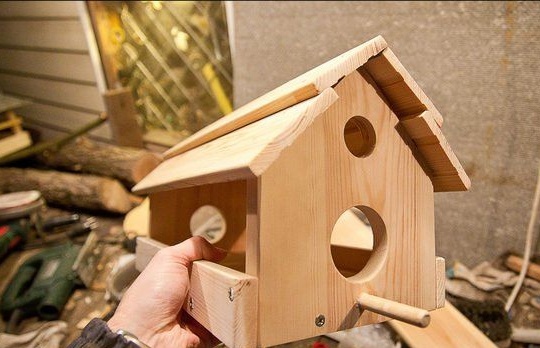
In general, such a homemade product came out, the feeder turned out to be very interesting in this design, and its similarity to the birdhouse gives more originality than that of standard feeders.
After assembly, you are guaranteed to receive many pleasant emotions, since your children will enthusiastically and with interest watch the birds visiting your homemade feeding trough, watching birds for children is also an educational activity.
Thank you all, good homemade goods to you.