This article will discuss how to make a microscope from an AV camera. The image from such a camera is output to any video device that has an AV input.
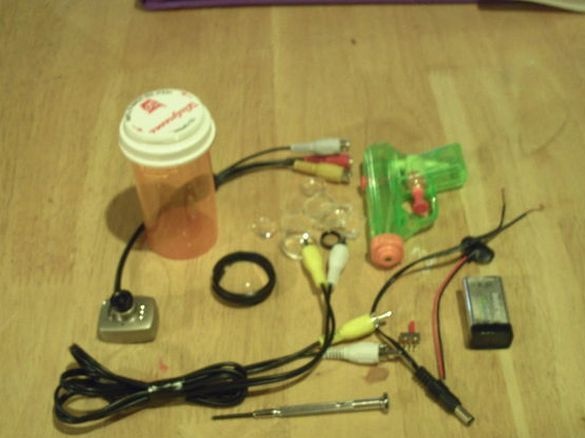
Tools and materials:
-Plastic jar with a lid;
-AV camera;
-AV cable;
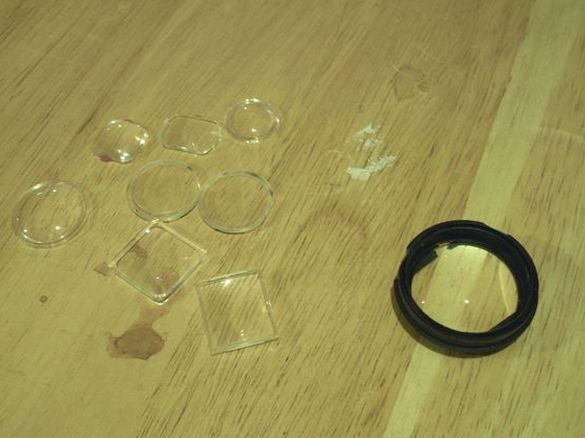
-Lenses;
-Power connector;
-9 V battery;
- Lens housing;
-Switch;
-Screwdriver;
-Drill;
- Thermogun;
-Nippers;
-Soldering iron;
-Soldering accessories;
-Heat-shrink tubing;
Step One: Preparing the Case
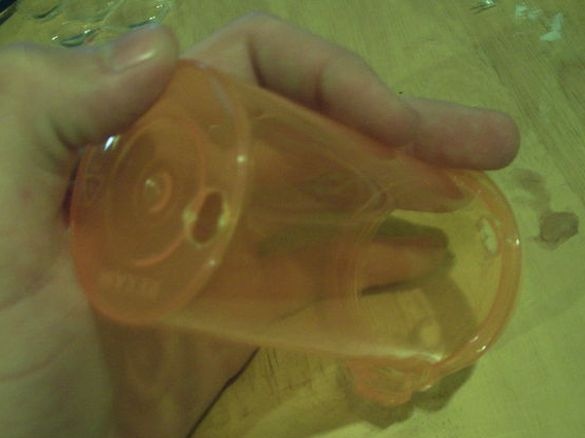
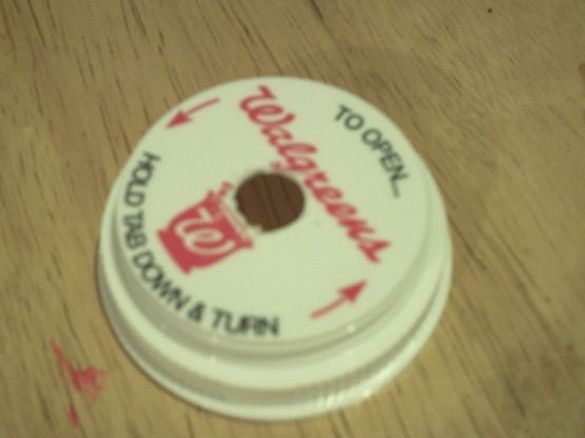
In the lid of the can makes holes equal to the diameter of the camera lens. Makes two holes in the jar. One in the bottom closer to the edge, the second in the upper part of the can.
Step two: finalizing the camera
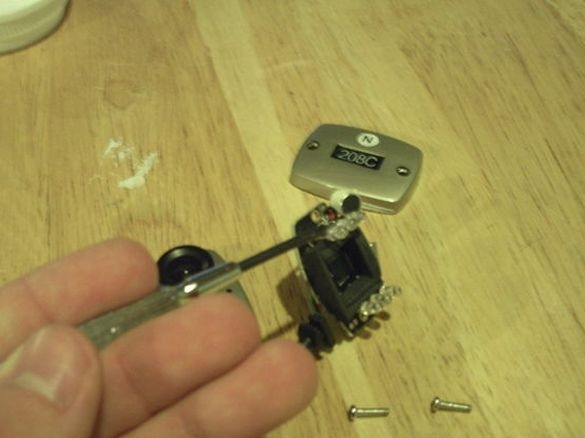
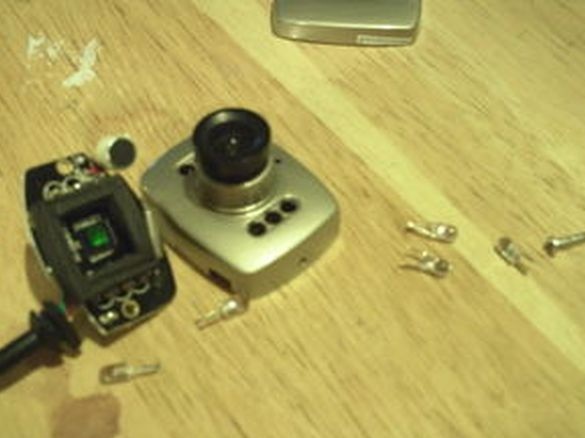
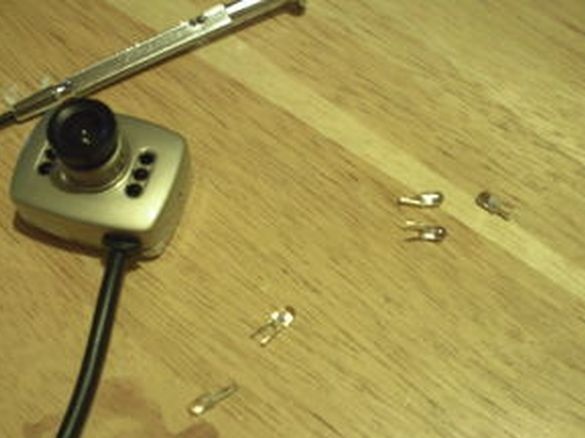
Parses the camera and removes six infrared LEDs.
Step Three: Build
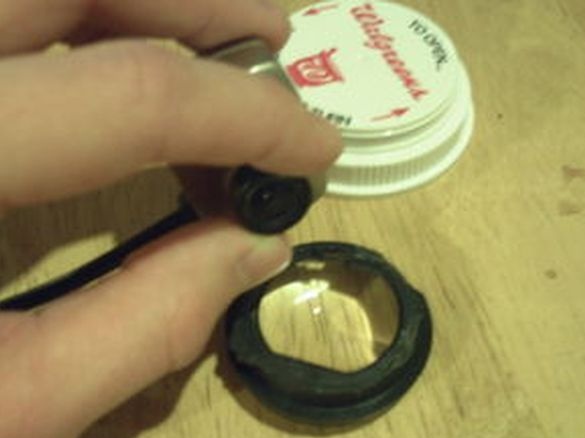
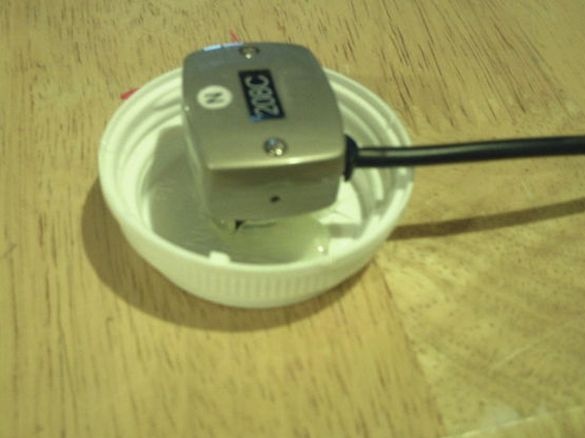
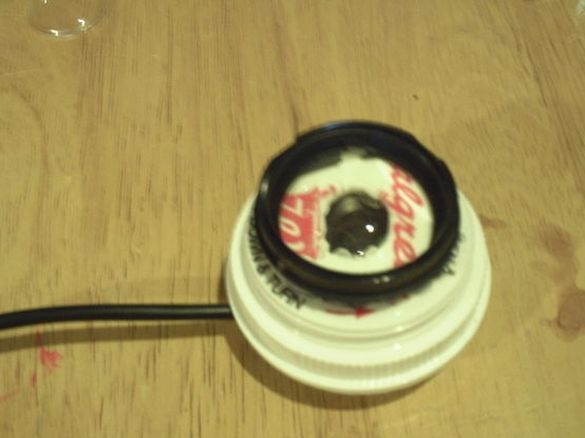
Hot glue sticks the camera to the inside of the can lid. The lens with a lens sticks from the outside.
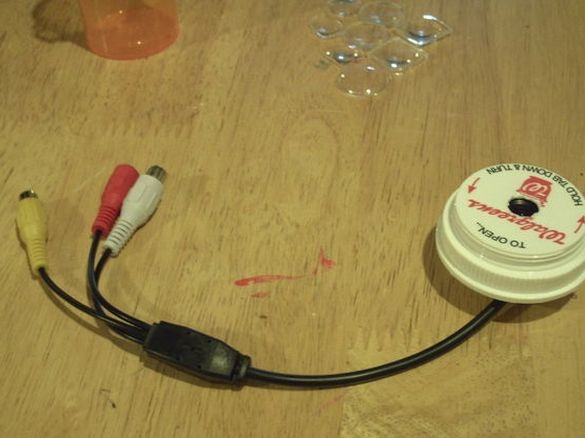
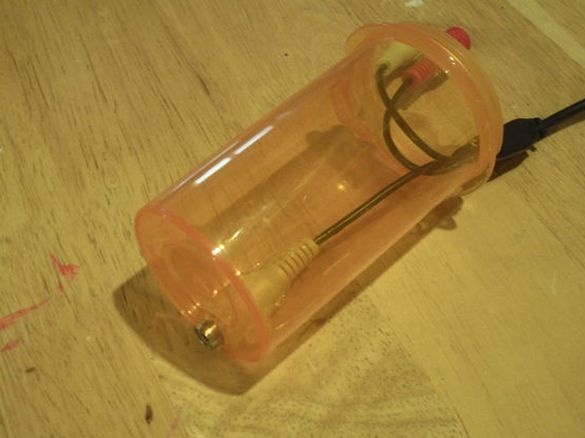
The video output of the camera is installed in the hole at the bottom of the can. Fixes it with hot glue.
Step Four: Nutrition
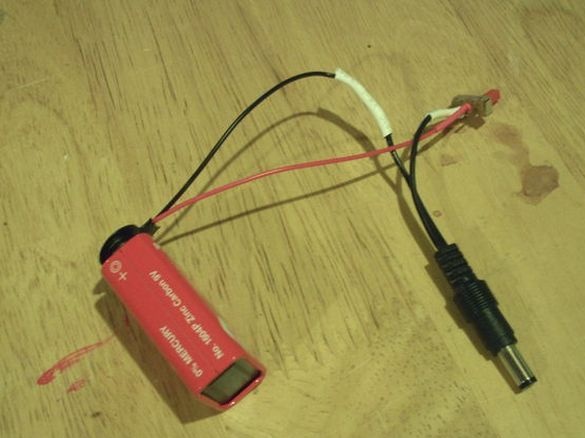
The camera is powered by a 9 volt battery. To the battery connector, through a switch, connects the camera's power connector. The joints are soldered and insulated with a heat shrink tube.
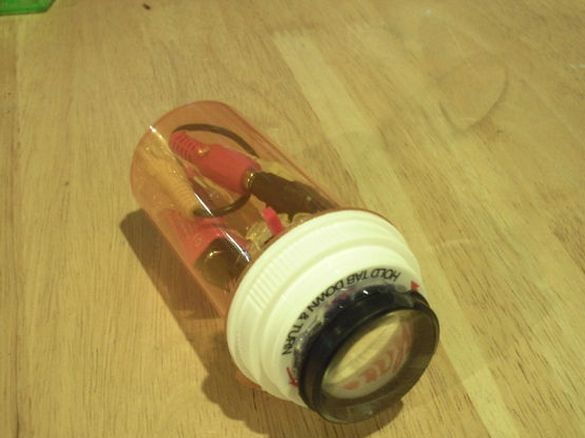
Connects the battery connector to the camera's power connector. Stacks wires and battery in a jar. The switch sticks into the hole in the upper part of the can. Installs a lid with a camera on the can.
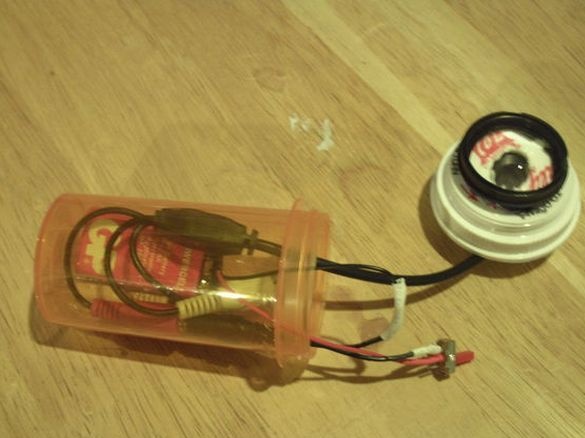
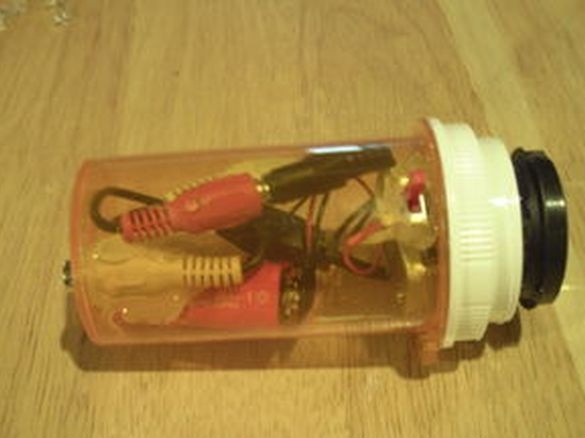
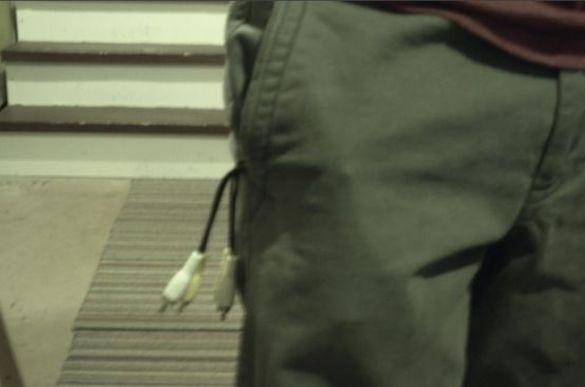
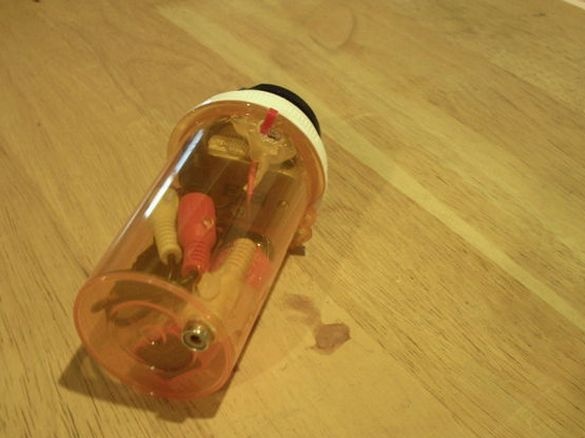
The microscope is ready, it remains only to connect to the TV.


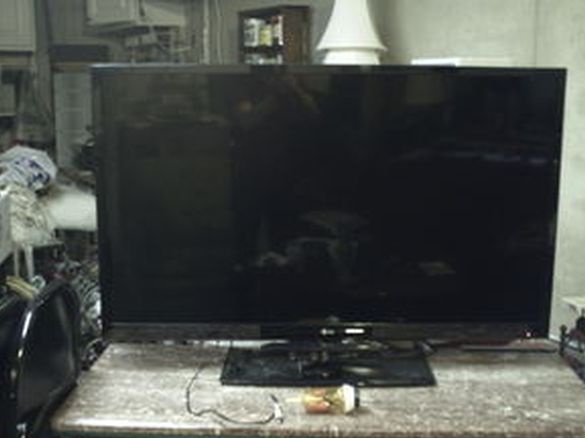
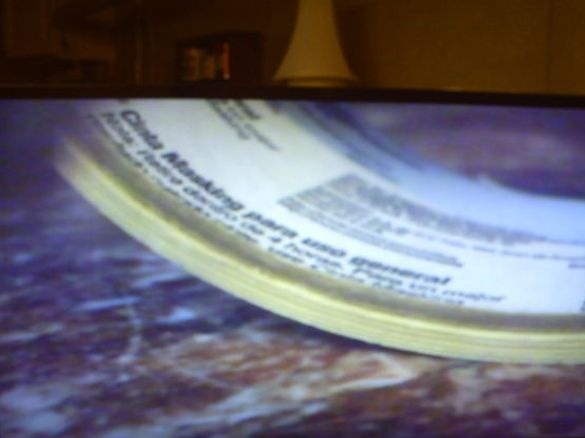
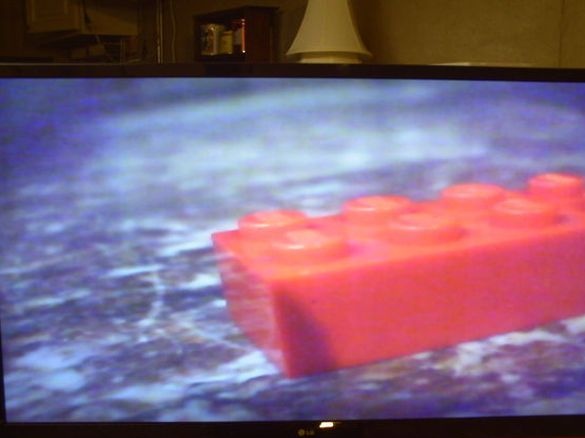
Test result. The image is displayed on the screen.

