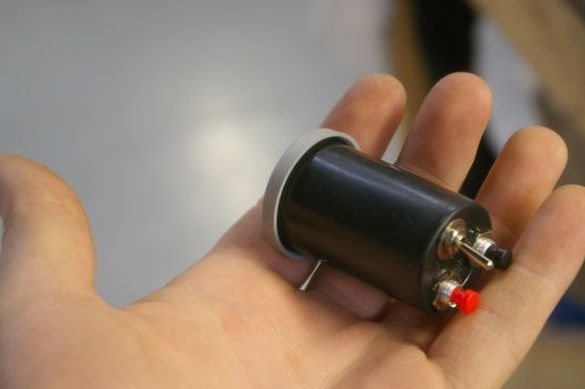
Modern cameras are endowed with many features. One of them is image stabilization. This option allows you to compensate for small angular shifts of the camera when shooting (for example, hand shake) and get non-blurred images. For amateur shooting this is enough. But in order to get a high-quality image, a tripod and a remote control system are of course necessary. Such systems come in two types of remote control, over the air, and a cable over the cable. As the photographer did do it yourself cable and will be discussed in this article.
Tools and materials:
-Phone headphones with microphone;
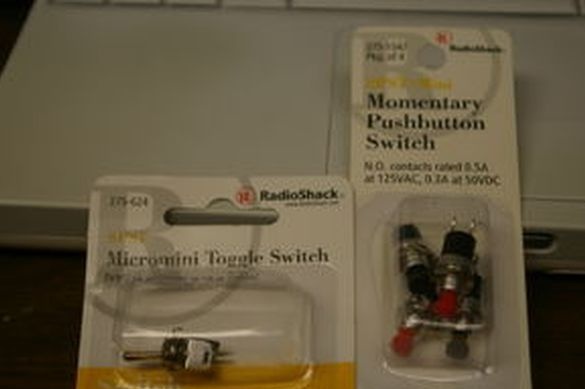
-Two buttons of different colors;
-Microswitch;
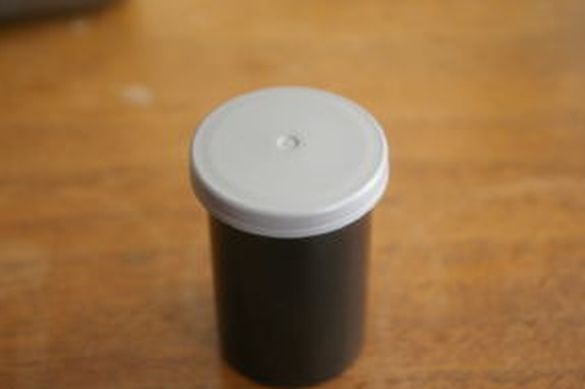
- Case from a film;
-The wire;
-Drill;
-Drill;
-Soldering iron;
-Insulating tape;

Step One: Headphones
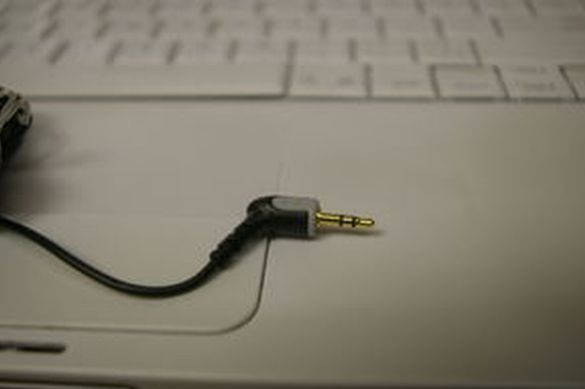
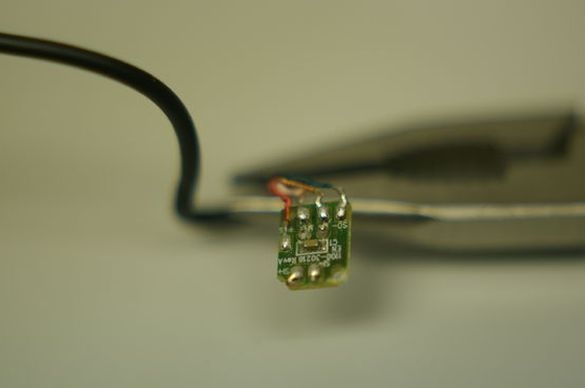
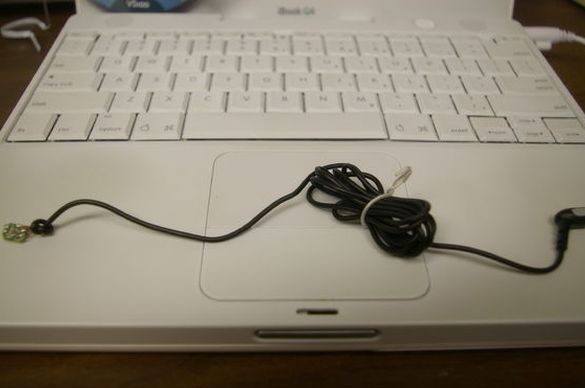
Gently disassembles the headphones. Deletes a microphone and headphones. All that remains is the cord and plug. Four wires go to the plug. Empirically, the author found that when connecting the plug to the camera connector, the wires have the following order. Blue and copper without wire insulation is earth. The red wire is the focus, and the white shutter.
Step Two: Soldering
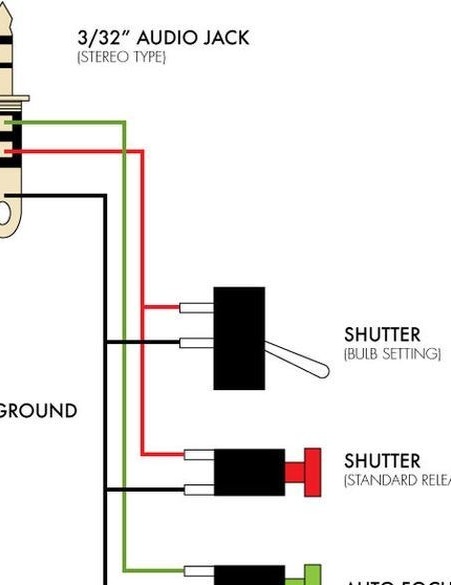
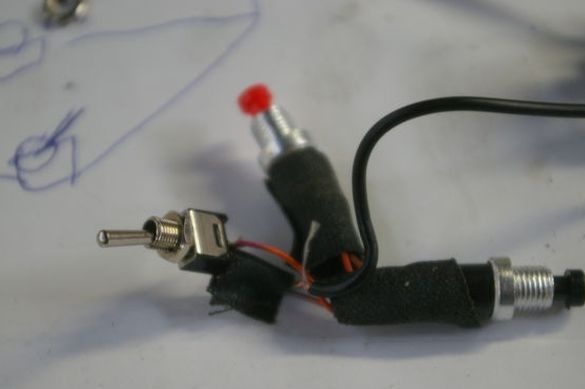
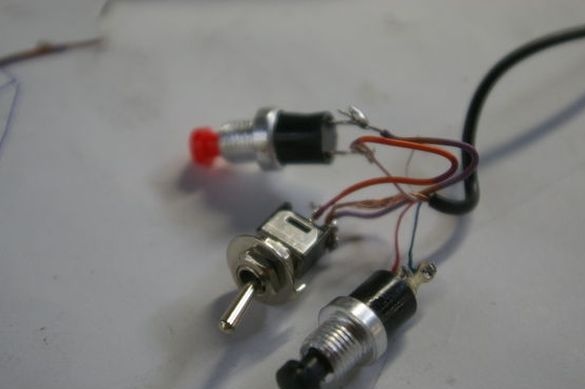
According to the scheme, the buttons and the switch are soldered. Isolates junctions.
Step Three: Case
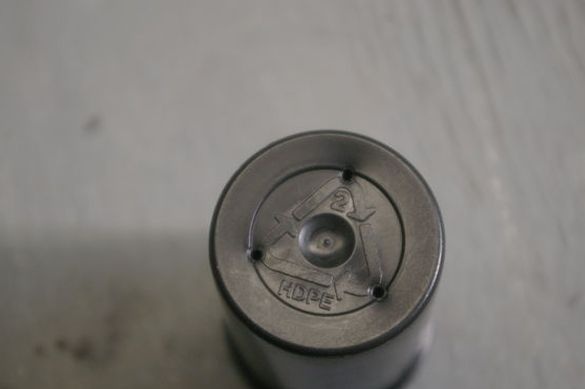
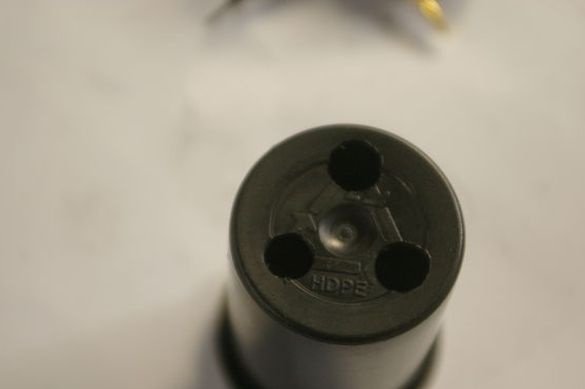
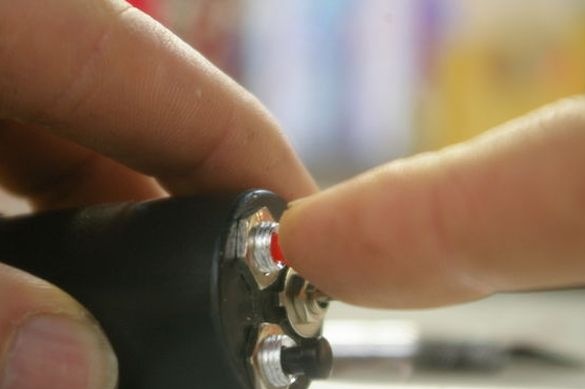
For the case, the author used a plastic box for storing 35 mm film. At the bottom of the case made three holes.
Step Four: Build
I installed the buttons and the switch in the hole in the case. I fixed them with nuts.
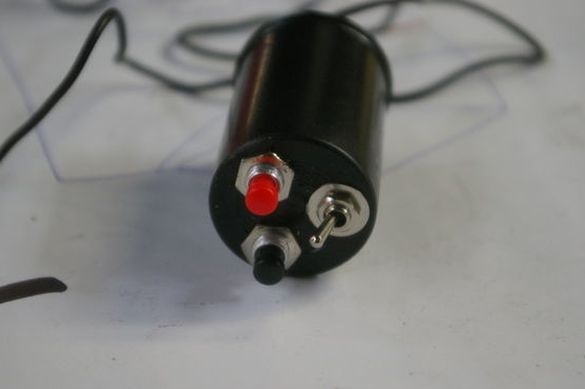
The remote control cable for the camera is ready.
I'd add that different cameras have different connectors for additional equipment. If you decide to make yourself such a cable, you need to choose the components according to the connectors of your camera.
