And so for him we need:
-balloon
motor from 1 to 12 V
-clip
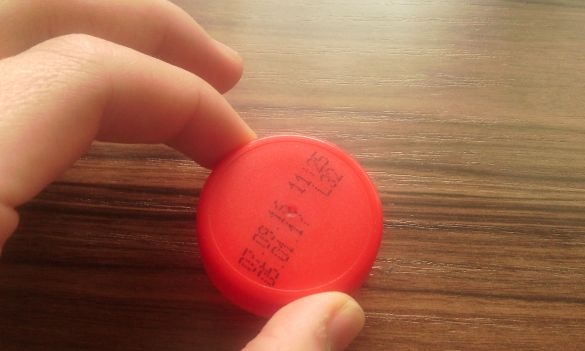
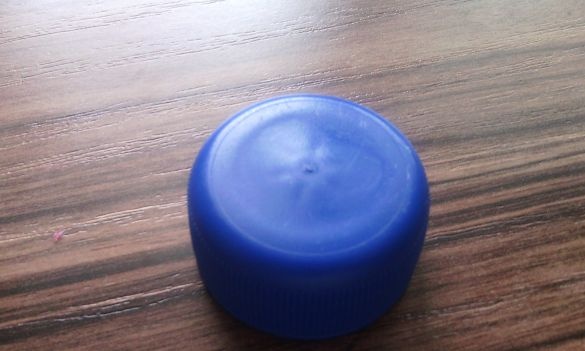
- large bottle cap
-Small bottle cap
- board or cardboard
Of the tools we need
hotmelt
-awl
screwdriver
-scissors
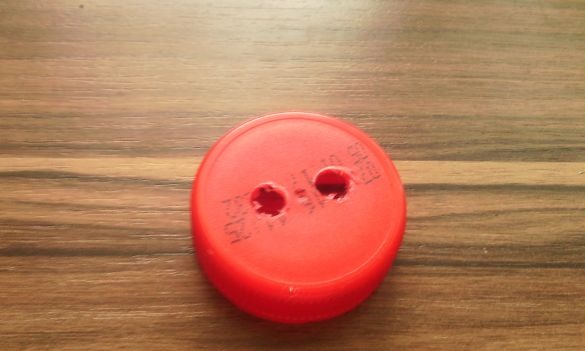
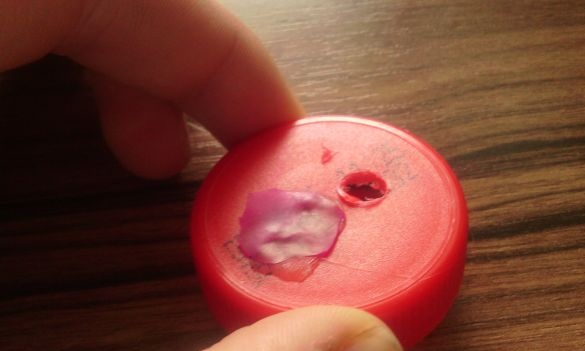
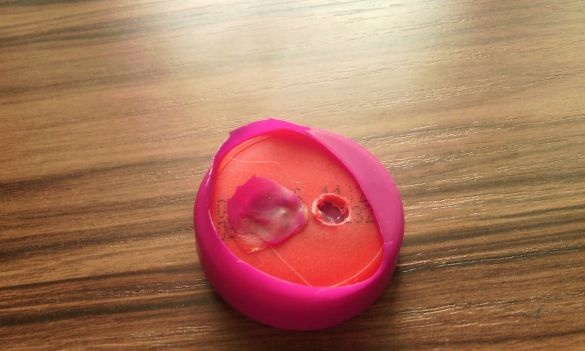
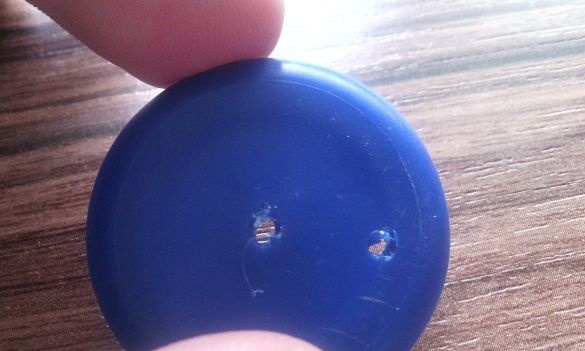
And so for starters, you need to make 2 holes in a large lid with a screwdriver or drill:
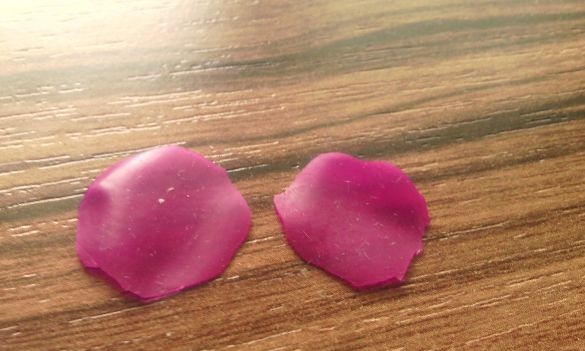
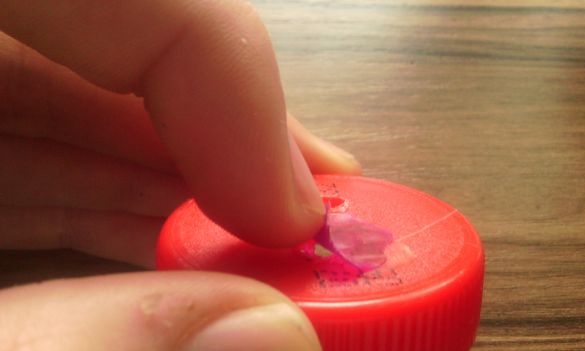
Then you need to cut out two small pieces from the ball a little more holes in the lid:
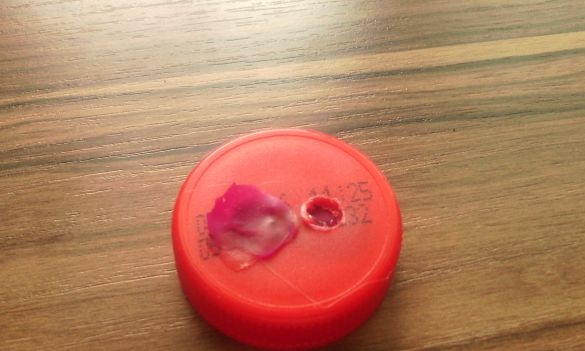
Glue one piece from the top so that it does not cover part of the hole:
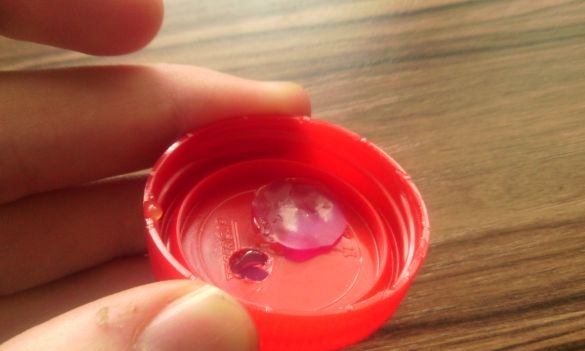
And also on the reverse side:
This will be our check valve:
Now you need to pull the balloon on our non-return valve on the side and fix it firmly with glue or electrical tape:
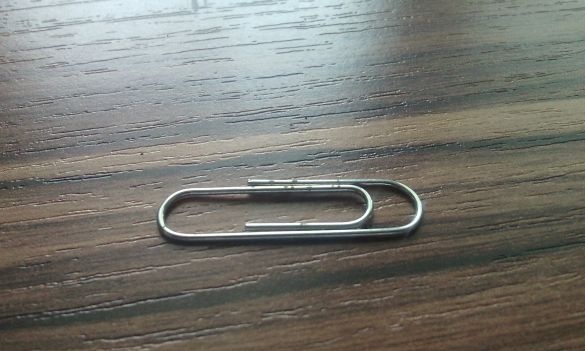
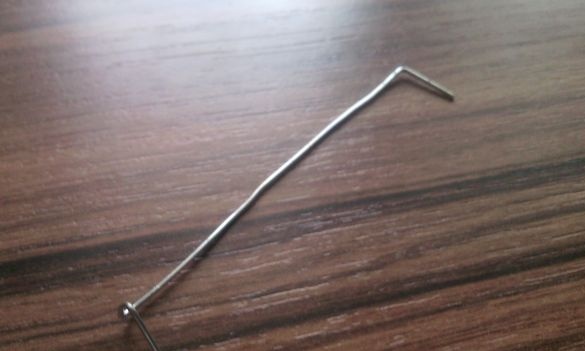
Take a paper clip and straighten it:
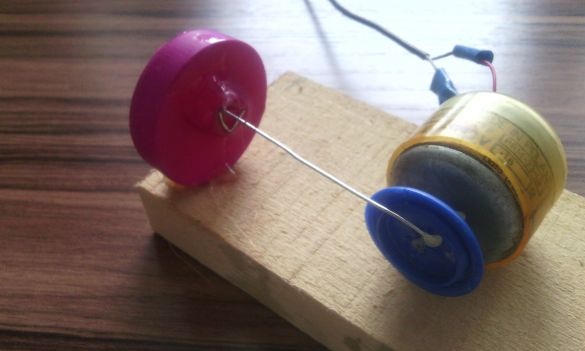
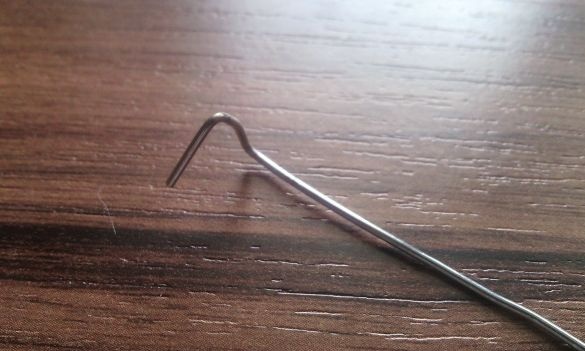
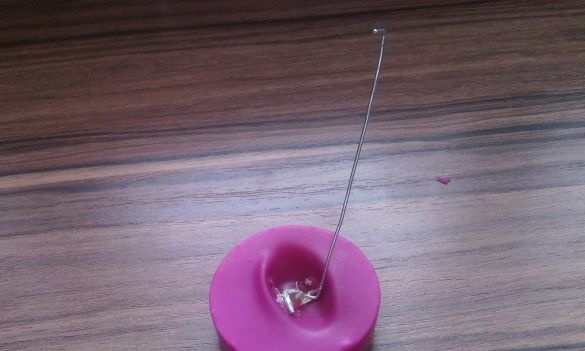
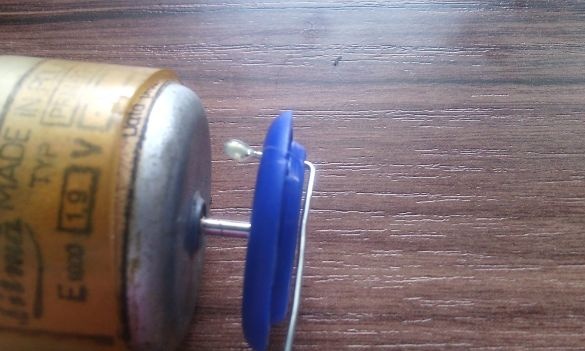
Then you need to bend it as shown in the photo, it will be like a “crankshaft”:
And stick to our design:
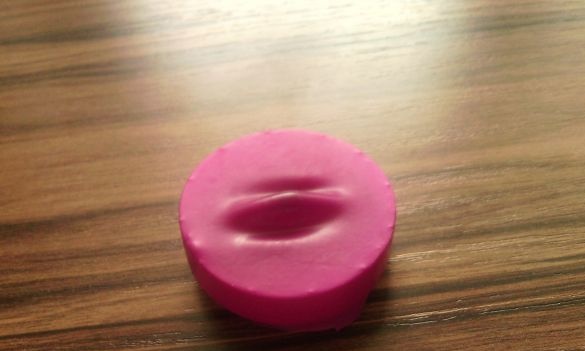
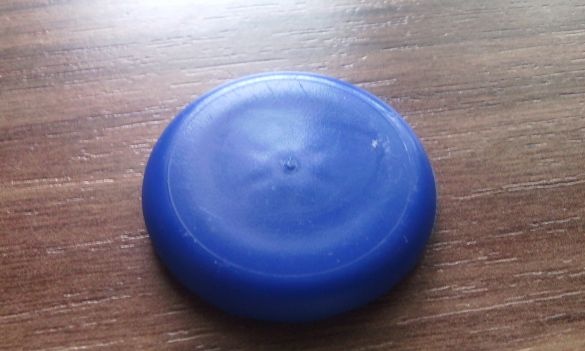
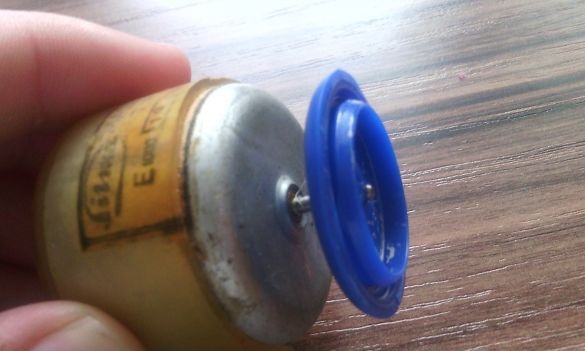
Now you need to take a small cover and use the knife to gently cut off the upper part:
And with the help of a heated awl or soldering iron, make two holes in it, one for the engine axis, and the other for fixing our "crankshaft"
Glue it to the axis of the engine:
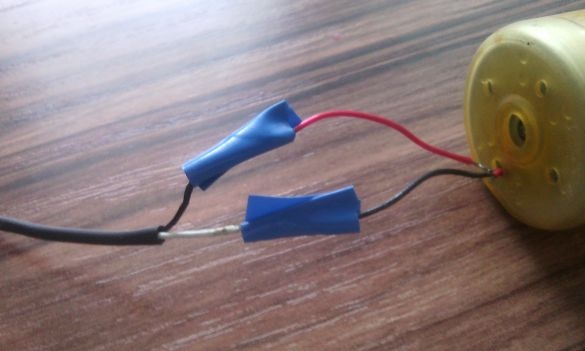
Then we solder the wires from the power supply to the engine and isolate:
We insert the "crankshaft" and at the end we drip a drop of hot-melt glue so that it does not fly off, but the glue should not interfere with the rotation:
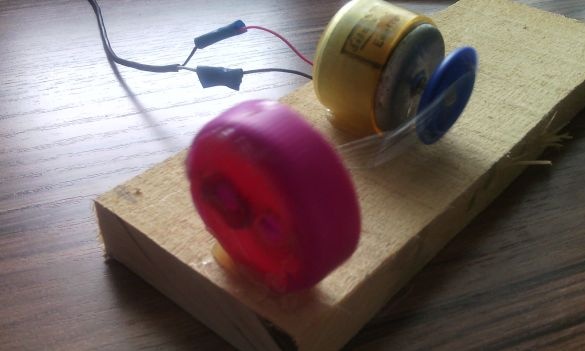
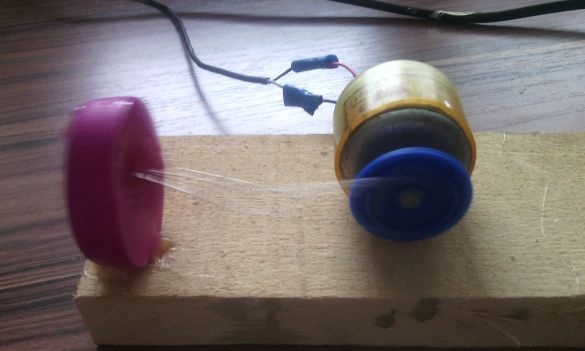
We glue the structure onto a piece of wood or cardboard so that the motor can easily rotate the "knee shaft"
Well, that's all our mini compressor is ready! Such a compressor pumps good air; you just need to collect it correctly. Air comes out of one check valve hole.
Thank you all for your attention!


