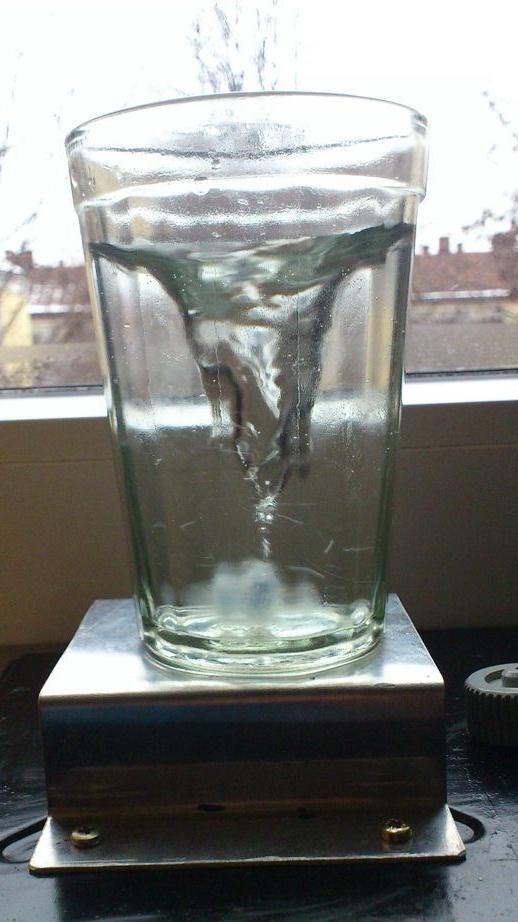
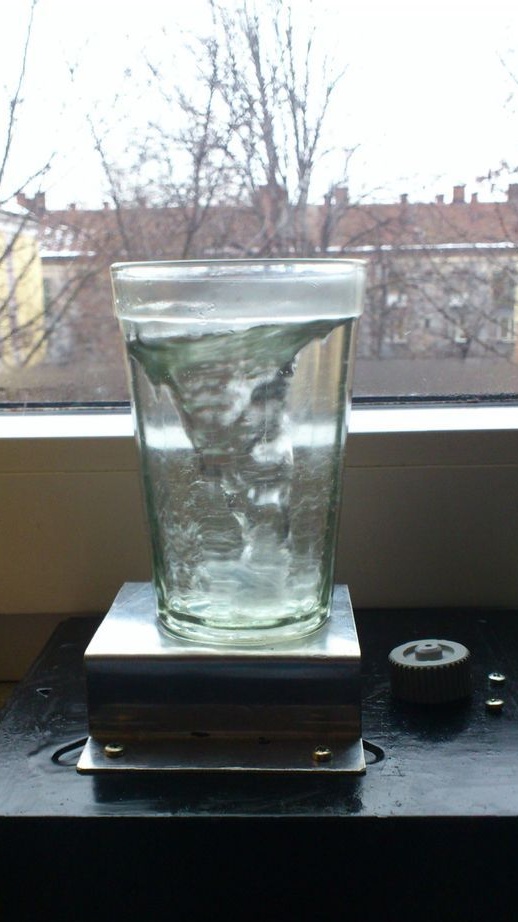
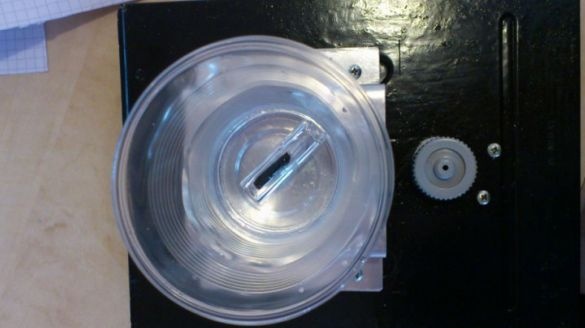
A magnetic stirrer is a very necessary thing for those people who are fond of chemistry and chemical experiments. This article will talk about how do it yourself assemble a decent quality magnetic stirrer from readily available cheap materials. The main donors for the parts used to create this magnetic stirrer were parts of an old CD-ROM and printer. Also, some details were used from the old unnecessary CRT monitor.
The main list of parts used to create the laboratory magnetic stirrer:
housing from the old cd-rom
aluminum plate
-screws with a diameter of 3 mm in an amount of 10 pcs.
-nuts for screws
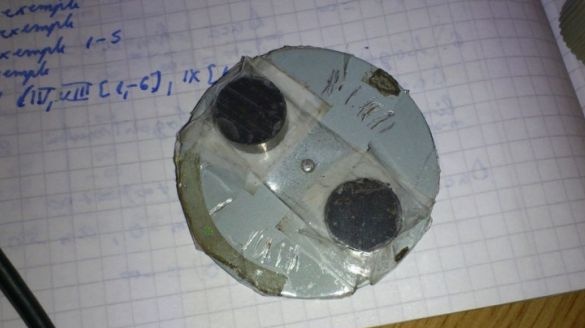
- round magnets 2 pcs. each of which is about 10-13 mm in diameter and 10 mm thick
aluminum circle with a diameter of 55 mm
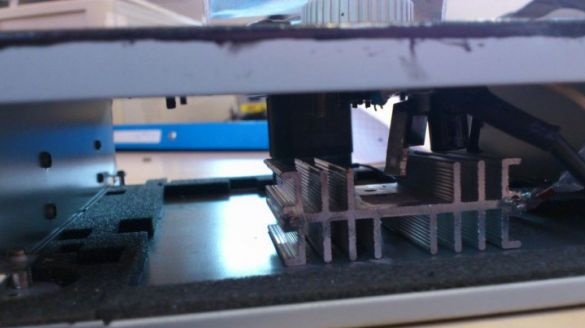
radiator, although not required
-electric motor, any small one that can be used as a motor for a mixer is suitable
- suitable screw for securing the motor
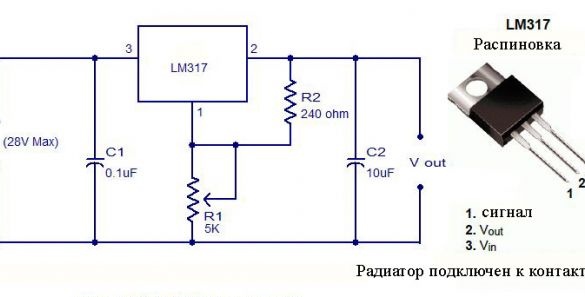
Chip LM317
0.1ff capacitor
capacitor 10 uf
5K potentiometer
240 ohm resistor
-circuit board
- 12 V power supply
-pens
Description of the manufacture of a laboratory magnetic mixer with their own hands:
Step one: Initial preparation of body parts.
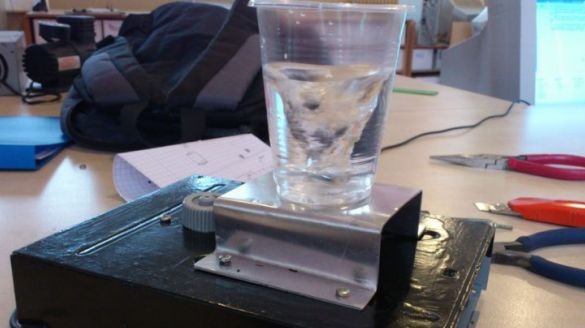
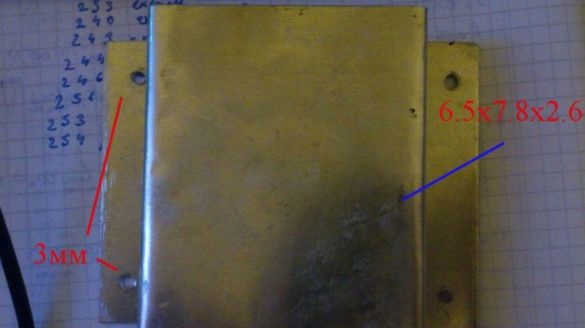
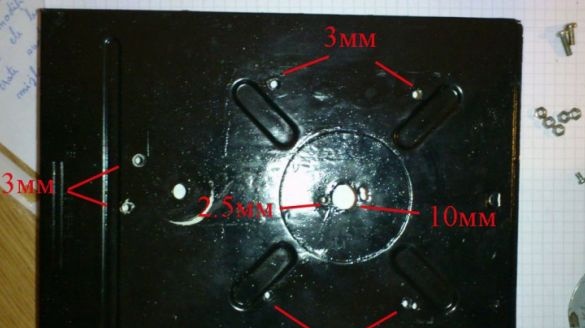
To begin with, the existing aluminum plate was bent, as shown in the photographs. Then, for the subsequent fixing of the plate on the CD-ROM case, as well as in the plastic itself, holes were made with a diameter of 2.5 mm, 3 mm and 10 mm, respectively.
Step Two: Soldering the electrical power circuit.
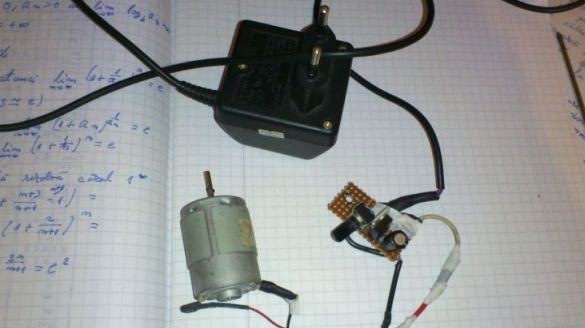
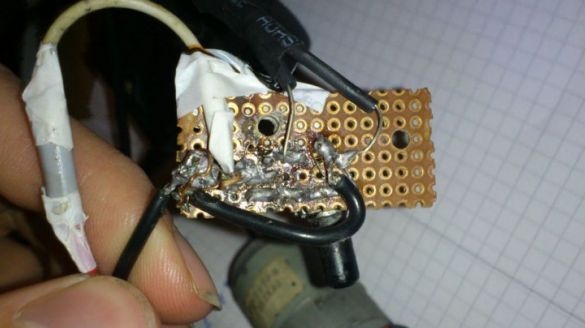
Further, the author began to create an electric power circuit for the future device. To create an electric circuit, the circuit provided above was used. After soldering the power circuit, the potentiometer was also slightly adjusted to the required parameters
Step Three: Securing the magnets in the mixer housing.
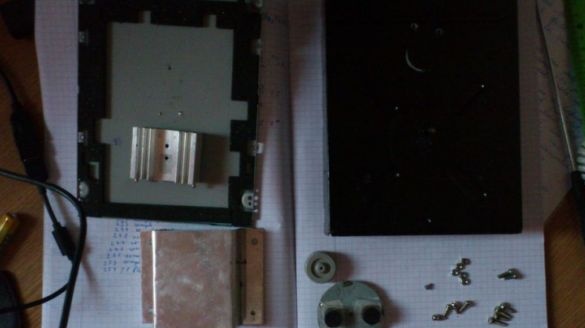
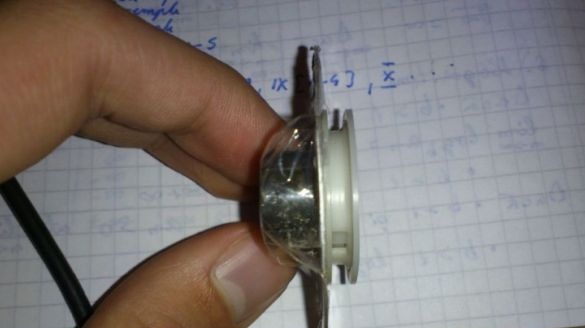
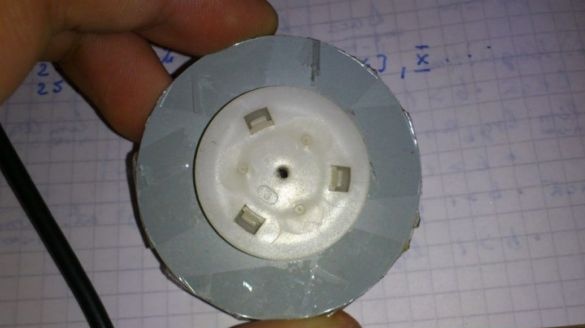
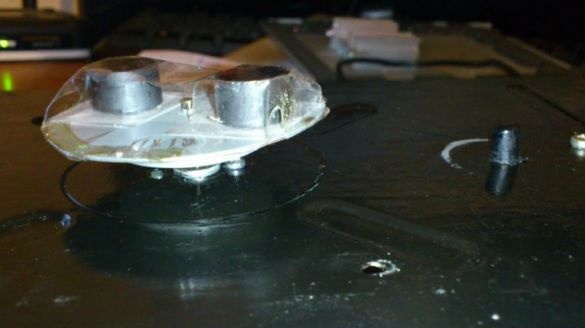
Further, the author proceeded to install magnets in the laboratory mixer body. For these purposes, a hole was drilled in the center of the aluminum circle. Then, magnets are glued on the sides, and on the other hand a pulley from the motor is installed.
Fourth step: assembly of the device.
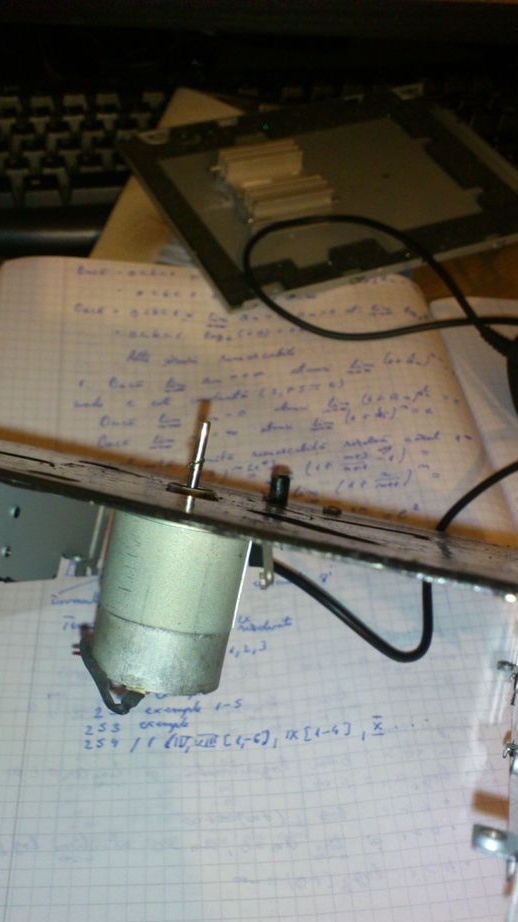
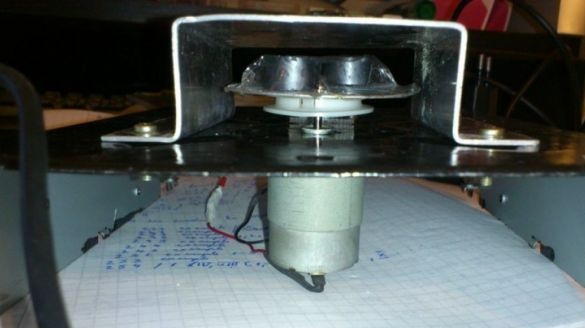
The next step, the author decided to assemble all parts of the device into a single whole. The images above clearly show how the parts of the device structure were assembled, and bolts were used to secure them.
Step Five: Moving magnet.
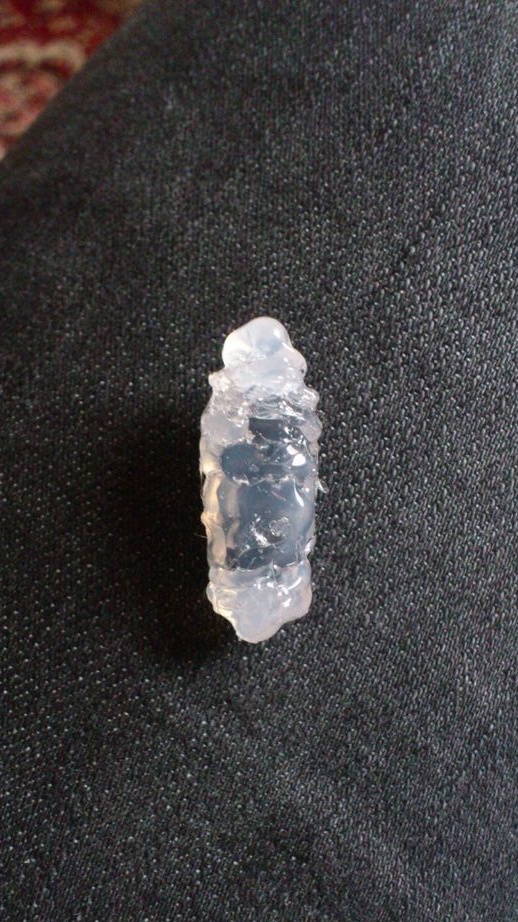
In order for the container to hold firmly in place during shaking, a small magnet should be placed on its bottom. As such a moving magnet, it is best to use magnets with an inert coating, for example, you can take a magnet from the same CD-ROM, which will not react with acids or other reagents.
The author took a regular magnet and covered it with a layer of glue from a glue gun.
Step Six: Test the device.
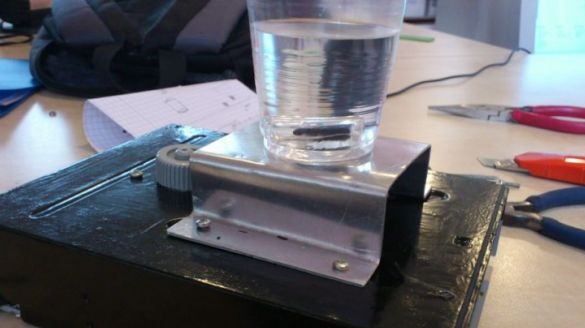
Then the author began testing. As practice has shown: the liquid in the glass mixes well, and the glass itself is firmly held in place.
