
Quite unusual portable music speakers in the form of a book. This device was assembled from parts and details of old unnecessary equipment, thus giving them a second life in a new device. The embodiment of the music column was not chosen by chance, since, in fact, a gift or souvenir was needed for a friend who likes to listen to music on trips. As the catch phrases say: “The best gift is a book” and “The best gift is the one that is made do it yourself". In this device, these phrases take on a single embodiment.
Materials used to create the device:
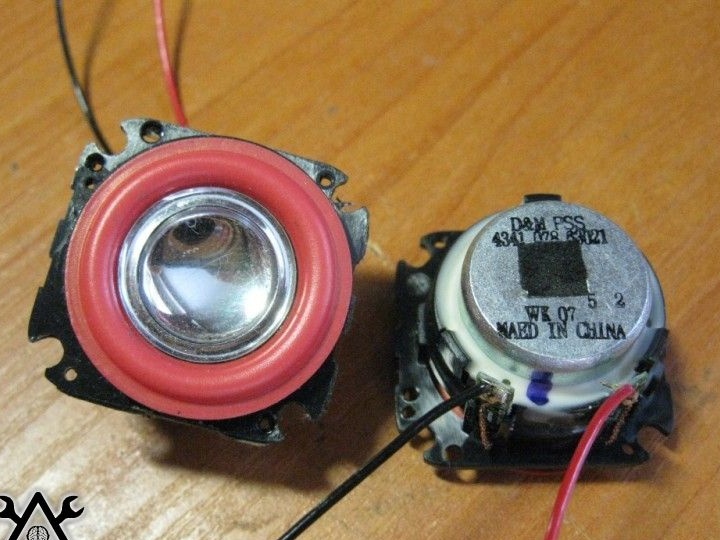
- speakers from portable speakers for Nokia and Sony Ericsson phones
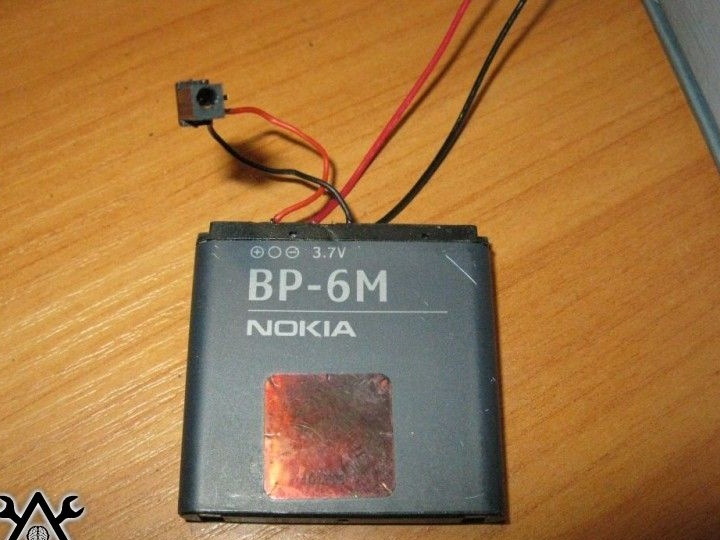
-accumulator battery
-wooden bar
- hardcover books
lacquer
spray paint can
hotmelt
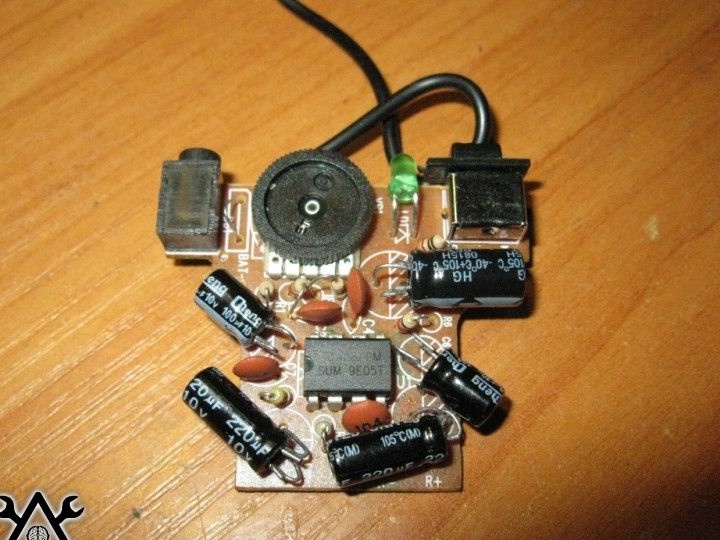
-amplifier
phone power connector
wire
-Charge by phone
-cardboard
dvp sheet
- part of the plastic housing from the speakers
-magnets
metal plates
elements of decor
A detailed description of the manufacture of gift column books:
Step One: Prepare the Parts.
The sound sources in this device will be small Chinese speakers from old portable speakers for Nokia and Sony Ericsson phones.
Also, an amplifier with faulty speakers was removed from old inoperative devices. Since the planned speaker book will be quite small, in particular in thickness, the amp has been slightly redone. In order to reduce the amount of space occupied by the amplifier, the author soldered all the capacitors on it so that they were located horizontally on the board. To do this, I had to lengthen the conclusions for each of the capacitors.
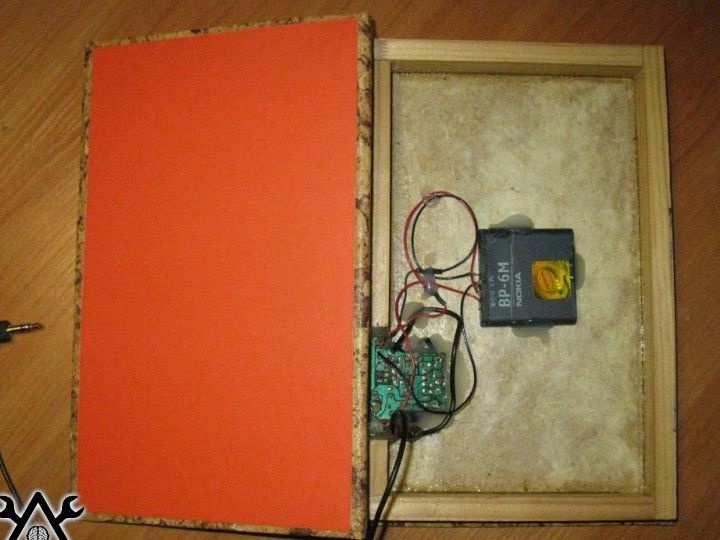
The power source for this system was selected ordinary battery BP-6M, which are installed in mobile phones of the same Nokia. In addition, soldering a standard connector to it, the author was able to charge a portable speaker book from Nokia charging.
Step two: assembly and testing.
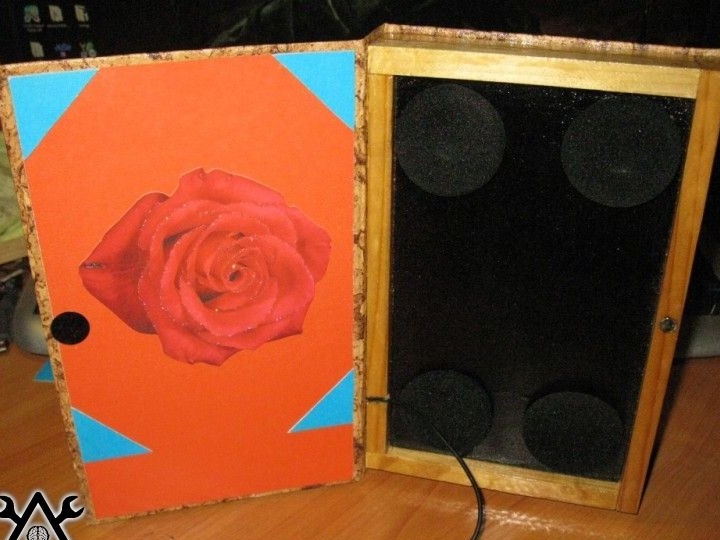
Then all the acoustic parts were interconnected and connected to an amplifier with a battery. Further, the entire system was placed in a box to verify operability and eliminate possible shortcomings or malfunctions.
However, these were not identified, and testing was successful.
Step three: create a device enclosure.
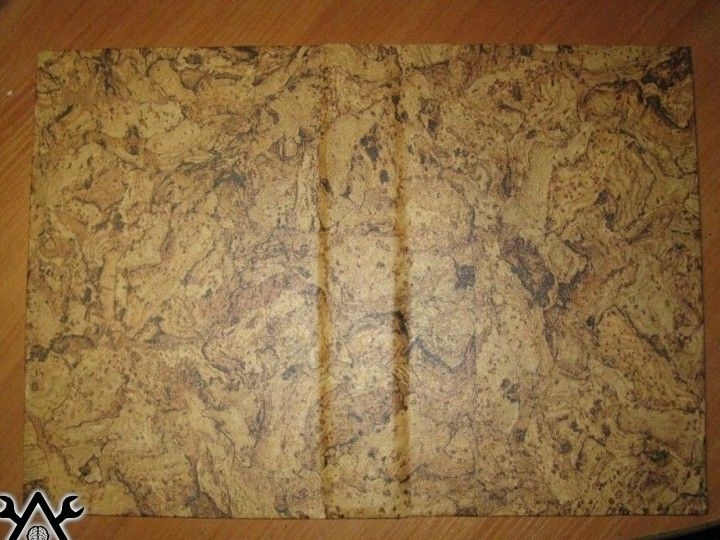
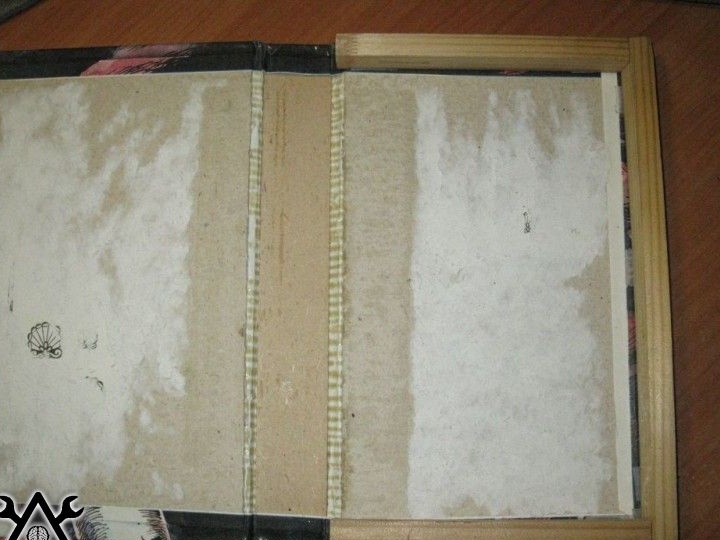
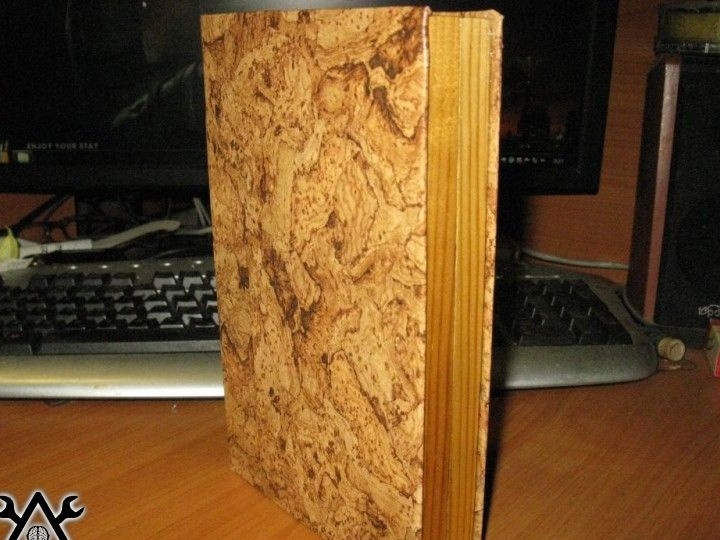
Therefore, the author began assembling the case for the insides of the system. A cardboard hardcover from a book was taken as the basis for the case. The binding was rather shabby, so it was decided to stick a self-adhesive film on top.
For greater reliability and strength, the edges of the film were bent inward and additionally glued with glue-moment. After that, the entire cover was carefully sanded, excess film and glue were removed, and the binding itself received a proper presentable appearance.
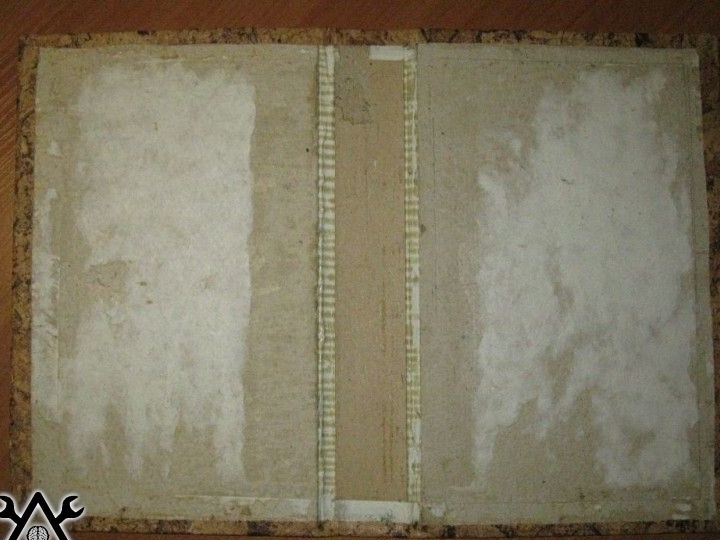
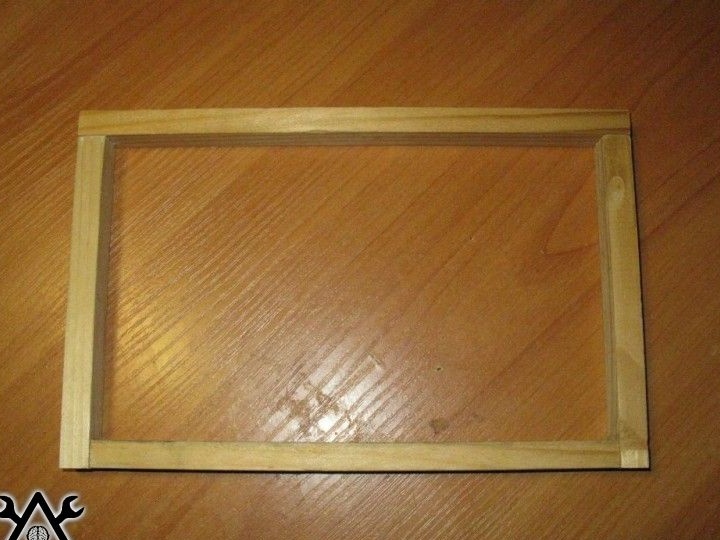
But one binding to create a case is not enough, according to the dimensions of its perimeter from the rail, guides were cut to create a frame.
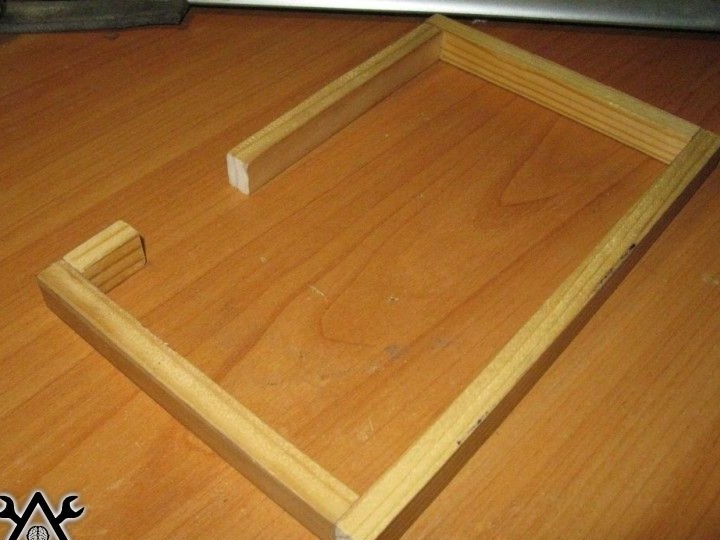
Further, from the scraps of the rail, the base for the rigid frame of the column was glued according to the size of the book binding used. As you can see from the above photo, there is a notch on the left side of the frame, this notch is for installing an amplifier board and an output for charging the battery.
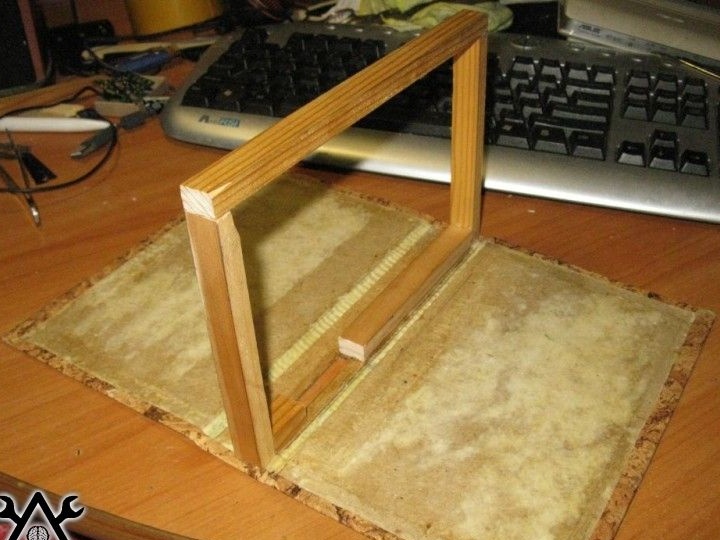
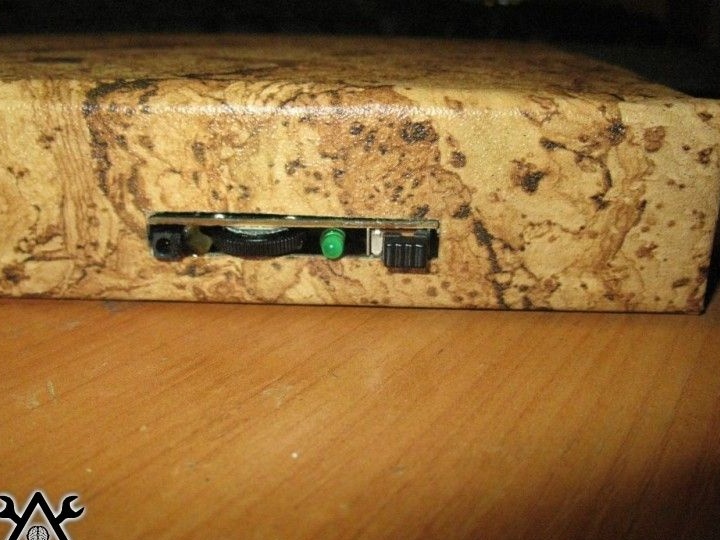
Next, the resulting frame was glued to the middle of the binding as shown in the photographs. At the recess of the frame, at the end of the binding, a hole was cut for the output of the column controls: the on and off button, a signaling diode with a diode, volume control and output for charging the battery.
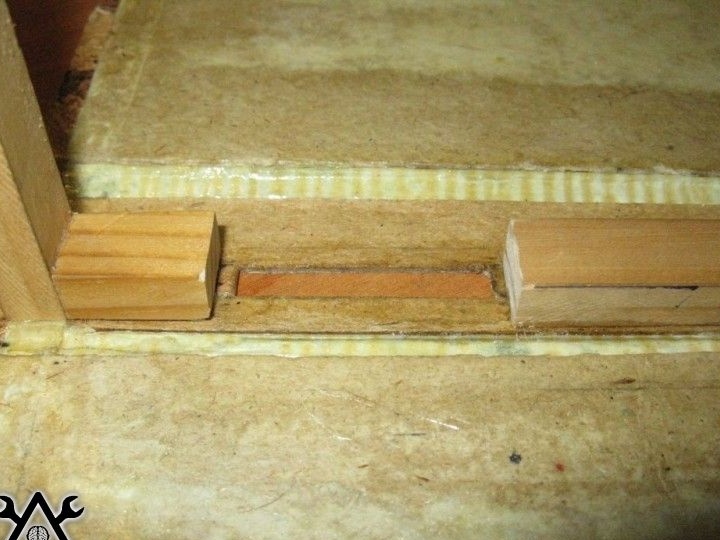
Then the frame was glued to one side of the cover. In order to more reliably fix the position of the frame in the binding, as well as to make the binding itself a little tougher, its entire surface was covered with transparent varnish.
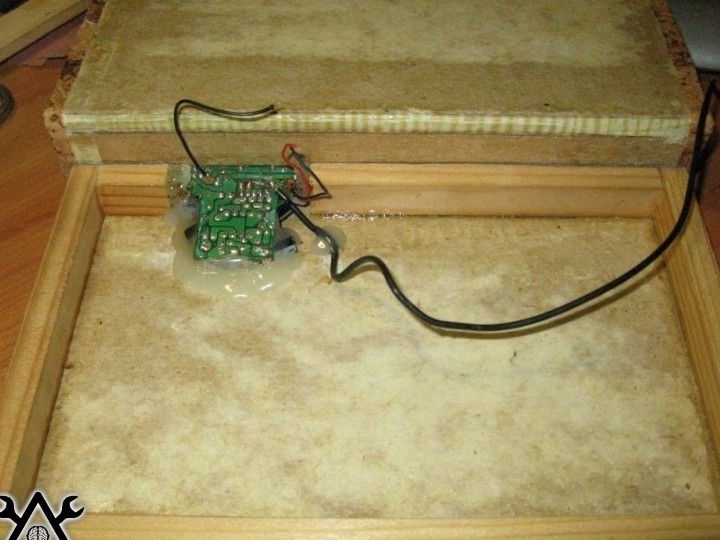
Then, an amplifier circuit was placed in a glued frame in place with a recess for the controls of the device. The circuit was securely fixed by applying a large amount of hot glue. To ensure the tightness of the column, the gaps between the frame and the binding were additionally varnished.
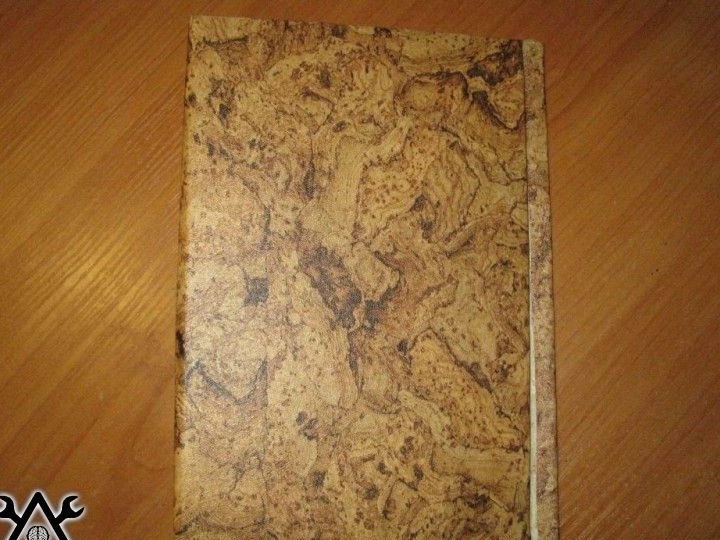
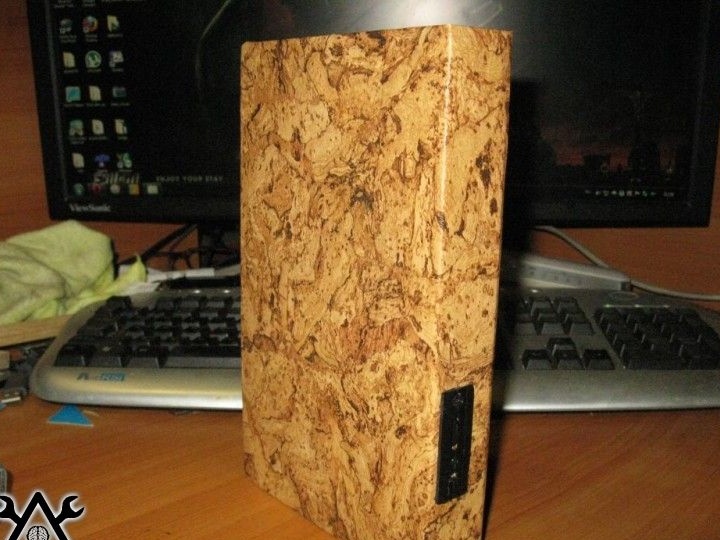
Having closed the binding, such an appearance was obtained.
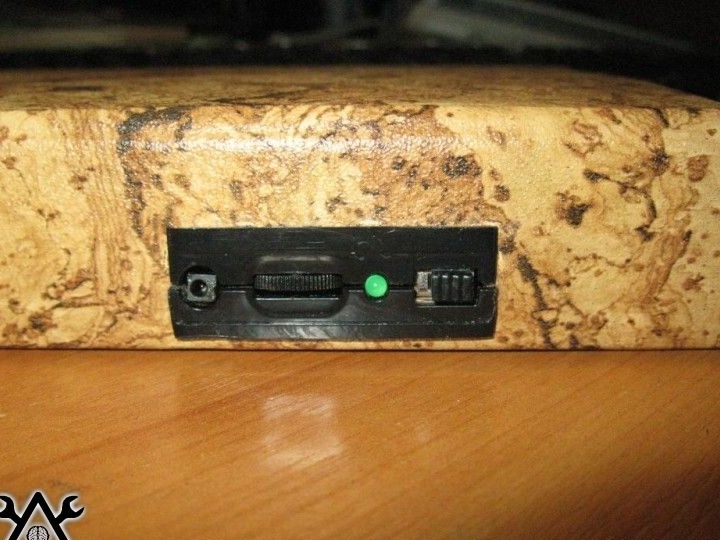
Not bad, but for a more pleasant look, plastic elements were cut from the remains of the case of the old speakers, which served as a decorative overlay in the new device, and now the appearance of the column book has become as shown in the photo below.
Fourth step: creating the second part of the frame and installing the speakers.
Then the author proceeded to finalize the frame for installing the speakers in the device. For these purposes, an additional frame of rails of the same size was glued, but this time solid.
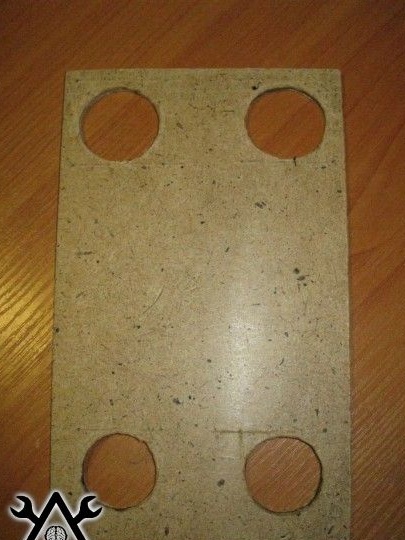
A piece was cut from a fiberboard sheet under the inner area of the frame. Then, holes were cut out in this piece for installing speakers.
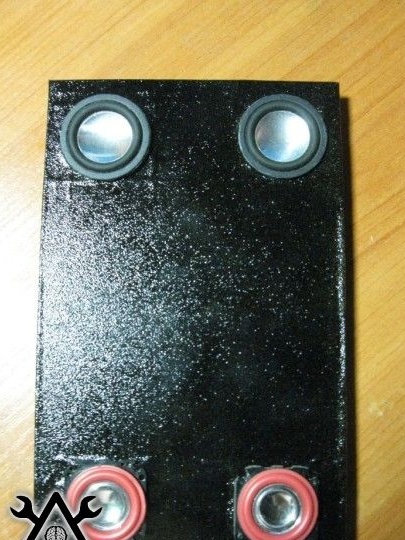
To give a more pleasant look, the resulting piece of fiberboard was glued with the same self-adhesive film as the binding. After which the author painted it black with a spray can.
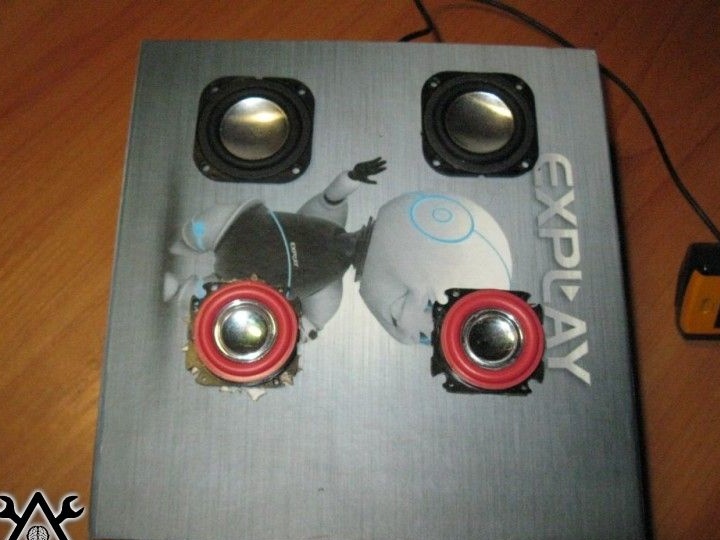
After the paint was completely dried, the speakers were installed in the fiberboard holes cut out for them.
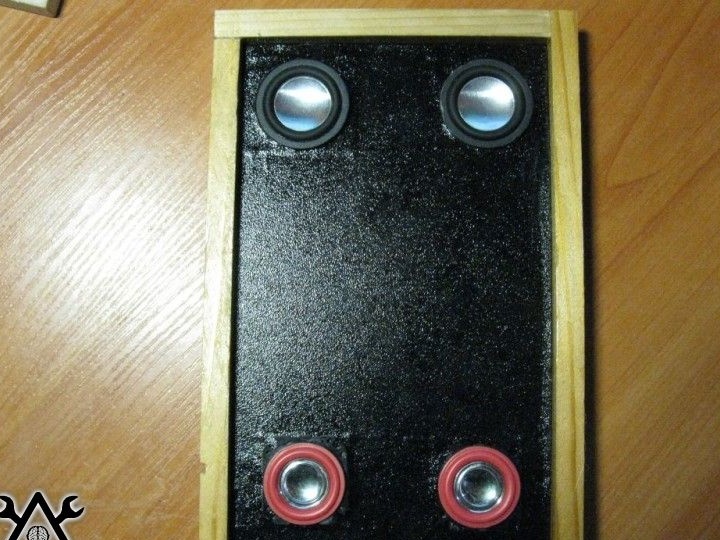
After that, this piece of fiberboard with installed speakers was installed in the frame and fixed with a large amount of hot glue.
The photo below was taken after the glue had cooled, it shows that the glue was applied mainly at the edges of the frame and in the places where the speakers were attached, as well as how the speakers were connected to each other.
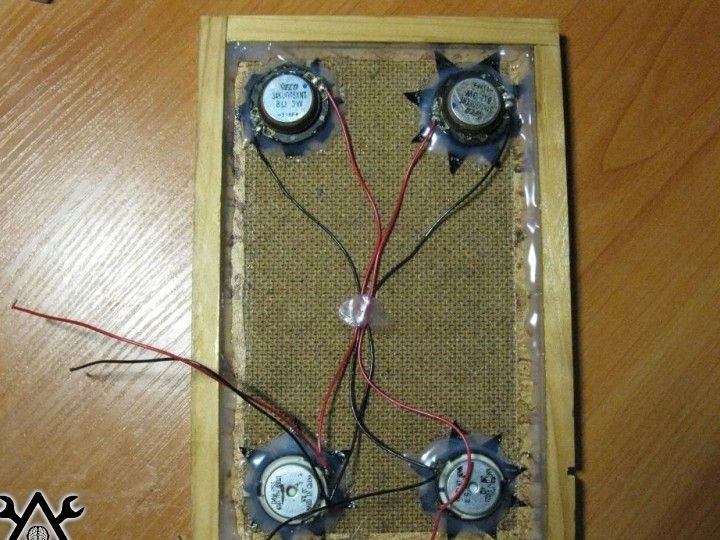
Next, a rechargeable battery was installed, which was also fixed to hot-melt adhesive. Then the author connected the battery to the output for charging and the amplifier board itself.
Also, speakers were connected to the amplifier board. Then both frames were glued together, and several layers of varnish were applied to their surface.
Step Five: refinement of small parts and the appearance of the product.
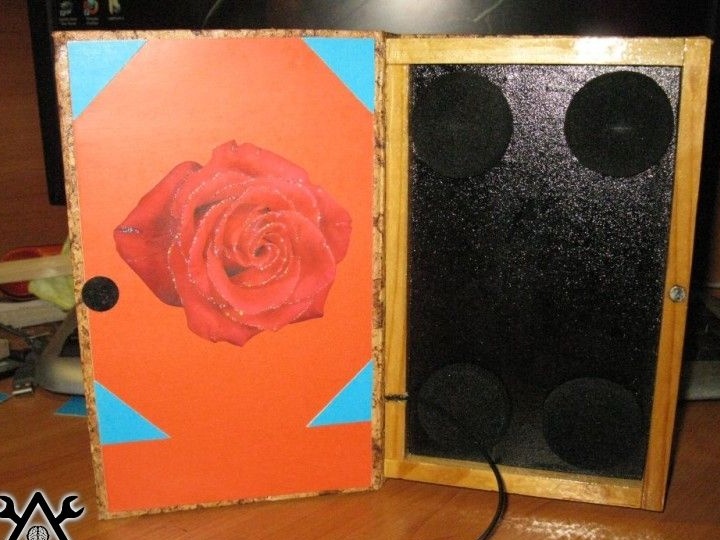
After the main functional part of the column book was assembled, the author proceeded to decorate the cover.
A cardboard was glued to the left side of the inside of the cover, on which decor elements in the form of a rose image were also glued.In order to prevent the column book from opening itself during the transfer, the author installed magnets in the upper part of the wooden frame, and attached a metal plate to the cover.
Black foam pads were installed on the speakers.
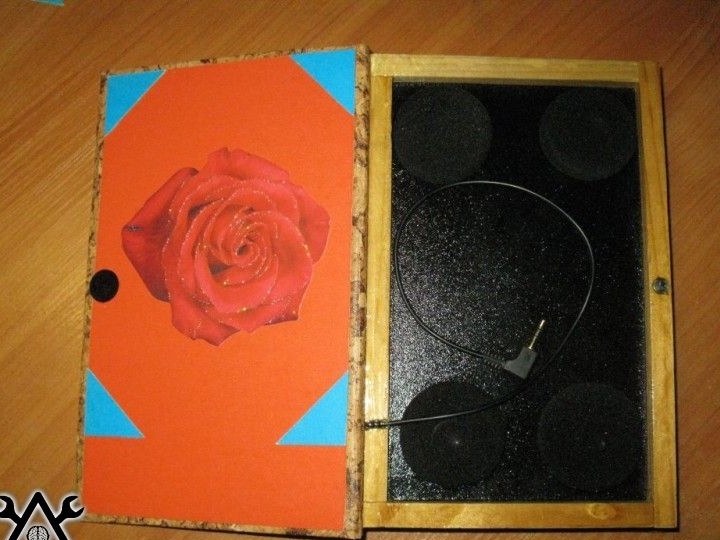
The following are a few more photos from different angles.
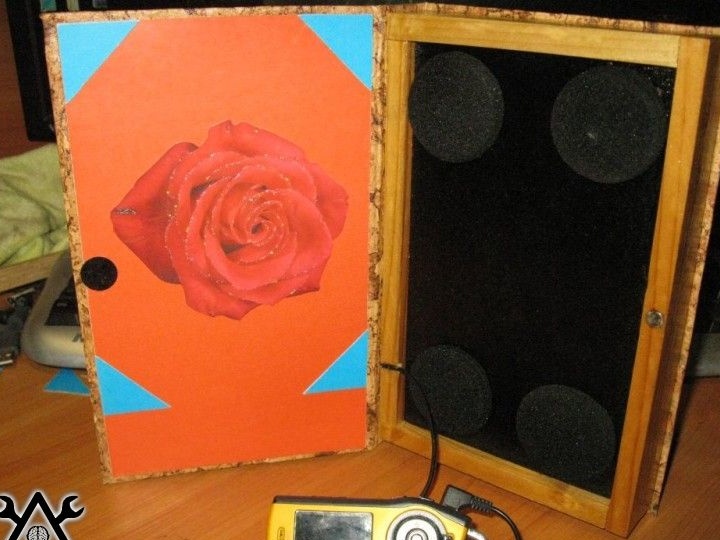
Thus, although the author of this device is not a writer, he was able to create a book as a gift, in addition, this form is great for transporting the device. After that, it remains only to connect the player to the speakers and press the speaker enable button. The sound quality of such a device remains not at the highest level, but you can quite adequately listen to your favorite songs.

Below is a video demonstrating the operation of the device