The original gift modification of the Dendy game console. Idea of this homemade the author saw in one of the videos of the old game consoles from a character with the nickname AVGN. There was an unusual device, which was a NES prefix in a case from a toaster, and on its case there was a sticker with the name Nintoaster. Having found such a modification rather amusing, the author decided to repeat it. Since in the post-Soviet space, Chinese Nintendo clones called Dendy were much more widespread, but it was Dendy who decided to modify the author, and accordingly named his project Dentoaster.
Materials:
- An old toaster, any non-working one is suitable or is simply no longer used and not needed.
Dendy game console, is sold in almost any specialized store. It is also easy to order online.
Carbon Cleaners
metal loops
-glue
-plastic part from the front panel of the computer system unit.
button from the old joystick
-paint
self-adhesive paper
thermoplastic "polymorphus"
- a core from a box with for disks.
Detailed description of the manufacture of Dentoaster’a:
Step One: Dismantling the toaster.
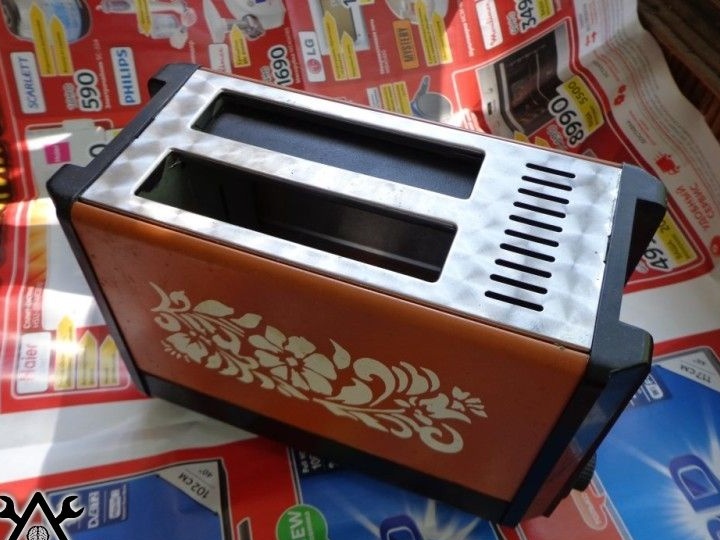
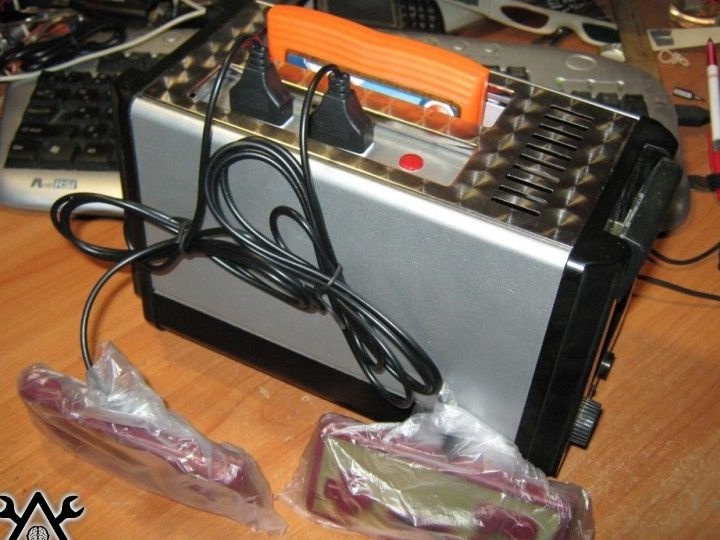
To begin with, it was necessary to find a suitable case in the form of a toaster for future homemade products. After spending a whole month on this, at one of the flea markets, finally, a suitable version of an old Russian-made toaster was discovered.
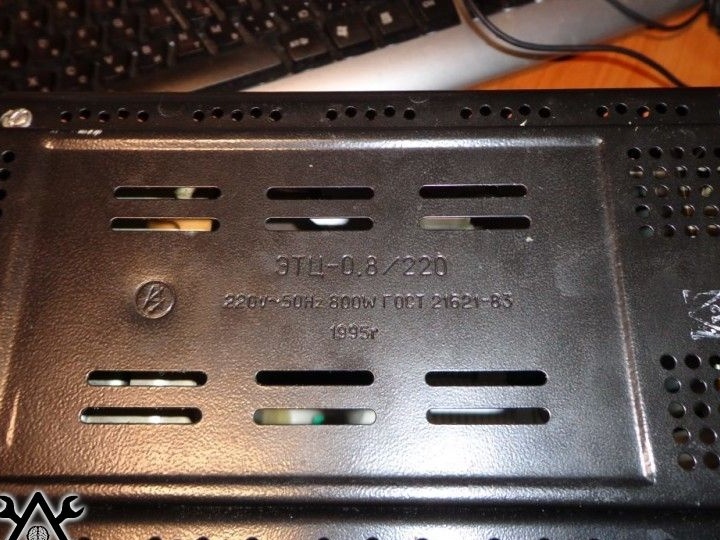
The appearance of the purchased toaster is presented in the following photo.
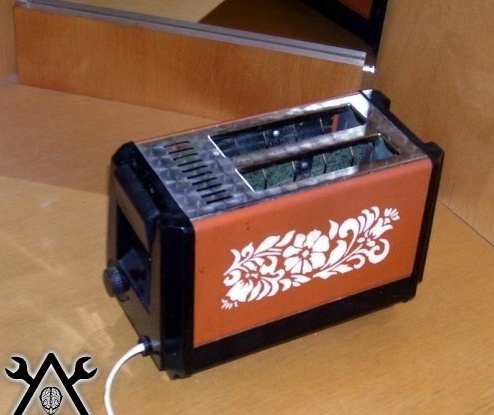
From the inscriptions on the bottom of the toaster, the author learned not only his power characteristics of 800 watts, but also the fact that this toaster was assembled back in 1995. For the sake of curiosity, the toaster was plugged in. Despite this age, he still worked and could properly perform his functions.
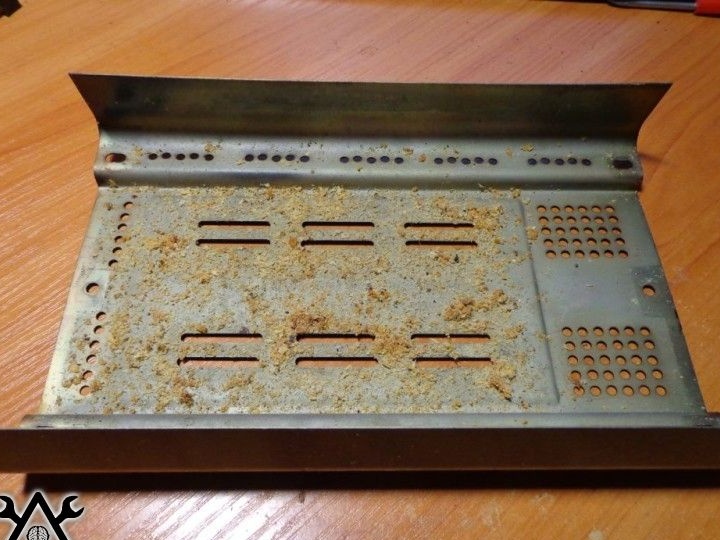
But the external and internal appearance of the product left much to be desired. So many years of use have not favorably affected the appearance of the product. The appliance was on the burn and with smudges and drops of oil. Below is a photograph of a toaster pan with breadcrumbs accumulated over so many years of use.
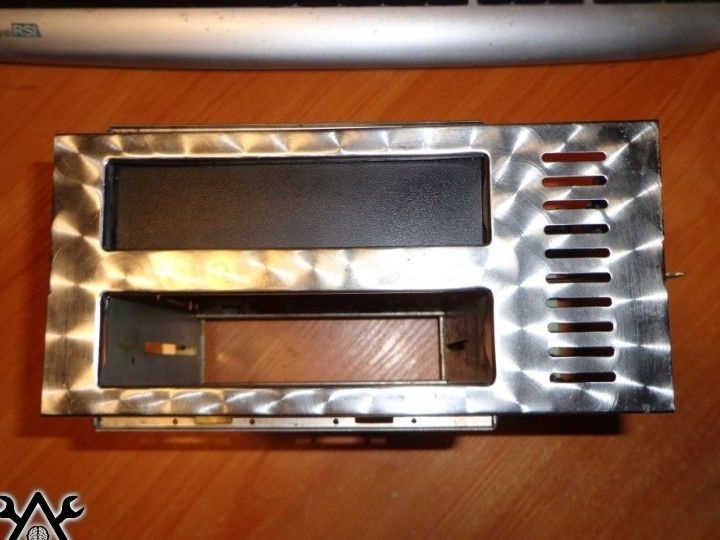
Next, the author proceeded to disassemble the design of the toaster. As the case was disassembled and such superfluous parts were removed as heating elements, thermal insulation, guiding grills for pieces of bread, and so on, the necessary parts of the case were subjected to diligent cleaning of existing dirt and soot.
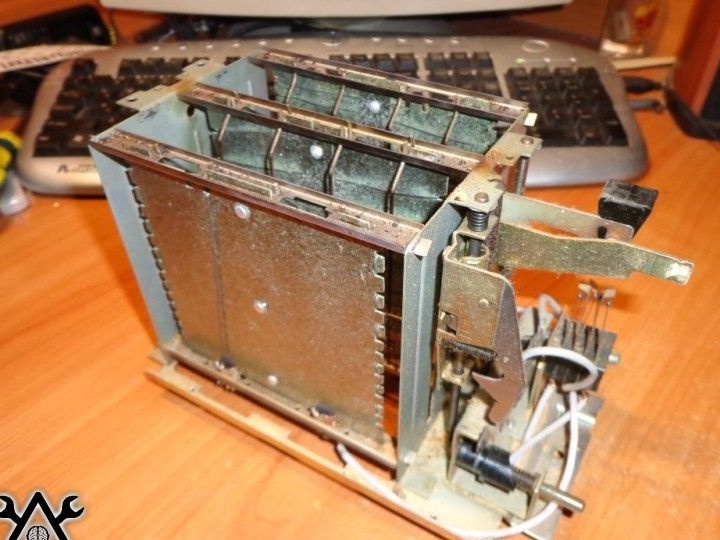
The tool for cleaning gas stoves from carbon deposits did an excellent job, and the device acquired a more pleasant appearance.
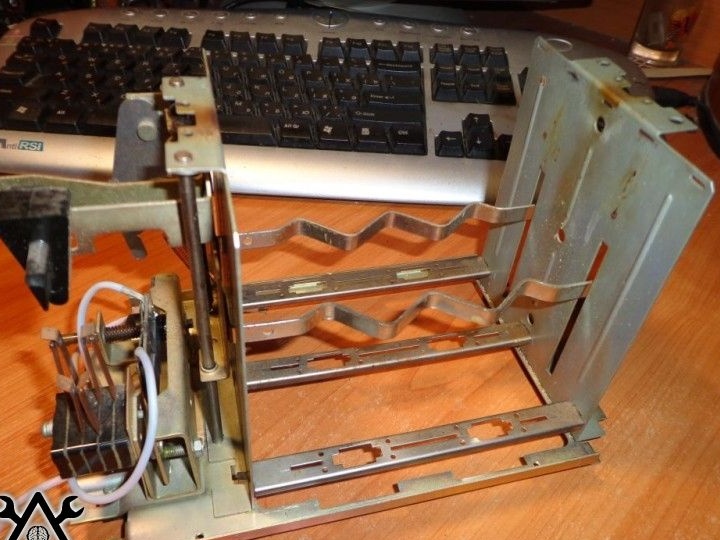
Then, two undulating iron strips, which are part of the mechanism for lowering the bread, were removed. Since the parts were fastened with spot welding, it was not difficult to separate them.
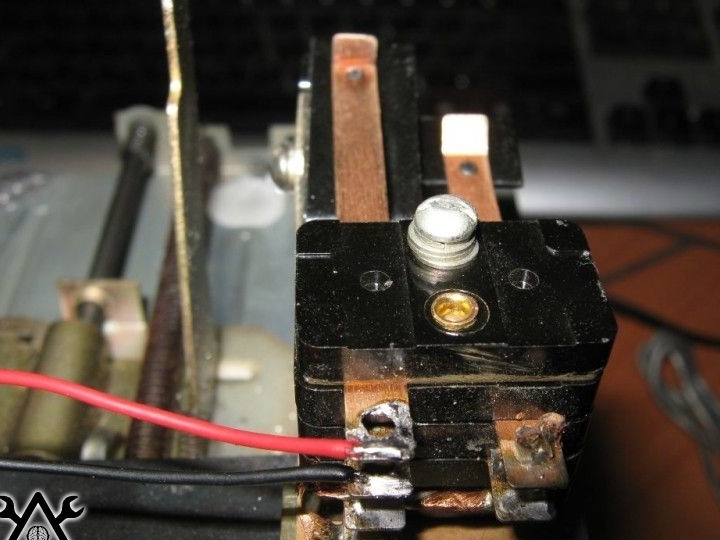
After that, the contact group with the timer was temporarily unscrewed.
The contact group was cleaned of dust, and the remnants of the wires were soldered.
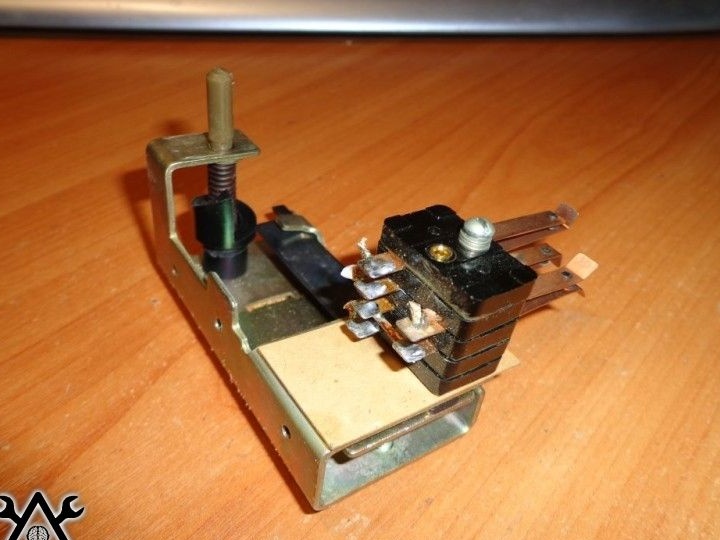

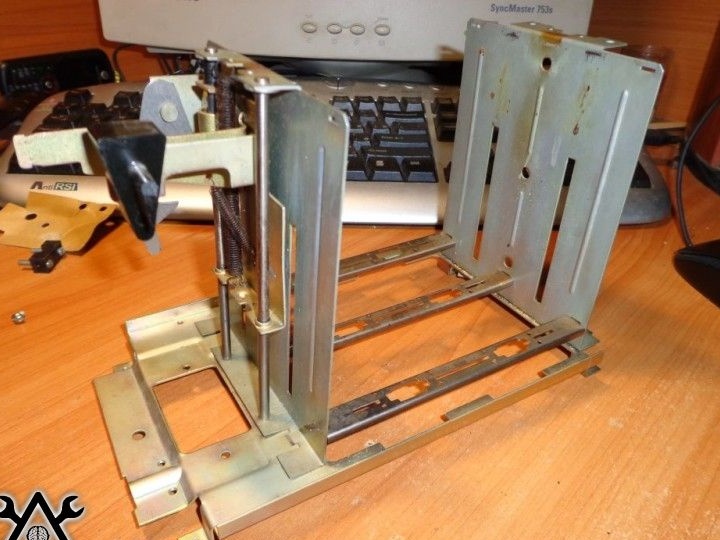
The result is a design that will be used in the further assembly of Dentoastera.
Step Two: Preparing the Corps.
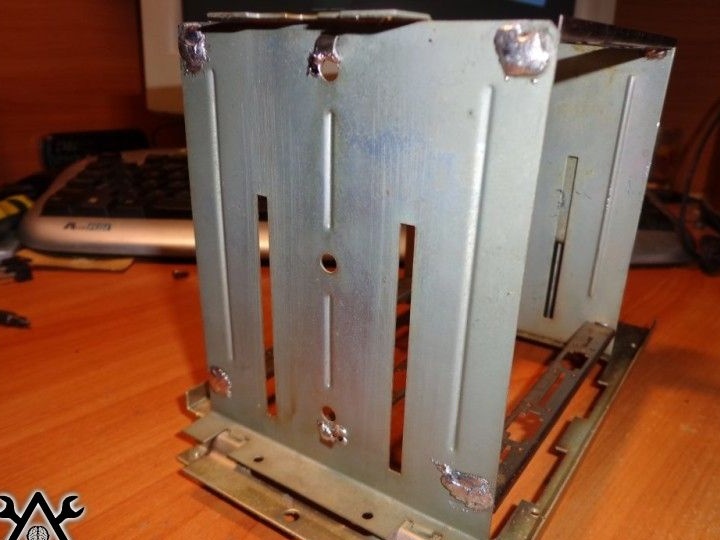
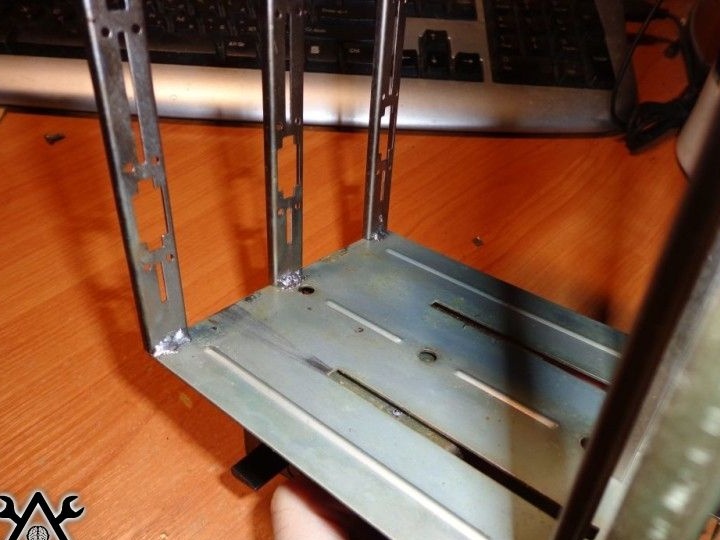
Since without so many details the walls of the toaster case were not rigid enough, even though they were fastened with longitudinal slats, the author decided to further solder them on the sides.
First, from the outside, and then from the inside of the device.
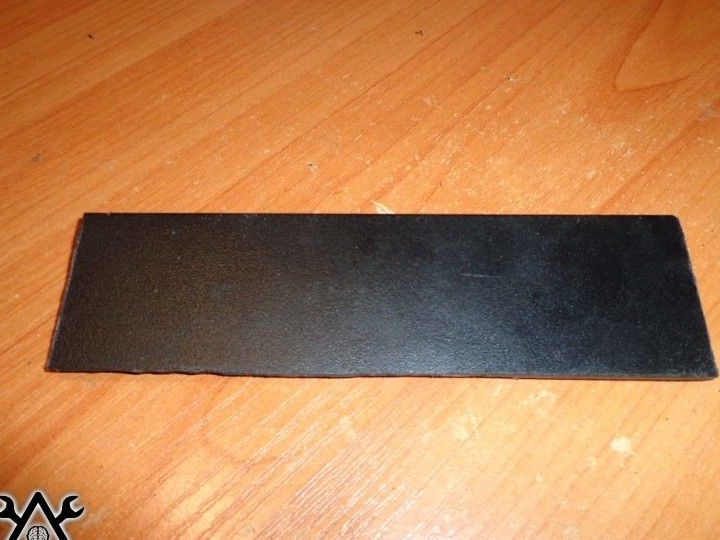
In order to protect the connector of the set-top box, where the cartridges will be installed, from dust, it was decided to make a kind of stub. They were made from part of the front panel of the system unit.
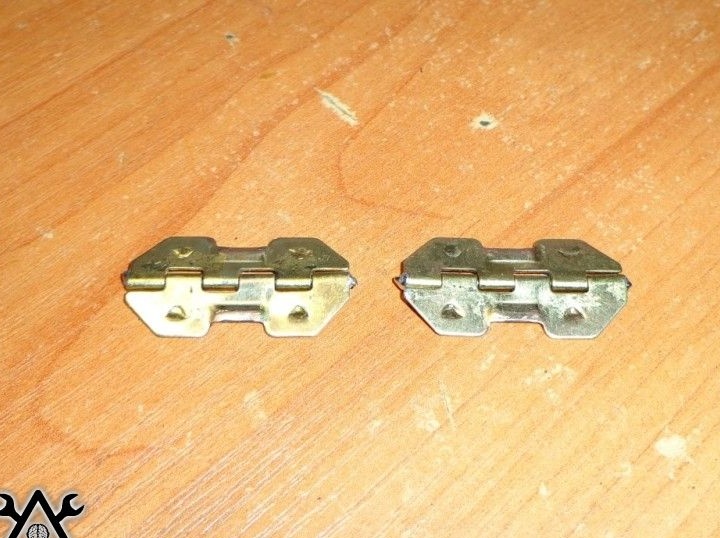
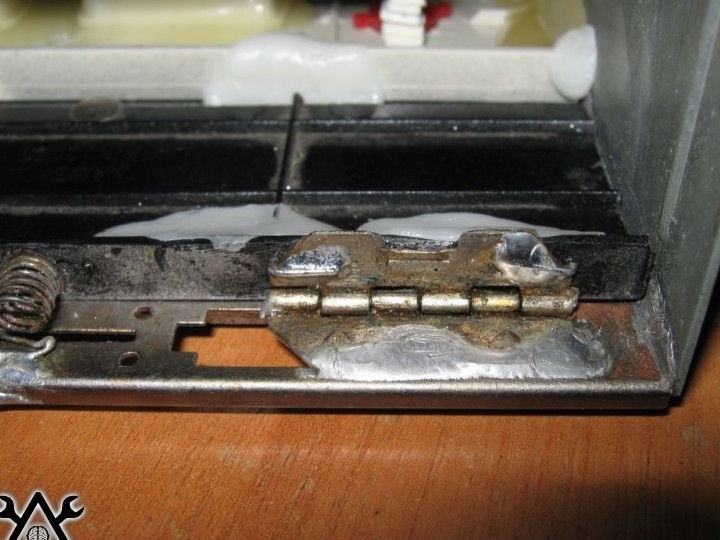
To fix the plugs, miniature loops were used. The loops themselves were attached to the glue on the glue, and the second part was soldered to the toaster body.
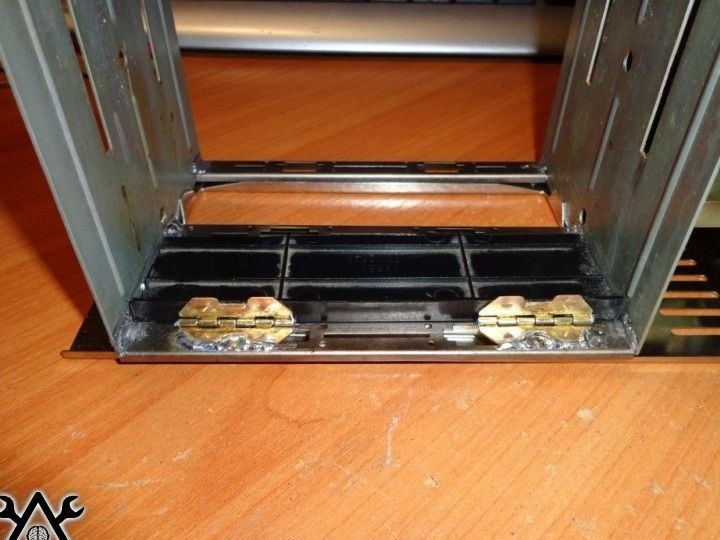
In order for the plugs to fulfill their function, it was necessary to make a mechanism for returning them to the closed position. To implement this idea, a spring system was used.
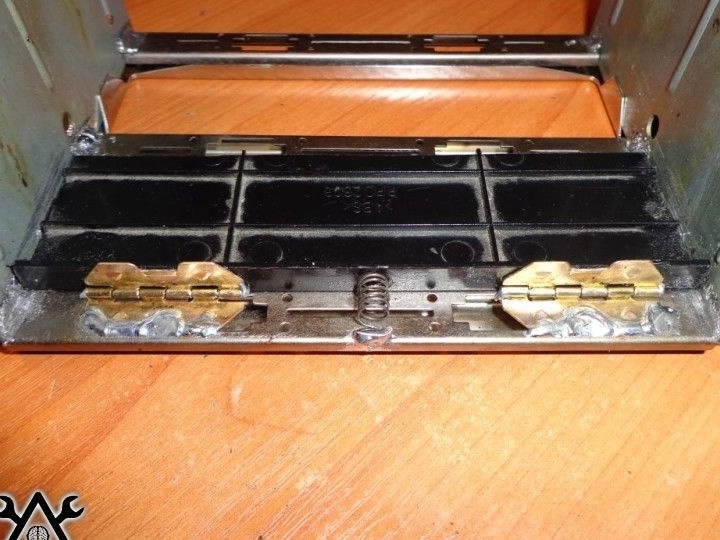
View after the first operating time.
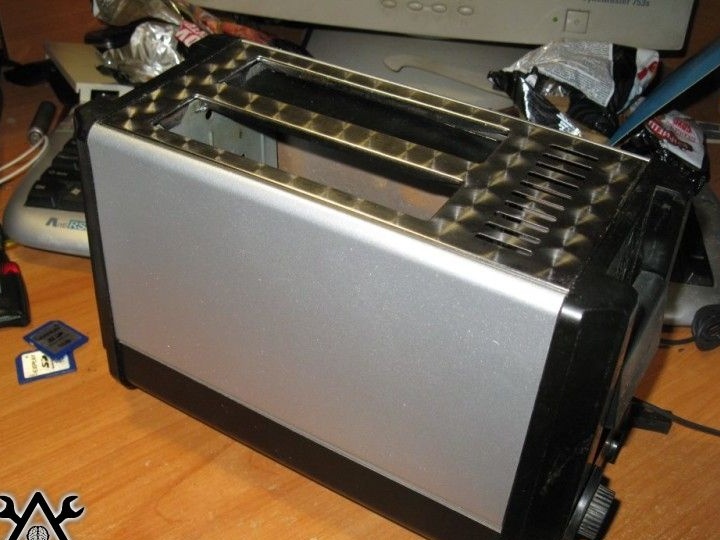
In this form, the toaster even cleaned of dirt is not particularly suitable for a gift, so it was decided to give it a more presentable appearance by painting it with silver.
That's how the body began to look after painting.
The plugs were also painted silver.

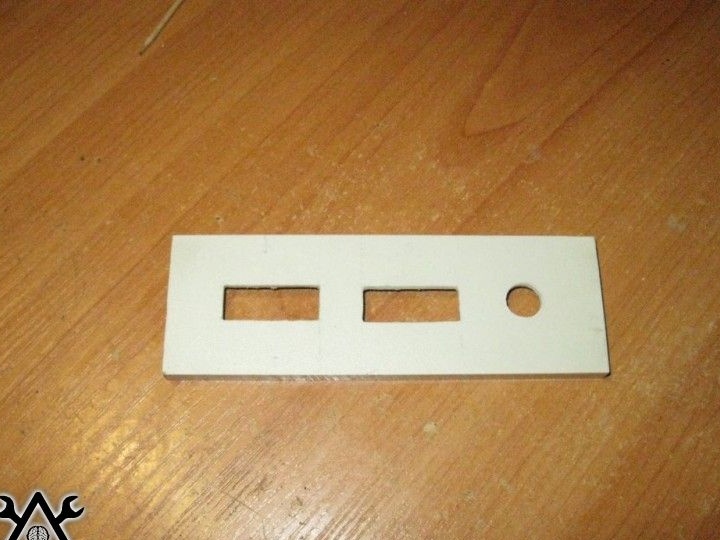
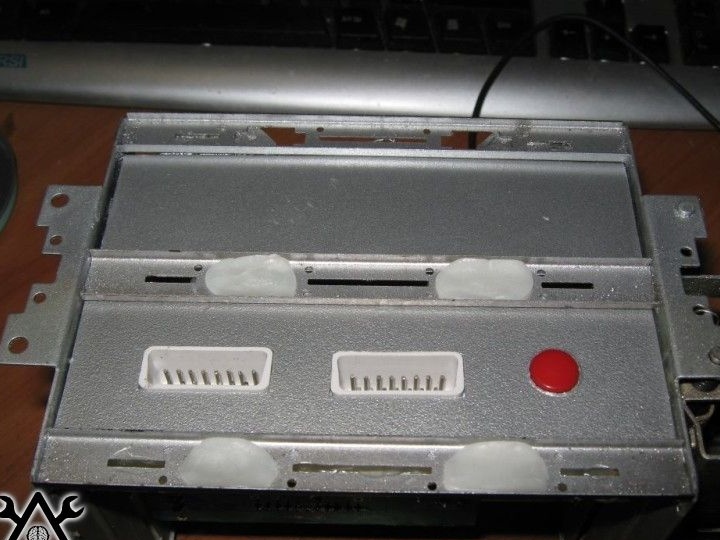
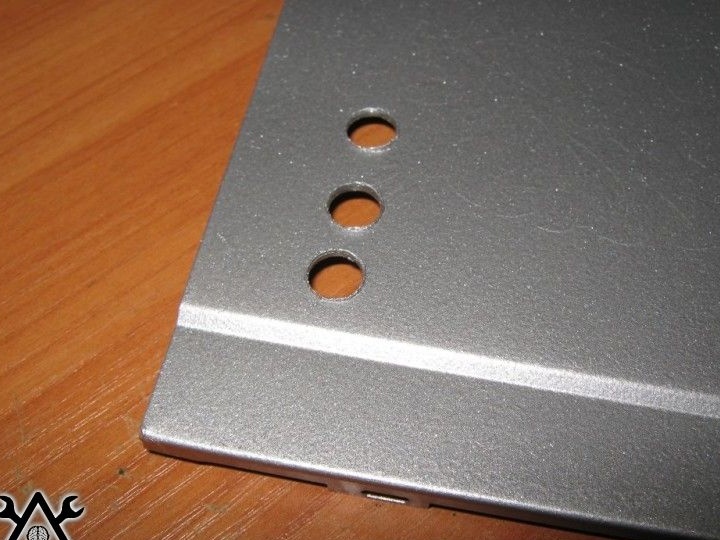
From the same parts of the plastic parts of the case from the system unit from which the plugs were made, a panel for the connectors of the game joysticks and the reset button was also made.
The part was marked for the size of the toaster case, as well as places for holes for joysticks and a button were marked on it.
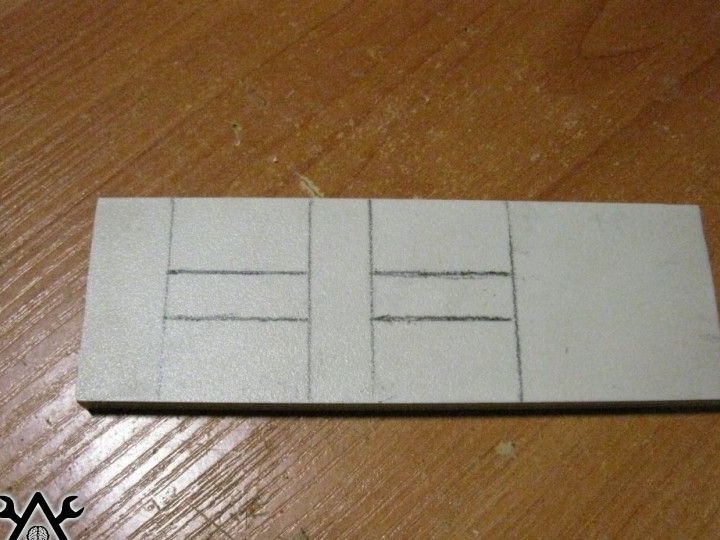
Then with the help of files and dremel they were drank.
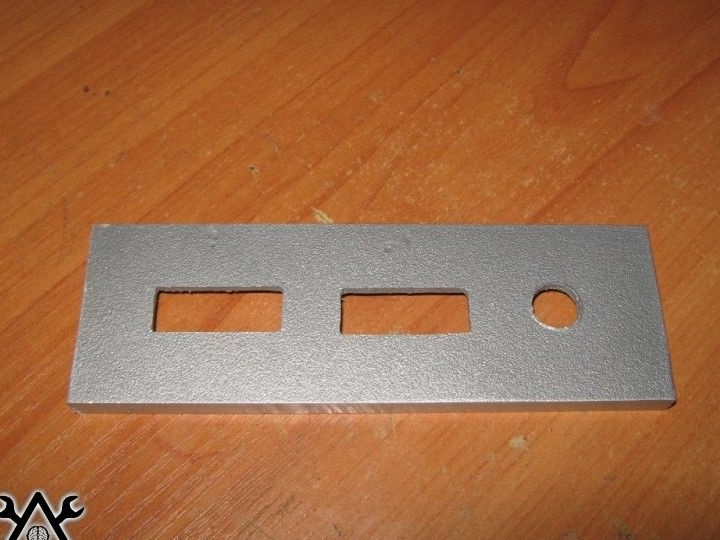
Then they are also painted in the desired color to create a single color gamut of the device.
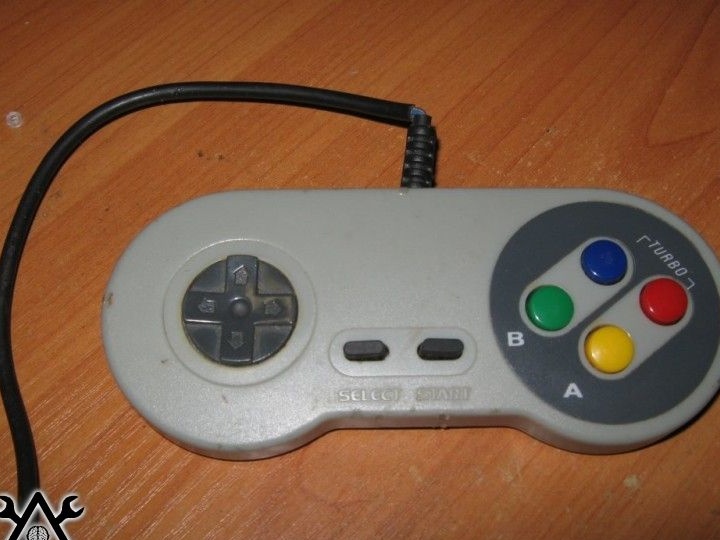
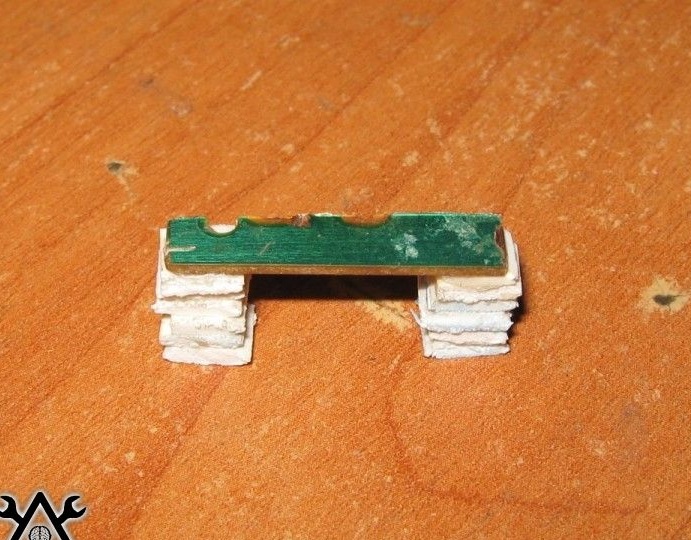
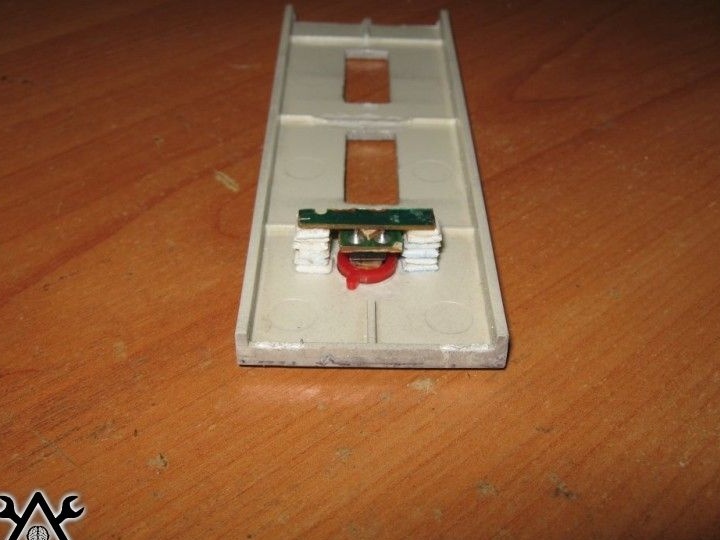
For the reset button, the joystick remaining from childhood from one of the game consoles that the author had in the past was used. To do this, the joystick was disassembled, and a red button for short circuits was removed from it, normal without fixing the position.
Then it was glued to the super glue, along with the circuit as shown in the photographs.
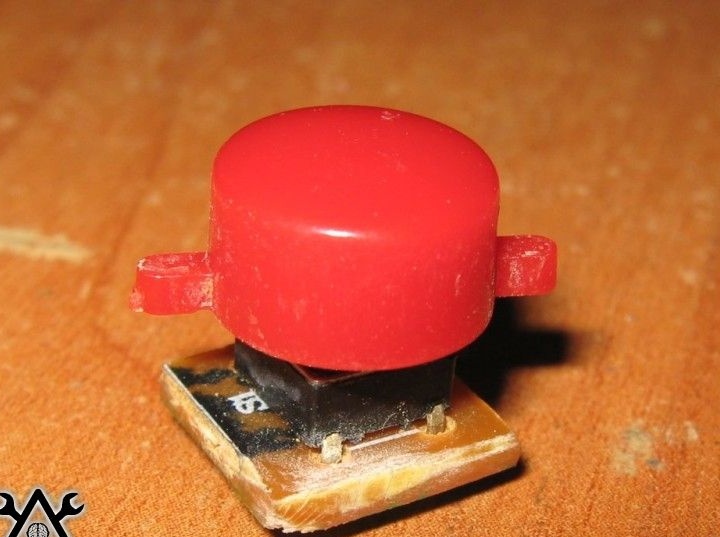
Thus, from small scraps of plastic using superglue, the button from the old game joystick took its rightful place in the new game console.
Step three: disassembling the console and installing it inside the toaster.
When the base for the body of his Dentoastera was ready, the author decided to take up the game console.
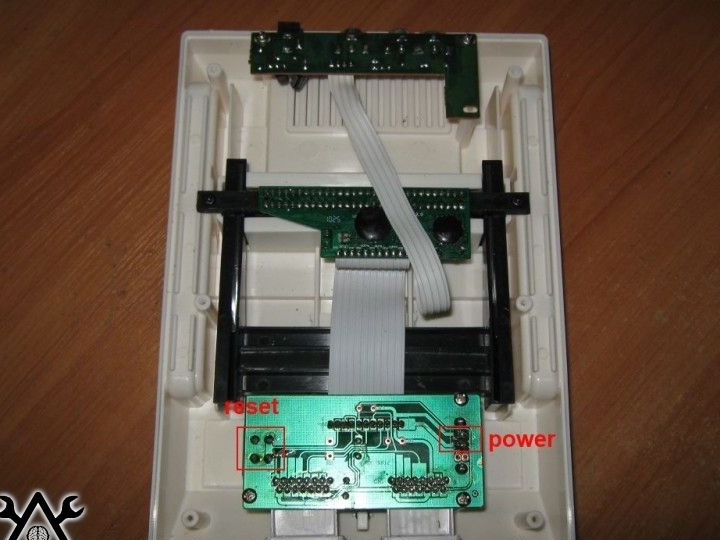
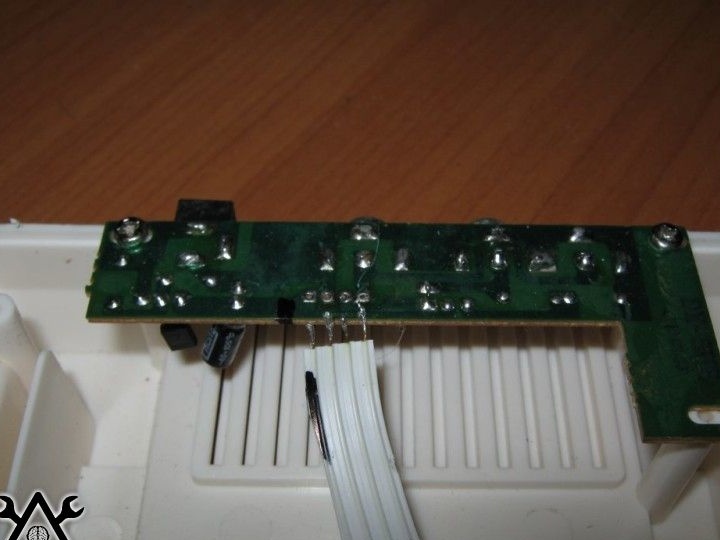
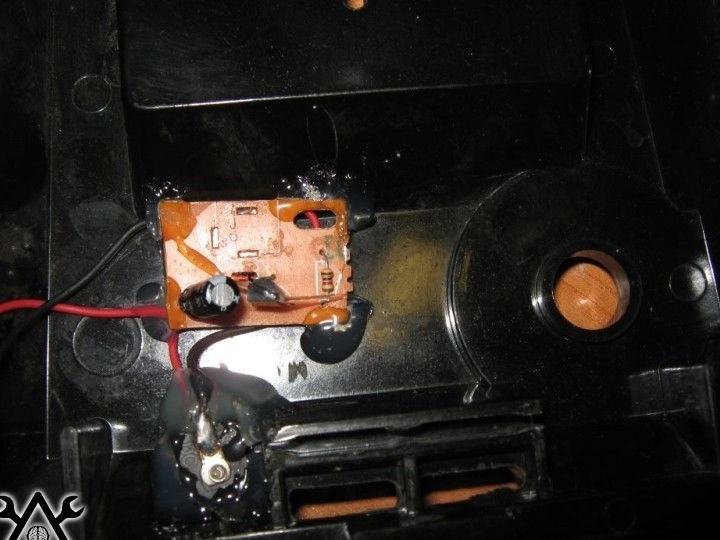
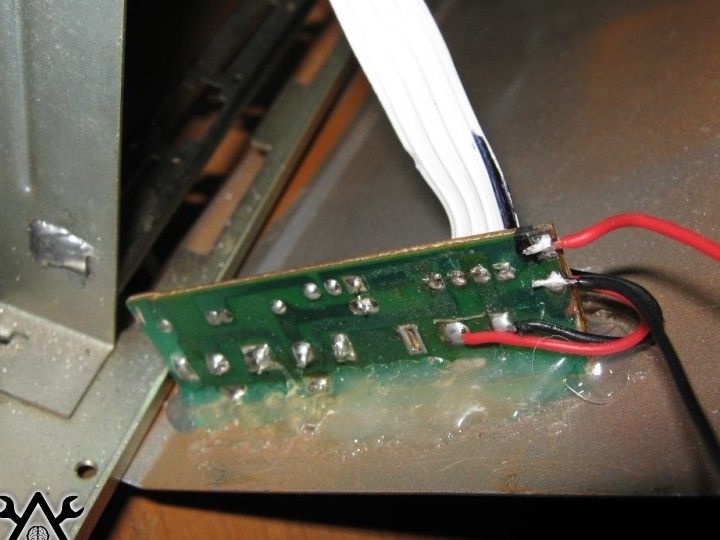
The following photo shows the inside of the device of the game console, the contacts for the power and reset buttons are also marked on it.
To begin with, the loop coming from the cable connector board and the voltage regulator was soldered off.
Then a board with joystick connectors and power and reset buttons was installed in the toaster case and securely fixed with a large amount of hot glue. Since the original buttons did not interfere and calmly interfere in the new case, the author decided not to bother with the extra work of soldering them.
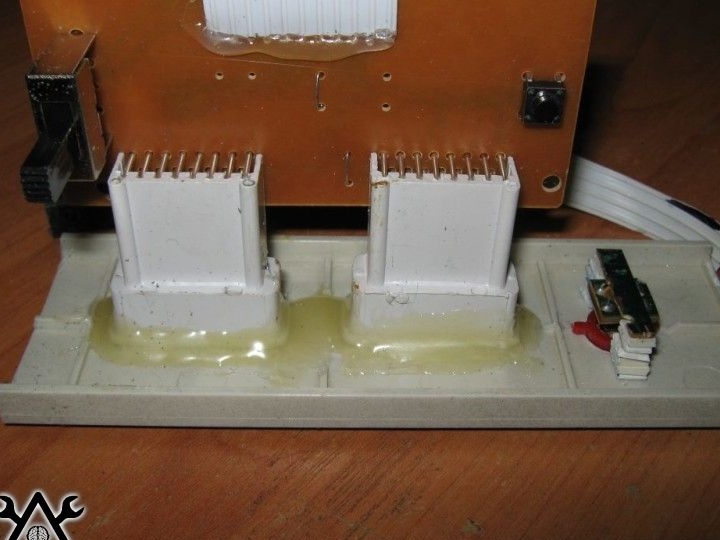
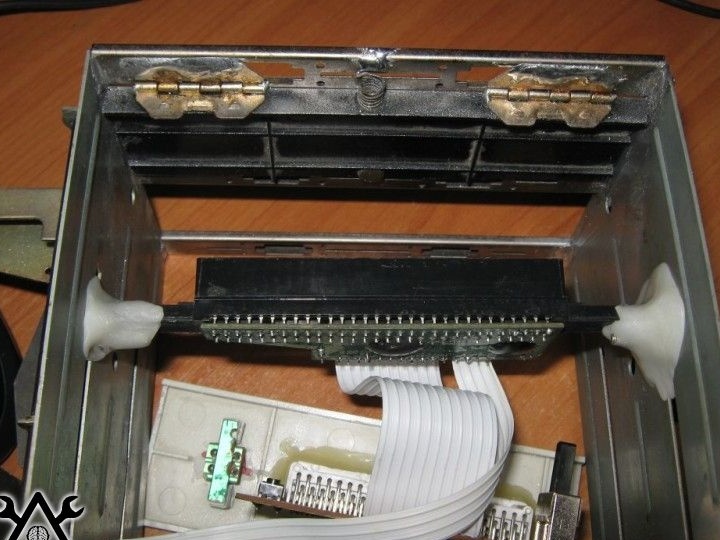
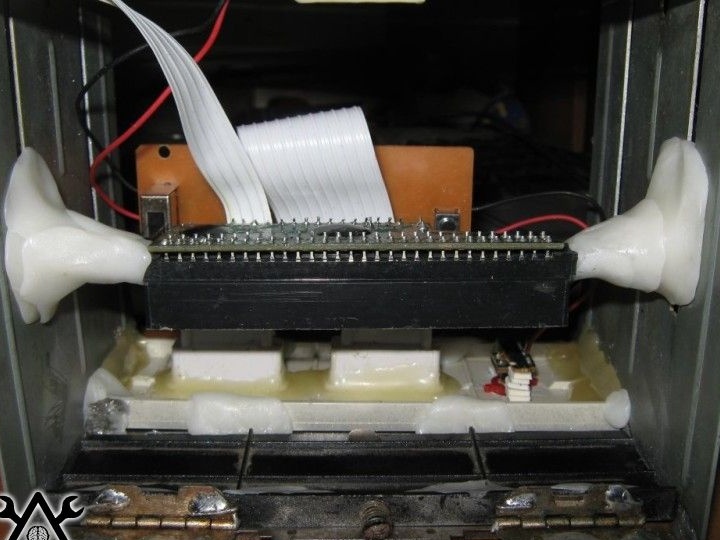
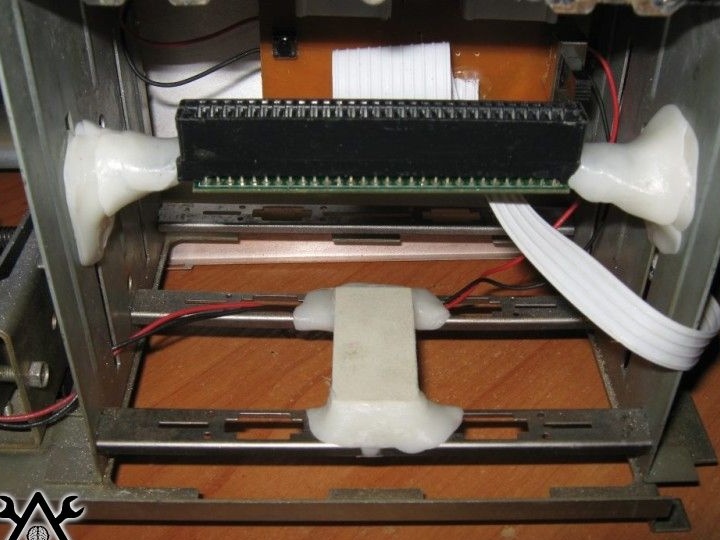
The board from the console with a connector for the cartridge was fixed in the hole that served to place the bread in the toaster. To begin with, it was screwed, and then polymorphus was additionally flooded with thermoplastic. This plastic cools quite quickly, so that you can almost immediately continue working on the prefix, in addition, the connection that it forms has both strength and sufficient elasticity. Thus, a reliable construction is obtained.
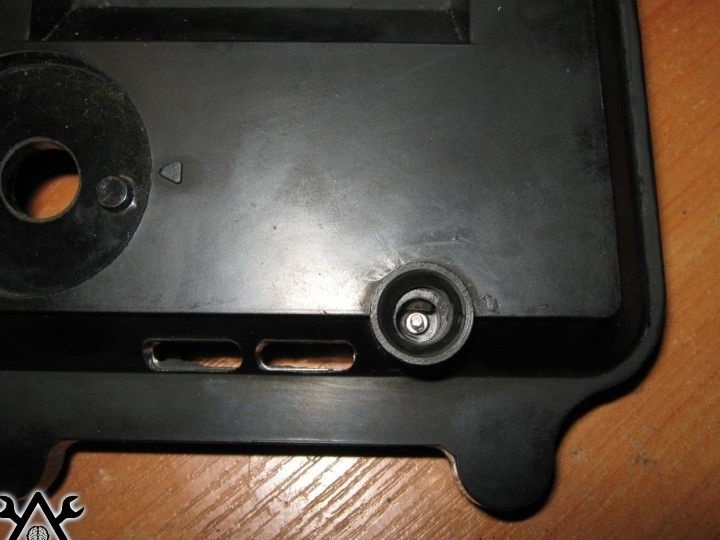
A panel with joystick connectors and a reset button was also attached to thermoplastic and hot-melt adhesive. In the photographs below you can see how this whole design looks inside and out of the device.

Then, several holes were made in the side for the cable connectors. When drilling a hole, the drill bit led a little and the latter, as seen in the picture, turned out to be not quite neat, but in terms of functionality this does not really matter, so the work was continued.
Although, still there were some difficulties. The author had to turn the last connector in a different way, and for this it was necessary to separate part of the board with a stabilizer.

From the inside of the device, it does not look neat at all, but it is externally tolerable, unless you peer especially and not noticeably.
In order to make a hole for the console's power socket, a dremel with an abrasive nozzle was used. After turning the hole, the power jack connector was fixed using the same hot-melt adhesive, and then soldered to the voltage regulator.
In the end, it looks like this.
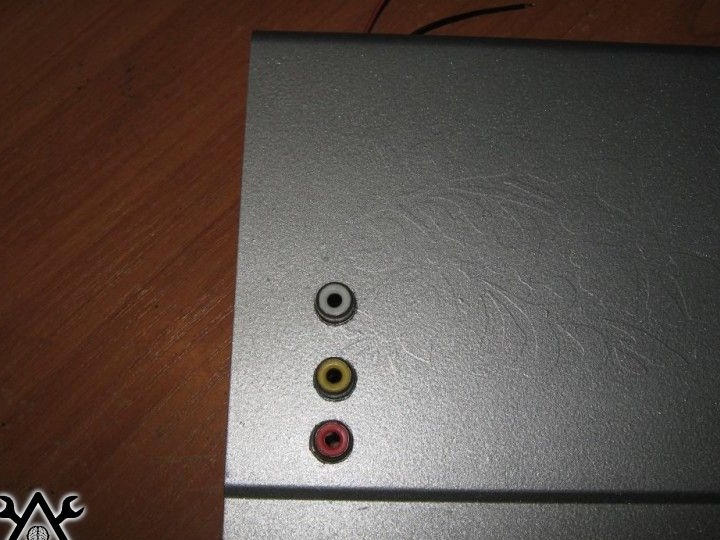
Then a cable was soldered, which the author had previously unsoldered from the power cable. The cable was soldered directly to the board with RCA connectors.
The power wires were soldered to the contact group of the toaster, and the other ends were soldered to the contacts of the power and reset buttons, respectively.
Next, a plug for cartridges was fixed to solder and thermoplastic polymorphus, which was previously mounted on a temporary mount.
After this action, the author has some thermoplastic left, which he decided to apply to the fastener of the connector itself, thus additionally giving it strength.
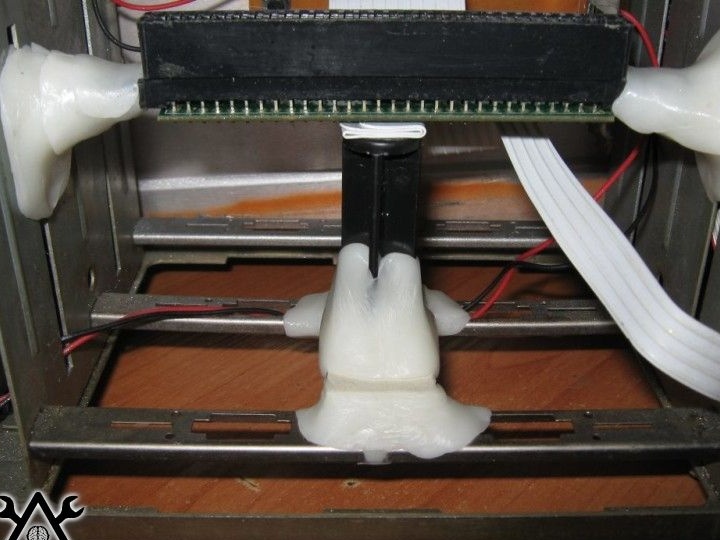
Also, in order to strengthen the entire structure, and to insure the prefix board from fracture or damage when installing cartridges, the remaining thermoplastic and parts from the plastic plugs were made base.
On this base, a part of the axis from the disk box was installed and attached to thermoplastic. Now the design has sufficient rigidity so as not to break even from inaccurate handling of the console. Provided that small children are likely to play it, this is an important point that will protect the console.
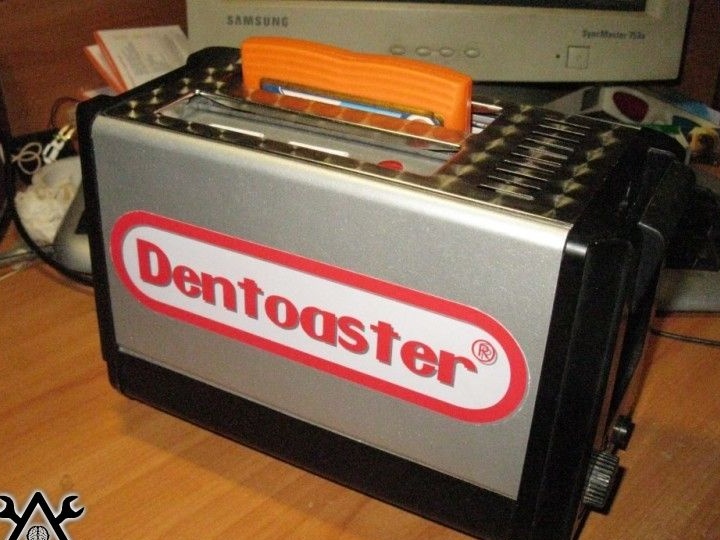
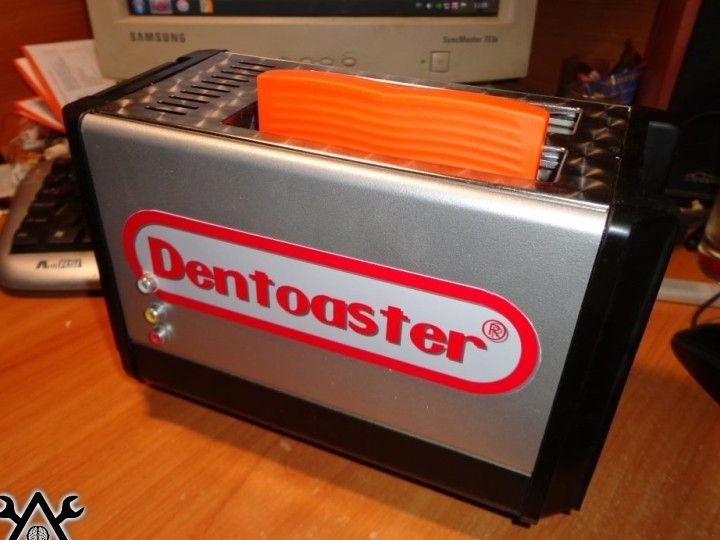
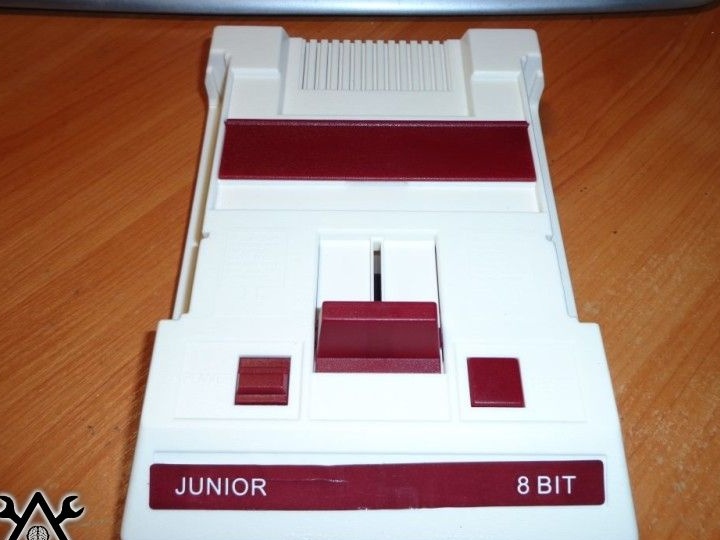
After assembling the remaining parts and fixing the external panels of the case, we got such a game console in an unusual case for it from an ordinary toaster.
In order to give the console a store look, a sticker with the name of this Dentoaster was attached to its surface. The stickers are made of self-adhesive paper by printing logos made in Photoshop on it.
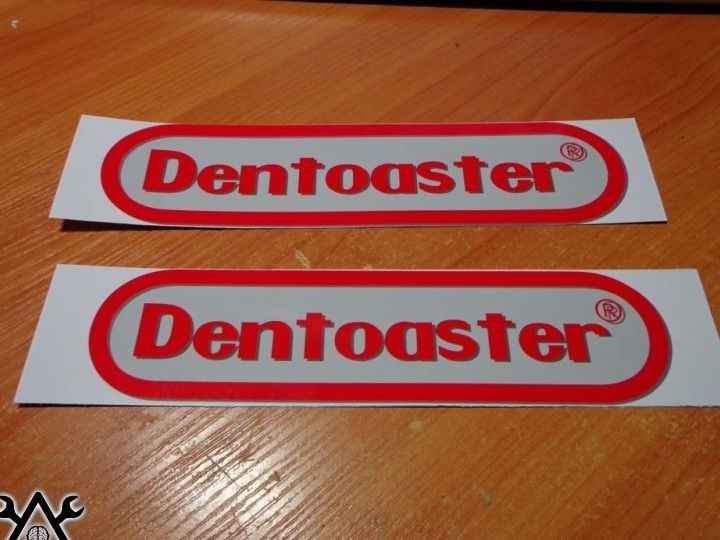
After labeling these logos, the prefix acquired its final form.
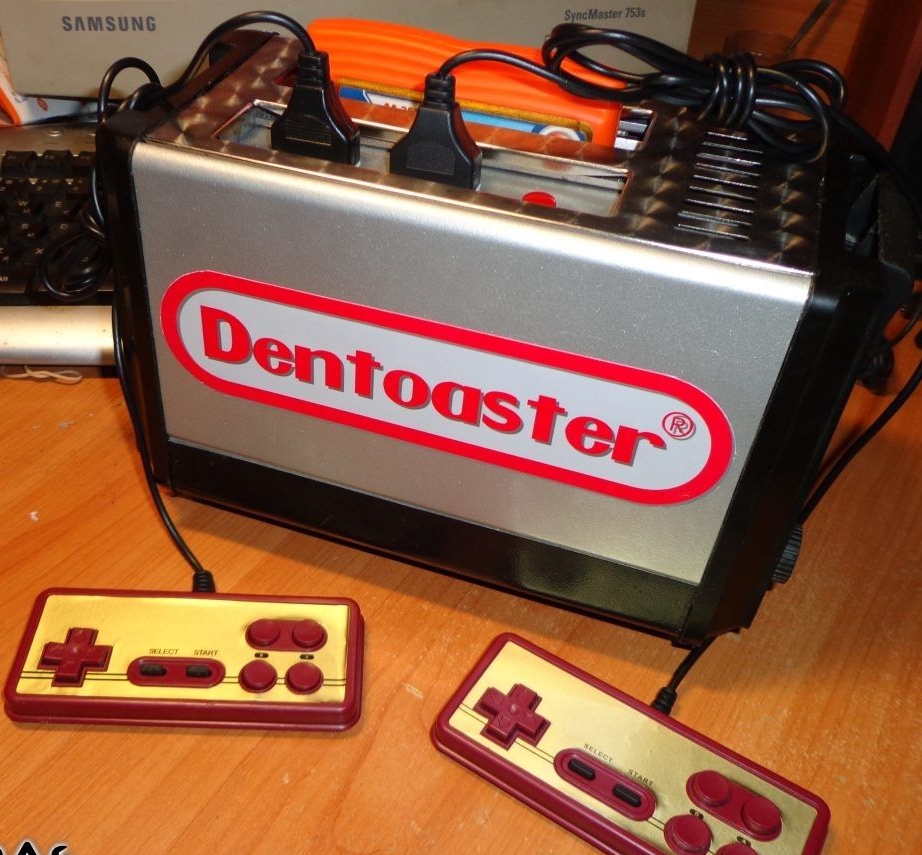
To check the operation of the game system, joysticks were connected to the console, and it itself was connected to the TV. After which the author began testing, which is shown in the video.
As you can see from the video, the prefix works fine, without any complaints.