
This article describes the creation of an artificial decorative waterfall in a frame for a photograph. The design of the frame with a waterfall is quite simple, and most of the materials used in it are easily accessible and cheap. Therefore, after reading this article, you can also make do it yourself a similar decorative thing for your home.
Materials:
-Photo Frame
plastic tube
electric motor
wire
LEDs
aquarium stones
tuning resistor
hotmelt
glue "Moment"
-wooden bars
-cardboard
-sand
lacquer
silver paint
- And so on.
Description of the manufacture of a decorative waterfall with a frame for a photograph.
Step one: frame.
To begin with, the author got acquainted with the principle of operation of such devices on the example of a large home waterfall, which is shown in the photo below.
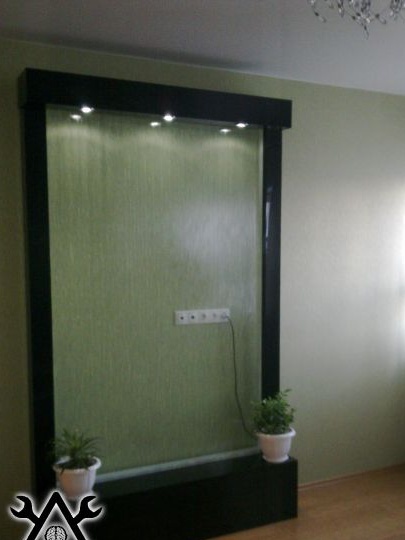
Such waterfalls are quite common in shopping centers.
In this case, the author needed to significantly reduce the size of such a device.
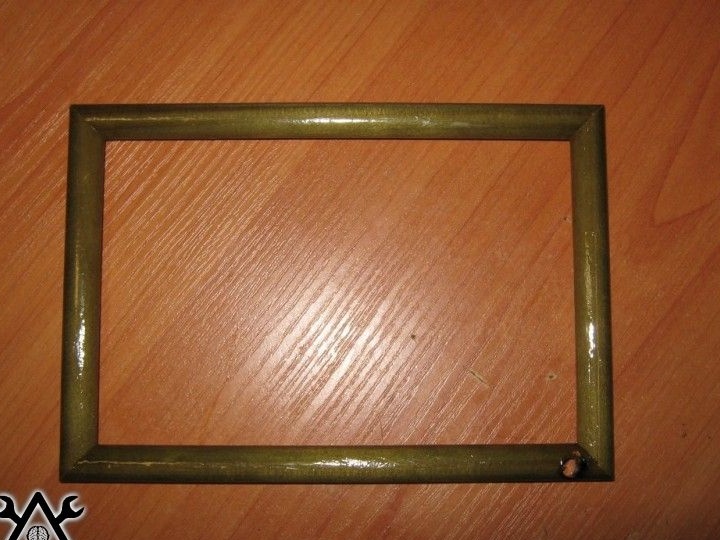
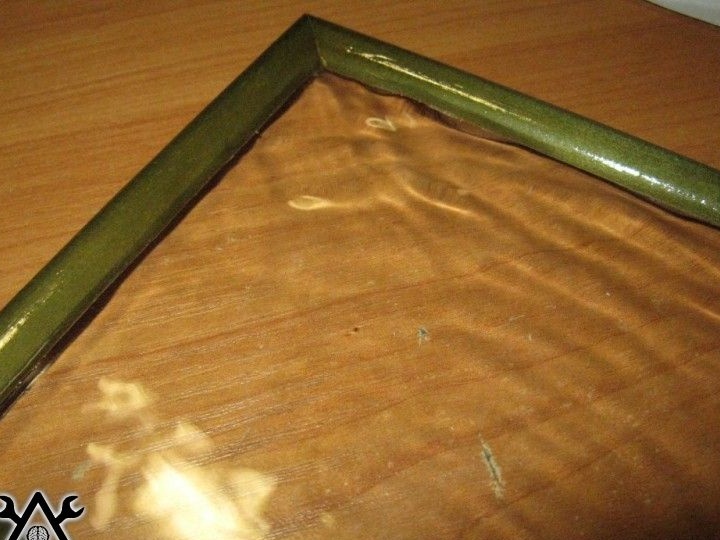
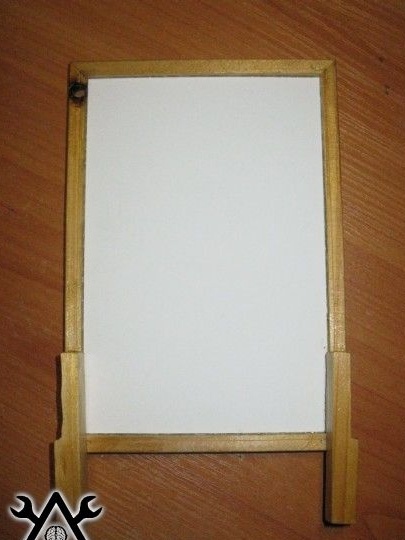
As a frame, a conventional photo frame with dimensions of 10 by 15 cm was chosen.

The photo frame was made of wood, so it was quite easy to drill a hole in its upper right corner. This hole will be necessary to install a tube through which water will be supplied and poured.
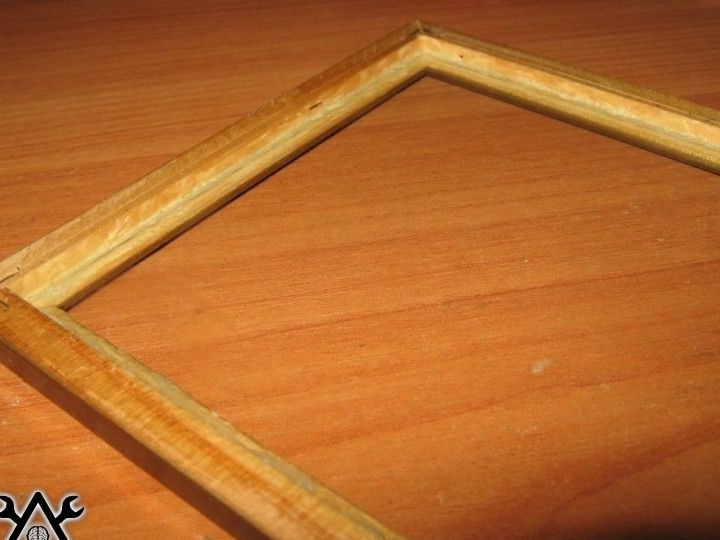
To prevent the tree from deteriorating from water over time, the author additionally coated the surface of the frame with transparent varnish.
After that, glass was glued to the frame. Water will drain down this glass from top to bottom, and so that it does not seep behind the glass and does not spoil the installed photo, all the gaps between the glass and the wooden frame were additionally sealed with the same glue.
After drying out the framework, the author tested for leaks. To do this, a small amount of water was poured into the frame on the glass. Not finding any gaps, he proceeded to further work.
Step two: water distribution system.
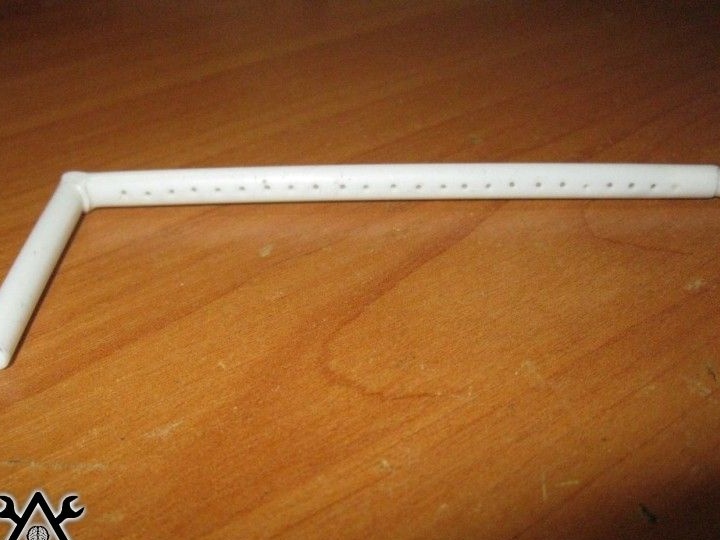
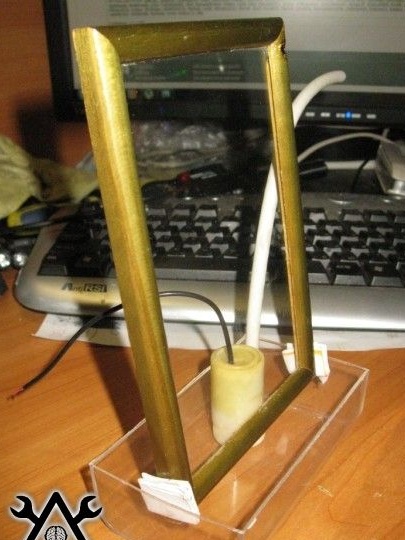
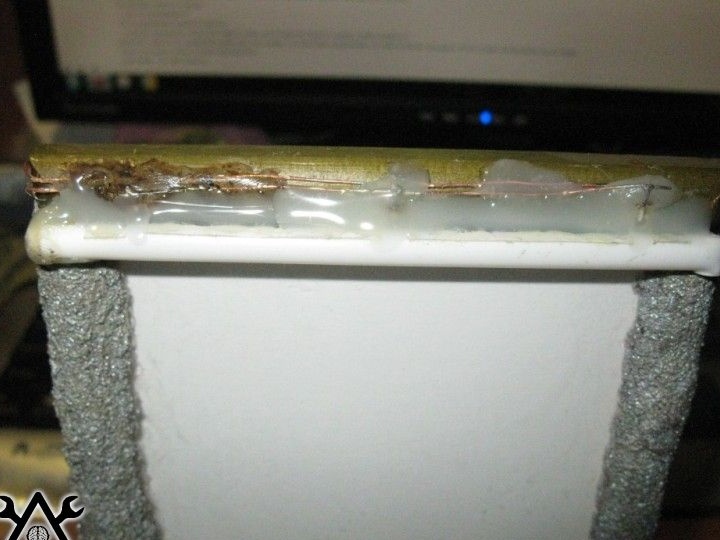
The author took the pipe for the distribution of water from a souvenir flag, as often happens with holiday balls. Such tubes are quite rigid.

A part necessary for homemade lengths. A bend of 90 degrees was given to her hands by heating above the candles. Then, using a needle, several holes were made to distribute water over the glass, and the main hole was sealed.
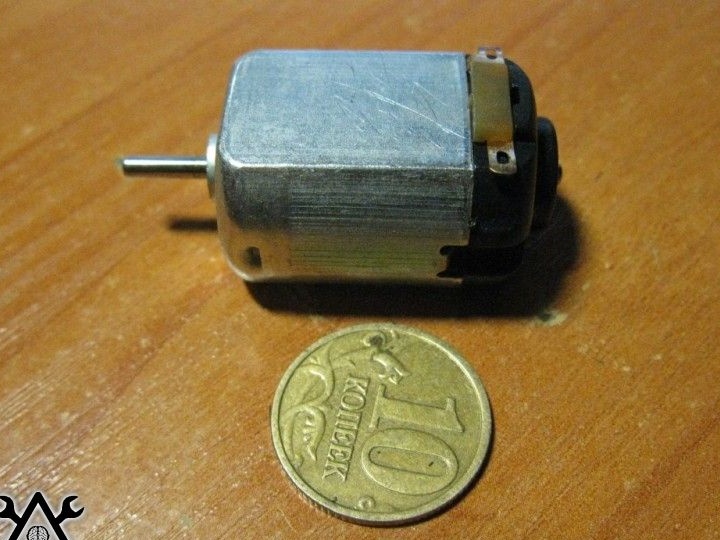
As a pump for pumping water through the tube, a small electric motor was used, which can be found without problems in any children's toy, for example, a typewriter. You can find details about creating a motor pump from the link to the source indicated at the end of the article.
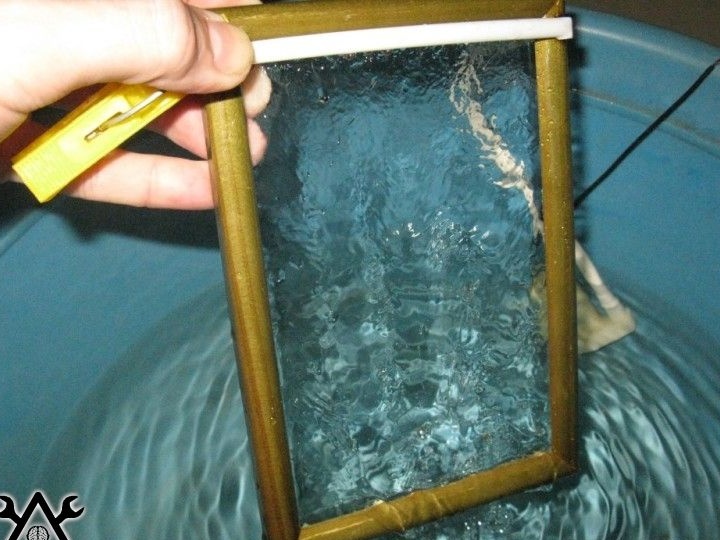
By connecting the pump to the tube, the author tested the operation of the device and the distribution of water from the tube. As shown with this approach, water is distributed evenly over the entire surface of the glass, and overall looks pretty pretty.
Step Three: Build.
Leaving the tube as it is is not aesthetically pleasing, so it was decided to create a casing for masking it. The casing was cut out of a piece of plain cardboard.
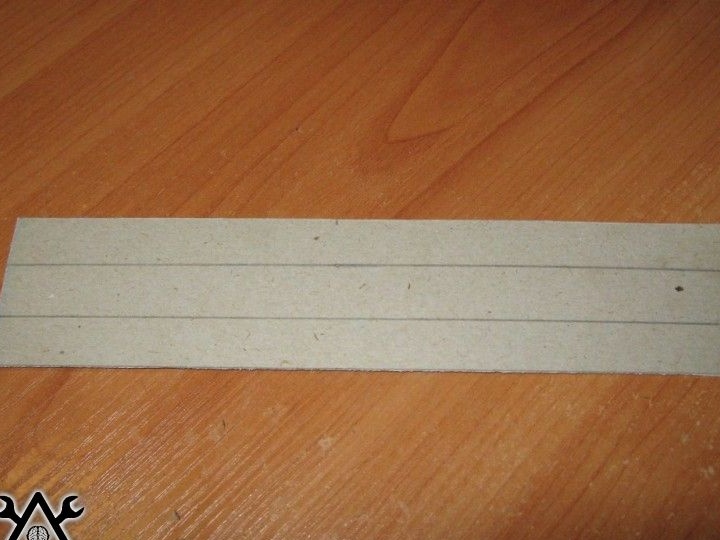
Then it was marked, cut in the right places and bent as shown in the photographs.
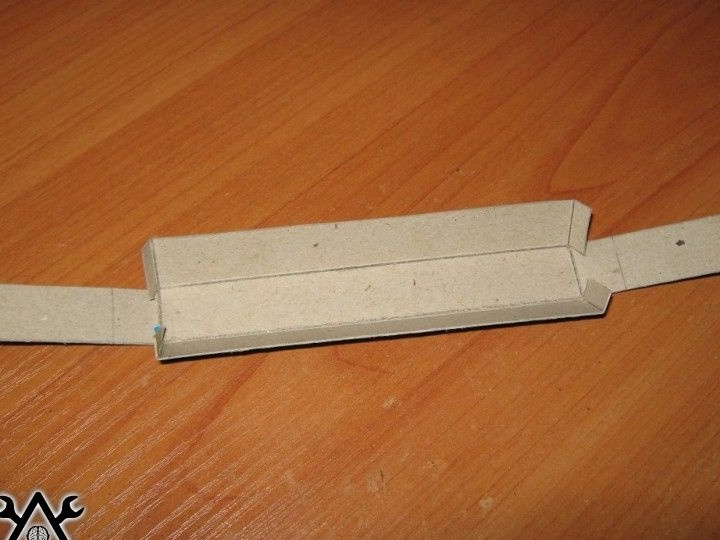
The result was such a blank.
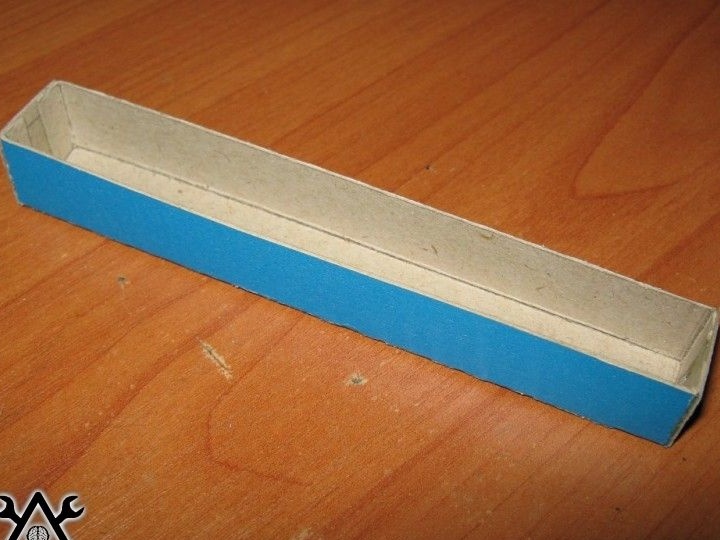
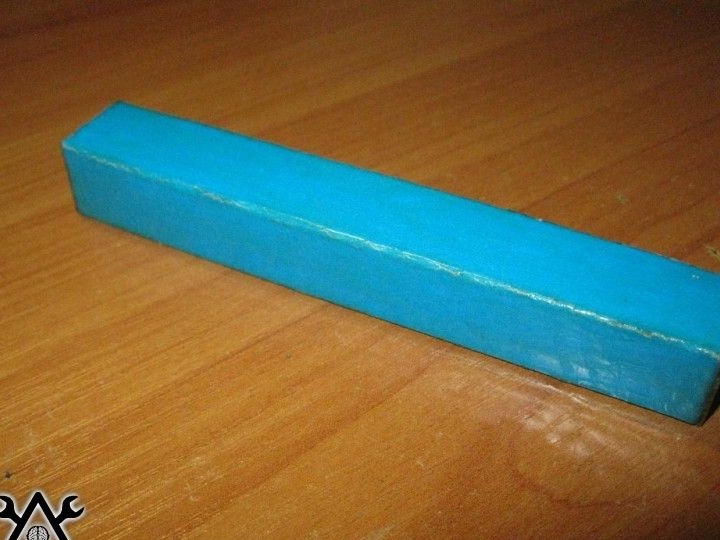
Since it will also be in contact with water, it was decided to varnish to protect the entire surface of the casing.

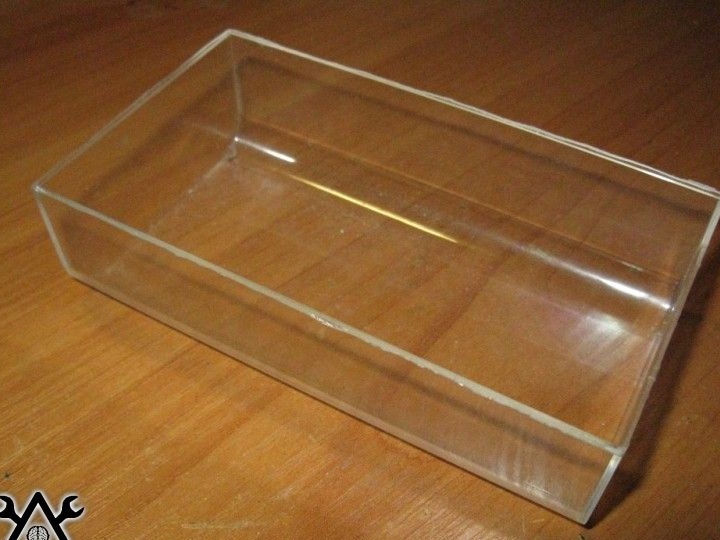
The water tank, where the photo frame will be installed, was made of a plastic box from the mp3 player. She just fit well in size.
To compensate for the slight discrepancy in the size of the box and frame, as well as to make its position more stable, the author carved two supports from wood. The coasters, as seen in the photographs, are fixed to the back of the frame.
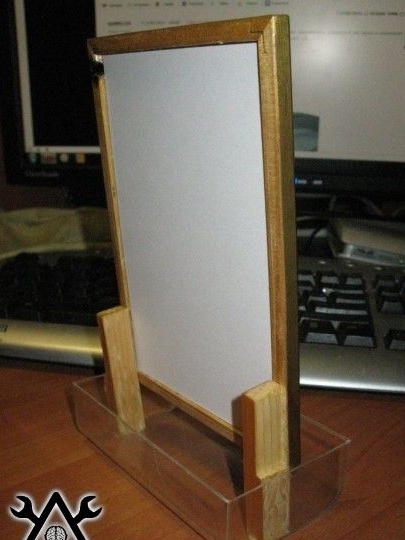
After that, the frame was installed in its place and fixed with a large amount of glue. After the glue had dried, it was additionally varnished.
Fourth step: decor.
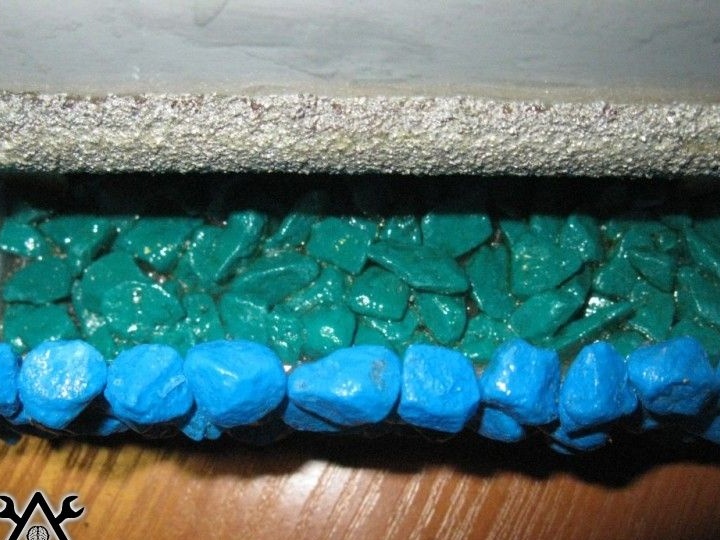
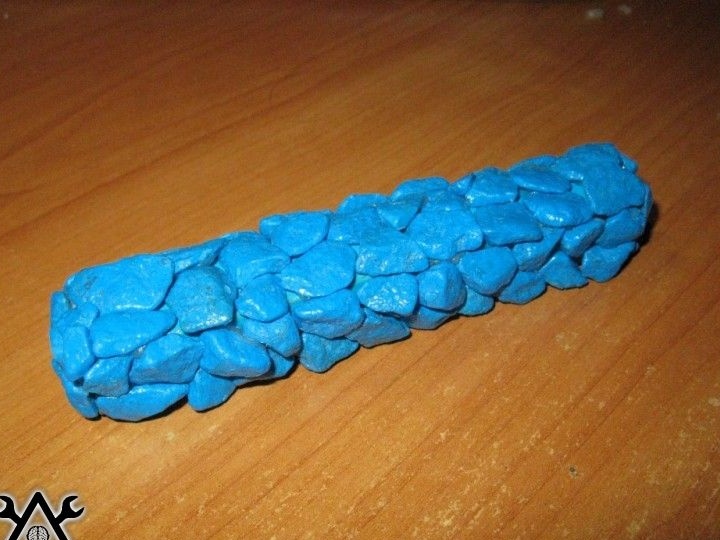
Further, the author proceeded to decorate the resulting design. It was decided to decorate the tank by gluing with pebbles used to decorate aquariums.
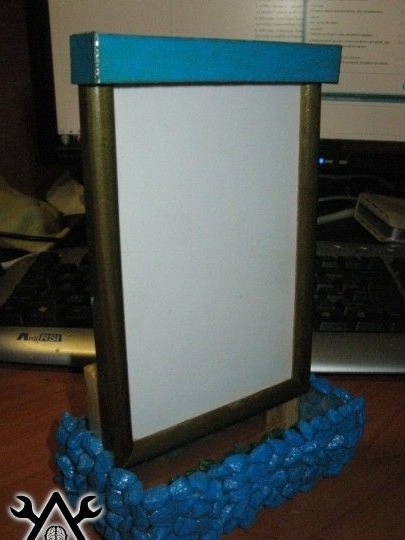
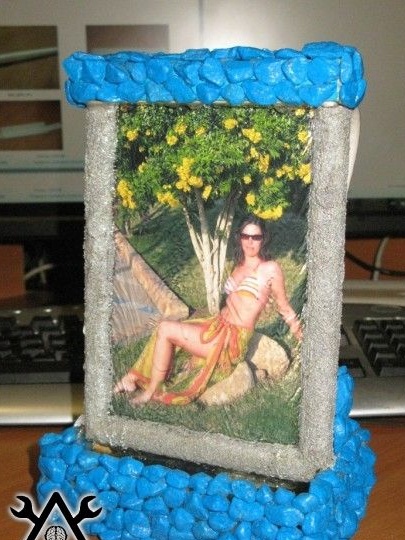
The frame was coated with glue, on which the author poured ordinary sand. Thus, sand glued to the frame was painted with silver paint. Then again varnished the structure. The result you see in the photographs.
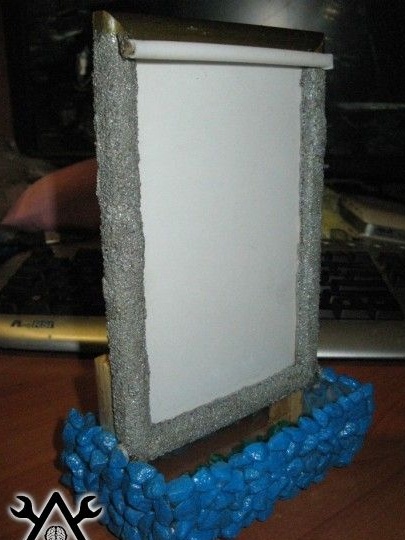
Stones were also poured inside the tank, which were also coated with varnish, due to which they were firmly fixed inside the structure.
The cover was also covered with stones, which will hide the upper part of the frame-waterfall system.
Step Five: Create Highlighting.
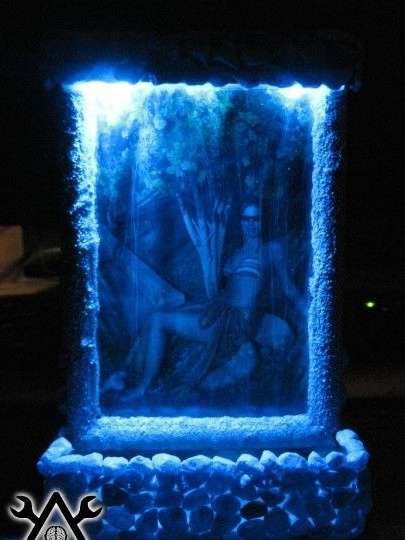
The next step, the author began to create lighting for his waterfall. As a backlight, several LEDs were used, which are attached to the frame with glue.
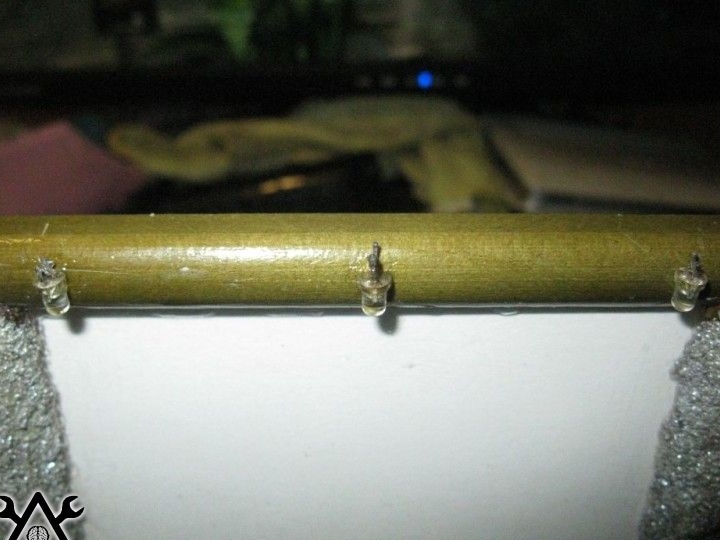
The wiring was soldered to them and everything was fixed with hot-melt adhesive.
While the upper part of the waterfall was drying up, it was decided to tackle its lower part, namely the location of the charging socket and switches.

After that, a test check of the backlight was carried out.
Just in case, an additional power circuit was made, which can be used if the first one becomes unusable. This approach will allow you not to disassemble or redo the device, but simply use a spare system.
Step Six: Install Photography and Test.
Then a photo was selected to be framed. Although the design was repeatedly tested for leaks, but still the author decided to laminate the photo for additional protection against moisture.


After drying, another test was performed on the operation of all waterfall systems.
Then the back with electrics was also decorated with aquarium stones.
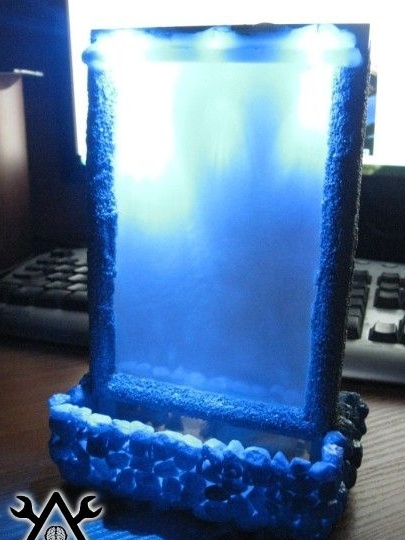
After that, a prepared photograph was installed, and a lid was attached to the upper part of the waterfall.
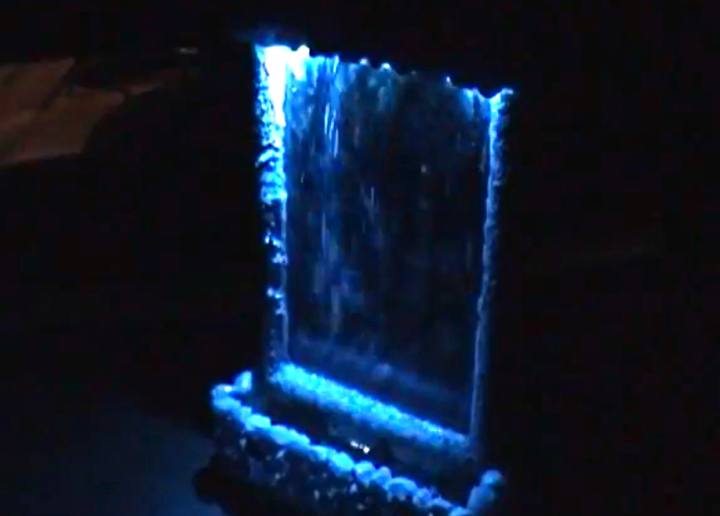
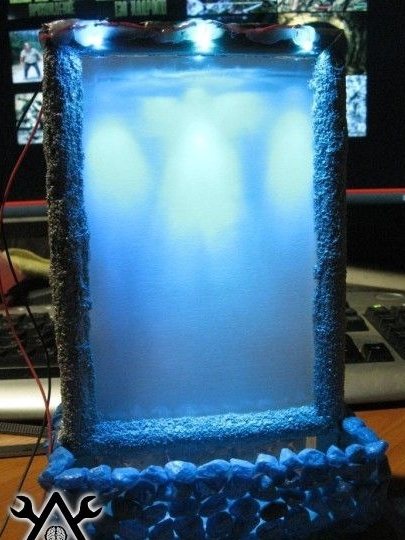
This is how the device looks when turned on.

Below you can watch a video clip with the work of a photo frame-waterfall:
As you can see from the video, the water pressure is slightly stronger than the author expected, and there were small splashes on the table. Therefore, a tuning resistor was included in the motor circuit, which reduced engine power and solved the spray problem.