
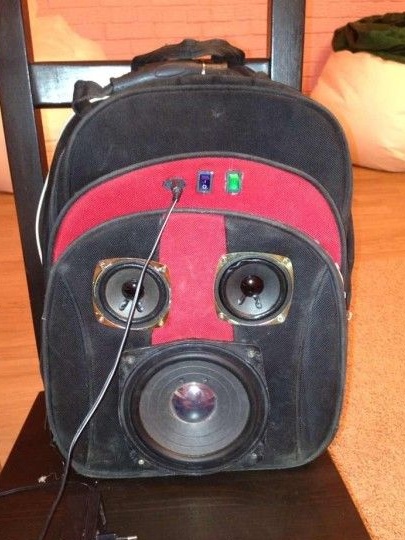
This article describes the creation of a portable music speaker on the platform of a regular hiking backpack.
Materials and tools that were required to translate this idea into reality:
soldering iron with all consumables.
- Speakers 3 pcs.
bag, it's a backpack
-LED Strip Light
glue gun
-Amplifier
-Wire
- 12V battery
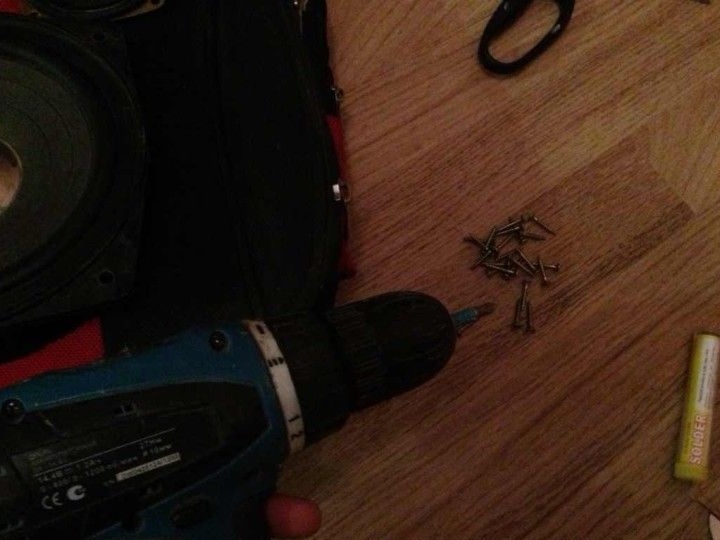
-Drill and self-tapping screws
Burn-out
plywood sheet
jigsaw
-scissors
A step-by-step description of making a backpack with an integrated music system.
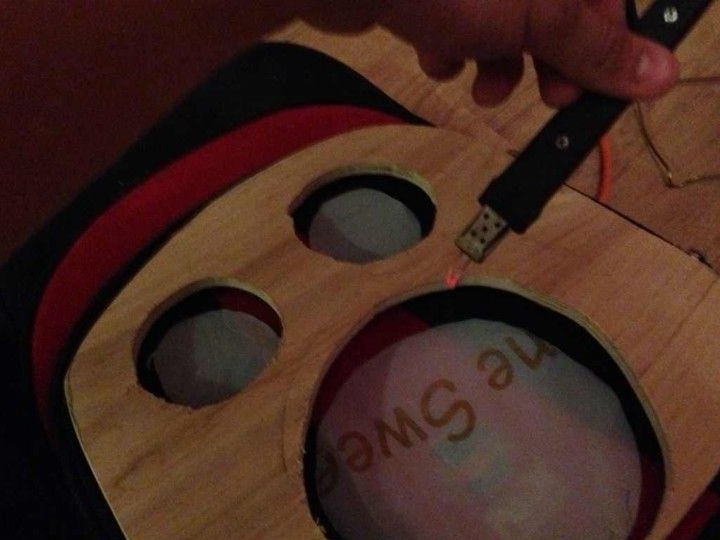
Step one: create a form for the speakers.
To begin with, the author decided to cut out a form from the plywood sheet into which the existing speakers can be installed. According to the size of the outer pocket of the backpack, the necessary shape was cut. Then, three holes were made in it the size of the existing speakers.
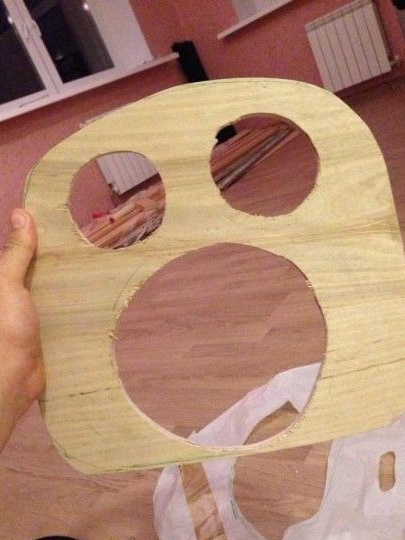
Accuracy is very important in this process so that the plywood fits perfectly into the chosen pocket of the backpack.
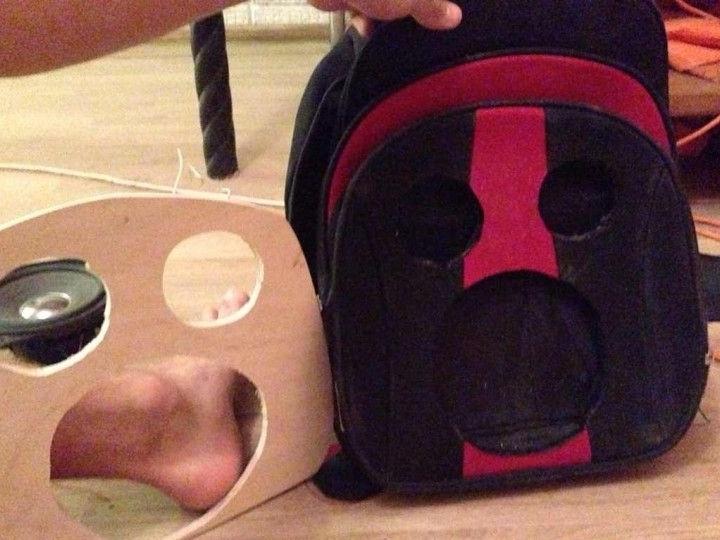
Step Two: Install the form in the backpack.
As already mentioned, the wooden form will be located in the extreme pocket of the backpack. Accordingly, it is necessary to make holes of the same size as on the form, on the fabric of the backpack itself, so that the speakers exit.
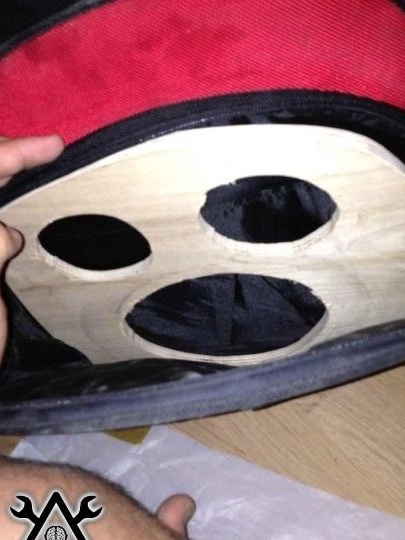
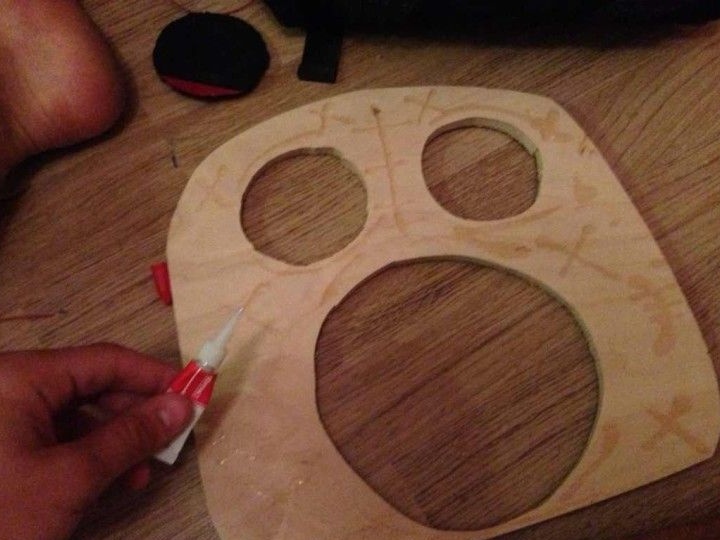
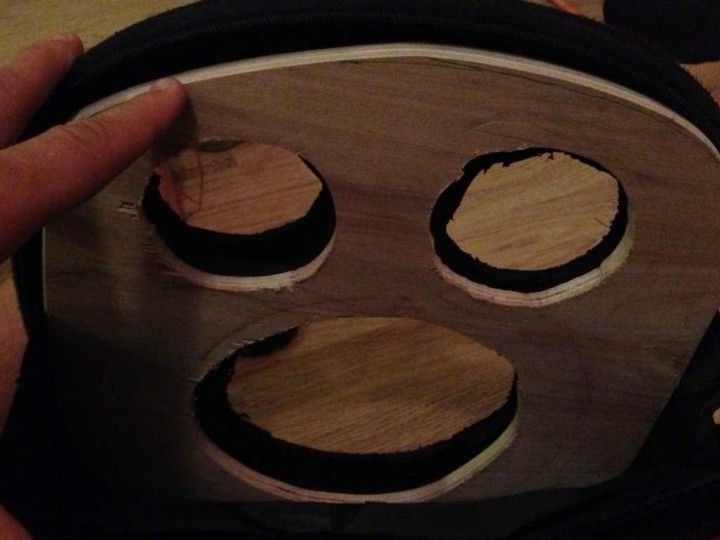
After the holes were made, as well as checked for compliance with the dimensions on the plywood, the author proceeded to install a wooden form in a backpack. As the fixing material was used glue "moment".
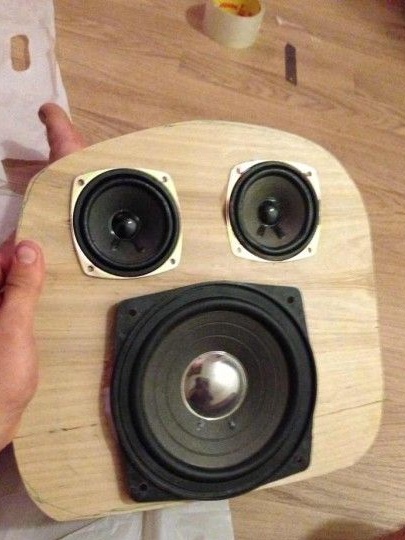
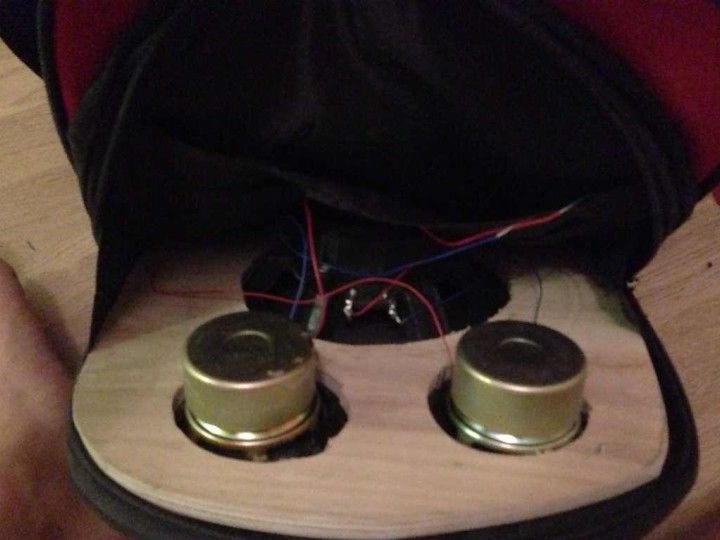
Step Three: Install Speakers.
When the glue had dried and the plywood was firmly glued to the fabric of the backpack, the author decided to proceed with the installation of the speakers. The speakers were fixed with a drill and screws on a wooden platform, in the holes prepared for them. Then wires were soldered to them, which subsequently would need to be connected to the amplifier.

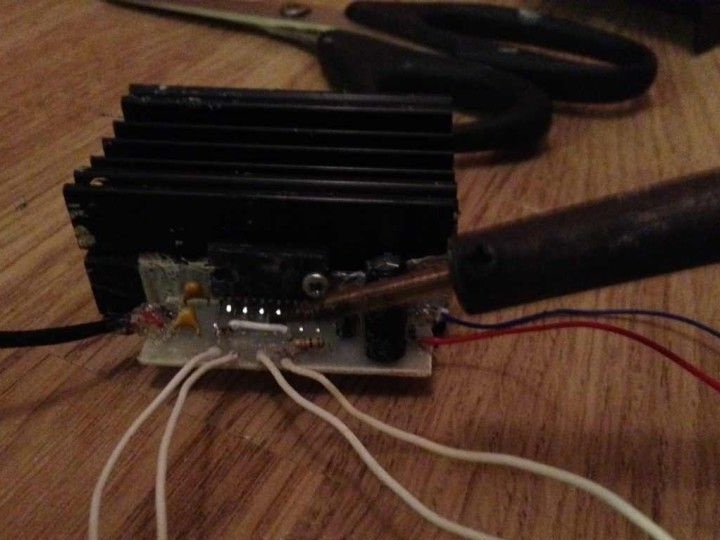
Fourth step: connecting the amplifier.
Further, the author decided to start connecting a 35-watt amplifier for his music backpack. The amplifier will work due to power from a 12 V battery; for this, a power circuit with two switches was made. One of the switches will be responsible for turning on the music system, and the second for turning on the backlight.
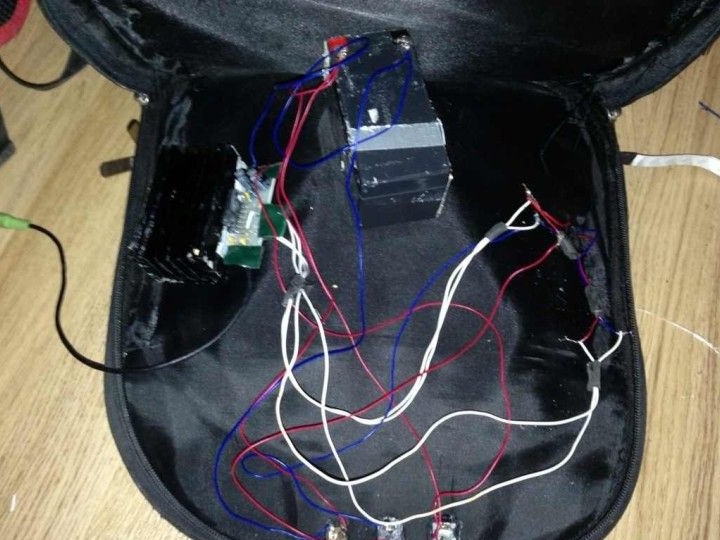
Step Five: Final Assembly.
Further, an LED strip was sequentially connected to the output of the amplifier. Thanks to her, the musical backpack will also be with light music, red, which will be included under the bass. The tape itself was secured to the backpack with a glue gun. A second switch will be responsible for turning it on, so that you can turn it off if desired.
After connecting the tape, an extension cord was attached to the backpack, through which such devices as an MP3 player, phone or laptop will be connected, and enjoy your favorite music. The extension cord itself is placed in the pocket of the backpack, so it will not interfere much.
Thus, using only one back pocket of the backpack, it was equipped with a music system, and at the same time remains roomy enough to be used for its intended purpose, that is, for carrying things.